


How To Build a Bar Cart: The Easy Way
How To Build a Bar Cart: The Easy Way
Build this super simple wooden bar cart, perfect for a Fathers Day gift or any outdoor/indoor space
Anyone else maybe possibly had Fathers Day completely sneak up on them?
If your hand is waving frantically beside mine, don’t worry I’ve got you covered 😉
I wanted to come up with something amazing for Adam & I wanted to build it myself because that feels more personal & special.
We have been working hard on our outdoor entertainment space but one thing was still missing…
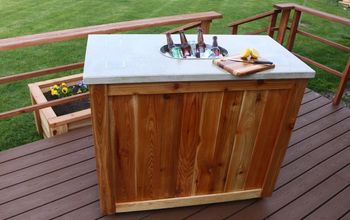
A totally awesome DIY bar cart!
So I decided this would be not only the perfect gift but also something we desperately needed to complete the space.
The best part is my WORKPRO Tools made it so easy to build I finished it in one day!
If you are looking for a sweet homemade gift or just need something to finish off your entertainment space, have no fear I have the complete plans for you.
How To Build a Bar Cart: The Easy Way
Supplies:
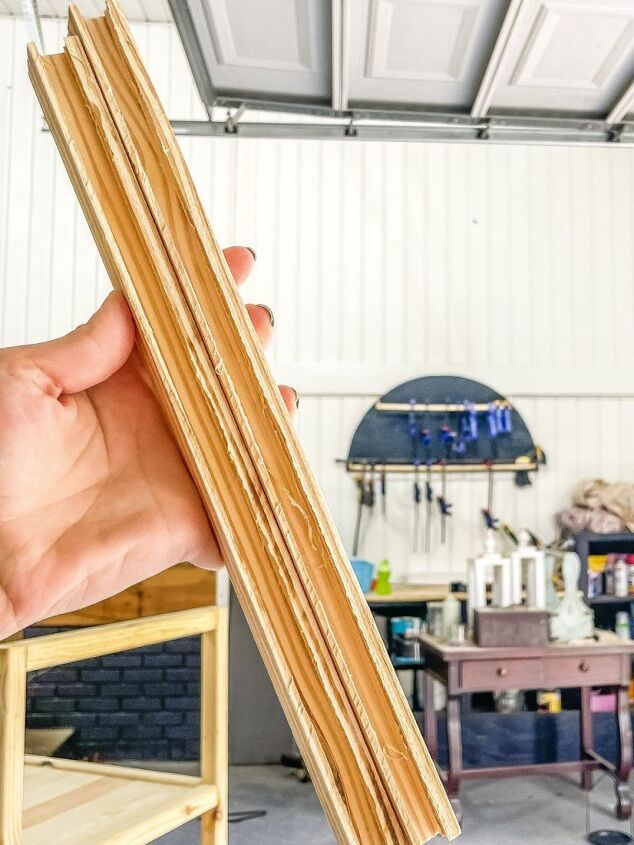
- (2) 1x4x8
- (3) 1x3x8
- (5) 2x2x8
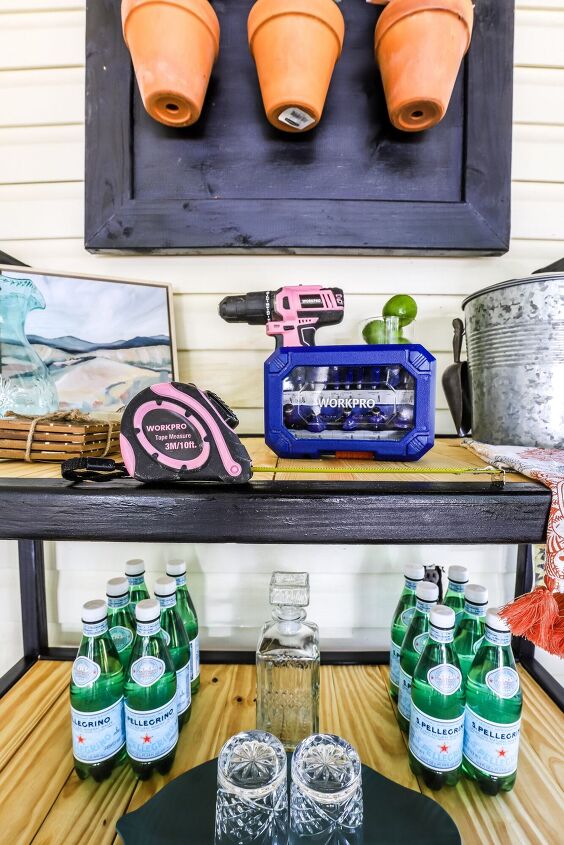
- WORKPRO® 20V Pink Cordless Drill
- WORKPRO® Pneumatic Nail Gun
- Miter Saw
- Sander
- WORKPRO® Router Bit Set (optional)
- Measuring Tape
- Pocket Hole Jig
- WORKPRO® Clamps
Making The Cuts
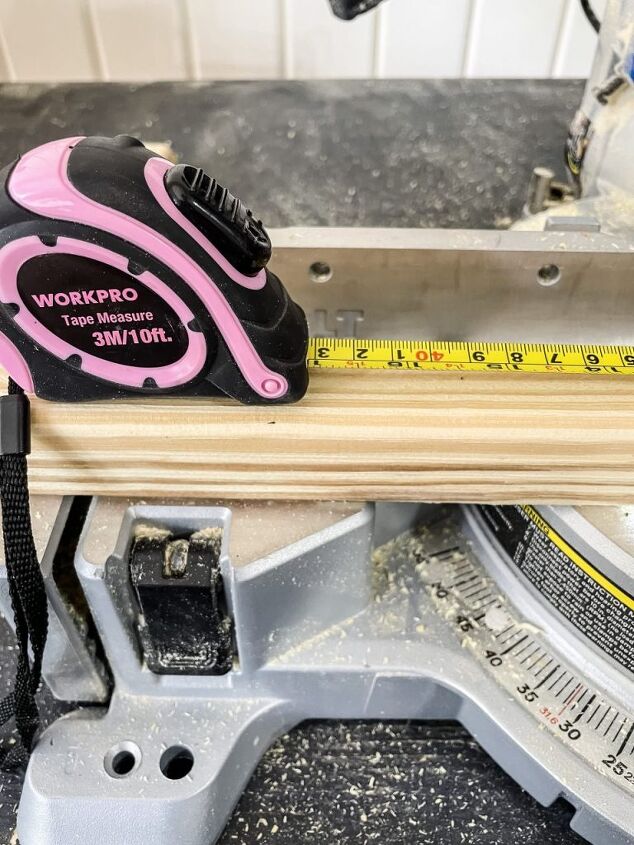
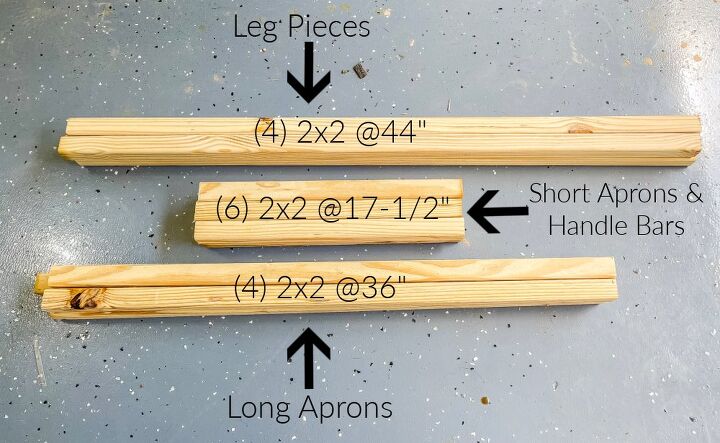
Start by making all the cuts for the bar cart:
(4) 2×2 @44″ (these will be the legs)
(4) 2×2 @36″ (long apron pieces)
(6) 2×2 @17-1/2 (short aprons & handles)
(10) 1×4 @18″ (bottom shelf pieces)
(14) 1×3 @18″ (top shelf pieces)
Base Cuts
These are the pieces that will need to be cut for the base:
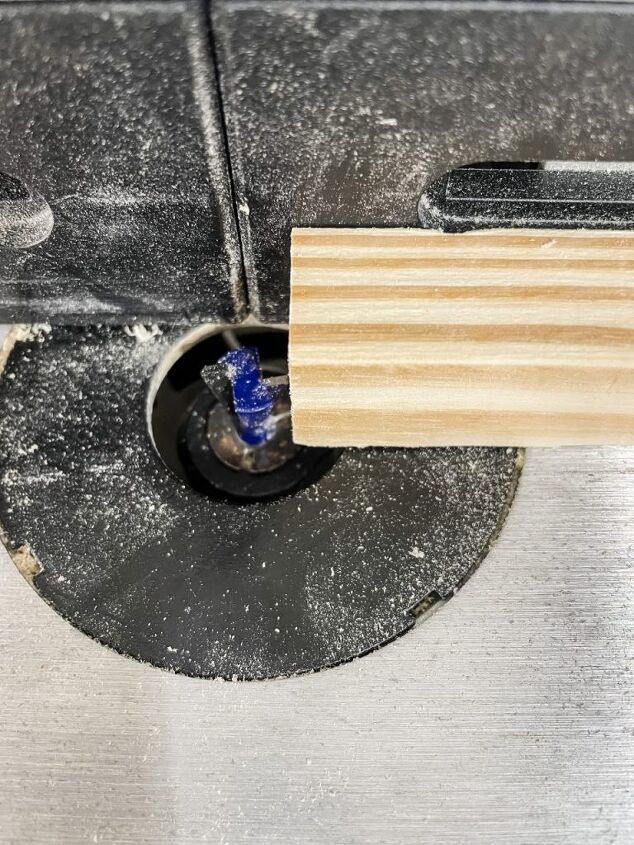
Start by using a 5/8″ straight router bit to cut a 1/4″ deep groove in all (4) of the long aprons.
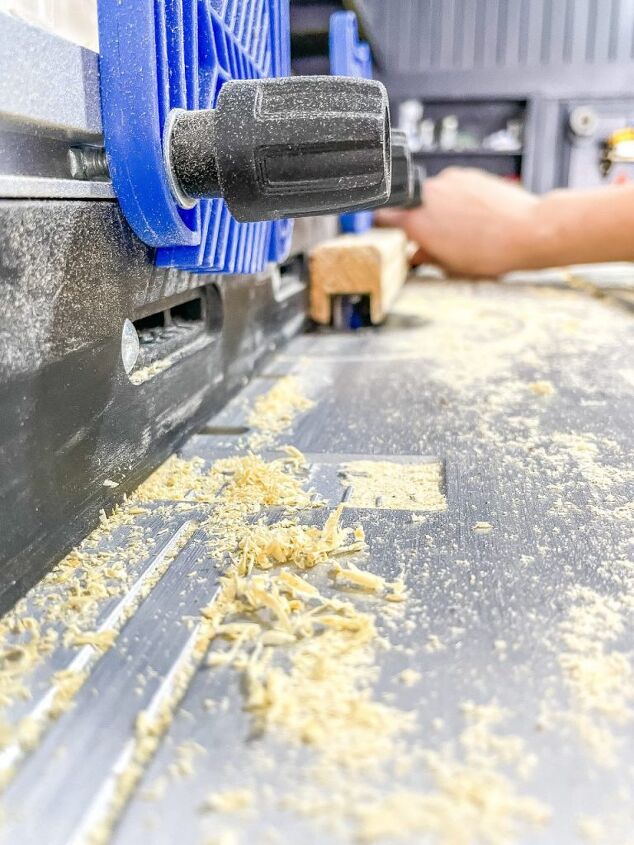
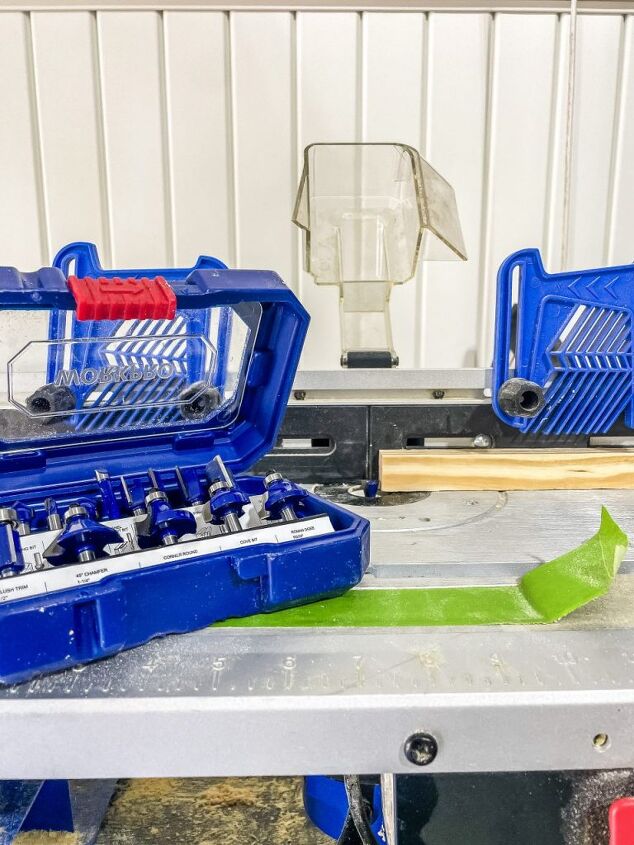
Here is the WORKPRO Router Bit set I have.
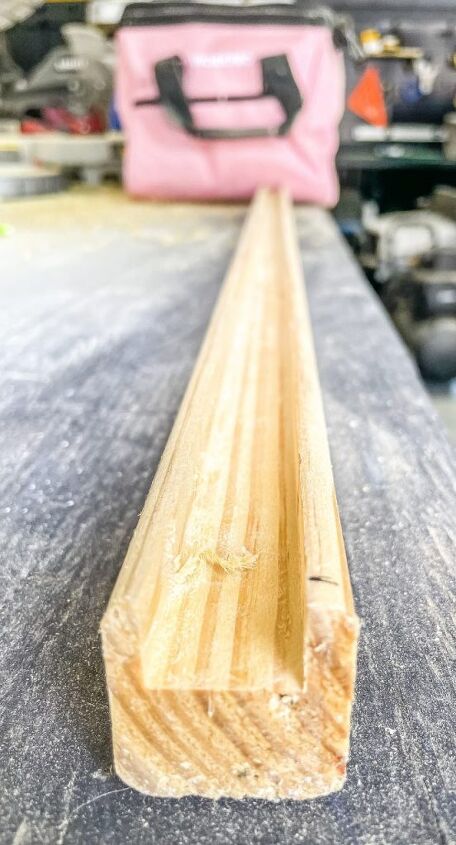
This groove is where the shelf pieces will sit, it’s about 1/4″ deep & 3/4″ wide (you will need to make two passes to get the width).
***If you don’t own a router that is no problem, you can just nail the shelf boards to the bottom of the long aprons when the base is built***
Building The Legs
Next, drill one pocket hole on each end of the 17-1/2″ boards.
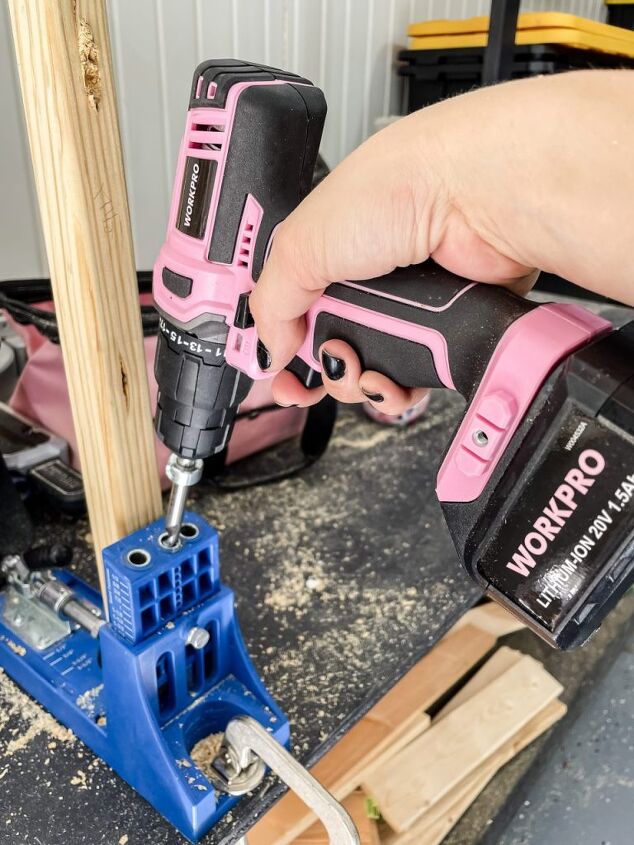
Once the pocket holes are drilled, start attaching the short aprons to the legs.
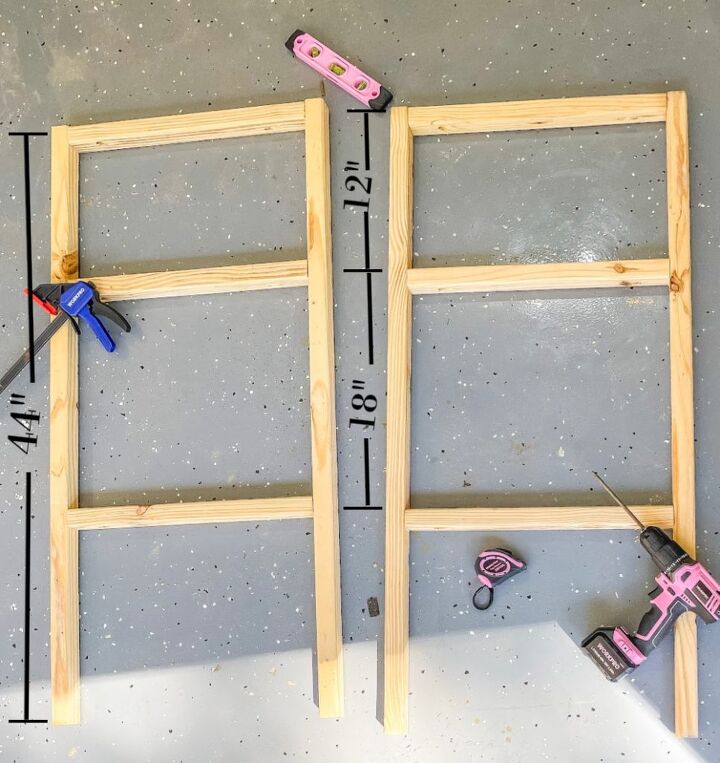
Starting with the top, this apron will be the handle.
It will be flush on the inside of both legs.
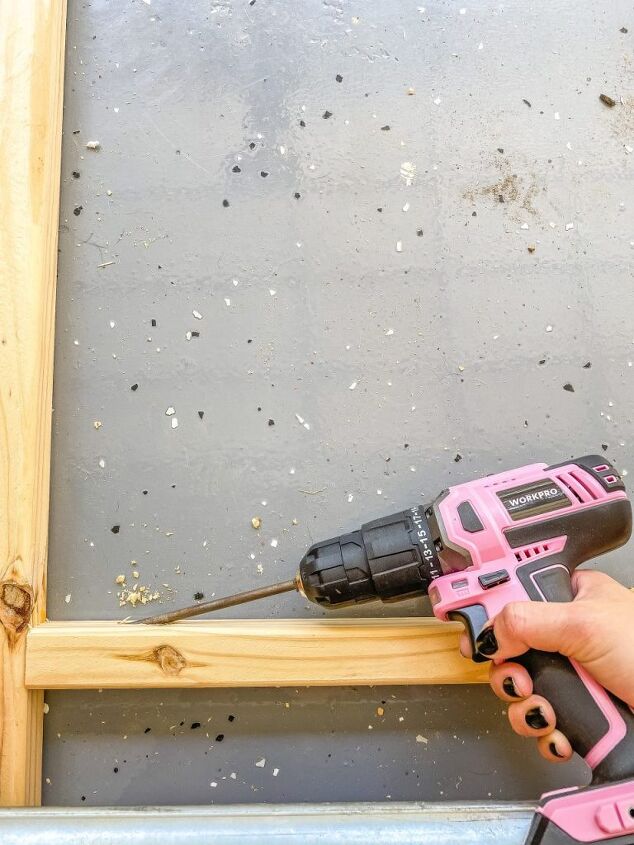
Attach using wood glue & 2-1/2″ pocket screws.
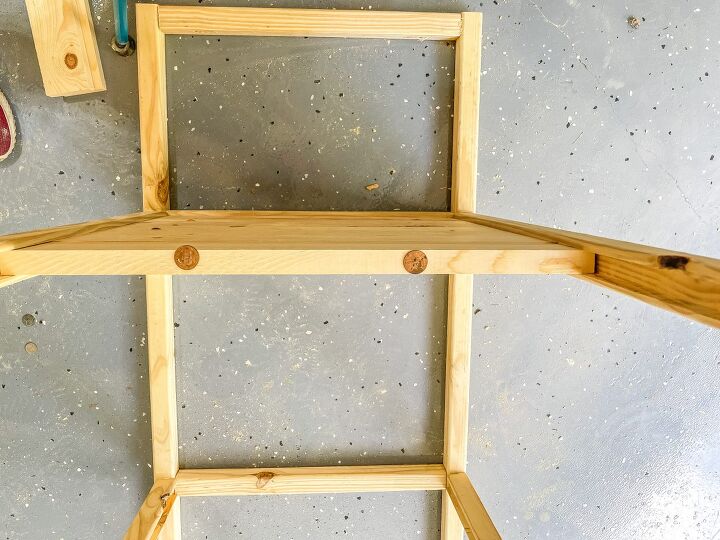
Attaching Long Aprons & Shelf Slats
Next drill a pocket hole on both ends of one side of the 36″ boards.
Make sure the pocket holes are on the opposite side of the groove.
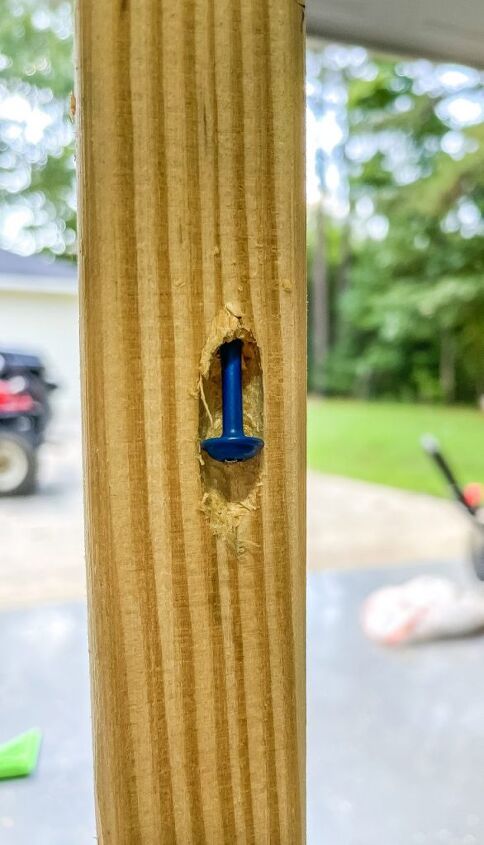
Once all the pocket holes are drilled, start a pocket screw on each end.
This will make it easier for the next part, trust me 😅
Attach the (4) long aprons using 2-1/2″ pocket screws to one of the built base pieces
Make sure the aprons are level while attaching.
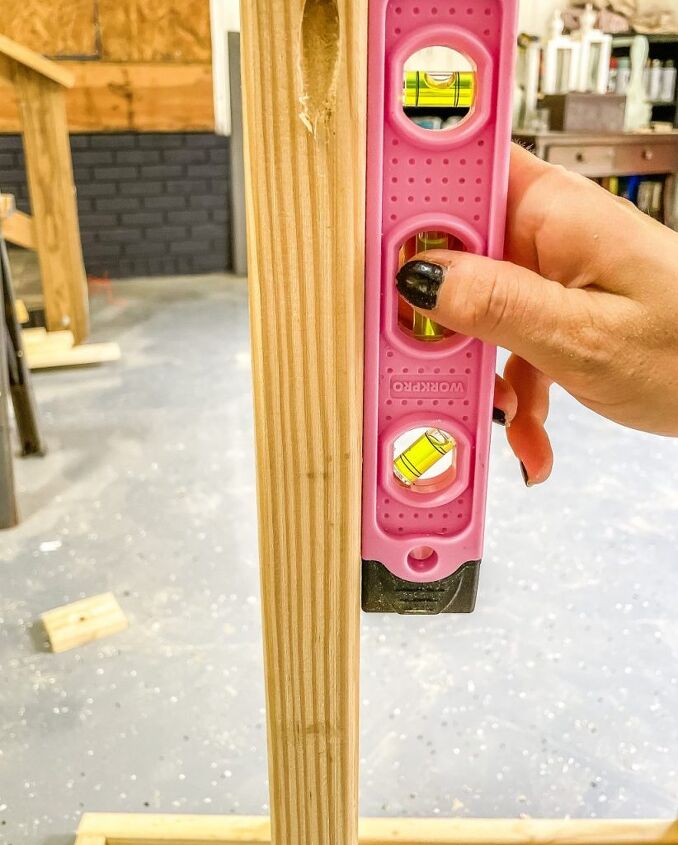
Attach with the grooves facing inwards.
If you are not using grooves for your shelves, continue on to attaching the other leg.
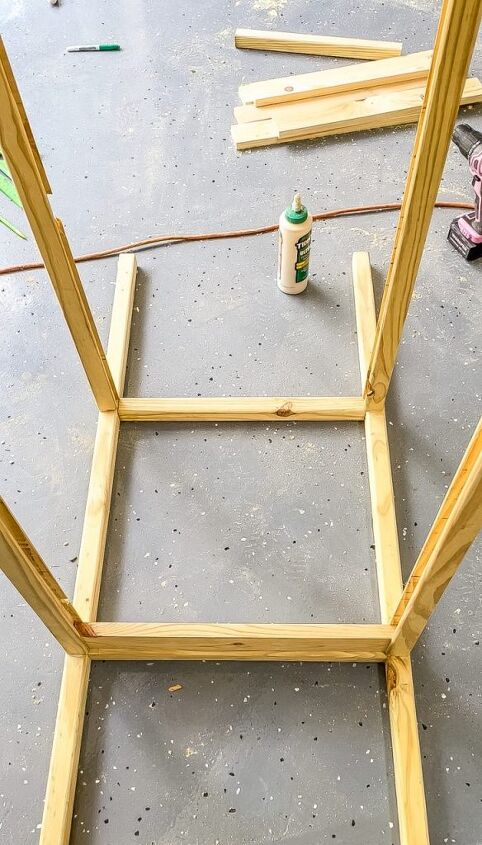
Cut (14) shelf pieces @18″ out of the 1×3 boards.
Start inserting them into the grooves to make the top shelf, I used pennies as spacers.
The slats should be a press fit.
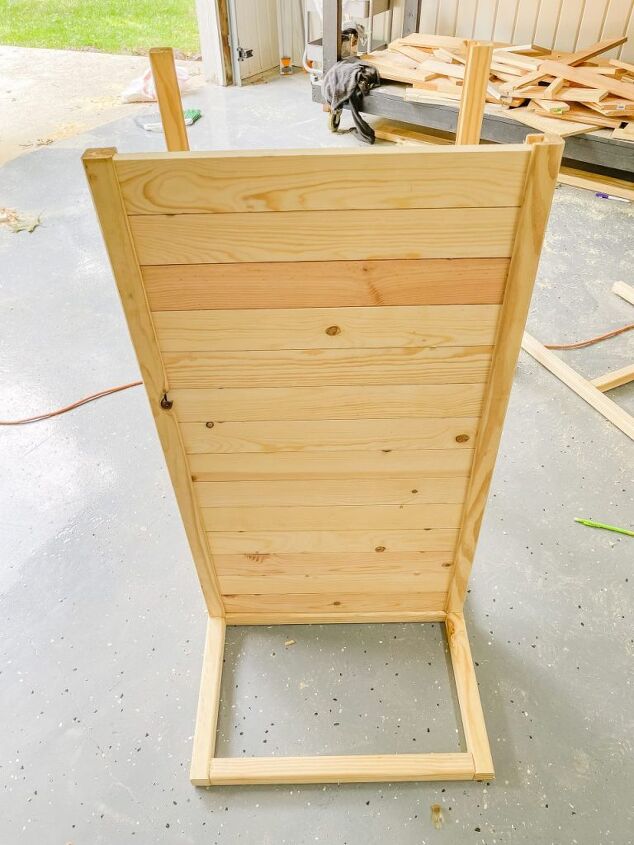
Now it’s time to move onto the second shelf.
Cut (10) 1×4 pieces @18″ (technically you could use the same size boards for both shelves but I like the dimension of the two sizes).
Insert them the same way, using a penny as a spacer.
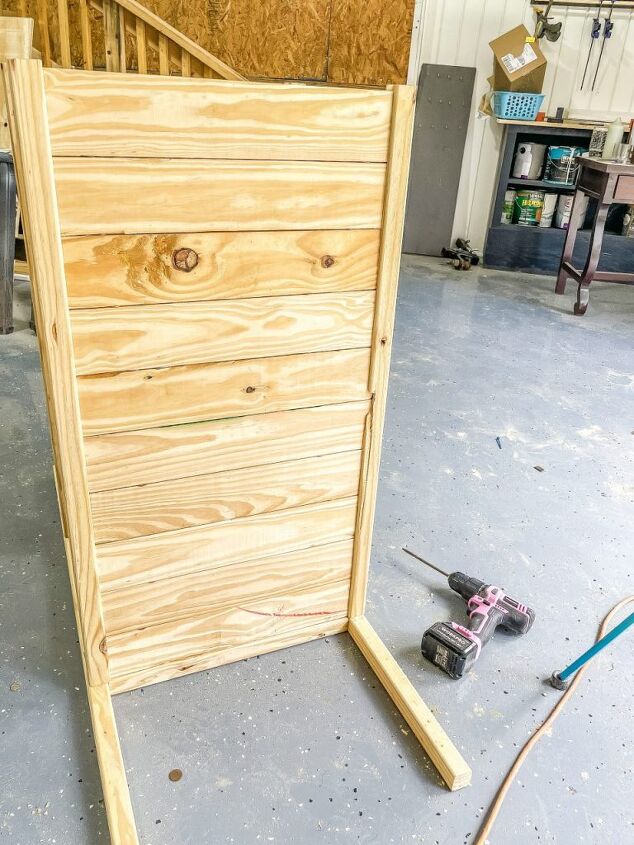
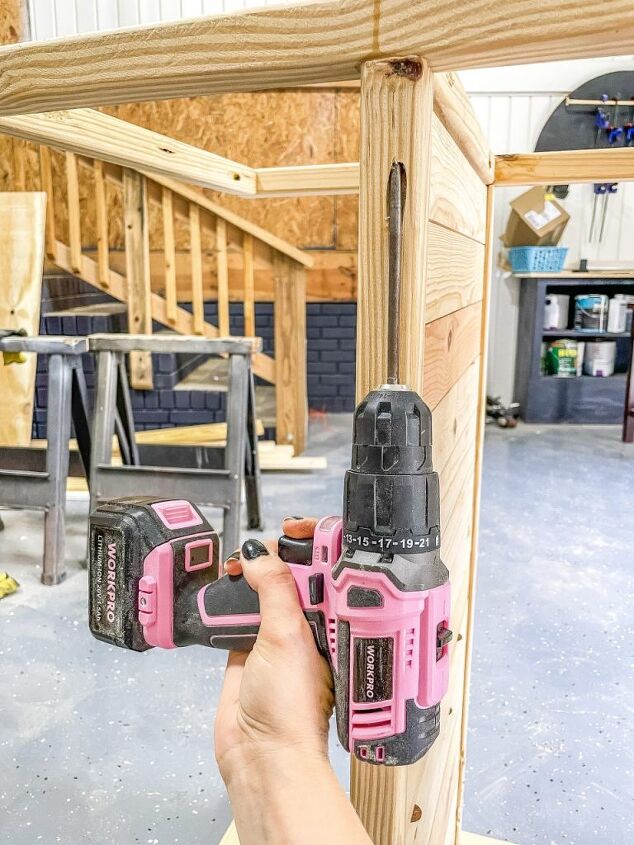
Attaching The Second Leg
Now that all the slats are in place, set the second leg on top.

Make sure the long aprons are all level before attaching the second leg with the pocket screws.
If you did not use grooves, attach the slats to the bottom of the long aprons with finishing nails.
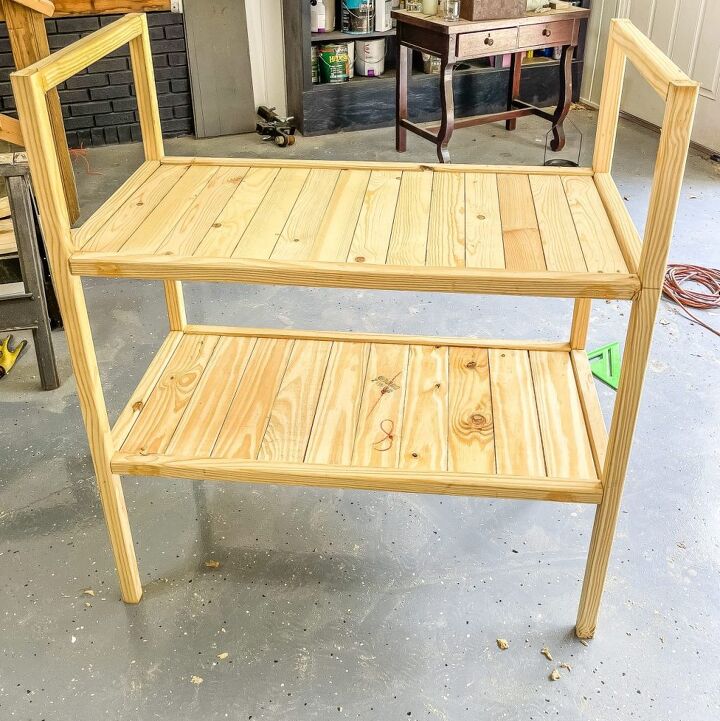
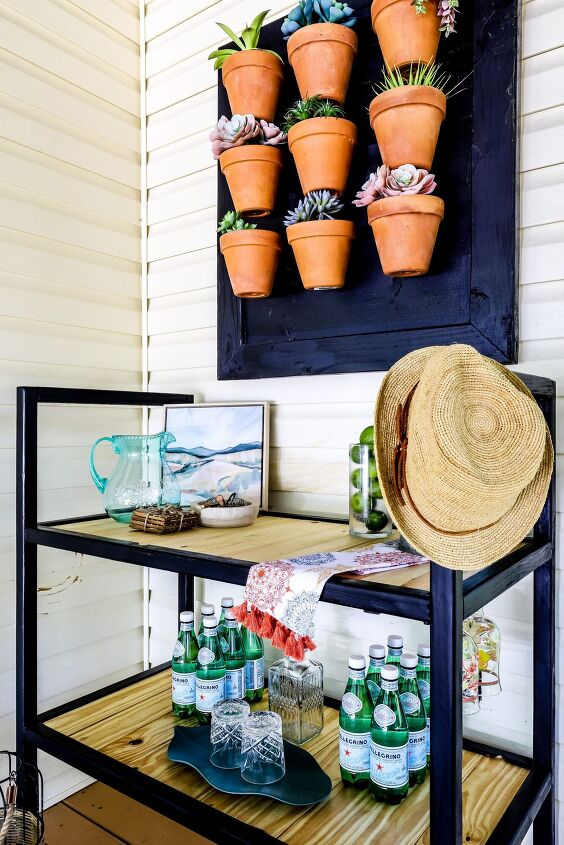
After everything is attached, stand the bar cart up, double check the leveling, then do a happy dance because it looks awesome!
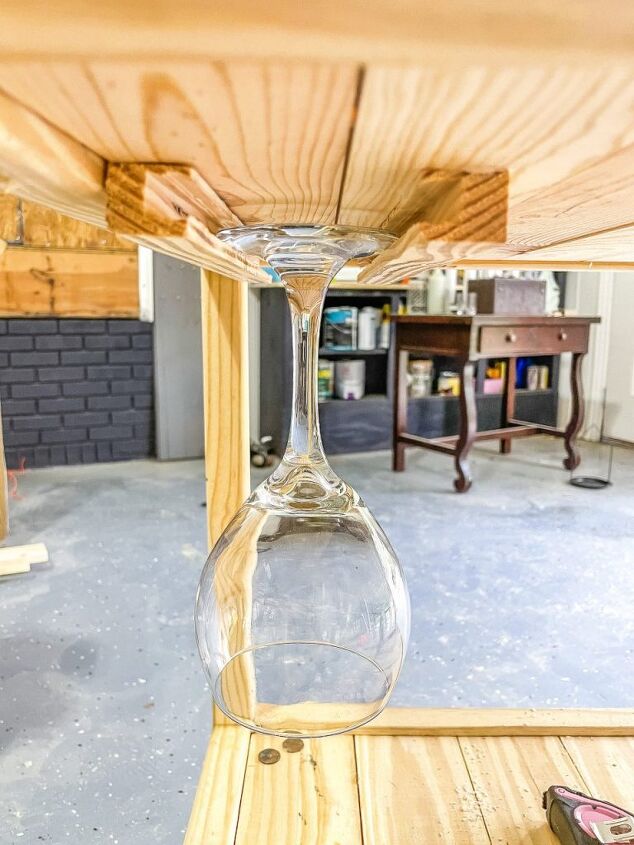
Adding a Wine Glass Holder
This part is completely optional but I thought it would be fun to also add a place to store wine glasses!
For this part I used two 15″ scrap pieces of wood & cut a groove in the middle.
I used a dovetail router bit for this cut.
Once both pieces were cut, I secured them using wood glue & clamps to one end of the bar cart.
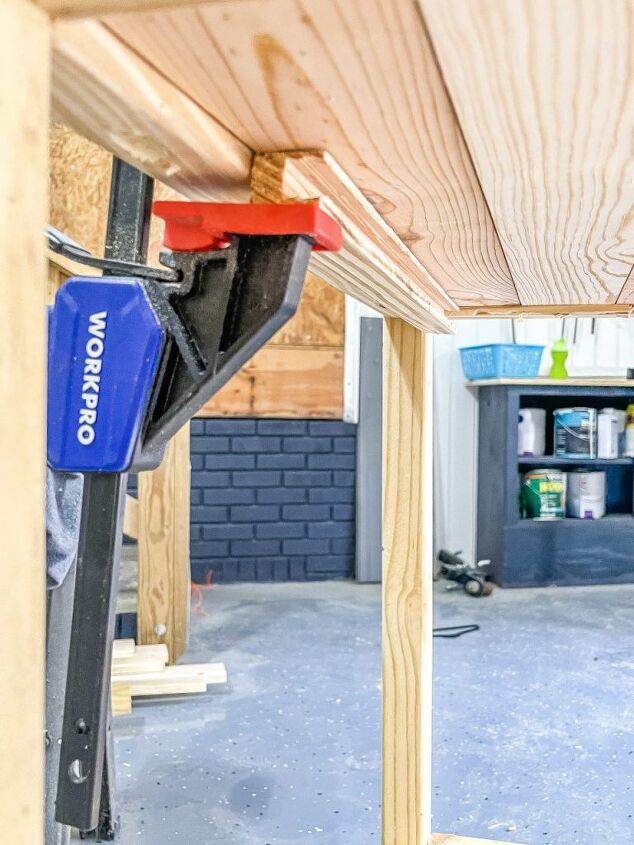
Space the two pieces about 2 3/4″ apart (or use one of your wine glasses to set the gap).
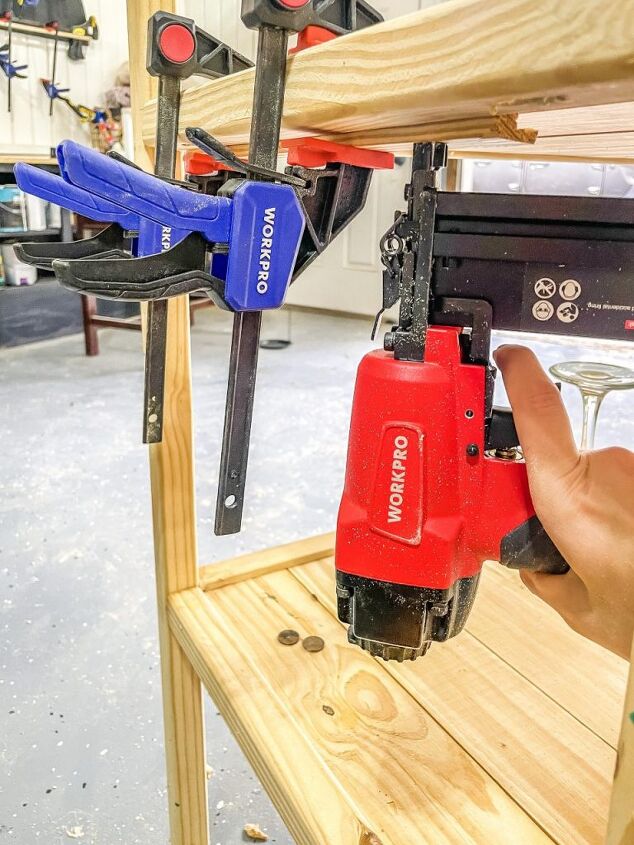
Next, attach them with finishing nails.
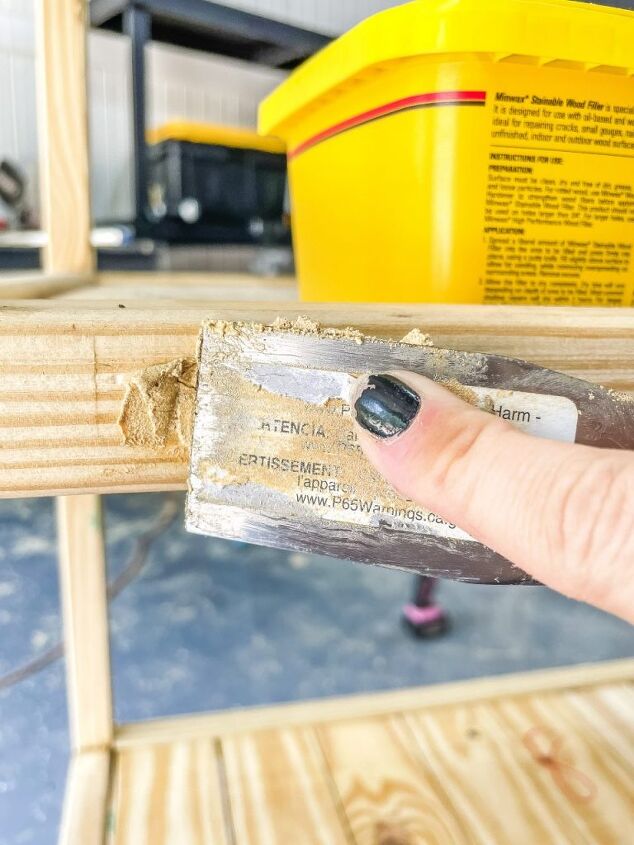
Finishing
Now that the bar cart is assembled, it’s time for the finishing touches!
Start by filling all the pocket holes in with wood filler.
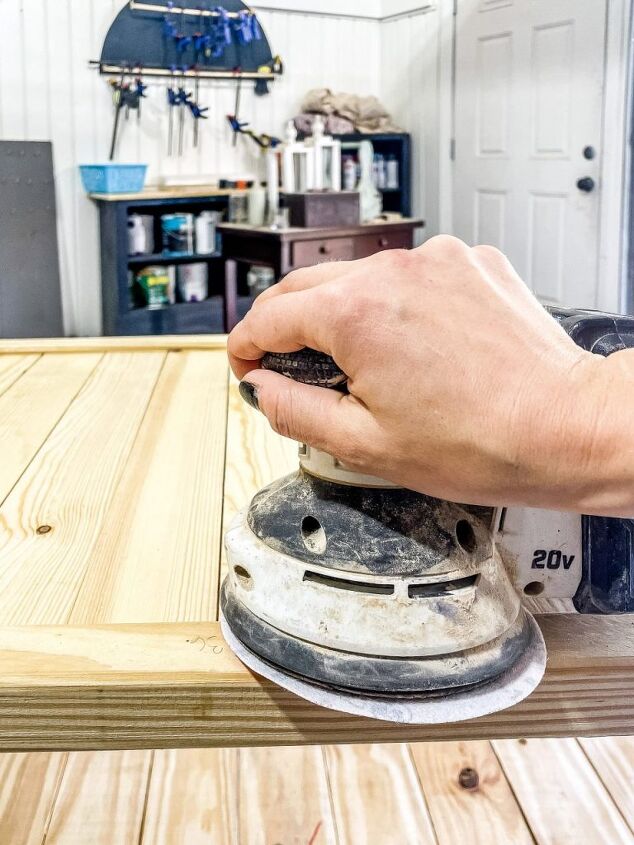
Next, sand the cart with 120 then 220 grit sandpaper for a smooth finish.
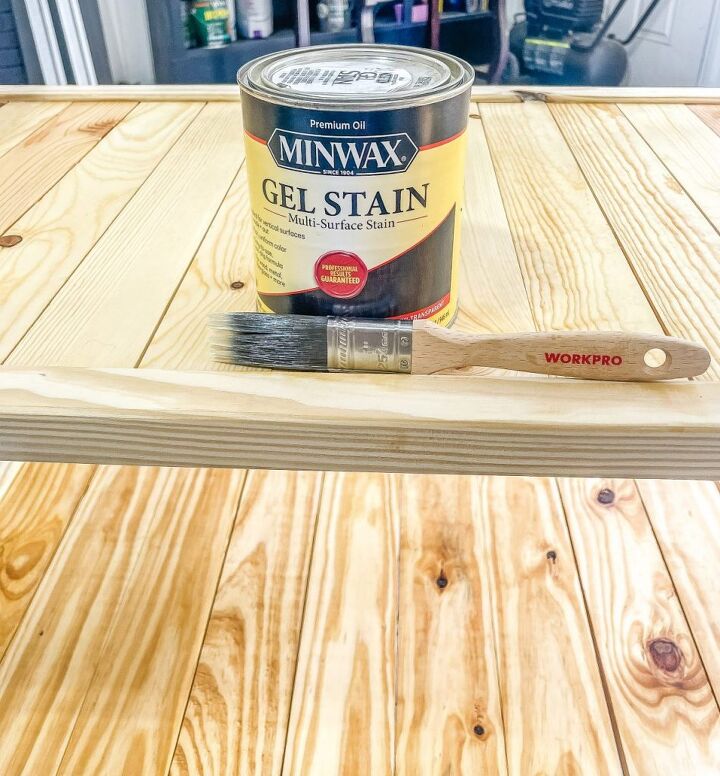
After it’s sanded down, stain or paint the bar cart.
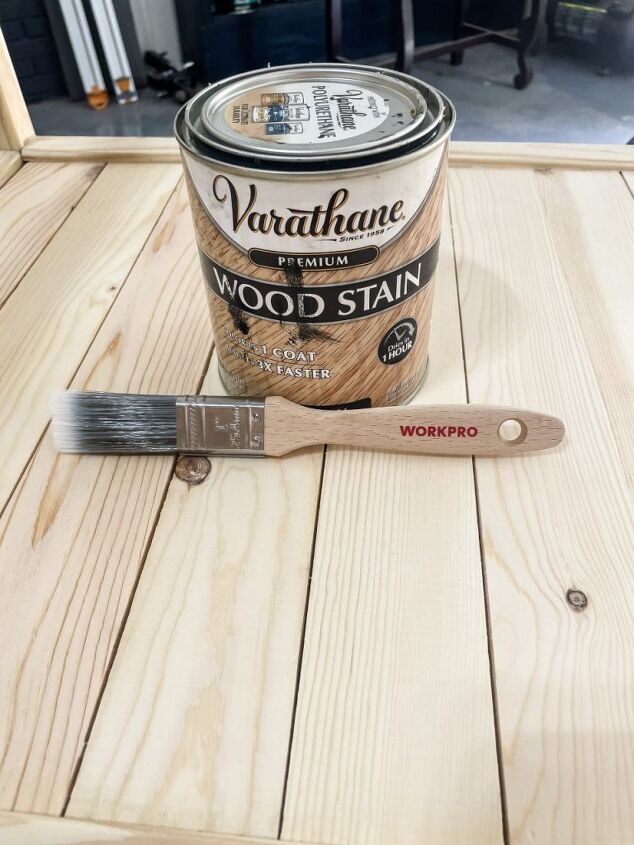
I chose Natural stain for the shelf slats & Classic Black stain for the base.
The contrast looks so good & will fit our modern porch vibes perfectly.
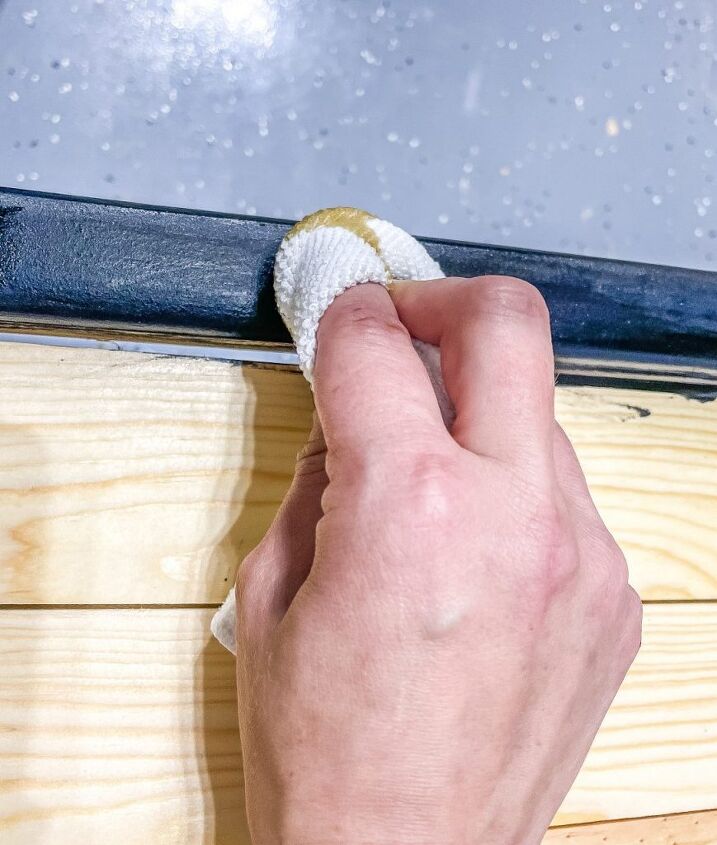
Our bar cart will be outside so I used a Spar Urethane to seal & protect it from the elements.
If yours will be used inside you can use Urethane or even wax to seal it!
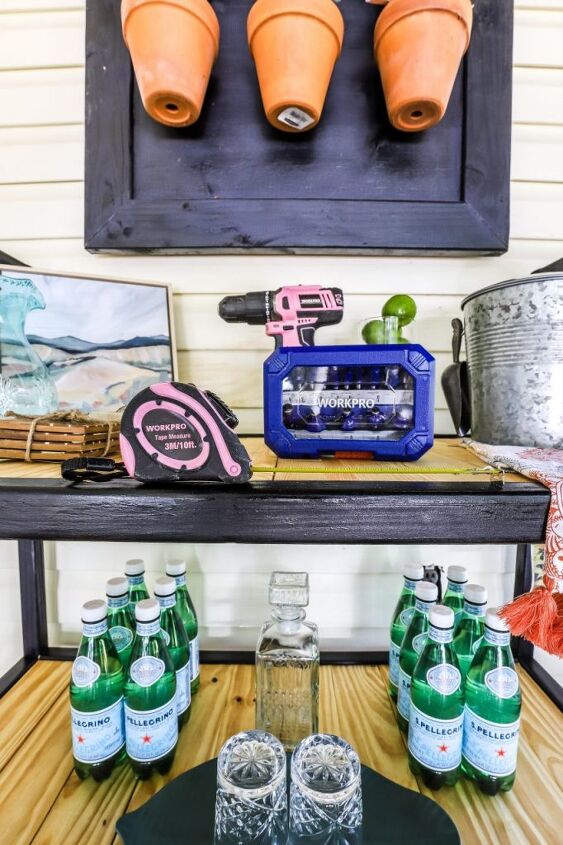
DIY Bar Cart
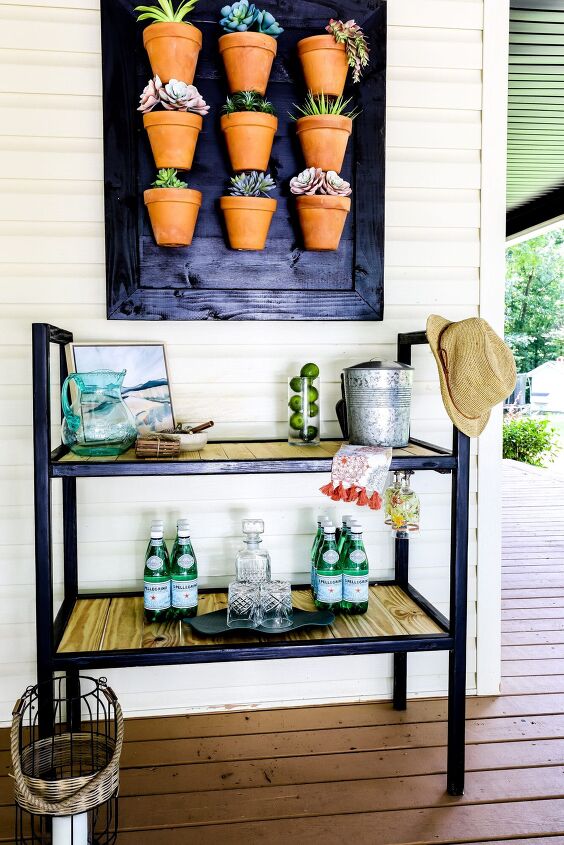
Y’all this is the best Father’s Day gift I have ever built or given!
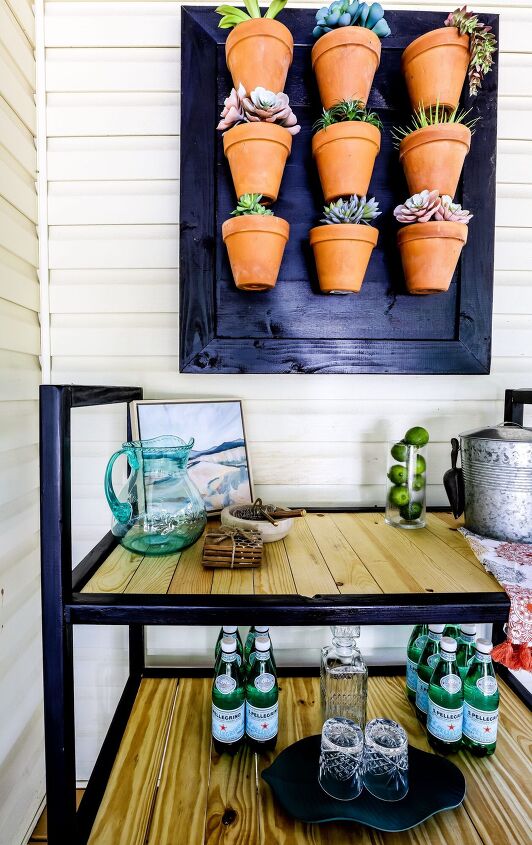
I absolutely love how it turned out & it fits this space perfectly.
The wine glass holder is such a fun extra touch, I am so glad I went for it!
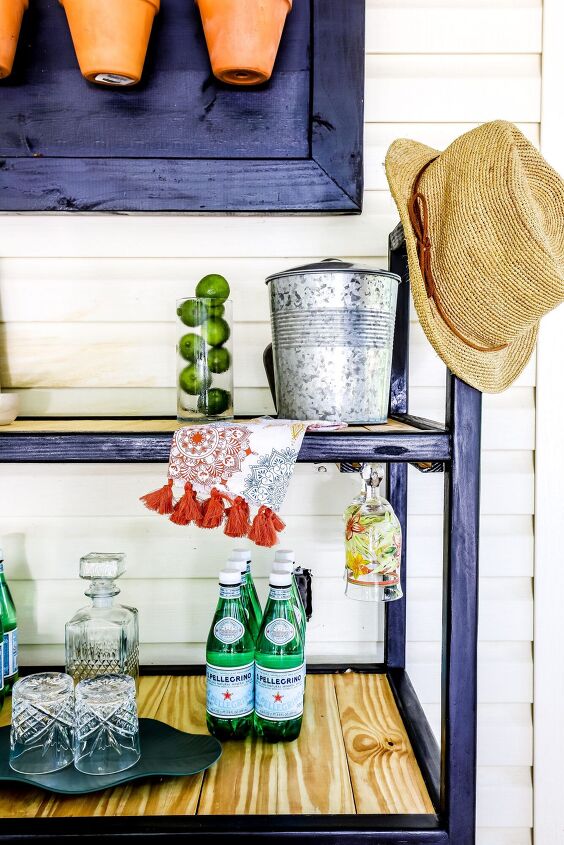
It makes entertaining so much easier & all our barware looks so good on it!
This DIY bar cart was an easy build too thanks to some of my favorite WORKPRO tools!
Let me know what y’all think & if you have any bar cart questions.
Ps WORKPRO Tools is currently offering: Spend $100 save $15, spend $200 save $25, and spend $300 save $50 at workprotools.store until June 19th for Father’s Day so it’s the perfect time to get & give all your favorite tools & DIY essentials! Use codes: DAD15, DAD25 and DAD50
Did you know? June 23rd is National Pink Day & WORKPRO Tools is giving away a $100 e-gift card! Enter their photo contest here

Comments
Join the conversation
-
That is a great looking cart. Good tutorial and instructions. Could be used for anything and anywhere. Casters would make it mobile. Great share


Frequently asked questions
Have a question about this project?