


How to Build a DIY Harvest Table
2 Materials
$100
2 Weeks
Advanced
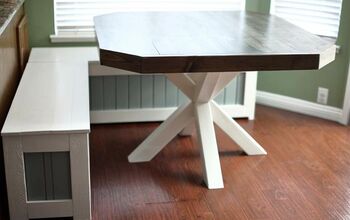
You guys have heard of Ana White, right? She's the lady-builder and mom from Alaska who isn't afraid of a power tool. I have a total girl crush on her and have been wanting to try out one of her building projects for a lonnnggg time. With a few free weekends over the fall, and my lovely Dad saying yes to mentoring me in his workshop, I built a table. Yeah, you read that right. A table. And not just a little one, but a big farmhouse harvest table.
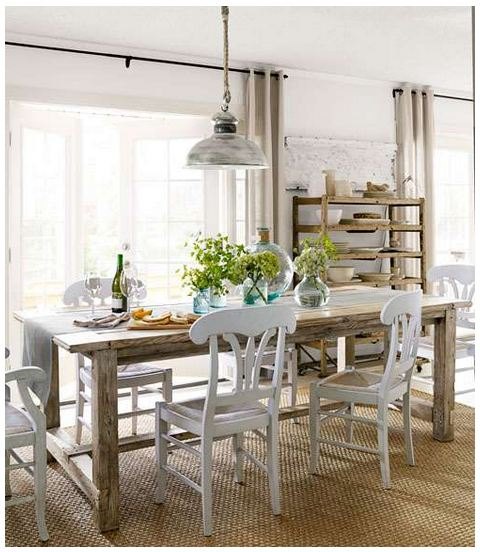
Let's start at the beginning, shall we? I spotted these plans on Ana's site, and when I saw the photo below from Country Living I was sold. Rustic, simple, and clean lined. My dream table.
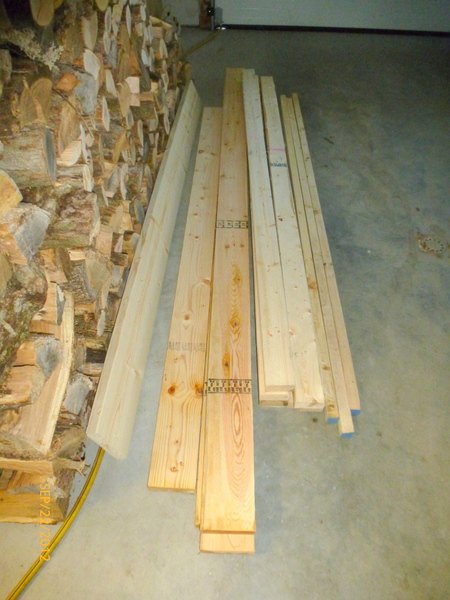
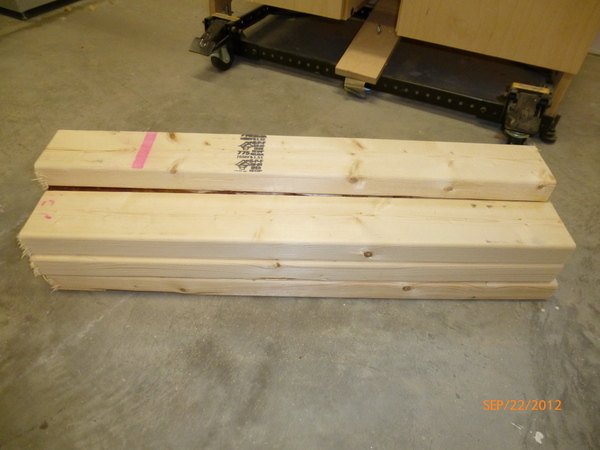
First up was a bunch of strategizing with my Daddio about what wood to get, how many of each board, etc. Since my table had to be slightly narrower and longer than Ana's in order to fit our dining room, we had to alter the dimensions and cut list a bit. The math hurt my brain slightly, but I got it figured out and thankfully Dad did a check-over before we went to the hardware store.
We ended up getting regular construction grade spruce for the legs and base of the table, and some pine for the top (pine was slightly more expensive than the spruce). This wood really wasn't anything fancy - it's the same stuff contractors use for framing and really basic projects. I know both of my parents were thinking "what the heck is Gemma thinking?!" at about this point. I told them to think "industrial chic"... but I don't think they got it. Total cost for the wood was less than $100 - pretty great!
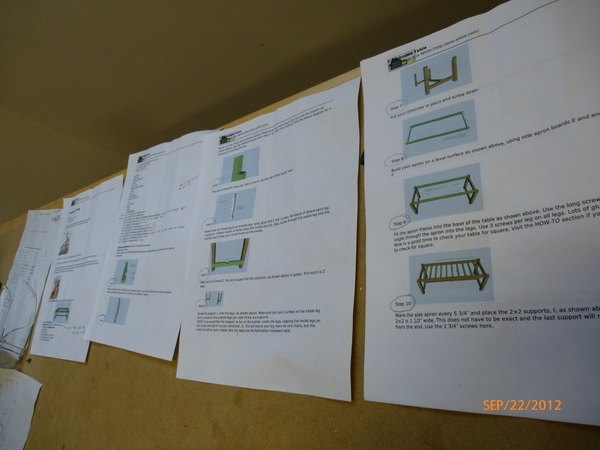
Here are the comprehensive plans off of Ana's site. They are so detailed and have everything laid out step by step. There are plenty of pictures and words to help you figure it out. I'm not going to repeat all of the building specs here, as you can get all the info you need from the plans themselves. You do need to have some heavy duty tools to build this table - again, have a look at the detailed instructions in Ana's plans.
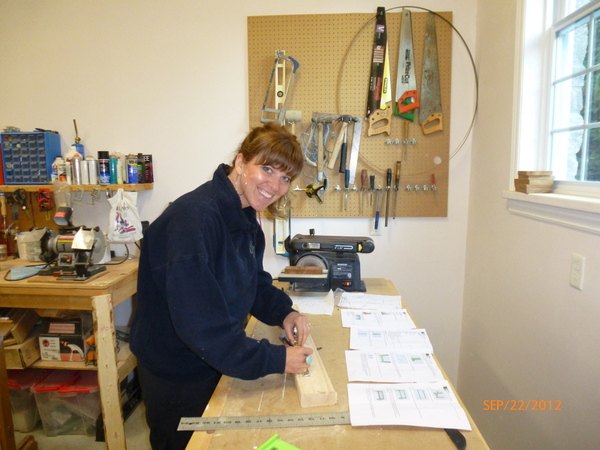
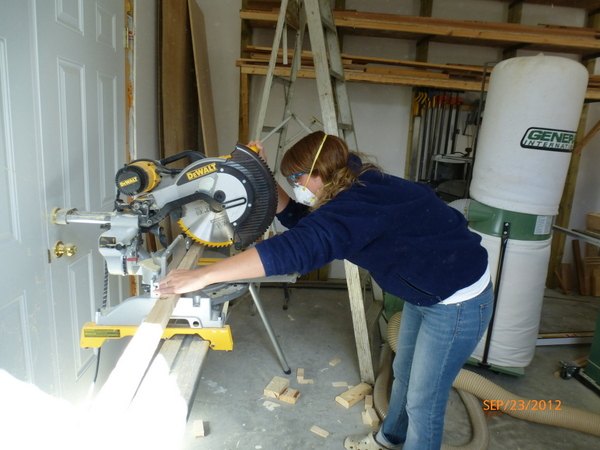
I totally got into the power tools. And let me tell you... it was fun. My mum was having a heart attack, my Dad thought it was no biggie and was off doing his own thing in the workshop, and I was happy as a clam. Don't forget to always use the right safety gear. I wore some glasses to protect my eyes from flying bits of sawdust and a protective mask to keep me from breathing in the particles (check out the 3M website for more safety gear: 3M TEKK Protection).
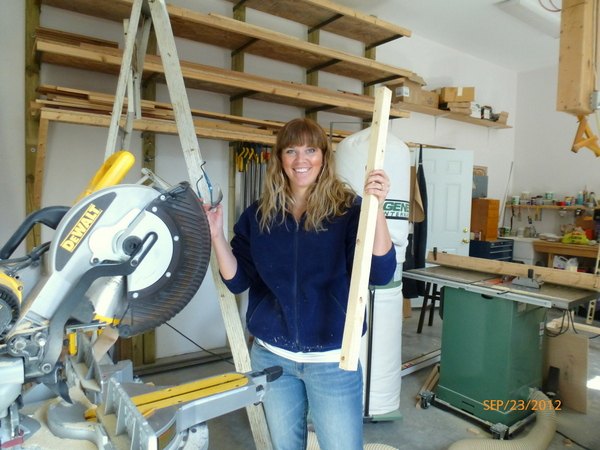
Feeling pretty proud of myself. (P.S. I need to remember to not wear such dorky clothes when I'm being photographed. Ignore the crocs, old jeans, and oversized fleece, mkay?).
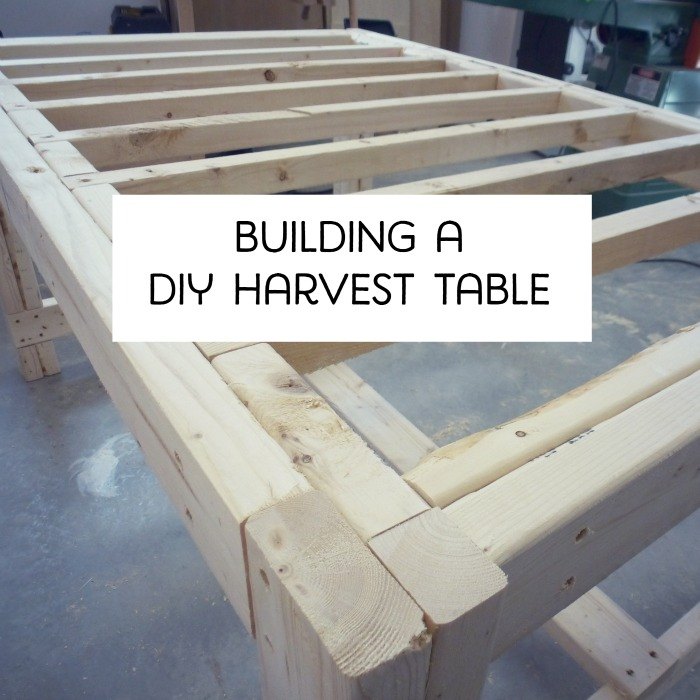
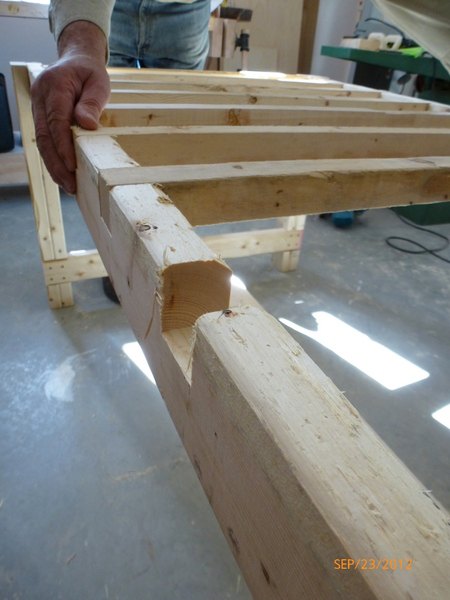
Getting the base built was fairly rough and tumble. We cut the pieces to size, notched out some areas, and then glued and hammered 'em together.
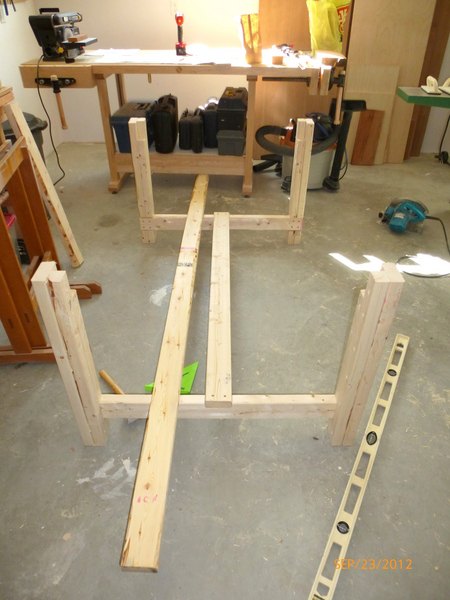

Once we had the base built, it was time to start the "apron". We did this slightly differently from the plans, where we just put the pieces right into the legs, rather than building the apron separately first. Then we added the supports all the way along the apron. This acts as the under-layer to the main table top.
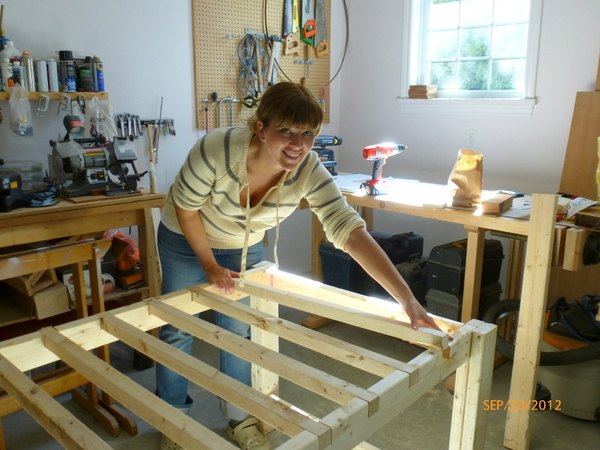
There were a lot of pieces, but once we got them all into place it really started to look like a table.
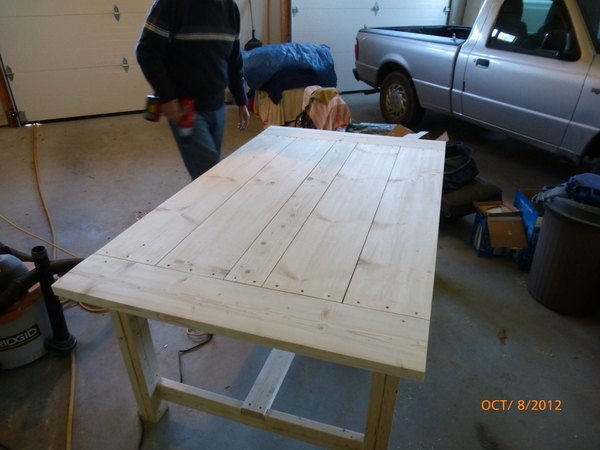
Head over to the blog to view the last few steps of my DIY Harvest Table and how we sanded and stained it!

Want more details about this and other DIY projects? Check out my blog post!
Comments
Join the conversation
3 of 18 comments
-
Lost my daddy almost 5 years ago, and the memories we made together are definitely priceless. He was a retired carpenter and had a workshop at home too. I loved your "best part" even though a few tears rolled down my cheeks. Love the work you created together too.
-
Congrats! You did it! What's next?


Frequently asked questions
Have a question about this project?