


How To Build A Hallway Cabinet
If you’re looking for a simple way to build a hallway cabinet for extra storage in your home, you’re going to love the detailed step by step tutorial. This hallway cabinet build is really a lot more simple than other cabinetry because it has NO complicated joinery, which makes it perfect for a beginner woodworker.
If you love this project, grab your quick start DIY guide & subscribe to our blog!
Step 1: Plan your hallway cabinet finish. Are going to paint or stain your hallway cabinet?
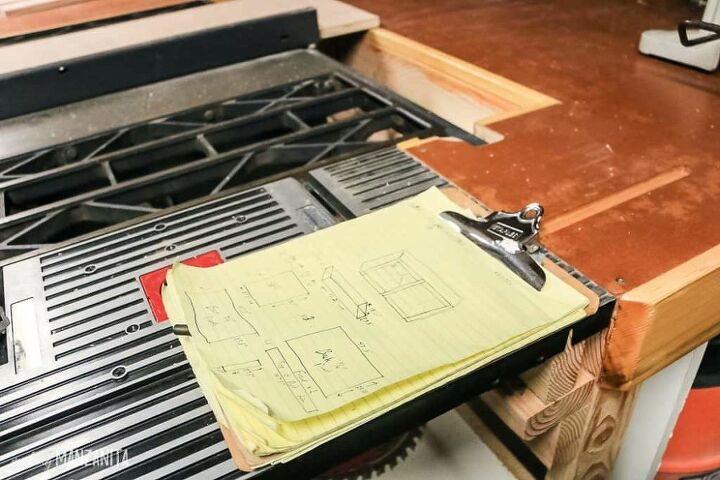
Step 2: Design your hallway cabinet. Measure the space that your cabinet will fit in a few times. If your cabinet will be a “built-in” like ours, be sure to check your walls first to make sure they are square. If they aren’t, you’ll need to account for any adjustments needed in your cabinet design.
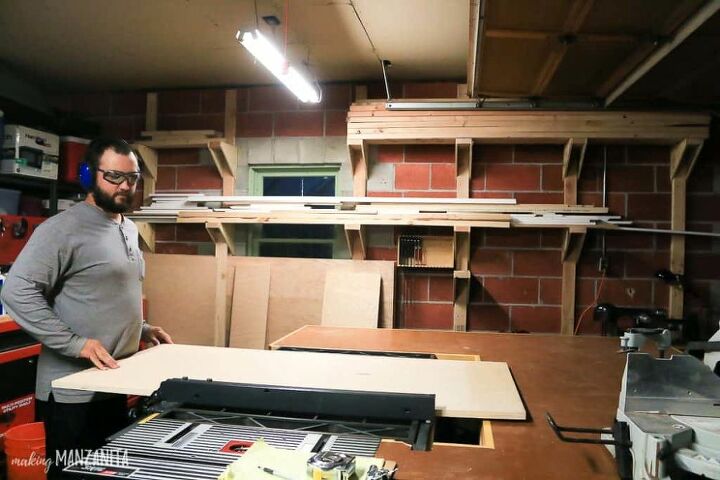
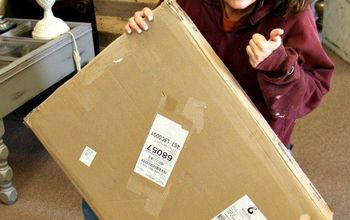
Step 3: Cut wood for hallway cabinet. Start by getting all of your wood pieces for your cabinet cut on the table saw. If you are staining, don’t forget to do your dado and rabbet cuts here. Also don’t forget to cut in notches for your toe-kick unless you are setting your cabinet on a base.Give everything a light sand before assembling. Don’t forget to cut the plywood pieces for the inside shelves too!
Step 4: Drill shelf pin holes with shelf drilling job.
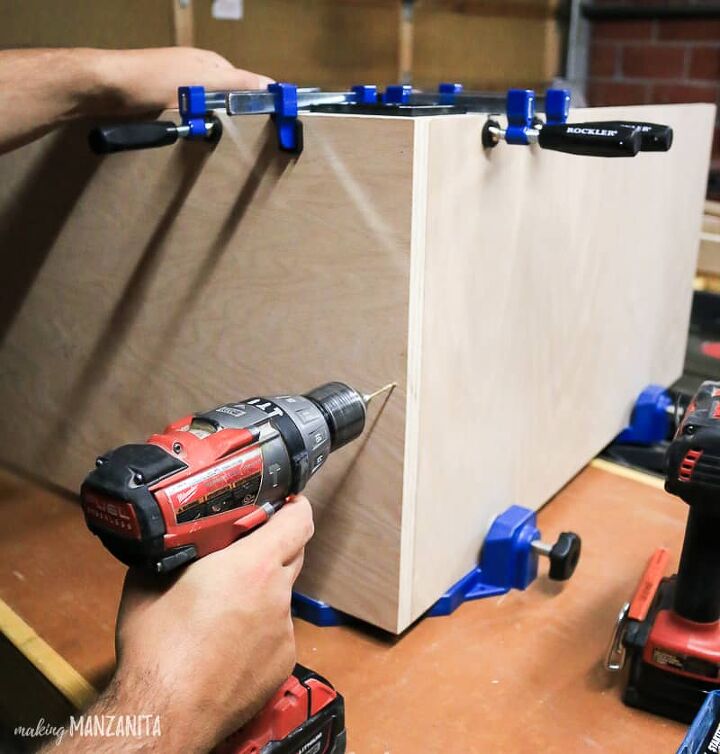
Step 5: Assemble the hallway cabinets. Start by assembling your pieces on a completely level surface. If you don’t use a level surface, you will have a heck of a time trying to square up your cabinet.For the back of the cabinet, we simply attached on a sheet of 1/4” plywood. We knew that we would be trimming things out where the cabinet touches the wall, which would cover the edge of the back – so we didn’t bother with a rabbet cut there.
Step 6: Attach cabinet front face. Cut your pieces down to size and attach them to the cabinet with a thin bead of wood glue and a nail gun.
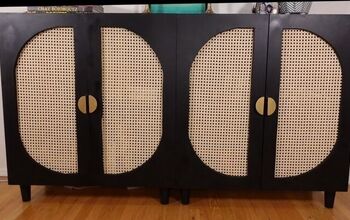
Step 7: Build cabinet doors. We were looking for a really budget friendly way to build cabinet doors and this certainly was cheap! We ended up creating a cabinet door that used 1/2″ MDF as trim pieces to create an interesting door front design and attached that to a piece of 1/4″ MDF.
Step 8: Make and attach countertop. Made a counter top by adding some oak veneer plywood to a 1/2” MDF panel with construction adhesive and trimmed with 1″x2″ oak trim. The MDF panel was screwed to the cabinet first. Let the construction adhesive set and dry overnight with some heavy things on top of the countertop and some clamps added to the front.
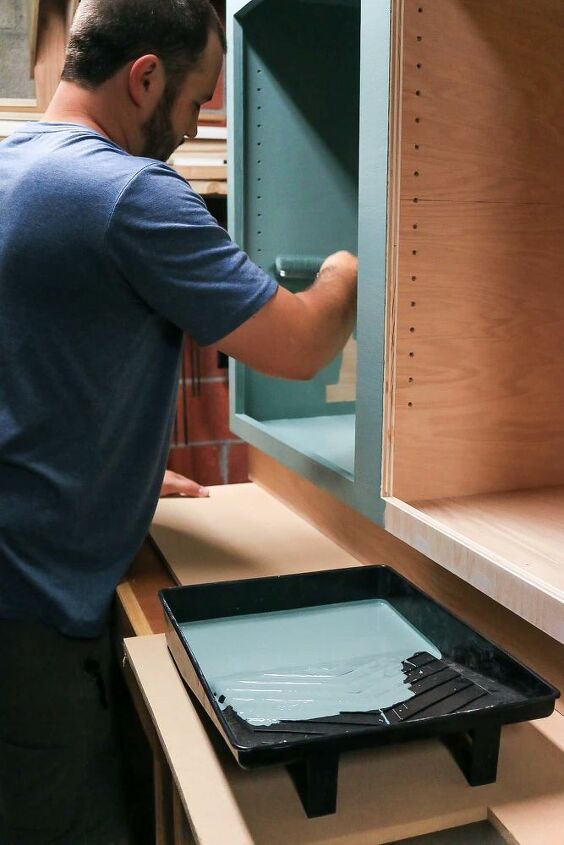
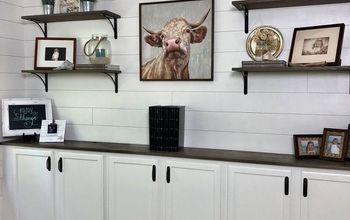
Step 9: Paint and seal hallway cabinet. We simply rolled the paint on.
Step 10: Add trim, stain and seal countertop with Polyurethane.
Step 11: Secure cabinet in place using construction screws.
Step 12: Add hardware and hinges.
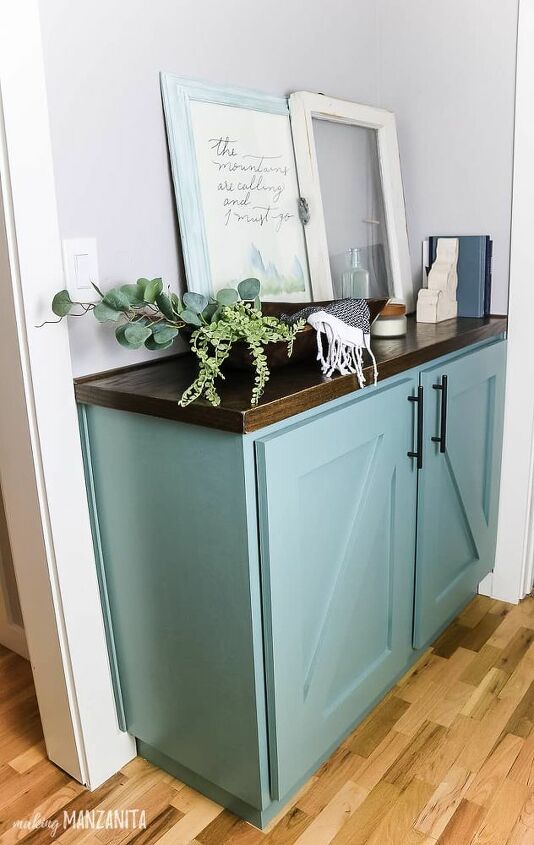
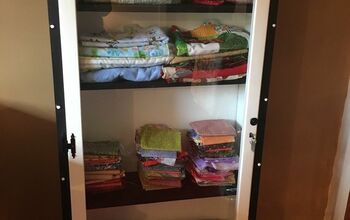
I’m loving the extra storage we added by building this cabinet for our hallway! Finally I place to put our printer, extra toilet paper, towels and sheets.
Resources for this project:
See all materials


Comments
Join the conversation
-
That is AMAZING!! Absolutely love it!!!
-
Love it, I even love the color. You did a fantastic job, its a very lovely piece of furniture. Well done, its a home run.


Frequently asked questions
Have a question about this project?
What is the true chalk paint color you used because clicking on the link, it brings up as authentic Navy and its not the same color as your pictures?