


How To Build DIY Drawers: The Easy Way
How To Build DIY Drawers: The Easy Way
Build & install DIY drawers the easy way, no tricky measurements or hard math
Y’all can you see it?
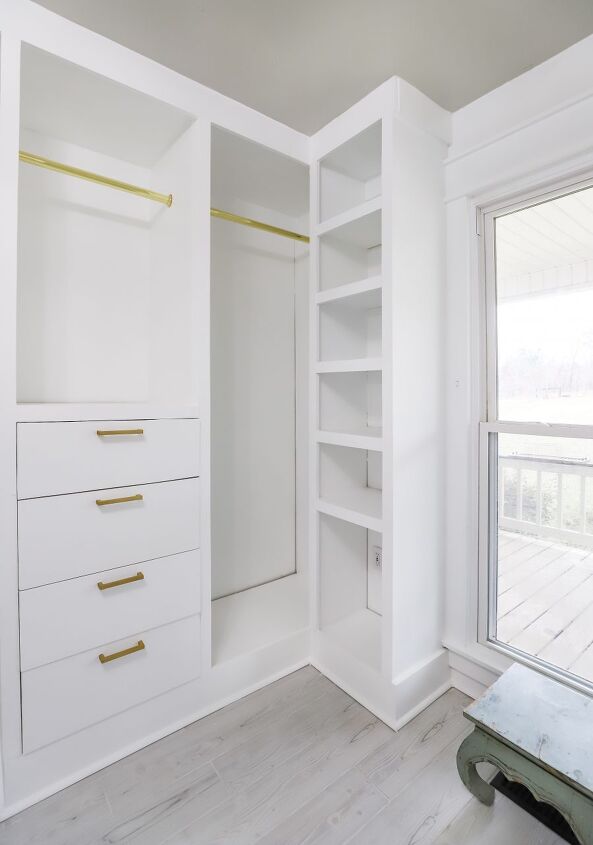
It’s there, it’s the finish line to this major walk-in closet/laundry room renovation!
It might not be a hop skip & a jump from being finished but we are closer than we have ever been before 😉
In case you missed it check out our: Design Board – Laundry Room Reveal – Building Built-ins The Easy Way – What Not To Do When Tiling a Floor
Today I am going to share with you the final step to the built-in portion of this build: DIY drawers!
I have been putting off this portion of the closet project for a while because frankly I have never built drawers before & I was nervous…
We had prebuilt the area where they will go into our hanging built-in section.
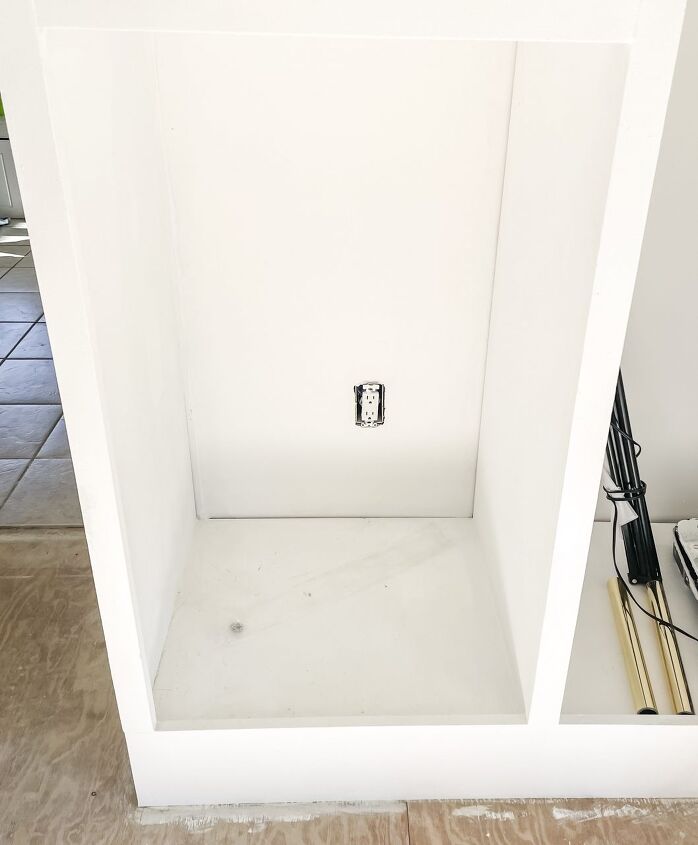
This wasn’t the original plan if you remember the design board but it ended up just making more sense this way.
So after as much postponing as possible we decided to just go ahead & do it!
After doing tons of research & just going for it I have come up with a super simple method to build your own drawers & I want to share it with you all!
Supplies:
- 1x8x8 Primed White Boards
- 1x6x8 Primed White Boards
- 1/4″ Plywood Pieces
- 1-1/2″ Pocket Hole Screws
- 20″ Drawer Slides
- Wood Glue
Tutorial:
1. Installing Slides Before Measurement
First things first, figure out the size you need your drawer boxes to be.
The easiest way to do this is to install the bottom drawer slides & measure the space between them.
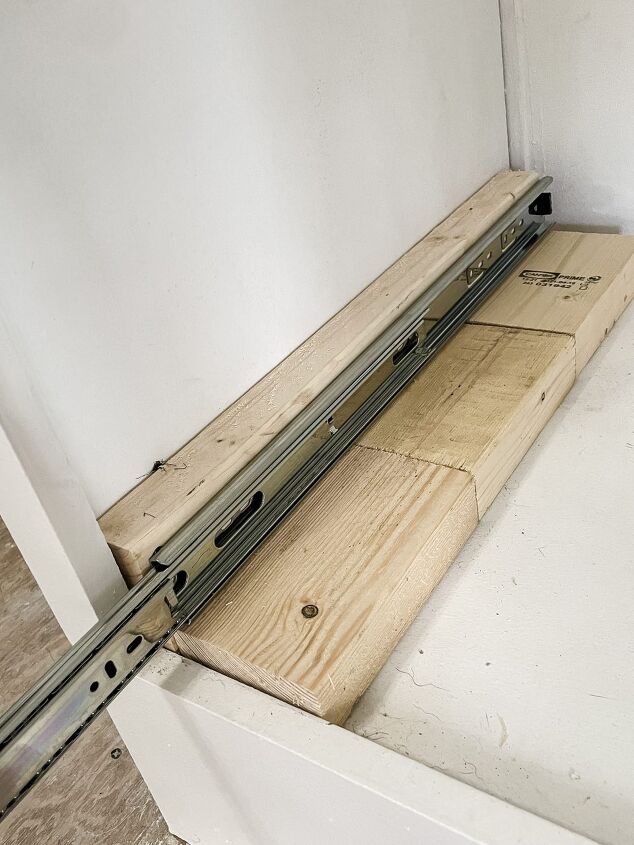
My big trick for installing the drawer slides is to use spacers!
We used 2x4s on the bottom to hold the spacer in place.
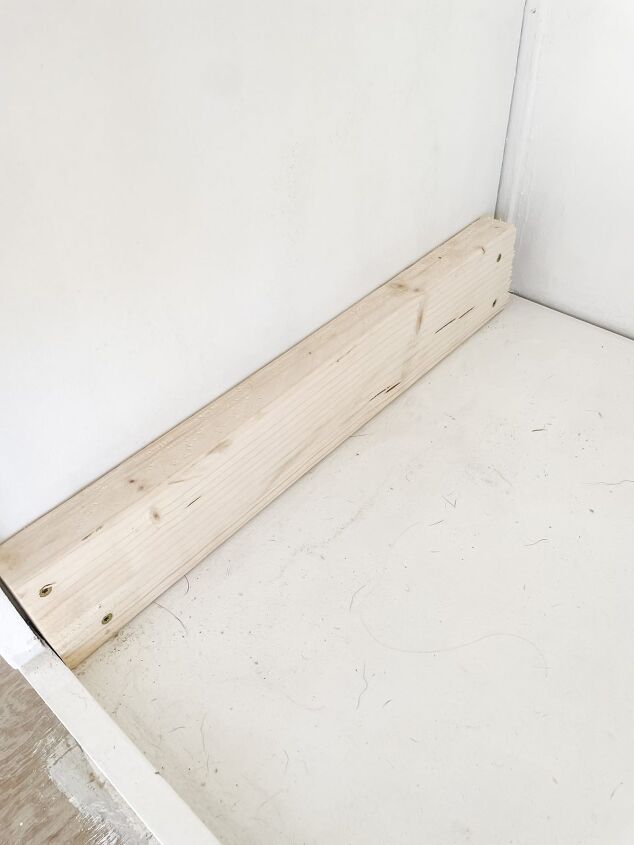
This side did also need a 2×4 to be screwed into the side so that the face frame will be inset correctly (we will get to that later).
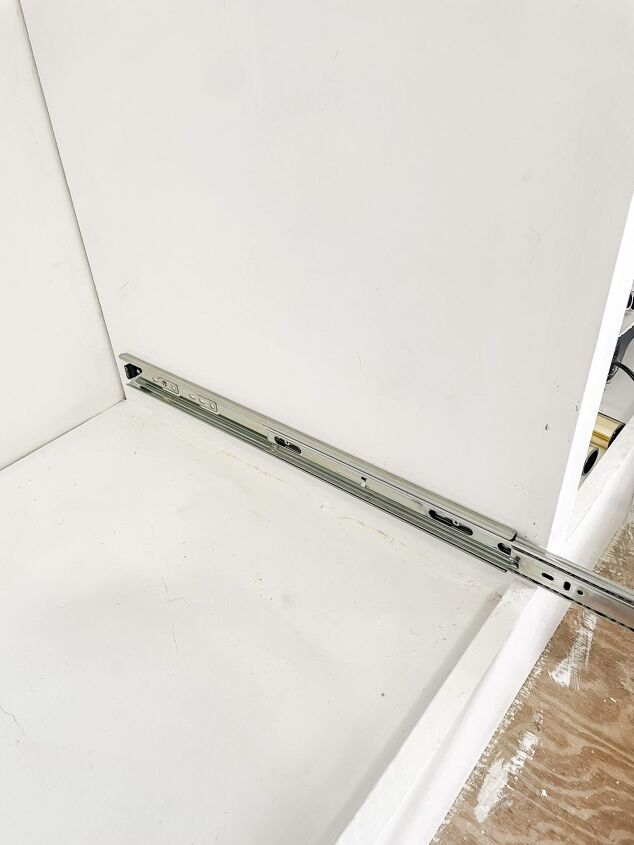
The other side was able to be installed without the extra 2×4.
2. Measure For Drawer Box Size
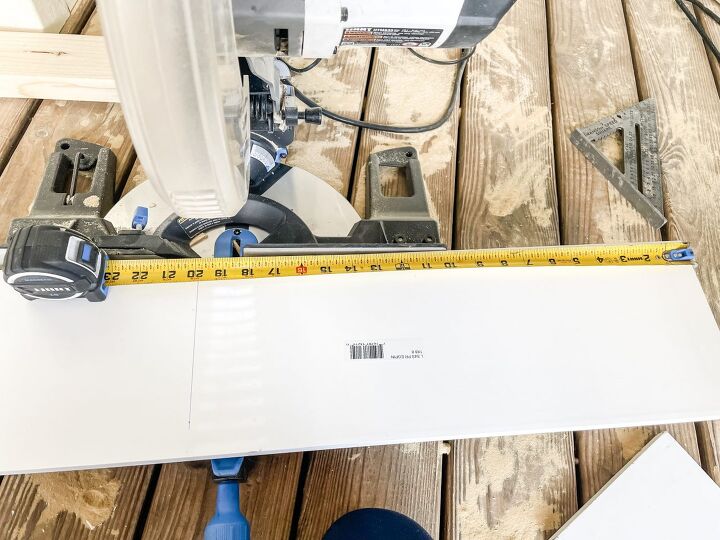
Now to decide your drawer box size measure between the slides for the width.
The depth will most likely be the slide length.
The height of the drawer boxes will depend on the height of your total opening & what size or sizes you want the drawers to be.
For our drawer boxes we are using 8″ & 6″ boards & then ripping larger faceplates later.
3. Route Boards For Drawer Bottom
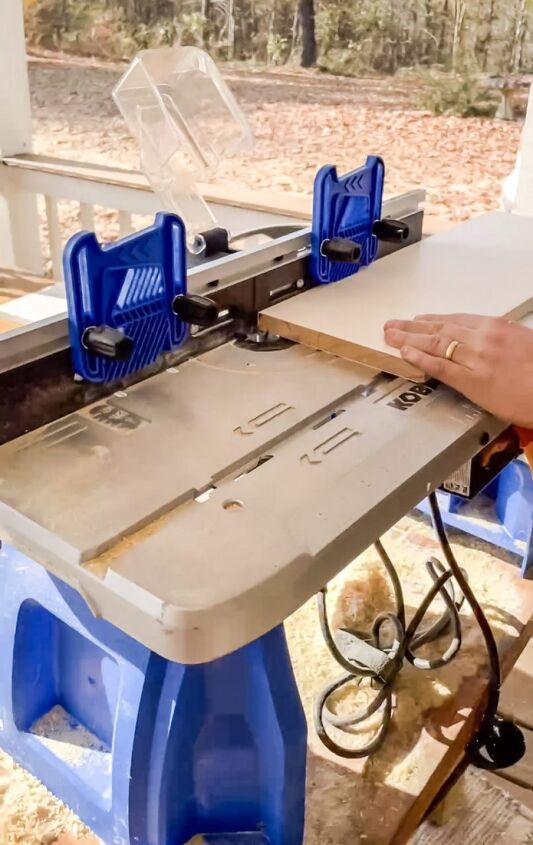
This is not the only way to attach the drawer bottom, but routing is not as scary as it looks so if you want to give it a try now is the time!
If not simply glue & nail the plywood bottom on after the drawer is assembled.
To route a dado slot for the plywood to slide into, we used a 1/4″ router bit at a depth of 1/2″.
We cut these slots into the bottom of each of the 4 boards.
I am in big puffy heart love with this router table I got for my birthday.
We will now be routing everything we possibly can!
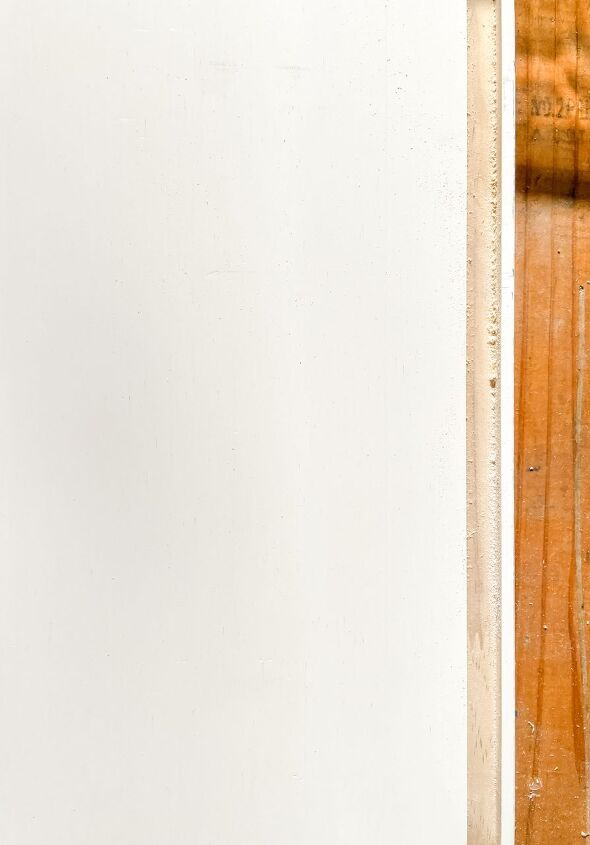
I mean look how pretty that dado slot is y’all!
If routing is new to you: a dado is a slot cut into the surface of a piece of machinable material.
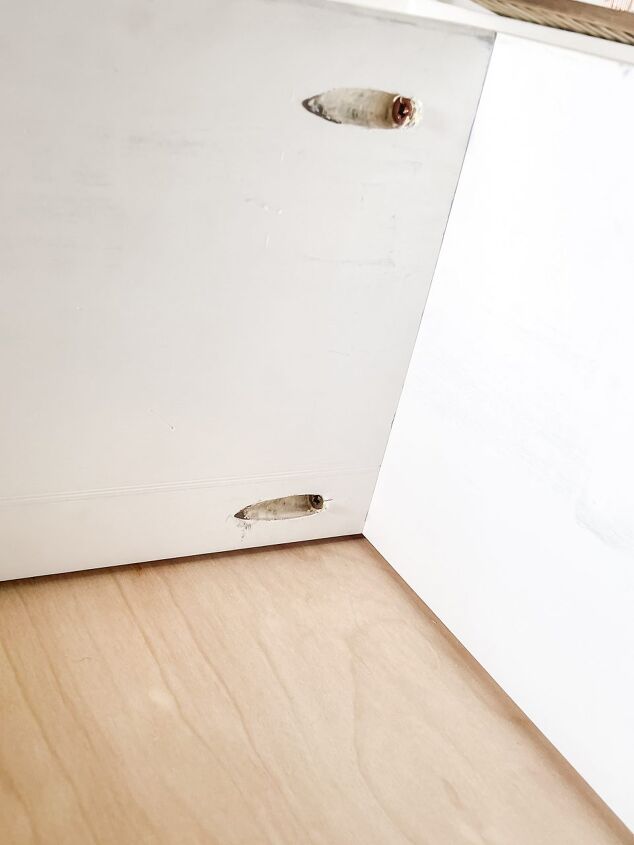
4. Drill Pocket Holes
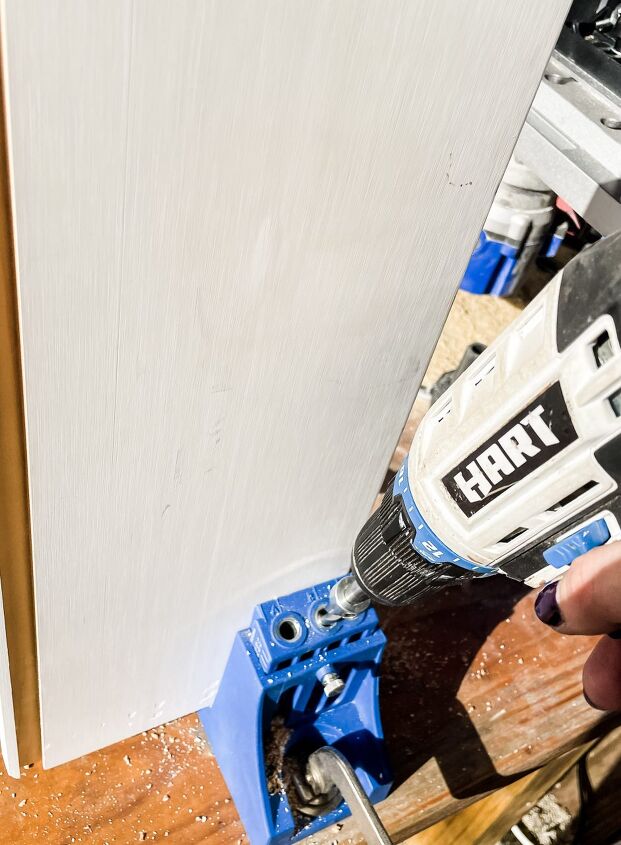
Pocket holes are the best & cleanest way to secure the drawer box sides together.
This way you won’t see any screw heads.
For pocket holes, I always use my Kreg Jig, if you don’t have one of these I recommend adding it to your wish list asap!
Each board will have 2 holes drilled on each side, the same side as the dado slot.
5. Attaching 3 Of The Sides
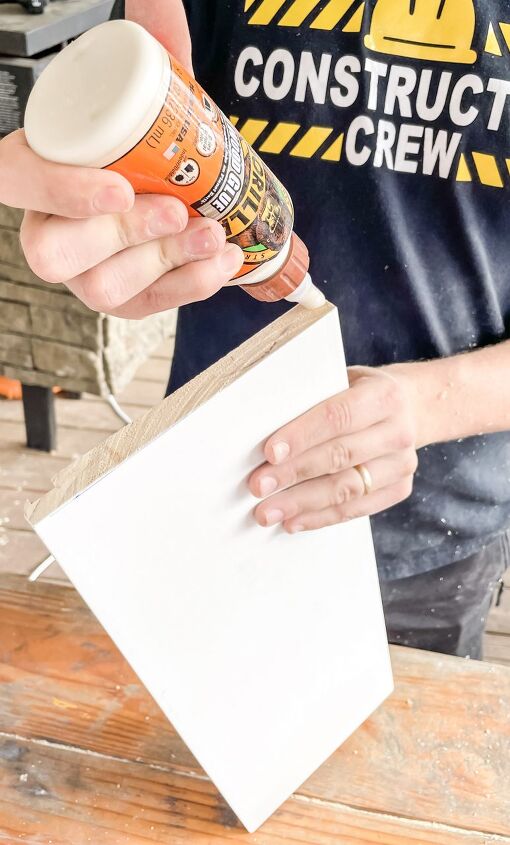
Start by coating the edges of one of the drawer boxes with wood glue.
Next clamp the front & side pieces together & use 1-1/2″ pocket screws to secure them together.
If you don’t want to use pocket screw, simply attach the drawer box sides together from the outside using 2″ wood screws.
6. Inserting The Drawer Box Bottom
For our drawer bottoms we ripped 1/4″ pine plywood down to size.
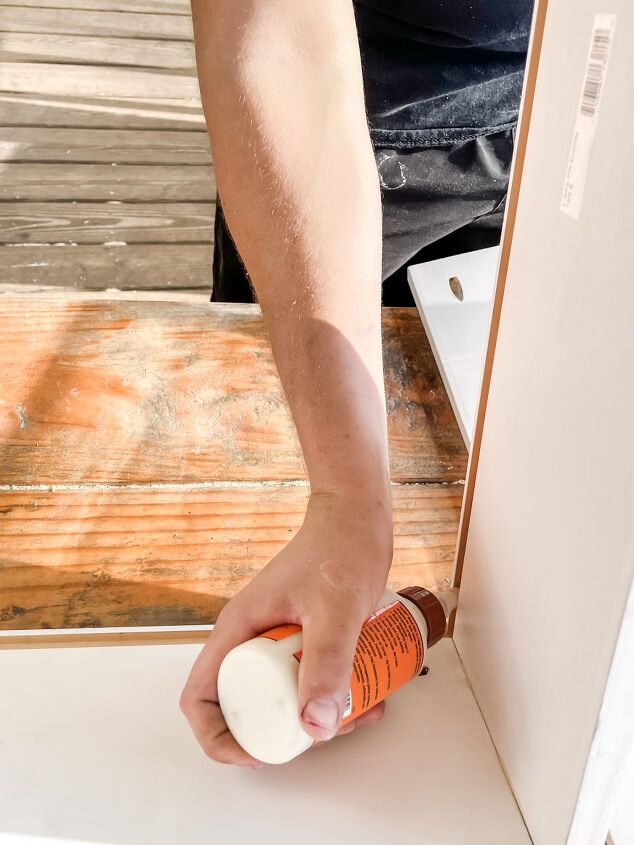
Next, apply glue along the bottom of the dado slot.
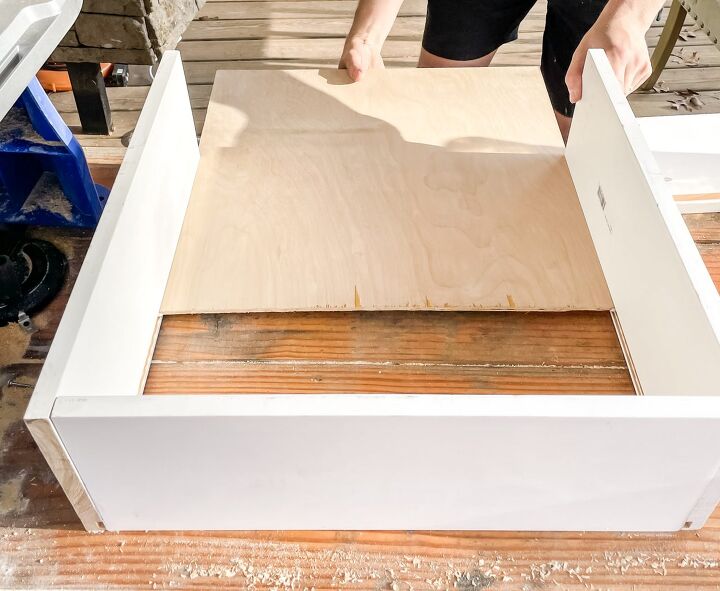
Finally, insert the plywood bottom into the dado slots.
Big Tip: Do a test run to make sure you ripped the plywood to the correct size before adding the glue!
7. Attach the Last Side
Once, the plywood is inserted into the 3 sides, attach the 4th side using pocket screws.
Installing Drawer Boxes (the no math cheating way)
You could do this right way & do the math to figure out exactly where each box needs to be installed, but I am horrible at math y’all so I did it the cheating way:
My biggest tip for making this go smoothly is to install the first drawer box & measure from there.
Keep in mind the size of your faceplates, ours are 2″ taller than the drawer boxes & the entire width of the opening minus 1/4″.
After we installed the first drawer box, I just measured 3″ ( 2″ for the bottom drawer faceplate + 1″ for the next drawer faceplate) from the top of that box.
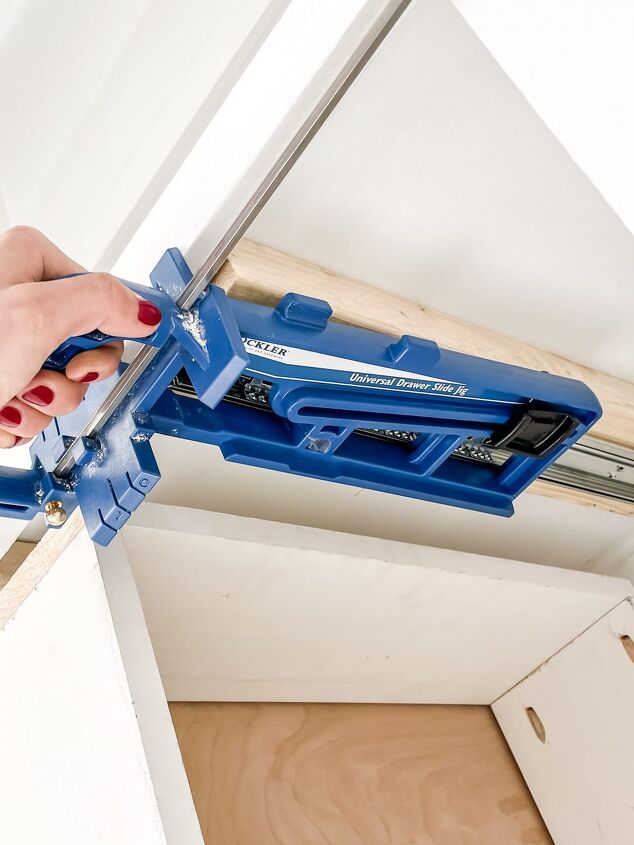
I set our Rockler jig to that measurement & made installing the rest of the slides a breeze!
That’s where we installed the next slides.

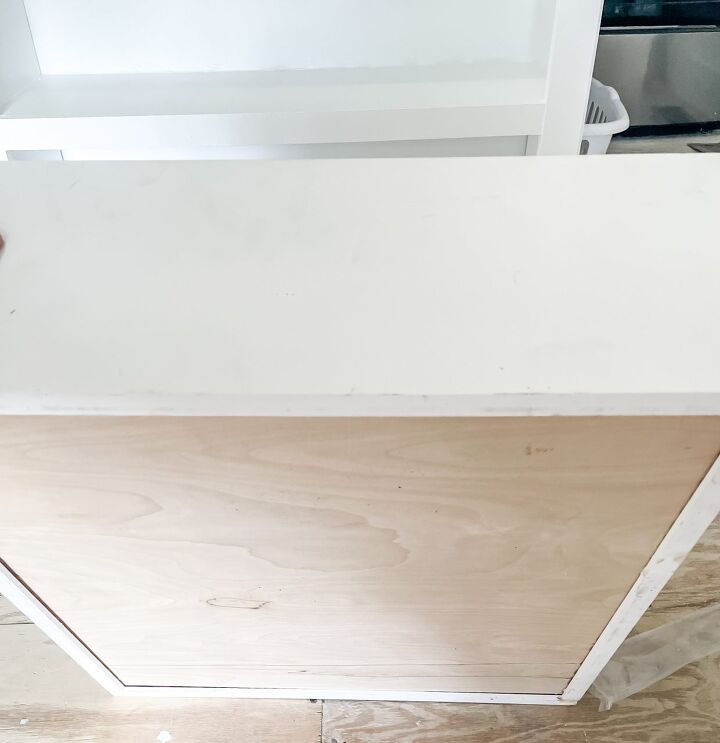
Once all the boxes are installed, it’s time to attach the drawer fronts.
We used the same primed white boards for the drawer fronts & attached them with 1-1/2″ cabinet screws.
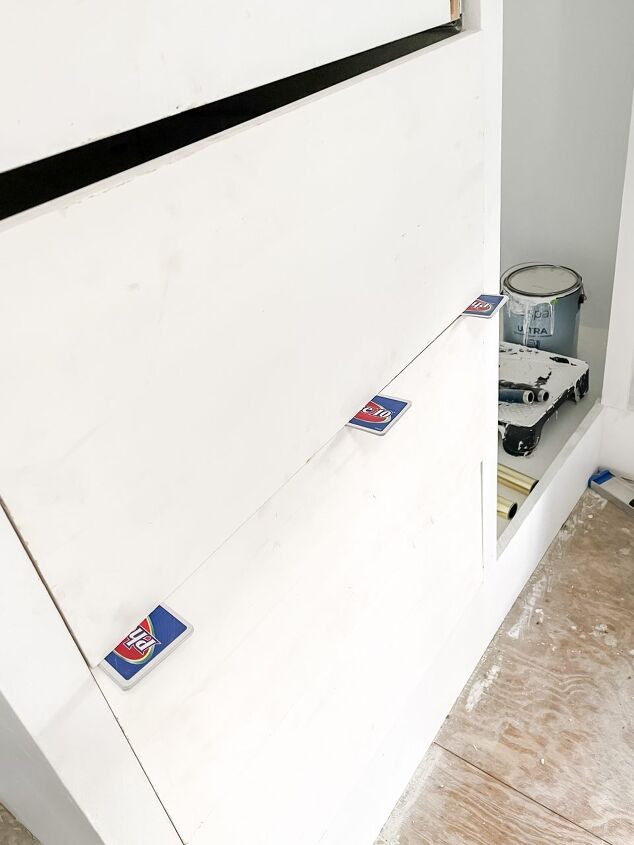
To get the right spacing in-between drawers we used 10 playing cards stacked on top of each other, very professional I know 😉
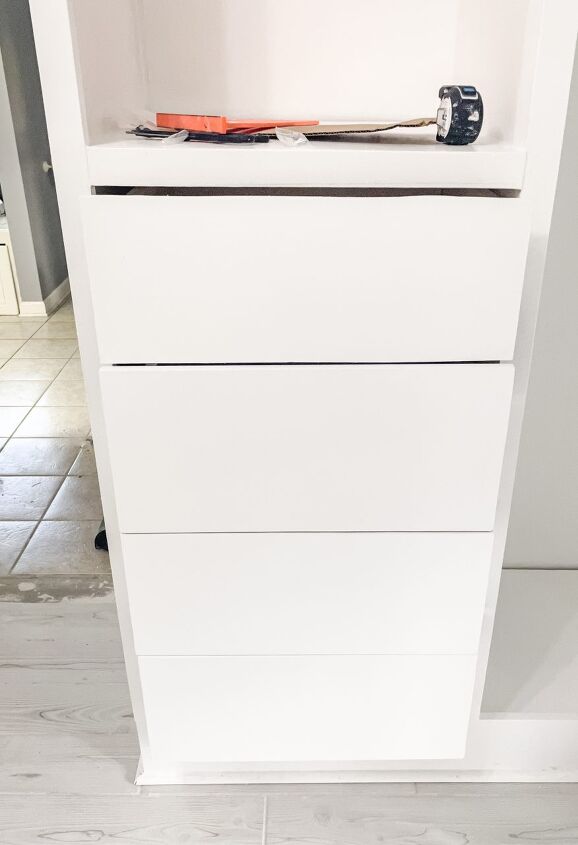
Once all the drawer fronts were attached I did a very light sanding & painted them to match the rest of the built-ins.
The final step is to attach the hardware!
These gold drawer pulls are exactly what I have been dreaming about in my head.
This was definitely one of those scary projects for me to start, but I am so glad we went for it!
I hope this project feels like something you can tackle too now, I promise you won’t be disappointed!

Comments
Join the conversation
-
Lots of great tips. They look great and professional. The drawer bottom should not be glued but free floating if installed in a slot. It will expand and contract with temp changes and can split if glued in. As a rule of thumb drawer slides are basically 1/2" thick so the drawer should be 1" narrower than the drawer opening. I also recommend the drawer slides you used should be mounted centered on the drawer. Mounting them along the bottom may caused the slides to drag with weight in the drawer and loosen up over time. Center mounted the weight is even distributed.
-
Read through the entire blog and I must say, even though I’m the combination learning type, I totally understood (even though I didn’t know what that jig was when you started to space your next drawer) 😂 Proud if you!! When I’m getting my house built, I’ll be sure to contact you! 😂


Frequently asked questions
Have a question about this project?