


How To Create A Beautiful Boho-Chic Pallet Sofa
I didn’t follow any plans (there was really no need, it’s so simple) but I did do a bit of prep and of course, the styling so if you’d like to copy this Boho style pallet sofa look, here’s how I did it. Note: This is an abbreviated tutorial. The full tutorial is far to long for me to reproduce on Hometalk, but you can find the detailed tutorial including more photos, moodboard and styling details by clicking the link to the full blog post at the bottom of this Hometalk post. Thanks for understanding!

TIP: Lots of companies will give you these disposable wooden pallets for free. If you want to use the sturdier Euro pallets you will probably have to pay for them. When choosing pallets, make sure that they have not been used to store chemicals as these may have seeped through into the pallet wood. Look for the 'HT' (heat treated) sign.
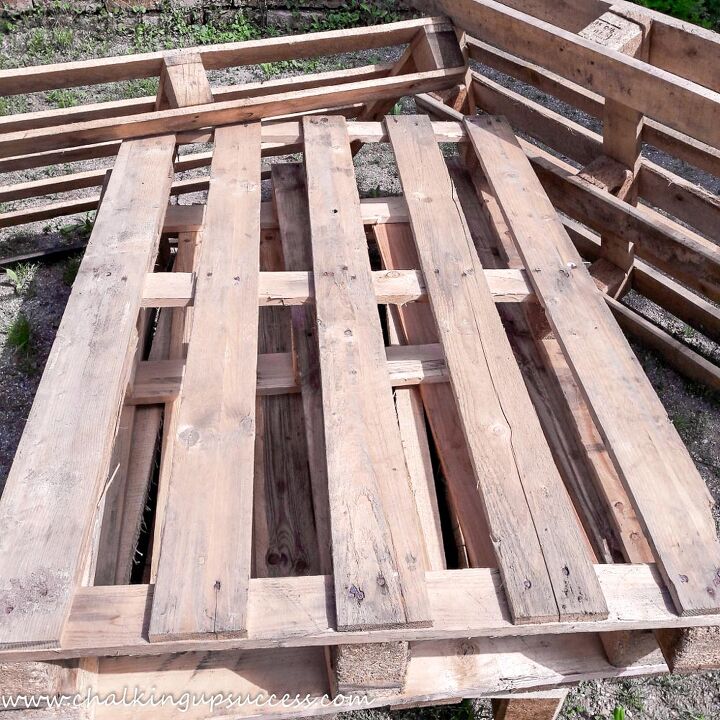
When I first set eyes on these pallets, I knew exactly what I wanted to do with them but it’s not always easy trying to recreate an image that’s in your head is it?
Only one of my pallets is a Euro Pallet (and I only got that one because it was broken). The rest of them are just disposable pallets which were being thrown away. For my small balcony, I used seven pallets in all. First, look at the pallets and decide which ones you will use for the seats, which ones will be on top (makes a difference for sanding) and which ones to use for the backrests. I used four pallets for the seats, stacking one on top of another. Then I used three pallets for the backrests. Wash & Dry: The first thing I did was to wash the pallets down with the hose. Some of them were really dirty but cleaned up easily enough.
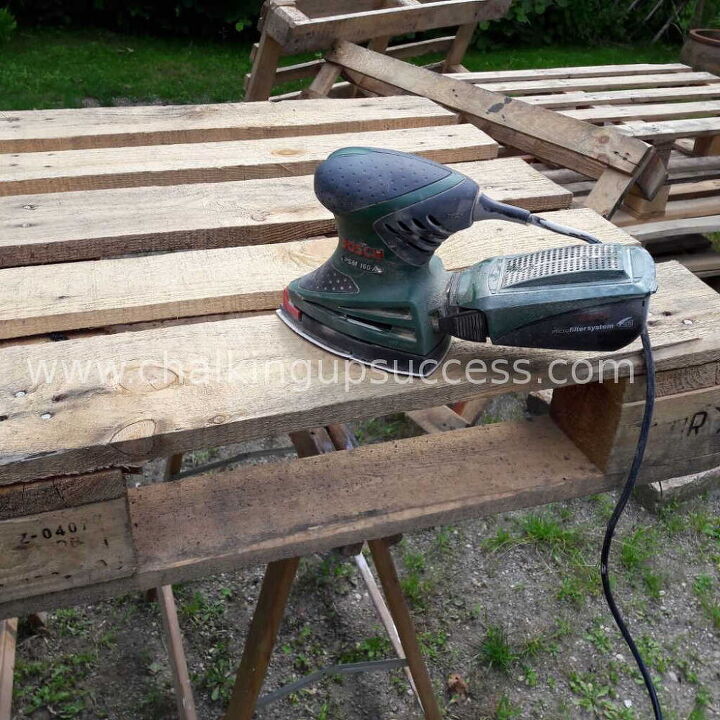
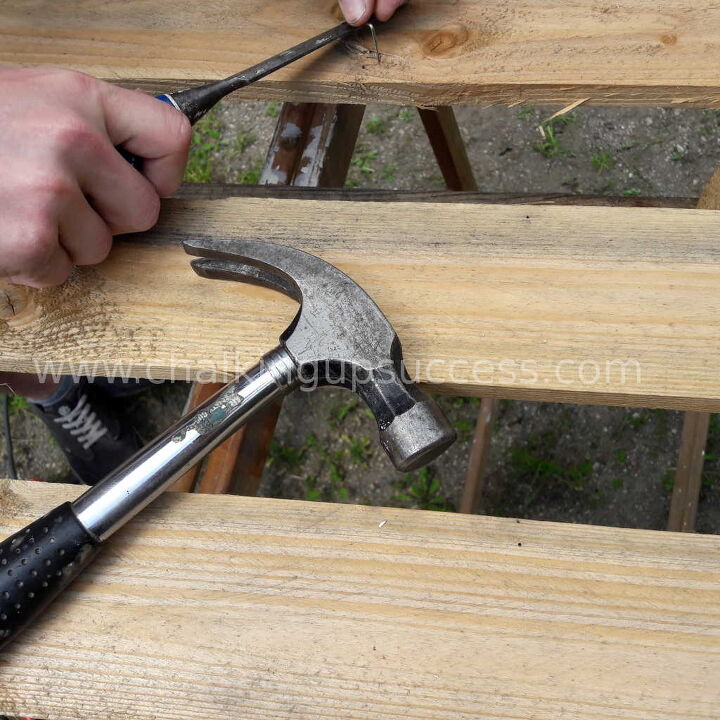
If you’re going to be putting cushions on your pallet sofa, the last thing you want is for the rough wood of the pallets to snag your fabric. So the next step, once the pallets are dry, will be to give them the once over with a sander. Before you start, check the pallets over to see if they have any staples left in them. If they do, you can easily lift and remove them with a hammer and chisel.I used my little mouse sander to make quick work of sanding the pallets. You can also just use sandpaper but of course that will take a little bit more elbow grease ;) Why I said to sort your pallets out first, was because you don't have to sand the pallets which are going to be on the bottom. For these ones, I saved some time and energy by just sanding the edges where someone's legs might rub against the pallet. Brush: After sanding the pallets, I gave them all a brush down with a wire brush to get rid of the dust. Luckily there wasn’t much because my mouse sander sucks up the dust into a little container as it sands.
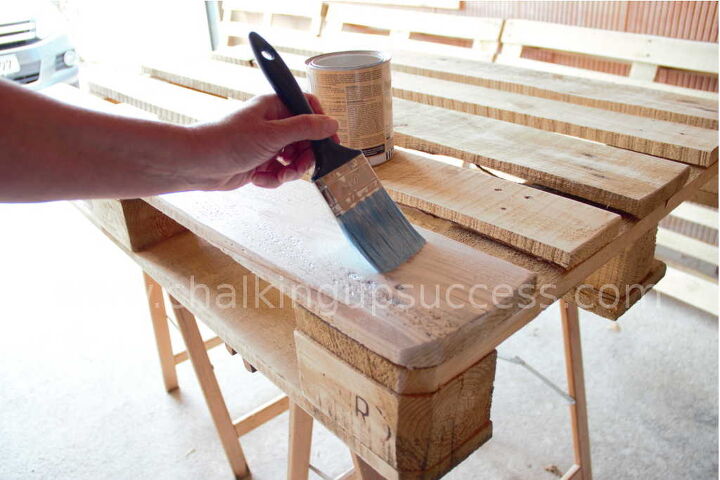
The next step for me was painting the pallets.You don’t really have to do this because pallet wood is not really very good quality and will need to be replaced often anyway.I just wanted my pallet sofa to have a bit of a whitewashed look so I painted on a couple of coats of white wood stain. I’ve seen some pallet sofas which have been completely painted in a solid colour. I think, if you wanted to do this, you would have to use a primer on the pallets first because otherwise, the paint will just absorb right into the wood.Leave to dry for the recommended time stated on the tin of whichever product you’ve used.
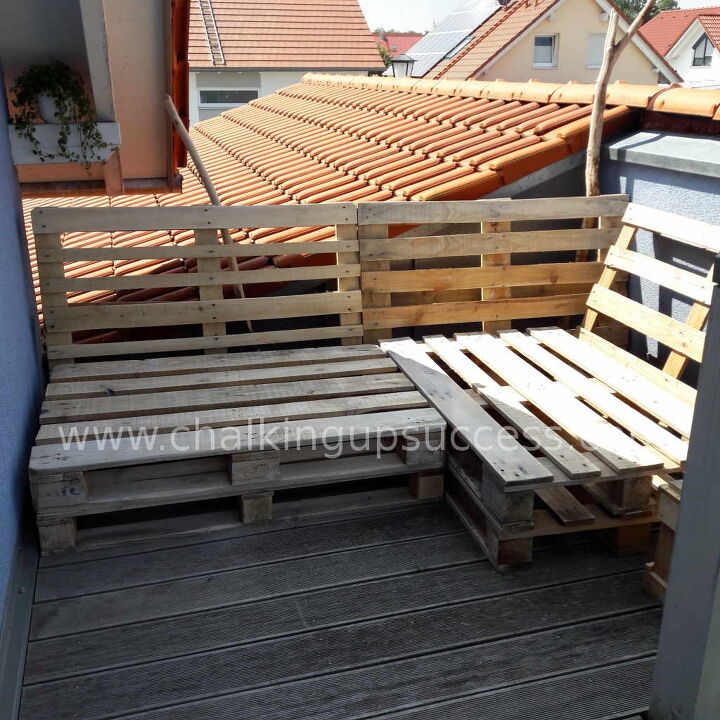
Because the pallet sofa is set up against the walls of the garage and carport, I didn’t need to add any kind of support.I stacked two pallets together for the seats setting them at cross angles. Then I pulled them forward from the wall a little and added three pallets behind for the backrests.I slanted the backrests slightly so they would be more comfortable to lean against.
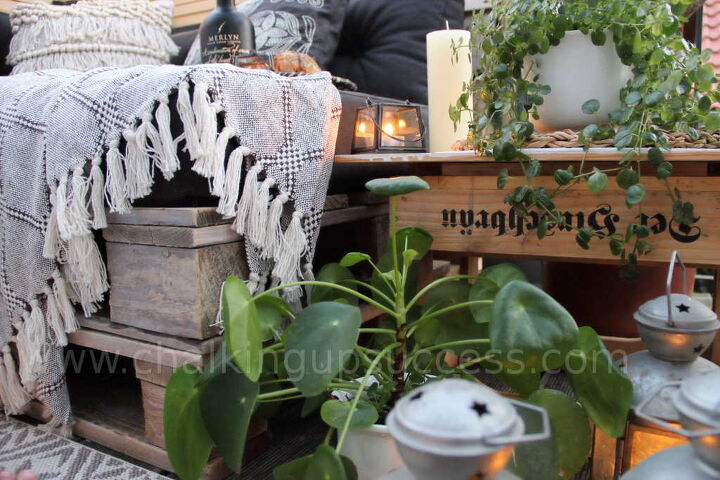
Now comes the best bit of all, well for me anyway – styling. Getting together all the bits and pieces. Beer crate side tableMy husband was about to throw this little wooden crate away and I literally save it at the eleventh hour. I was thinking about making a small side table for the pallet sofa and this beer crate was the ideal size. I explained how I made this and the privacy screen in a separate blog post 'How to make a privacy screen from recycled blinds'. I've added the cost of this project at the end of this post but that just includes the woodstain and pallet sofa cushions - I had everything else on hand and the styling is optional of course!
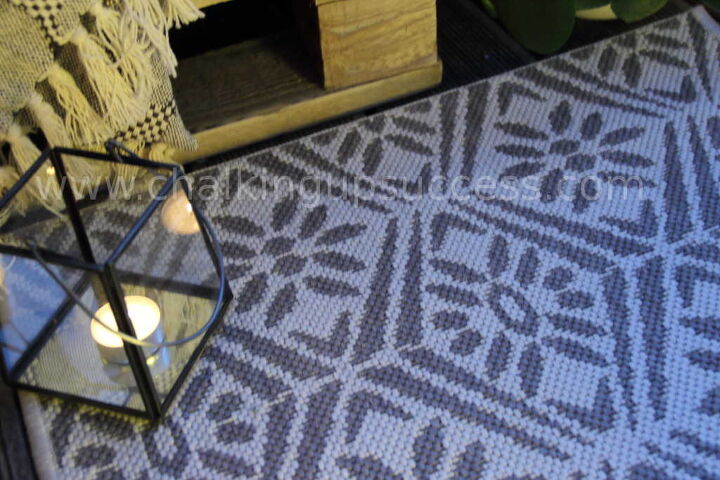
First, I wanted to get a small indoor/outdoor rug for in front of the pallet sofa. Have you actually taken a look at indoor/outdoor rugs lately?There are some really gorgeous options available these days. Lots of them are made from recycled materials like plastic bottles. These new outdoor rugs are waterproof, mould resistant, washable and hard wearing. I was so impressed by what I found, I wrote a whole post about it which you can read on the blog by searching 'Outdoor rugs'.

Next on my list was foam to make the cushions for my pallet sofa. I visited a local manufacturer to see if I could get some foam cut to size. What a shock I had when I heard how much it was going to cost! The foam would need to be quite dense otherwise you would be able to feel the pallet slats underneath and just one seat cushion would have cost me more than I wanted to spend on the whole lot of cushions and that would have been without any covers. Back to the drawing board then 🙁Luckily, I found quite a few options for ready-made pallet sofa cushions on eBay. In the end, I managed to buy some black cushions and backrests which had removable zip-up covers. There were various colours to choose from but I had pinned black cushions to my mood board (see original post) and I knew that was going to work so I ordered them right away. See, making a mood board saves you so much time because you don’t need to spend ages deciding which colour this or that is going to work – you already know. It also means, that when you come across a bargain which almost matches something on your mood board, you can grab it without a second thought. That’s exactly what happened with one of the next items on my list:
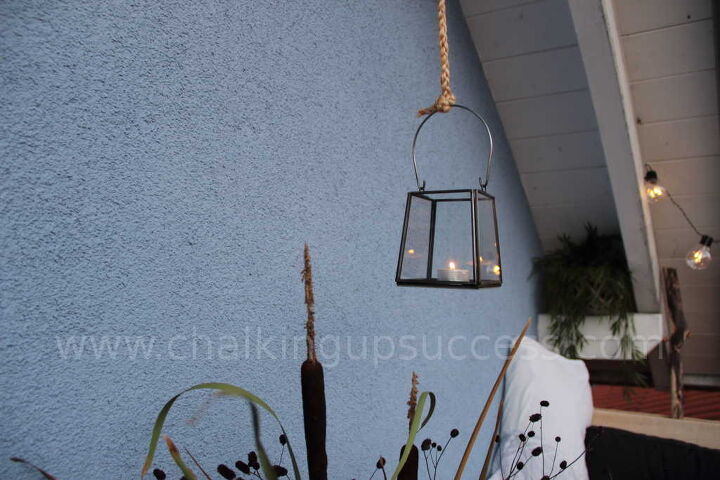
I shopped my house and came up with a few lanterns I could use. My three trusty IKEA lanterns, which are very old and rusty and which have been used all over my house at some point. I already had some lovely minimalist black lanterns from ‘The White Company’. These have mirrors on the bottom which reflect the light of the little tea lights which I use inside. They have handles for hanging so I decided to attach one to some jute twine and hang it from one of the wooden beams. This looks gorgeous at night when the flickering candlelight dances over the blue wall of our house.
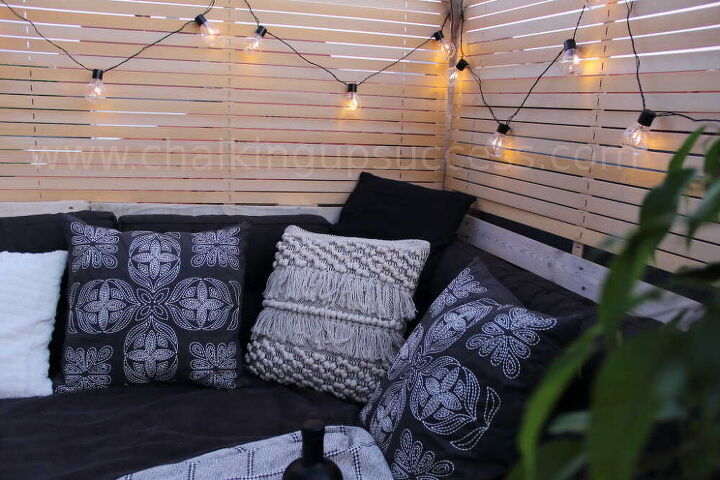
I’ve been wanting to try out these indoor/outdoor festoon lights for ages. These ones have low energy LED bulbs. The great thing about these lights is that the lead cable is five meters long. I plugged these lights into an inside socket and tucked the cable through the wooden planks of the deck. I love how cosy they make this space look and think they give off just the right amount of light.
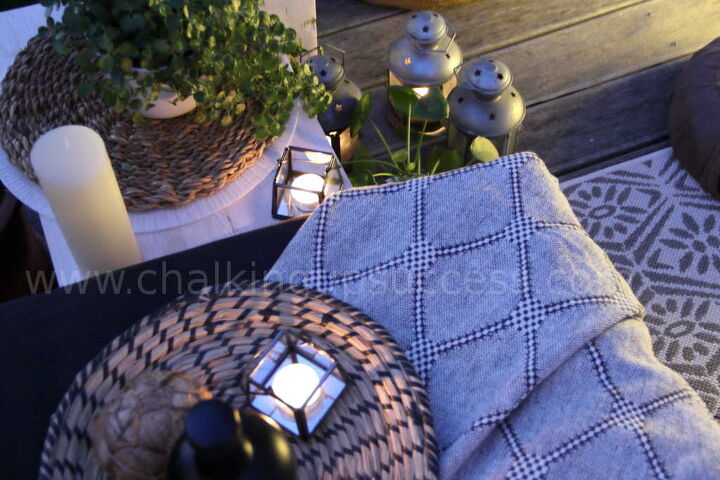
The diamond throw is from ‘WestwingNow’. I bought it for our bedroom when I did the refresh in Spring. We don’t need it in the bedroom over the summer but it’s perfect for snuggling up under in the evening when the air cools down outside. (You can see the bedroom refresh post on the blog). I used a black fleece throw to cover the seat cushions on the pallet sofa. I know the cushion covers are washable, but I’d rather not have to. This throw can be easily thrown into the washing machine and it’s also really cosy. I actually turned it over and used the non-fleece side here and everyone loves how soft it feels.
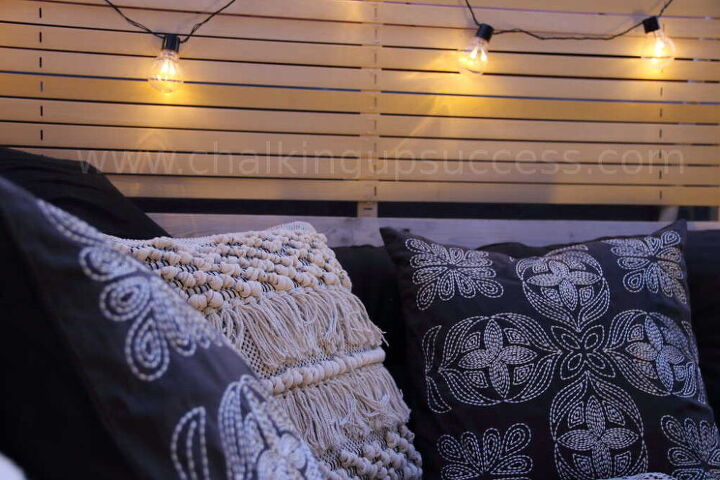
The black and white embroidered cushions are from ‘H & M Home’. I’ve had them a few years now and they still look fantastic. The white fake fur cushion was an end of season purchase and the white Moroccan cushion with fringes was bought in Spring from WestwingNow.
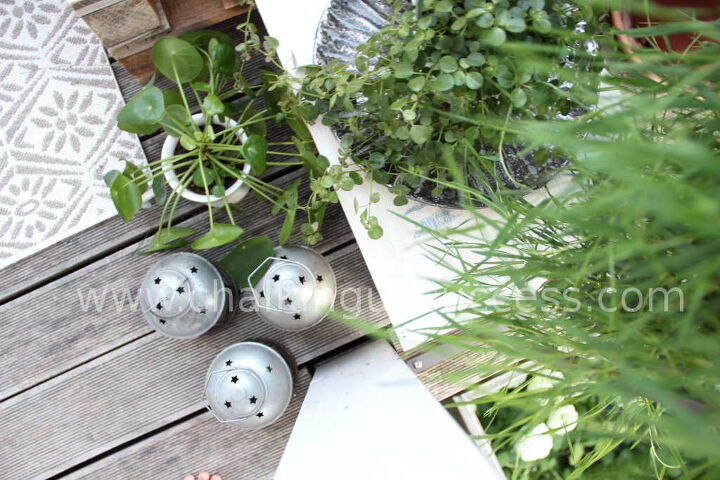
Please see the original blog post for a list of the plants I used for styling this space.
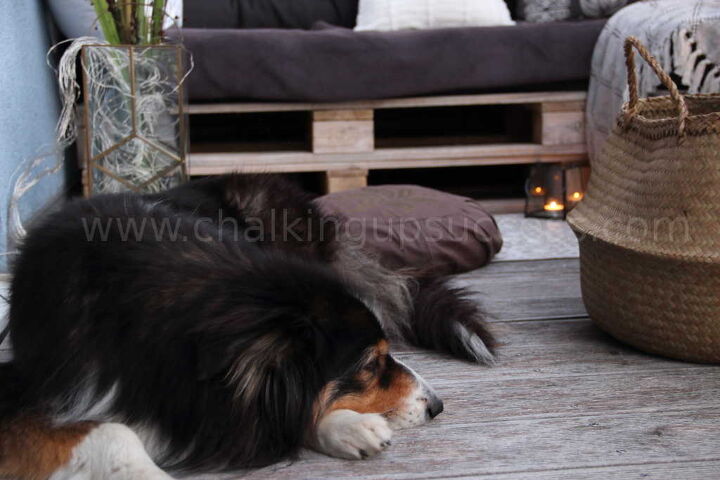
I think I managed to successfully transform this dead space into a lovely seating area which will be much used over the summer months. At least, I’m dead chuffed with it and from their reactions to seeing the finished result, the rest of my family are too. Even Brilli gives her seal of approval! If you like this project, I would love to have you stop by my blog ChalkingUpSuccess.com for the full tutorial as well as sign up for my latest posts, DIY, inspiring home decor, delicious recipes, exclusives, and more...Subscribe to my YouTube channel to see more DIY, home decor and crafts - https://www.youtube.com/channel/UC4uyVGrJxoo8-7qlAg5_x-g?sub_confirmation=1


Frequently asked questions
Have a question about this project?