


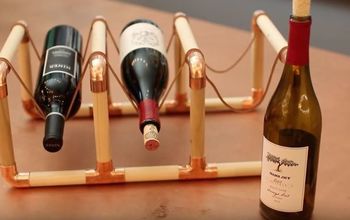
How to DIY: Oversized Pegboard Wall Mount Wine Rack
Looking to save space yet store oodles of bottles of wine? Check out this easy wall mount wine rack!
Materials:
- 24x24 wood panel
- 5/8" poplar dowels
- Sanding blocks
- Polymer eraser
- Portable drill press
- 5/8" Forstner bit
- Wood glue
- Tung oil
- Rubber mallet
- Keyhole brackets
- Palm router
- Metal screw-in wall anchors
Tools:
- Portable drill press (Forstner bit)
- Miter saw
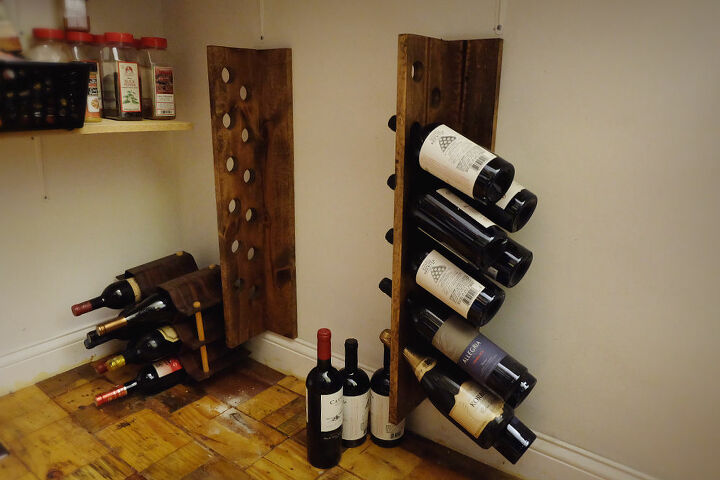
I caught a load of you-know-what for my previous pantry wine racks which you can read about here. The idea was that this is temporary storage, and hey, they work fantastically!
Anyway....The pantry is collecting too much stuff, time to reevaluate the wine storage. I needed more storage but a smaller footprint.
STEP 1: Make a plan (or use mine)
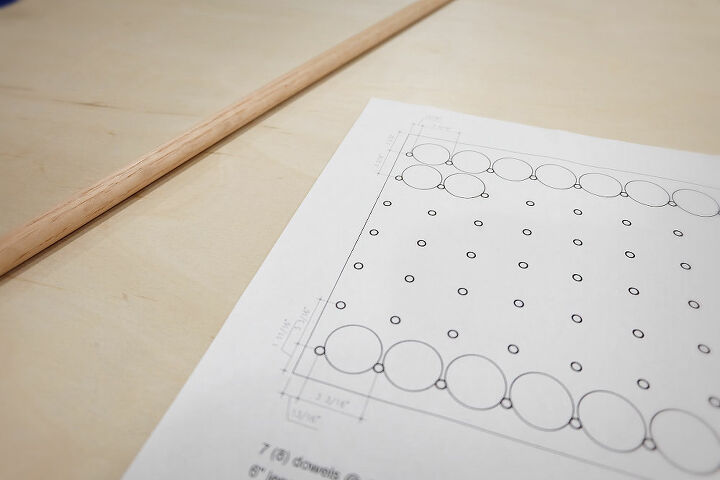
I opted to go the oversized pegboard route. Not to be trendy but because it efficiently solved my dilemma and honestly, it does look cool too. So I drew up my plan.
If you'd like a copy of this plan for free, come sign up within this blog post over at Flipping the Flip, the link is in the blog post twice.
STEP 2: Draw your grid
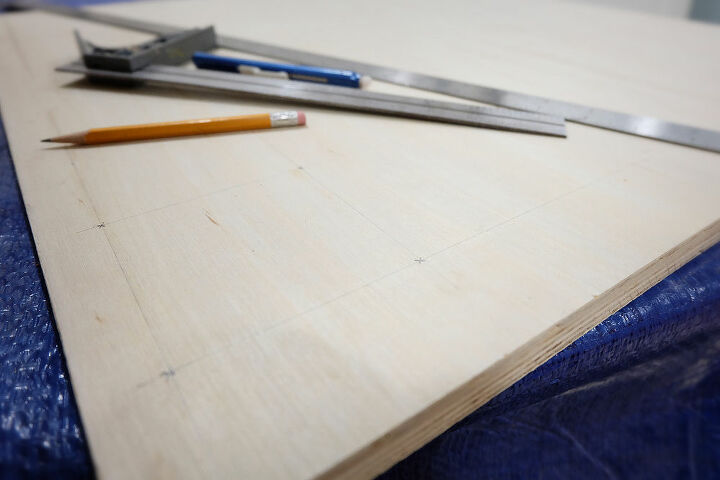
I used a 24x24 precut birch plywood panel from the home improvement store, then laid out the grid for the dowel pegs.
STEP 3: Drill your holes for the pegs
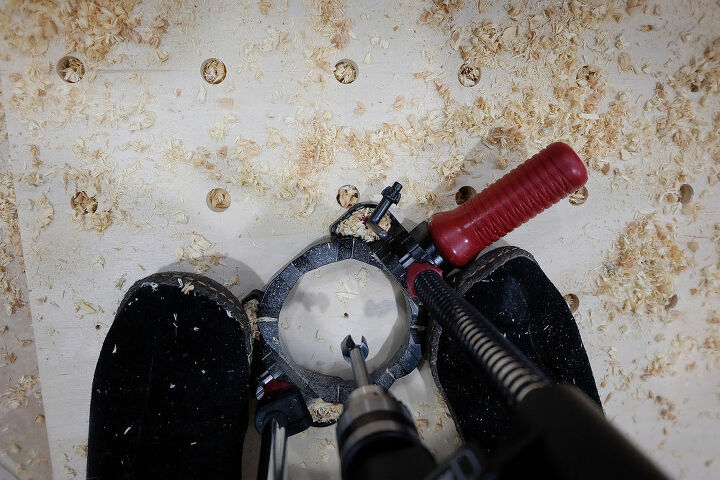
Yes, I tend to always wear my slippers while DIY'ing, they're comfy. And safe, they have rubber soles.....Ok, off track here.....
With a portable drill press and a Forstner bit, I drilled out the 5/8" dowel holes in the plywood where the grid lines crossed. Those are the center points of the dowels.
You'll find far more tips, tricks, sealer information, and details over on the blog (Flipping the Flip) so be sure to click the link at the end of this post.
STEP 4: Cut your dowels
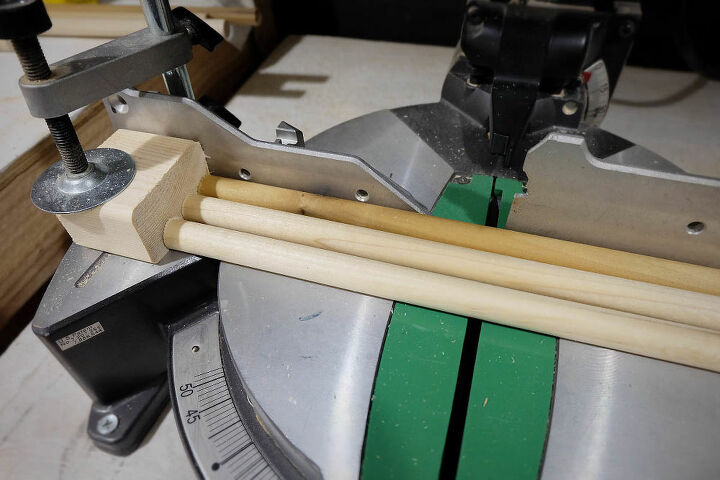
Next up, cut the dowels. The best way to ensure they're all the same size is to make a stop, like the one above.
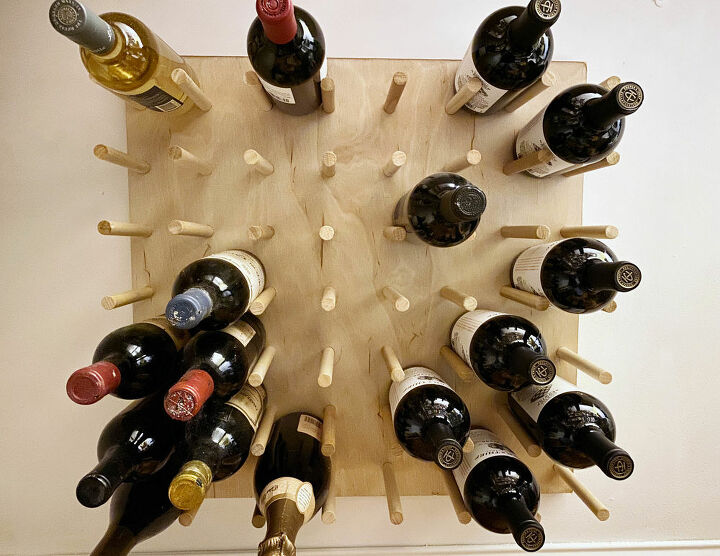
STEP 5: Insert your pegs into the board
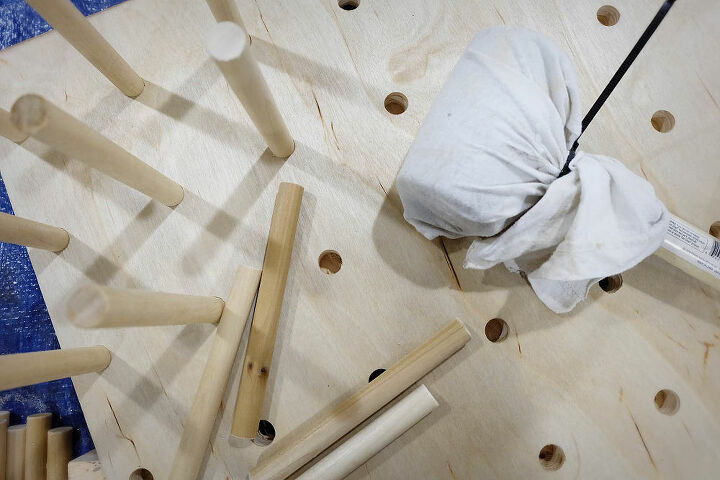
Time to take out all your frustrations! Wrap a rubber mallet in a rag (it prevents the black rubber from rubbing off) and bang in those pegs! Make sure you have a backer board behind so the pegs end up flush.
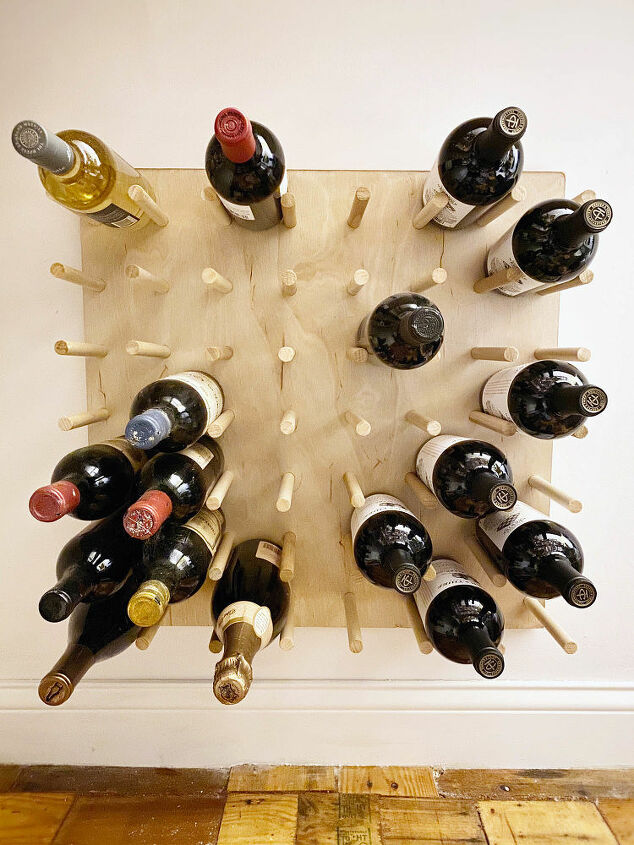
STEP 6: Hang your pegboard
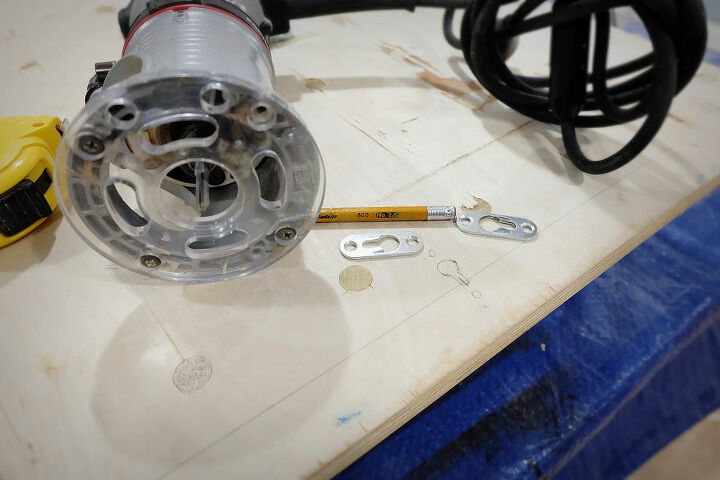
I hung mine on the wall using keyhole brackets which are oh-so-handy little gizmos! Dig out the space where the bracket is so the mounting screw in the wall will fit right in.
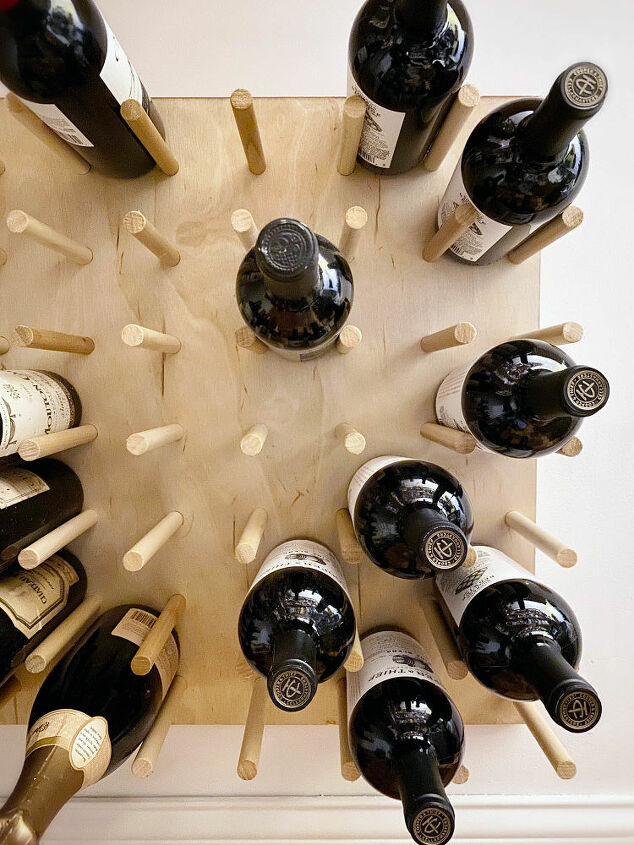
And tada! We went from 24 bottles of storage to 49 in one swoop! Nice!
This thing is great, super sturdy, has a smaller footprint, and holds more.
Even my sweetheart loves it. Be sure to swing on by the blog for more details and information on this project along with all sorts of other cool stuff! The link is below!
Resources for this project:
See all materials


Comments
Join the conversation
-
This is incredibly clever and elegant!
-
This would be a good way to store paint cans too. If I get off my butt and make this, I'll be able to see the color on the lids at a glance instead of digging them all out of a cabinet. Thanks for the moment of clarity!
XOXOXO to Finn. Tell him I'm a fan.


Frequently asked questions
Have a question about this project?
Such a clever design!! I am curious as to where in your room do you have this hanging? It would stick out pretty far from the wall, so I guess you need to put it where it is a bit out of the way to avoid bumping.
This is cool ! But my question is, did I not see this type of project that had to do with making shelves of as well ? Like the holes were drilled as you did (?) and then they put dowels in with a board on top of the dowels so that made a shelf, and you can rearrange your shelves as often as you feel like. Or you could make your board any size too.
Now, obviously as I read this over, you could not possibly have known if I saw something like that, unless you were in the same dream....hmmmm
Or somewhere I was....