


How to Make a Farmhouse Three Tier Stand for Your Bathroom Storage
If you love this project, grab your quick start DIY guide & subscribe to our blog!
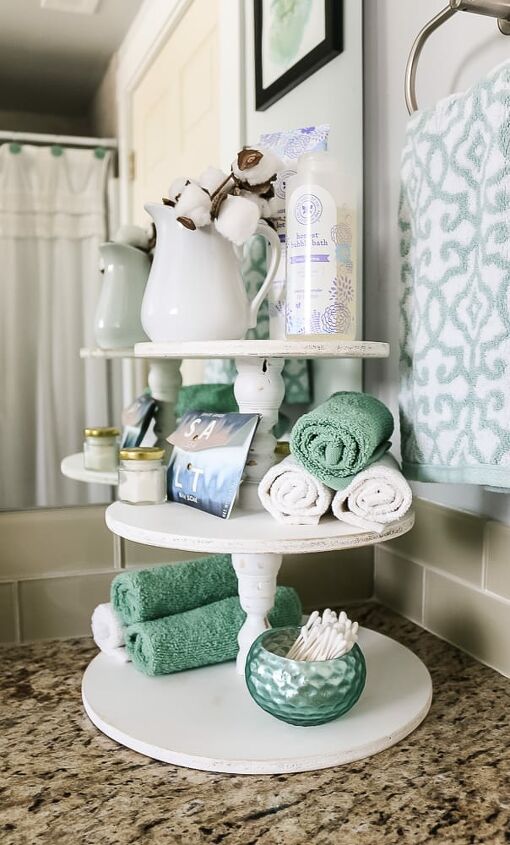
This DIY farmhouse three tier stand was so easy to make! I love the extra bathroom countertop storage the tray adds. Not to mention, it’s a super cute place to decorate now!
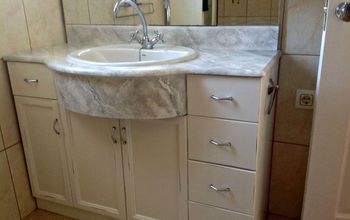
I was thinking it would be cute to put something in the corner of the countertop to add a little farmhouse charm to the room. This house is definitely lacking in the farmhouse department and our bathroom is no exception.
Even though I wanted to add some farmhouse charm to our bathroom, I wanted it to be functional too. When I saw this adorable three tier stand that the amazing Liz Marie featured on her blog, I knew it would be perfect for a little extra bathroom countertop storage.
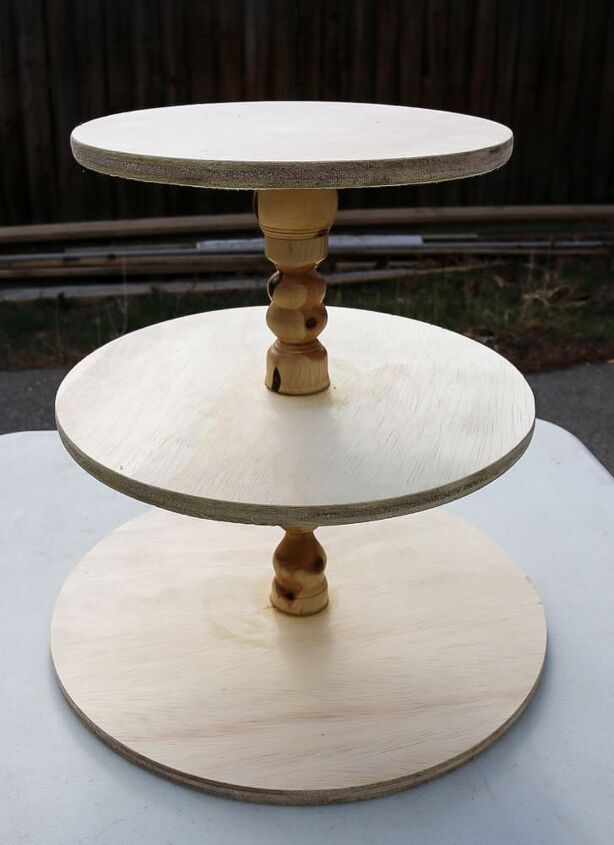
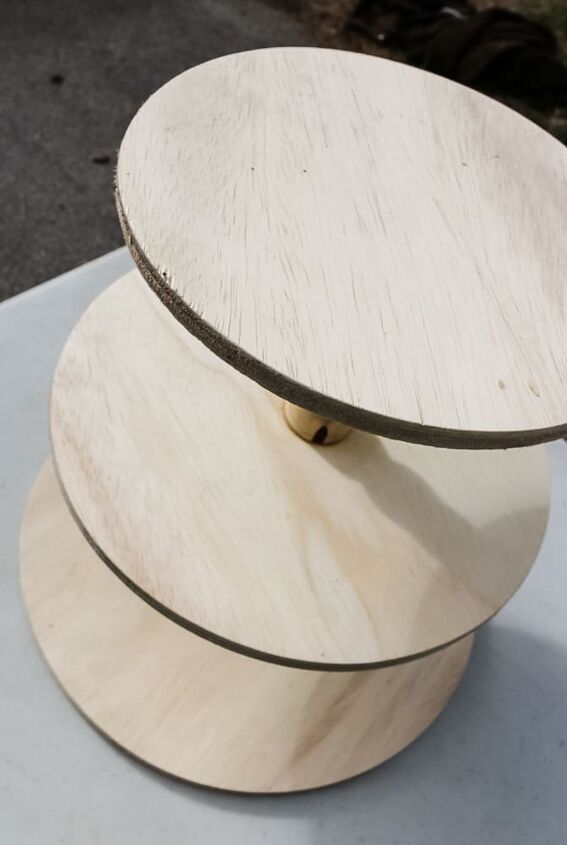
Assembly process for the three tier stand was pretty simple. Attach the middle spindle to the middle of the wood rounds by using a 3/8” wooden dowel and a bit of wood glue.
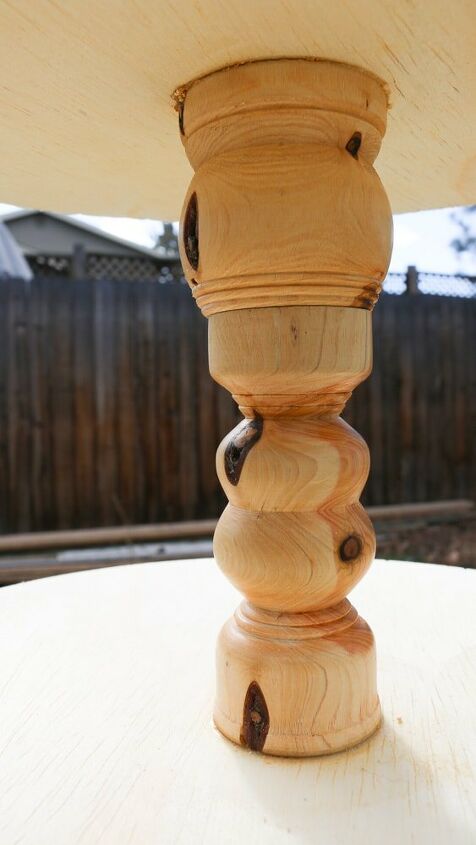
Drill a hole through the middle of the 10" plywood circle (middle tray) and the top and bottom of the spindles. Attach the bottom tray with screw for some extra support. The top tray can be attached to the spindle with just glue.
Let the wood glue dry overnight before handling the tray.
After the stand was all put together, proceed to PAINTING! Start from the bottom of the tray and paint everything else.
Note: It also would have been way easier to paint everything BEFORE you put together, but ya know. You live and learn.
Distress it using a 220 grit sandpaper to achieve that classic farmhouse look.
Seal the three tier stand with a spray sealer.
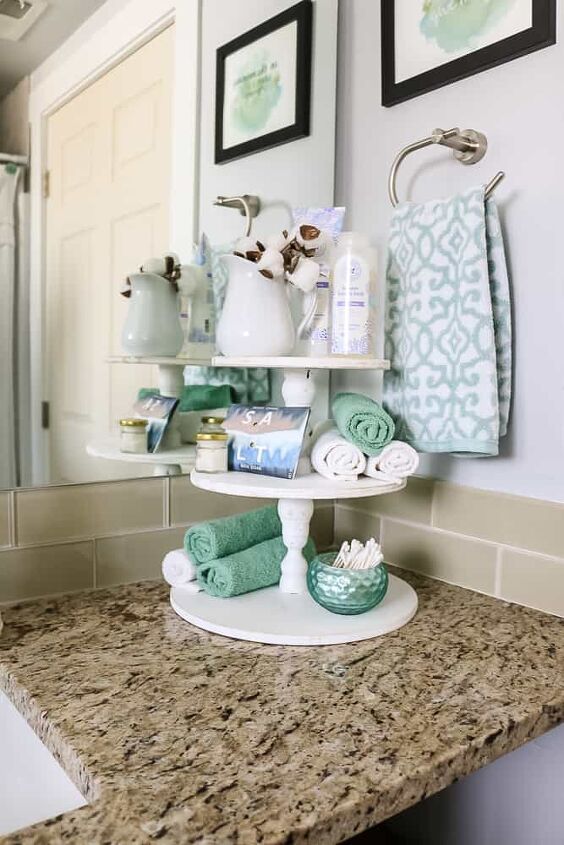
I love how it looks styled on our bathroom countertop. It adds a lot of extra space for storage and places to decorate, of course!

Comments
Join the conversation
-
Beautiful!! You could also glue some little balls underneath the bottom piece of wood to elevate it a little.
-
Very smart idea, yet easy to do! I love it! The elevation mentioned above is great too! Thank you


Frequently asked questions
Have a question about this project?