


How to Make a Modern Wood Stool
I love making things for my kid’s rooms. They love it, I have fun making the items, and it gives me an opportunity to take a risk and do something bold and unique that I might not try in the main areas of my home.
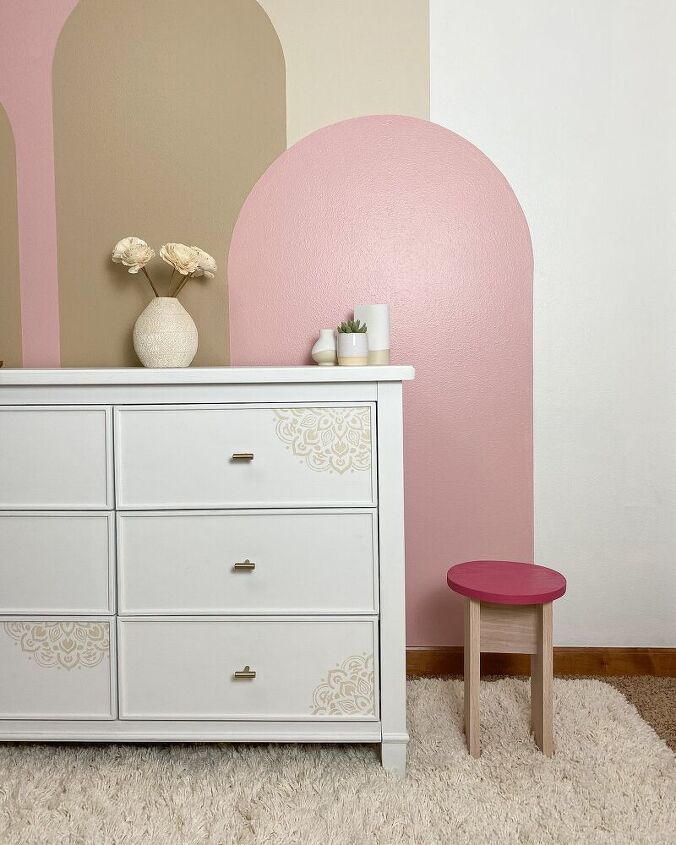
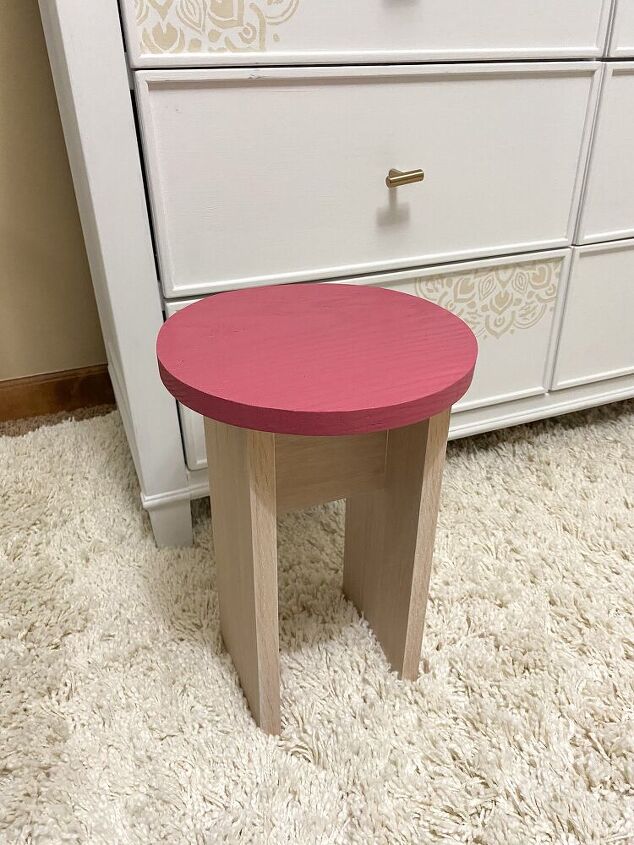
In the spirit of fun and bold, I recently made a bright pink modern stool for my daughter’s room. It was a fun experiment in using a unique modern design and a fun color choice.
Below are the easy steps you can take to make something similar for your own home! Sign up here to always stay updated on my latest projects!
Materials & Tools For Building:
- 1″ x 6″ x 3′ Oak Board
- 1″ x 12″ x 2′ Oak Board
- Miter Saw
- Jigsaw
- Measuring Tape
- Pencil
- Twine or String
- Random Orbit Sander with 120 grit and 220 grit sandpaper
- Tack Cloth
- Minwax Stainable Wood Filler
- 220 Grit Sandpaper
- Clamps
- 1 1/2″ Wood Screws (8)
- Drill
For Finishing:
- Minwax Water Based Pre-Stain Wood Conditioner
- Minwax Wood Finish Water-Based Semi-Transparent Color Stain in Pure White
- Minwax Wood Finish Water-Based Solid Color Stain in Blossom Pink
- Minwax Polycrylic Protective Finish
- Purdy 2” XL Sprig Paintbrush
- Synthetic Pad
- Rags
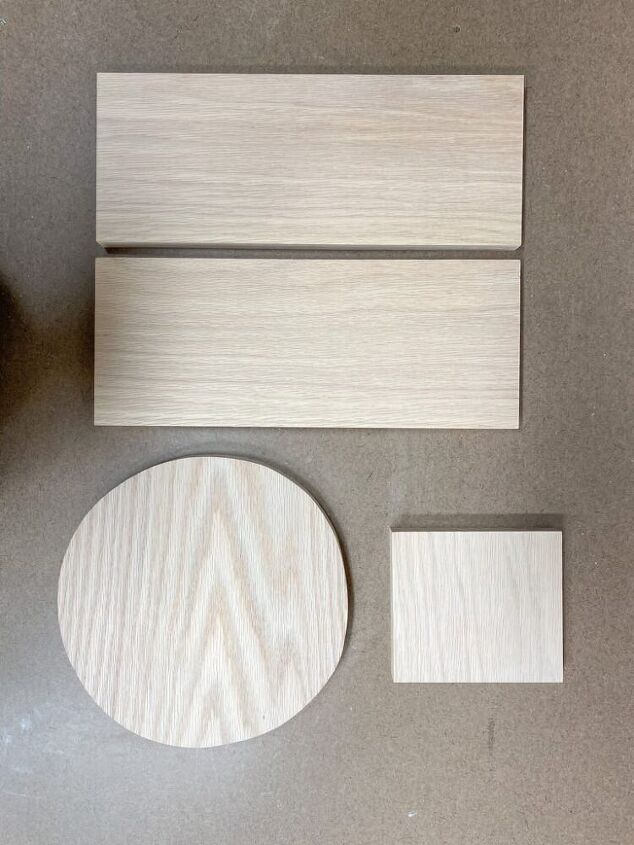
STEP 1: Cut the wood for the base of the stool
Using a miter saw, cut the 1″ x 6″ oak board into three sections, two 14″ long and one 5″ long.
STEP 2: Cut the circle for the top of your stool
Draw a circle on the top of your 1″ x 12″ oak board. The circle should be approximately 11″ in diameter.
To draw a perfect circle, tie a pencil to the end of a piece of twine or string. Hold the other end of the string in the middle of where you want your circle to be. Move the pencil around in a circular motion to draw a perfect circle. Keep the string taut the entire time.
Use a jigsaw to cut out the circle.
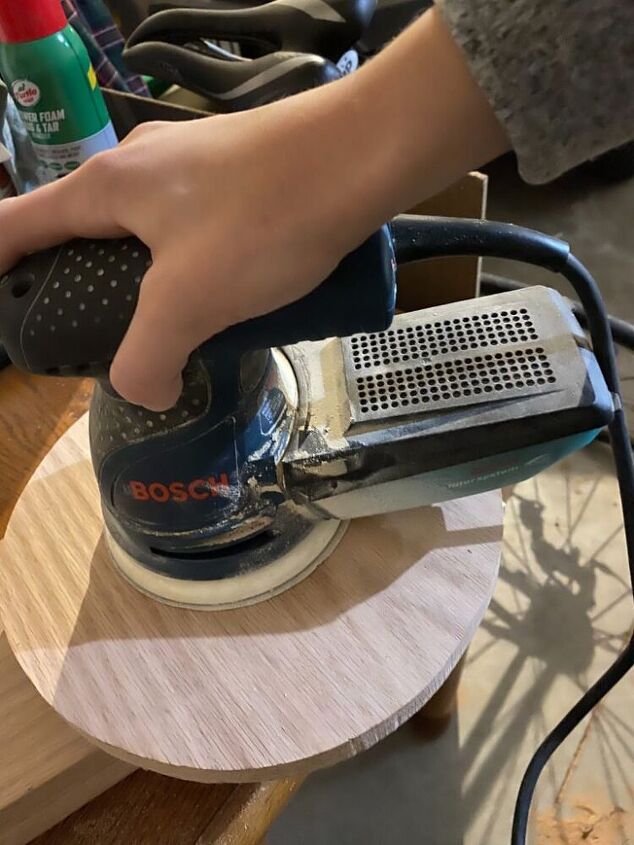
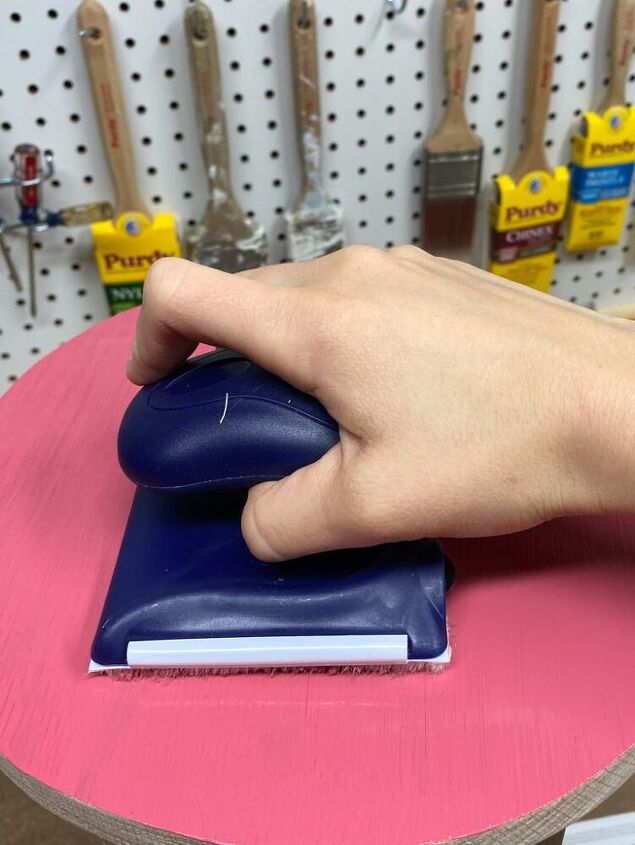
STEP 3: Sand your wood smooth
Using a random orbit sander, sand your wood smooth first using 120 grit sandpaper and then using 220 grit sandpaper. Pay special attention to the outside of the circle to make sure that it’s smooth in case your cut with the jigsaw wasn’t perfect.
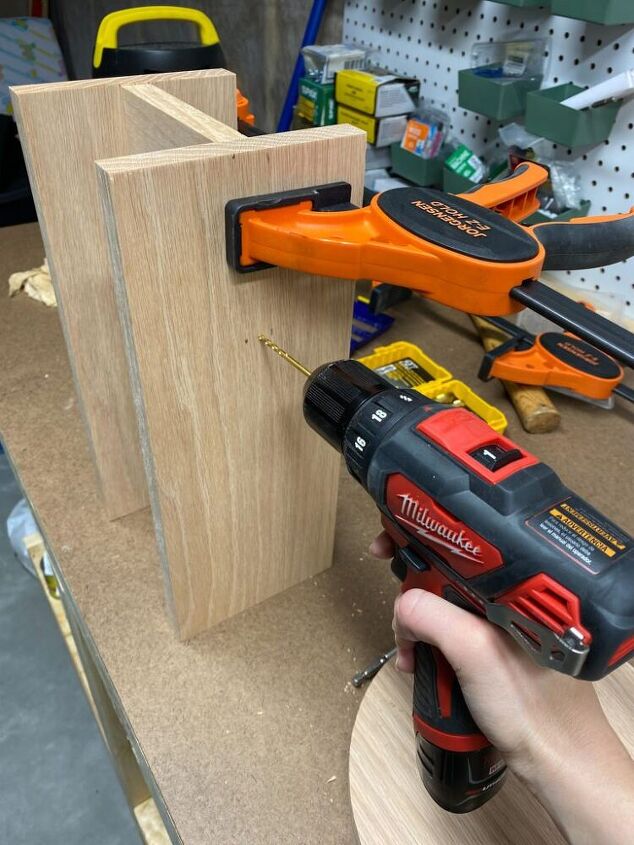
STEP 4: Assemble the stool
The two 14″ boards will be the side legs. Attach those to the 4″ board on either side, creating the base. Use a drill and 1 1/2″ wood screws to attach them together.
Then screw on the top of the stool using wood screws and a drill.
You could get fancy and use pocket screws for a cleaner look. Since I’ll be using a solid color stain on this, it didn’t matter if I used pocket screws or not. If you are using a more transparent color stain, pocket screws will be better so that your screws are hidden.
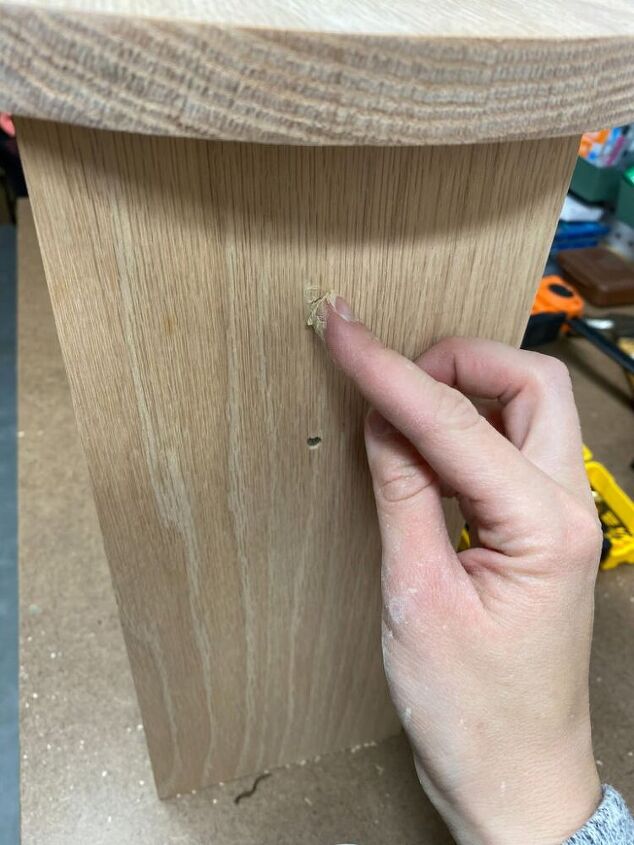
STEP 5: Use wood filler to cover your screw holes
Use stainable wood filler to fill in your screw holes. Overfill them a bit and let the filler dry.
Once dry, sand them down to be smooth with the wood and use a tack cloth to remove any dust.
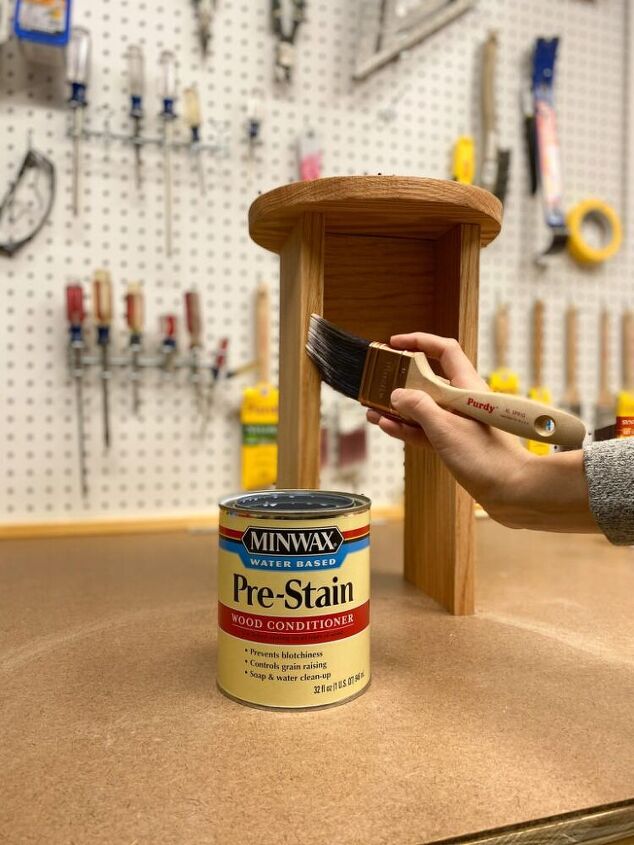
STEP 6: Apply Minwax Water Based Pre-Stain Wood Conditioner to your stool
Using a Purdy 2” XL Sprig Paintbrush, apply the wood conditioner to your stool.
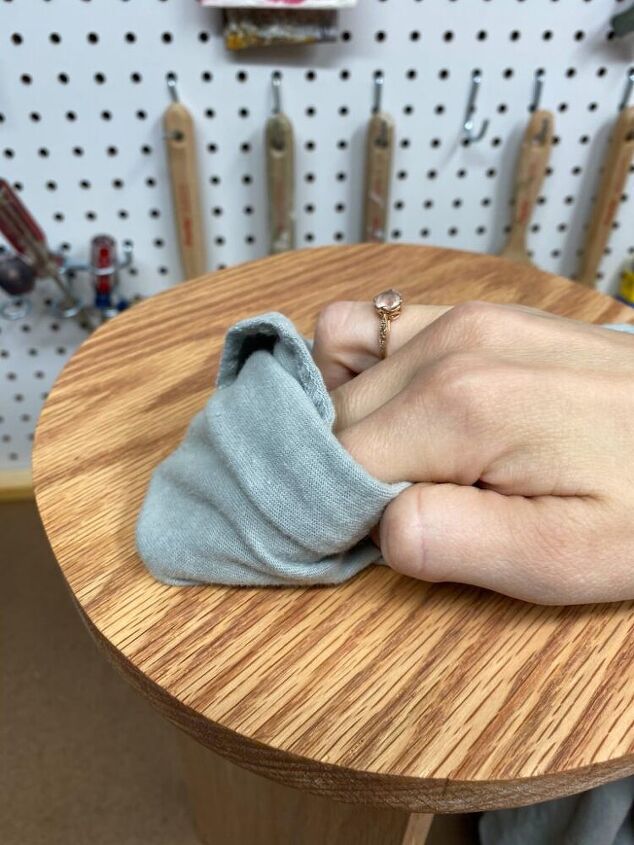
Brush it on and after 1-5 minutes, use a rag to wipe off any excess that hasn’t yet penetrated the wood.
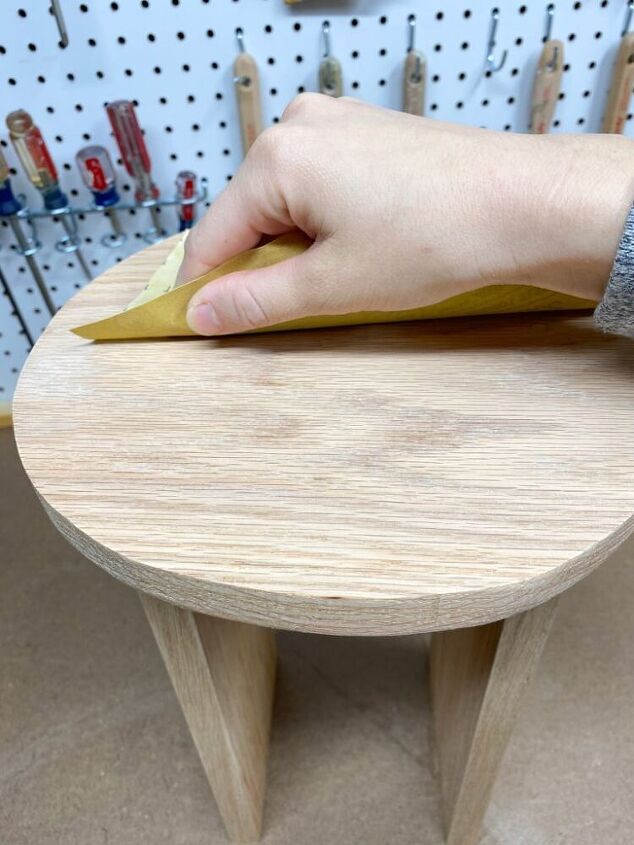
After 15-30 mins, lightly sand the surface with 220 grit sandpaper to eliminate any raised grain.
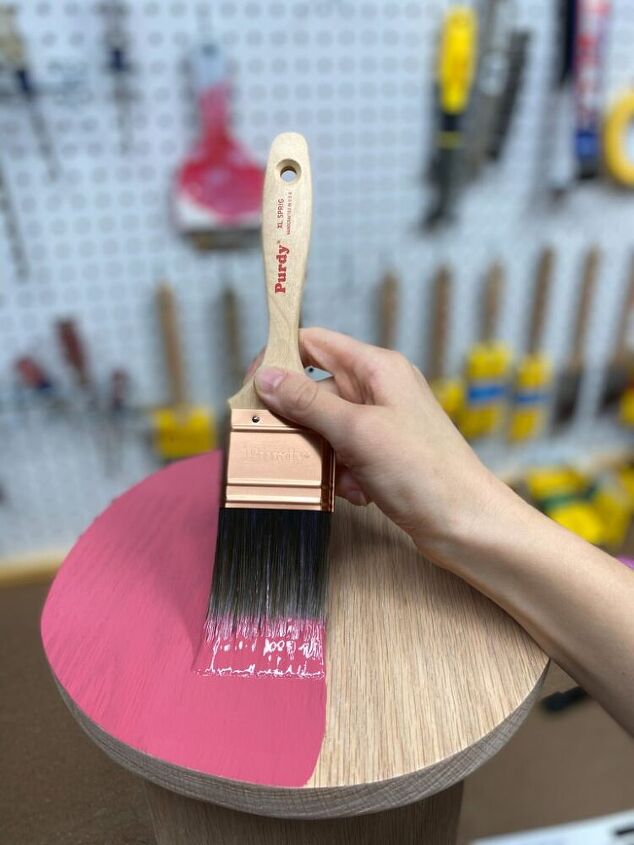
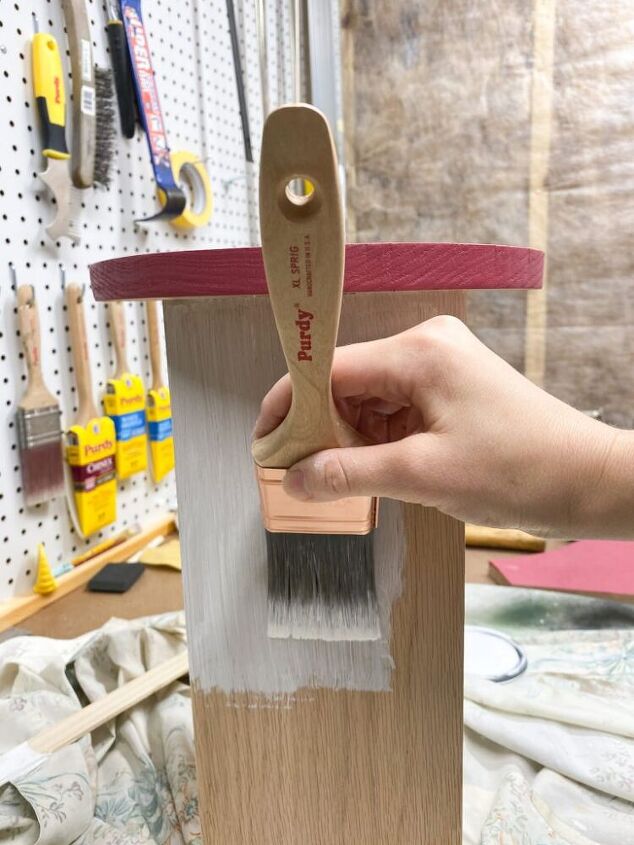
STEP 7: Apply Minwax Wood Finish Water-Based Solid Color Stain to your stool
Using a Purdy 2” XL Sprig Paintbrush, apply the solid color stain to your stool.
I love this stain! It’s water-based, which means clean-up is really easy. It dries really quickly to reduce wait time when doing projects. Also, it’s really thick and easy to apply.
STEP 8: If in line with your design choice, apply Minwax Wood Finish Water-Based Semi-Transparent Color Stain
I chose to create a two-toned look with the Blossom Pink solid stain and a Pure White semi-transparent stain. Therefore, I took this extra step to apply the semi-transparent stain.
Apply this stain using a Purdy 2” XL Sprig Paintbrush.
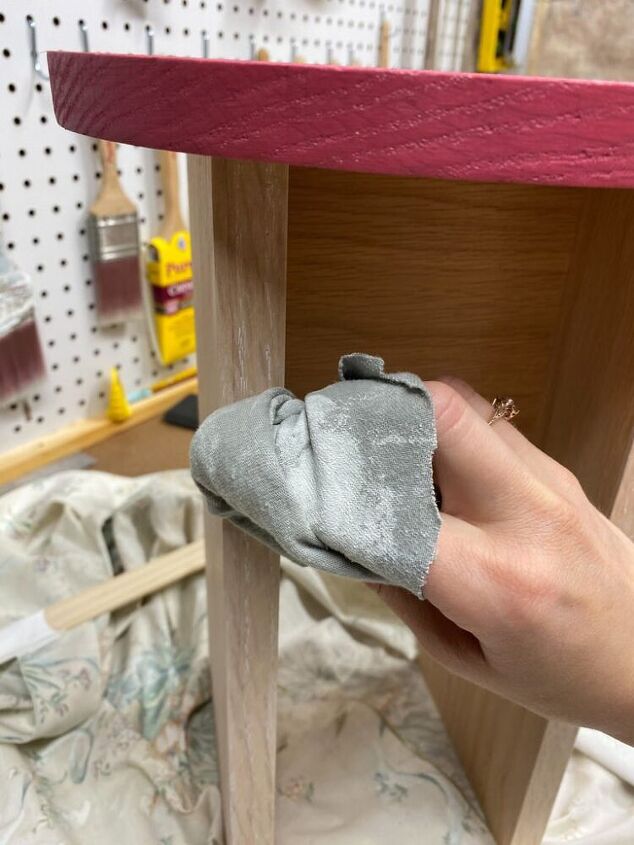
Immediately (within 2 minutes), wipe off excess with a rag.

STEP 9: Apply Minwax Polycrylic Protective Finish Using a Purdy 2” XL Sprig Paintbrush, apply a thin coat of polycrylic. Allow to dry at least 2 hours.Lightly sand with 220 grit sandpaper and use tack cloth to remove any dust.Apply a second coat of polycrylic.

Then you're done!
Looking for more modern home DIY ideas?! Check out my modern console table and wall decor tutorial HERE.

Comments
Join the conversation
-
So pretty, simple and why didn't I think about it??!! Ohh I'm jealous of you guys that could make such beautiful stuffs from anything !!
Thank you for sharing!!
-
I love the color choice!


Frequently asked questions
Have a question about this project?