


How to Make an Original Side Table

Do you like original furniture? Then we have something for you. We tell you how you can make a round table for the living room with a recycled tire, a bit of wood, and four legs.
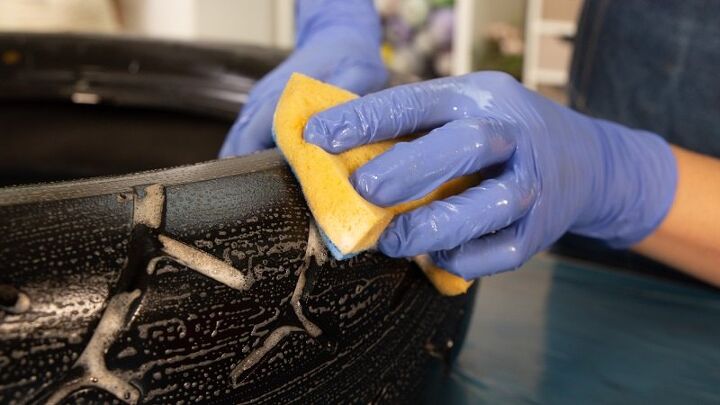
1. Clean the tire surface
Before starting work, it is imperative that you thoroughly clean the surface of your tire. Start by rubbing with a hard bristle brush, which will remove the most superficial dirt, and then go over the rubber with a scouring pad, soap, and water. If when you finish there are still grease stains, use a specific product to eliminate them.
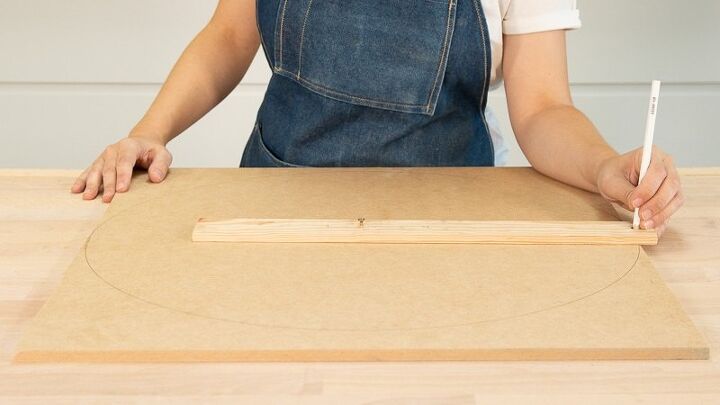
2. Cut the wood
In addition to the tire, you need two circular pieces of wood to shape the central frame of the table. One, varnished and glued on the wheel, forms the cover of the table; the other, glued under the tire, acts as the base to which the legs are screwed. The two pieces must have a diameter equal to that of the sides of the tire.
To create the two circular pieces from a board, you need a piece of wood, a drill, and a pencil. Mark the center of the ribbon and make a hole through which to pass a pencil at a distance from that point equal to the radius of the circle you want to draw. Then lightly screw the center of the slat to the center of the board, run the pencil through the hole, and turn the slat on itself. In this way, you will create a perfect circle of the desired measure.
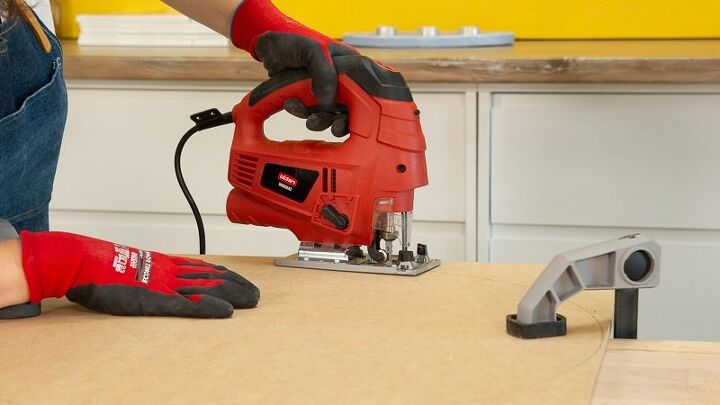
Cut with the help of a jigsaw and sand the edges well when you're done.
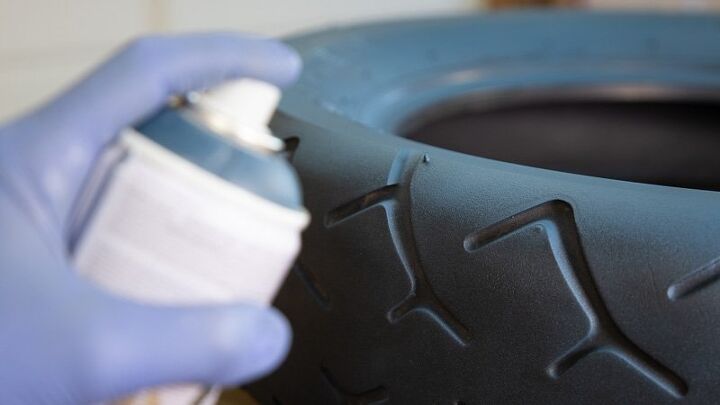
3. Paint the tire the color you want
Now it's my turn to color the tire. Protect your work surface and place a couple of parallel slats on it: they will help you support the tire and paint it more easily. Then paint the tire with a suitable product - in this case, we did it with spray paint for its speed and effectiveness - and let it dry.
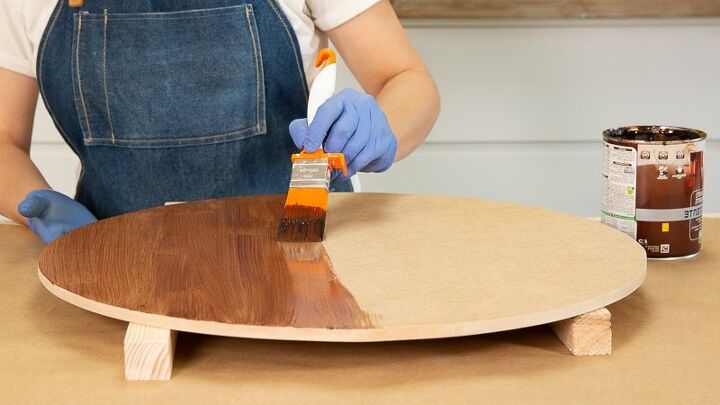
4. Varnish the wooden deck
Also, apply a capable of decorative varnish on the wooden top of the table. In this way, in addition to improving the aesthetic result, it will be protected before possible bumps, scratches, or stains. Do it with your protected work surface, with the help of a trowel.
If you prefer, you can apply a layer of any other decorative wood product - water-based enamels, chalk paint ... -, and a transparent varnish afterward.
5. Assemble the table
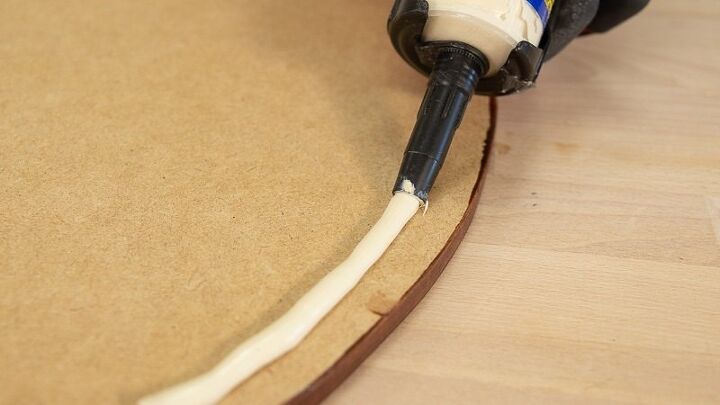
When everything is dry, fix all the pieces together to assemble your coffee table. Start by gluing the wooden base to the bottom of the tire with some mounting adhesive. Apply a bead of product parallel to the edge of the piece and place it on the rubber, moving it slightly so that the adhesive sets. Then press hard for a few seconds.
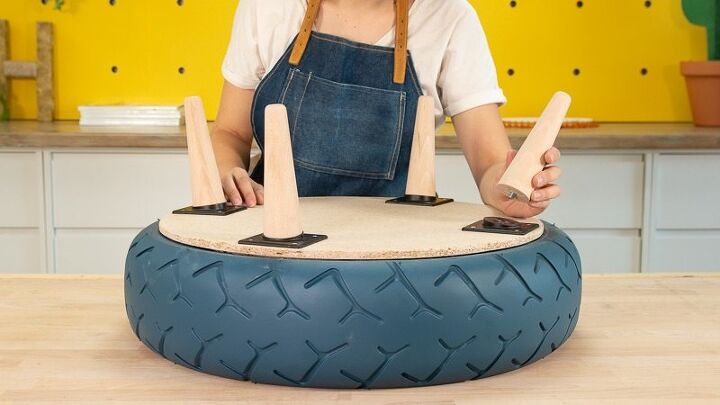
When the bottom piece is glued together, screw on the four wooden legs, placing them near the edge evenly. In this case, they are long wooden legs that are slightly inclined towards the outside, but there are many other options: four short legs to make the table short, wheels to move it, fork legs ...
After attaching the legs, glue the varnished piece of wood - the tabletop - onto the top of the tire using the mounting adhesive again. Follow the same steps as with the other piece of wood: apply a bead of product, place the piece on the tire and move it slightly.
Then, place a couple of clamps that go from one piece to another and let it dry for the time recommended by the manufacturer.
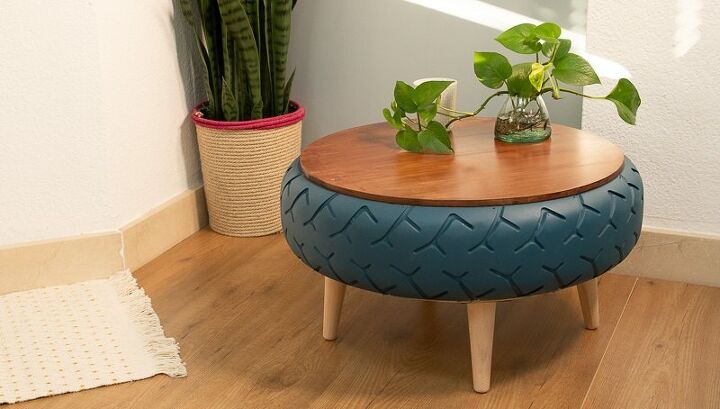
Ready! How about? Do you like how it turned out? Let us know in the comments!


Comments
Join the conversation
-
Looks very nice. Nice color too.
-
That is really awesome, and I would also like to see it with a hinge r 2 for storage purposes, but somehow be able to hide the hinges so they're not seen, especially if you have stuff you don't want to leave laying around, quick and easy to put away.


Frequently asked questions
Have a question about this project?