


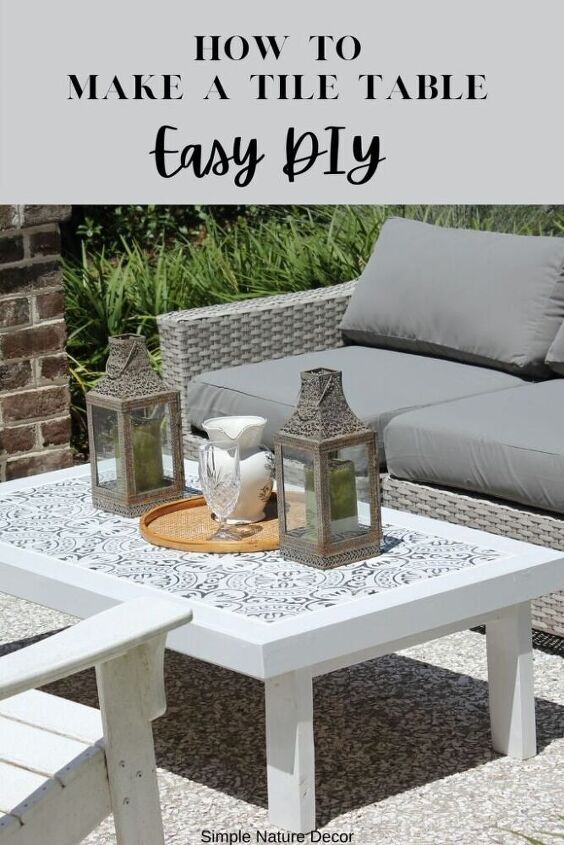
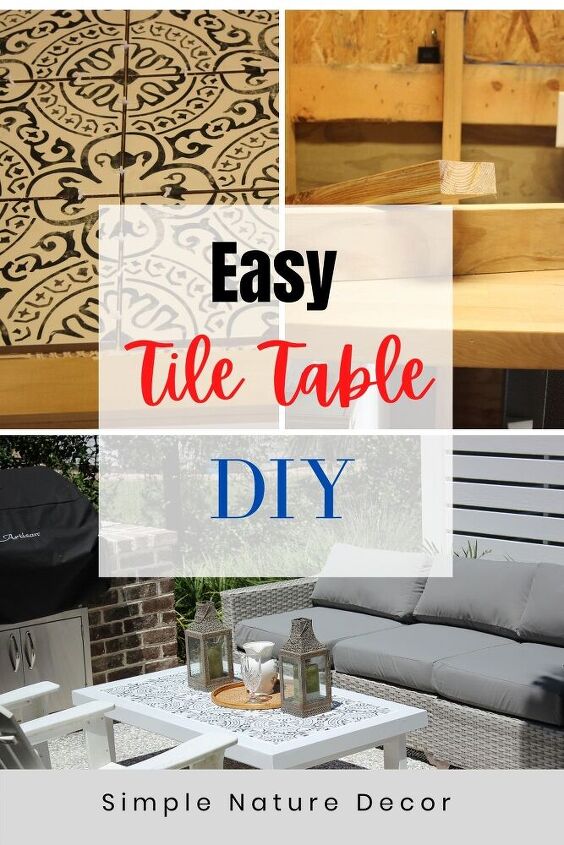
How To Make An Outdoor Tile Coffee Table
Here is an easy outdoor tile coffee table you can make using 2 by 4’s leftover tiles, circulating saw and deck nails.
How To Make An Outdoor Tile Coffee Table
If I can do this you certainly can. I was searching for an easy coffee table plans for my first attempt in making an outdoor table. I was inspired by Anna White 2 by 4 rustic table. It was super easy and all it required was 2 by 4’s, screws and saw. I have made my share of wooden projects using my circulating saw so this sounded perfect for me. I make some modification because I wanted the top of the table to be tiled. I had this pretty Moroccan tiles that was leftover from my bathroom and foyer floor.
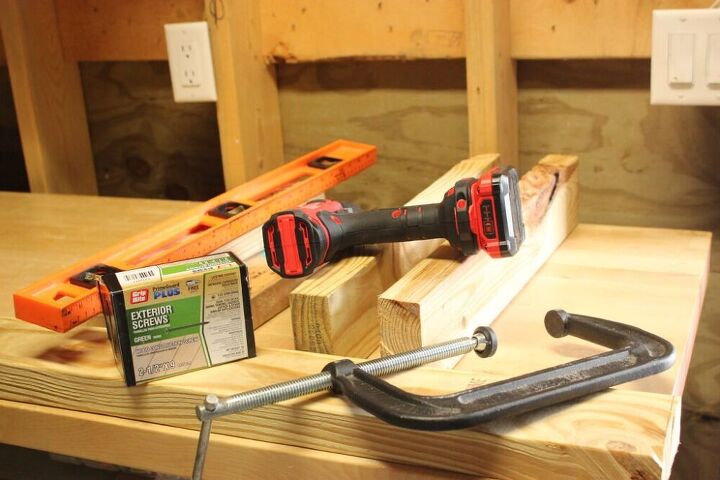
Supplies
What I loved about this table It was it was all done by 2 by 4’s, a drill and a saw. There was no need to use Kreg Jig, which I am unfamiliar with.
- 6- 2×4 @8 feet long
- Plywood 54 x 30
- Deck screws 2 1/2 “
- Circulating saw, measuring tape, clamps, level and pencil
- Tile
- Adhesive for tile
- Grout
- Sponge
- Moulding trim for top and side:(same thickness as tile)
- White gloss paint: Oiled base
LIST FOR CUTS
- Cut List
- 4 2×4 @ 14 1/2 inch – Legs
- 5 2×4 end aprons supports @ 20-1/2”
- 2 2 x4 @ 47“ side aprons
- Plywood @ 54 x 30
- 2 Moulding side trim @ 30” top and bottom
- 2 moulding side trim @ 54” outside trim
- 2 moulding trim on top & bottom @30”
- 2 moulding trim @48 inches on top
How To Make The Outdoor Tile Coffee Table
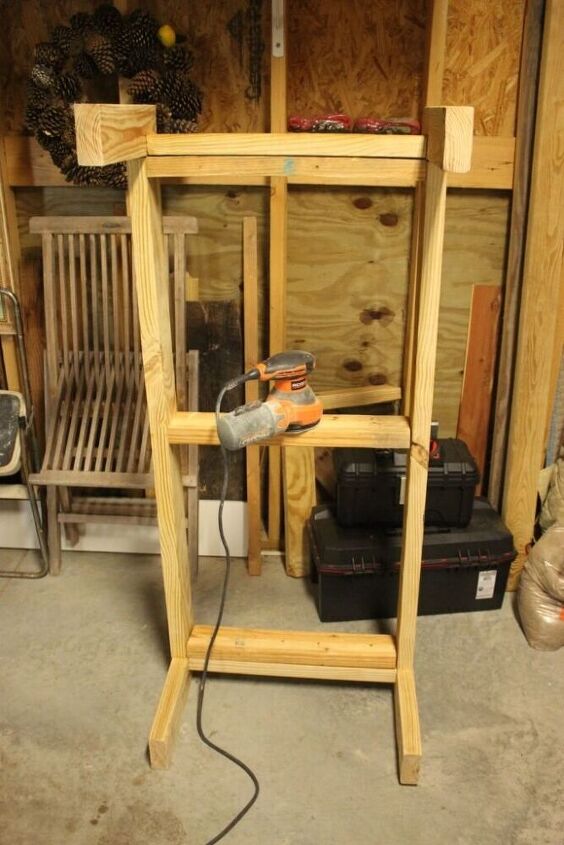
- Attach two legs to an apron, two deck screws per joint. Repeat for second set of legs.

2. Build the base with long aprons and remaining short aprons. Center the middle apron support on long aprons. I used a clamps to hold down the base to the leg aprons, that way I can attach the deck screws.

After you attach both the legs,sand the base to get it ready for caulking and painting. I painted the base before I add the plywood top.
I attached the tabletop onto of the base with deck screws. This table is turning to be a bit more complicated than I thought. If I stuck to the original plans of Anna White rustic 2 x 4 table, it would be finished by now. My goal was to use my pretty leftover tile. I decided to add part of the trim that was closet to the tile first before I laid out the tile. You can do it either way
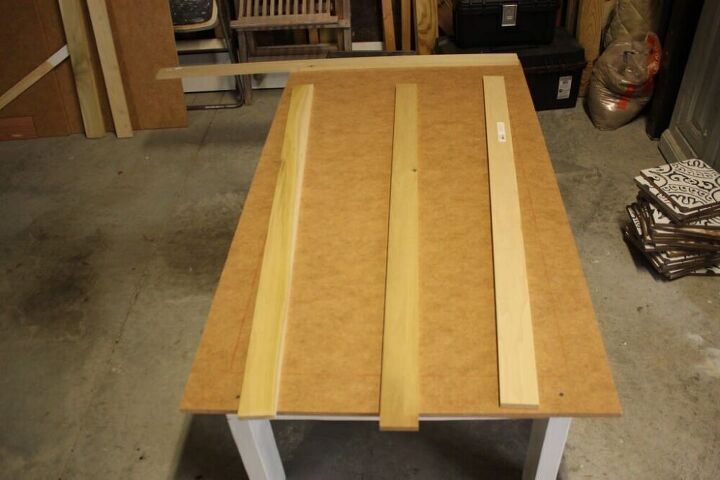
Trim
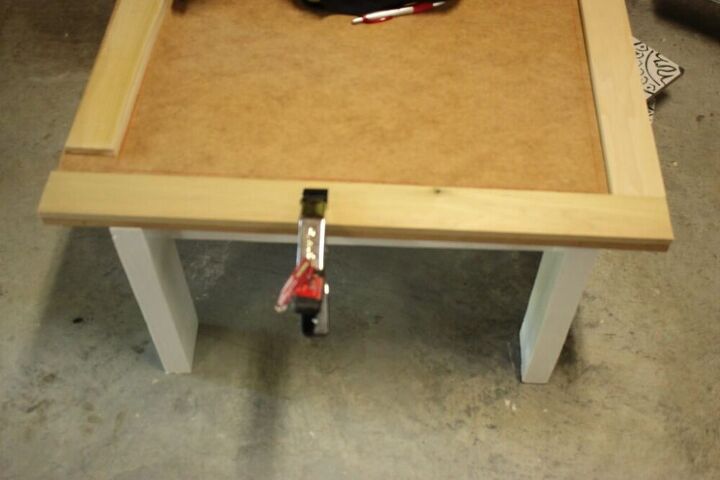
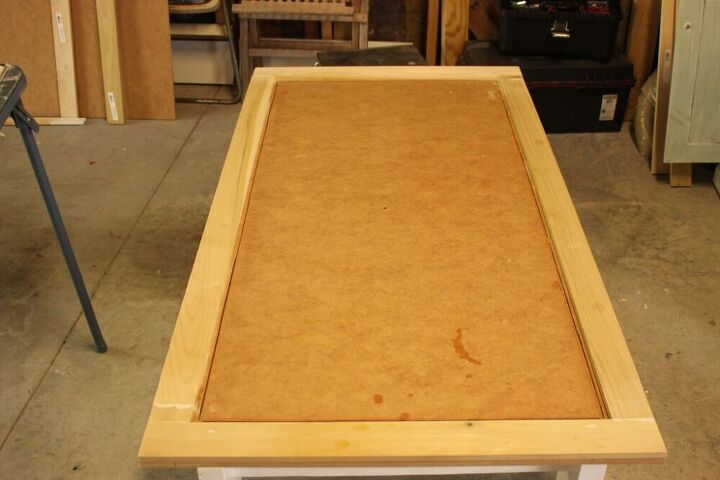
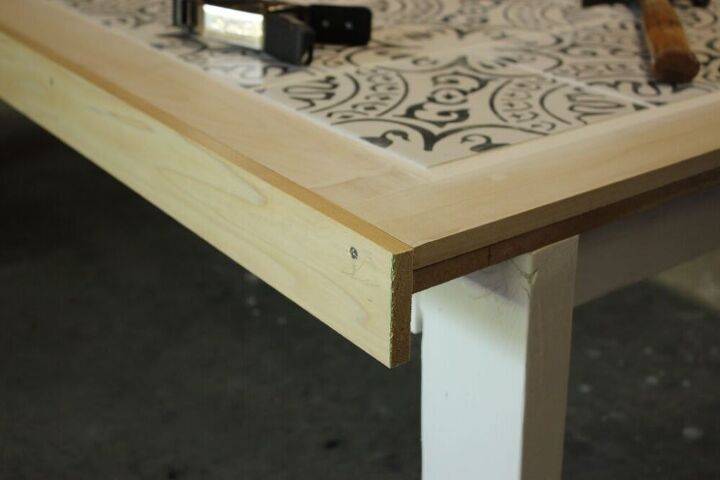
Using a 2 1/2 wide trim all the way around the top of the table gave the table a custom look. I added some liquid nails first and a few deck screws.
Make sure you clamp the wood after you use the liquid nails. The trim was not long enough so I had to cut a smaller piece to fill in the gap. You can fill the seams with wood filler and sand it later. You won’t see the difference.
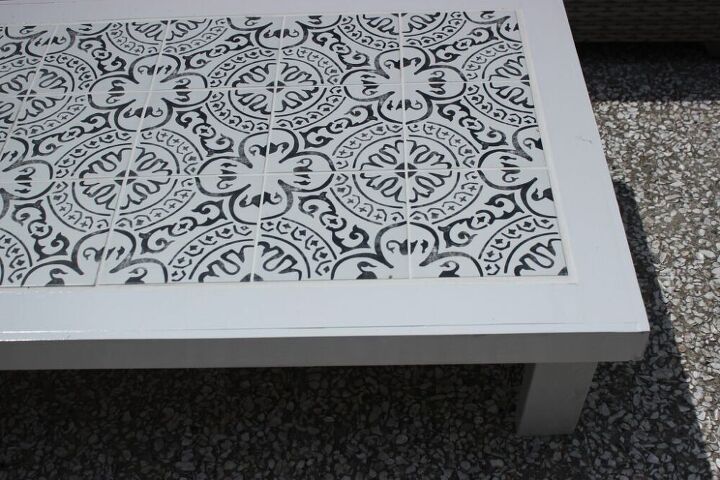
Tile
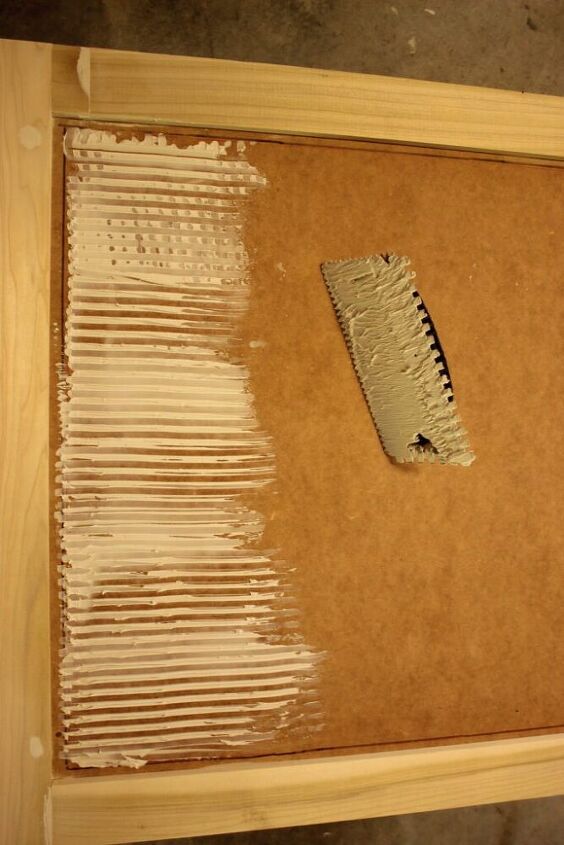
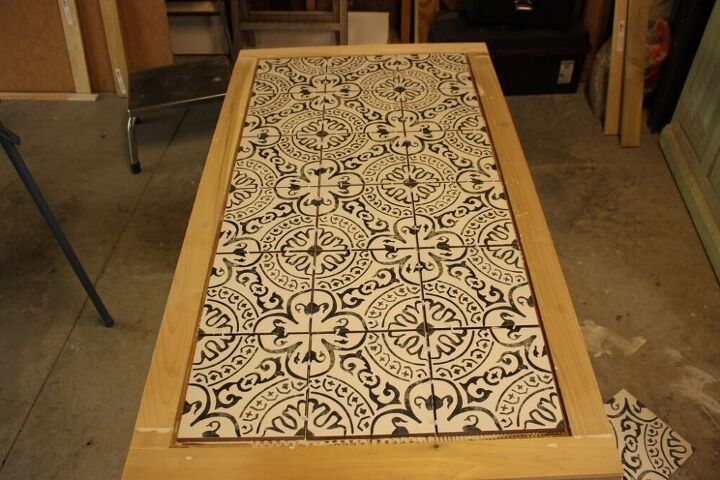
Lay down the tiles down. I needed to create a little space between the tile and trim. I needed to draw a line all around the tile to determine where the grout would go and where to place the tile. Once I drew the line I took off the tile.
I added the tile adhesive in small sections at a time. Make sure you use a trowel to spread the adhesive. Place the tiles down and spacers as quickly as possible.
Let the tile dry for 24 hours before grouting.
Removes the spacers and apply the grout with a floater. Once its applied. Take a damp sponge and clean the tile.
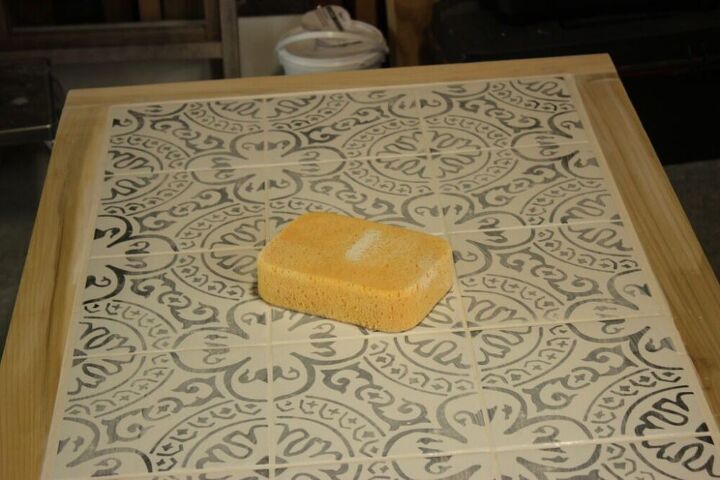
Once the tile is clean let dry for 24 hours.
Attach the side trim to the table using a drill and screws. Once all the trim is attached. You are ready to caulk the trim seams and paint.
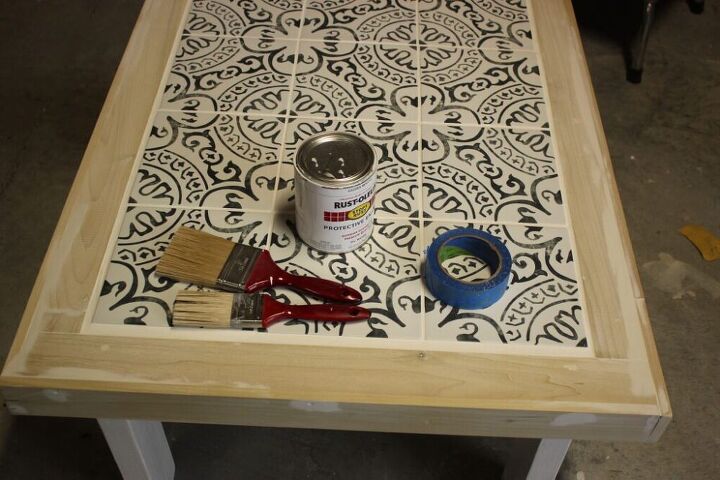
Tape the grout and some of the tile. Now you are ready to paint the wood with semi gloss paint. Let the paint dry in between coats.
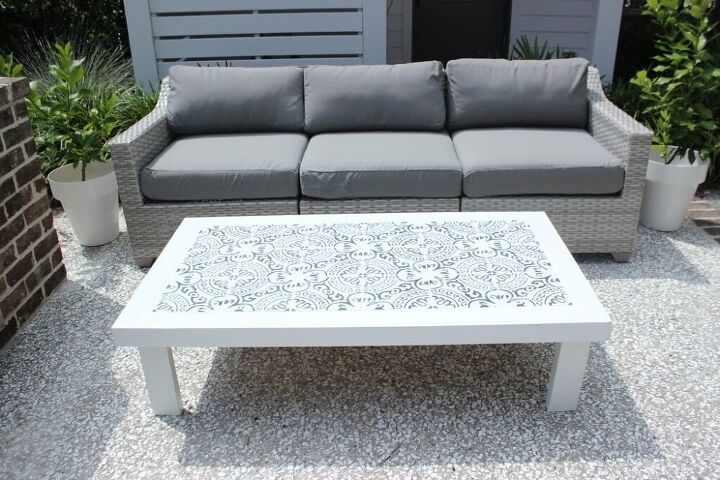
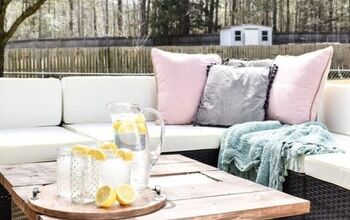
I am super proud of my first table DIY. I think I am ready to make some side tables.
For Similar Posts
How To Stencil A Medallion on Outdoor Table
Pin This For Later
Resources for this project:
See all materials


Comments
Join the conversation
-
Beautiful!
-
Lovely!!!


Frequently asked questions
Have a question about this project?