


Modern Tier Shelving

If you follow me here, you know I love creating spaces for my plants. I found a tiered stand on Amazon for $150. It was made out of particle board. I simply was not willing to pay that.. so I made my own for a fraction of the price. I have a 30 second clip of the build on my Instagram reel.
I'll show you how I built it and share alternate options if you don't have the same tools as me.
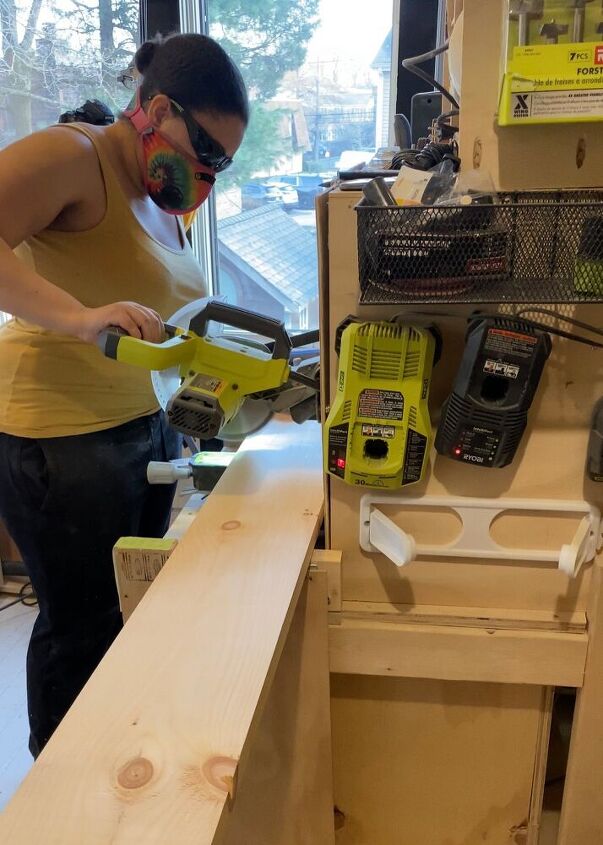
Firstly, you'll need to decide what length you want your shelves. I chose and used 1x8 boards from Lowes. I cut 5 boards to the same length.
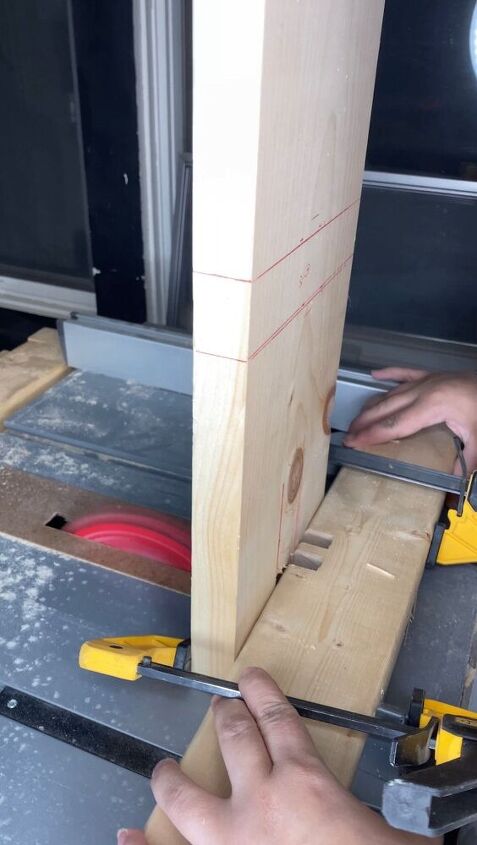
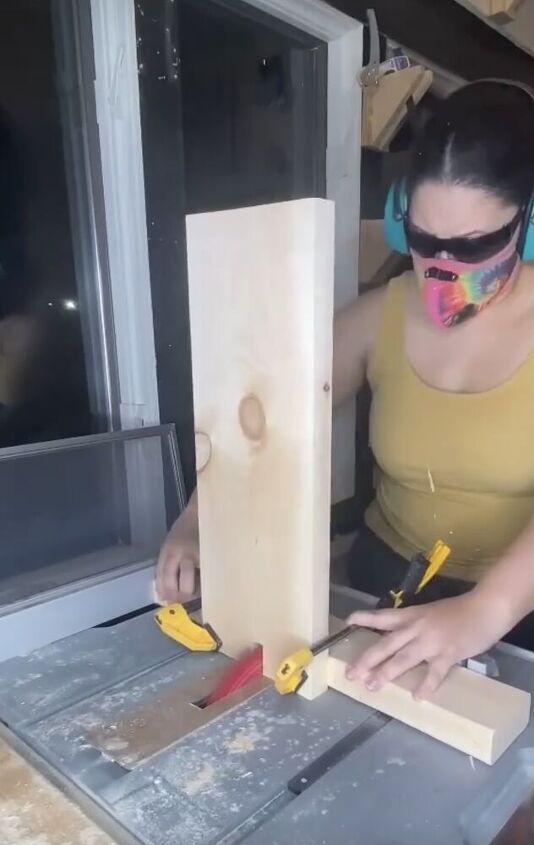
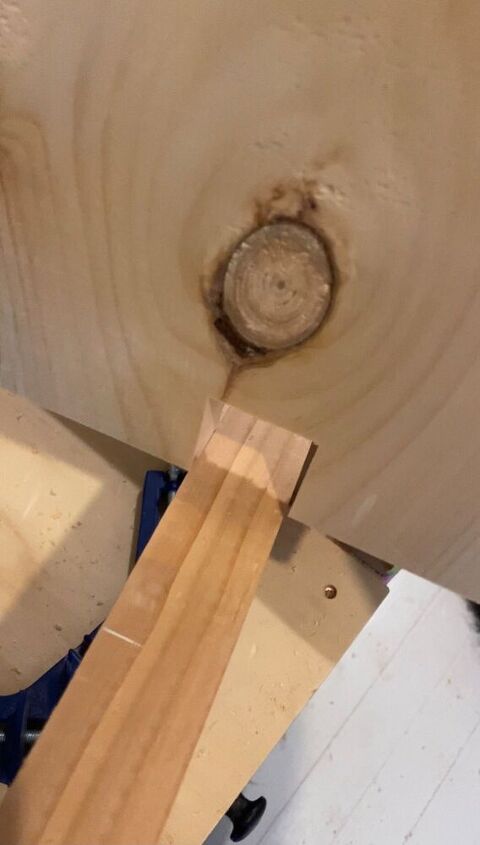
Afterwards, I marked the center of the board and used my dado stack on my table saw to cut a groove. It's really important here to use a crosscut sled of some sort. *Another option: use a multitool or even a plunge router.
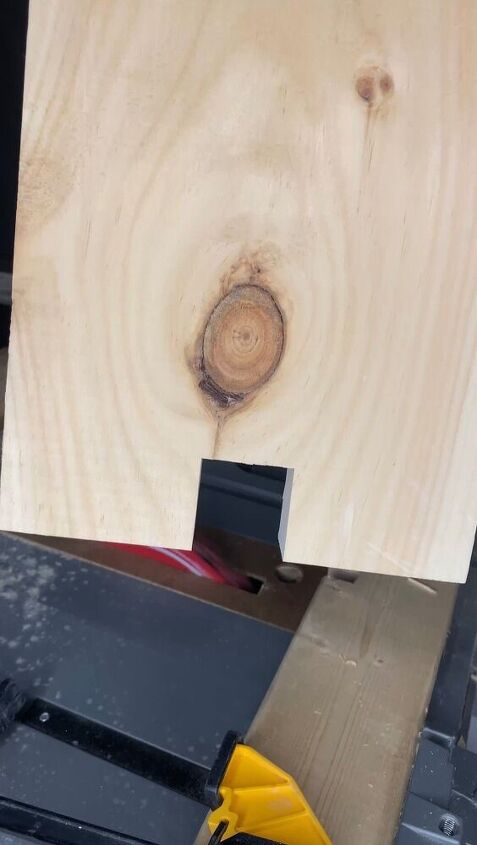
It should look like this when you are done.
And this is how it will fit into the legs. Now, keep scrolling for how to make the legs.
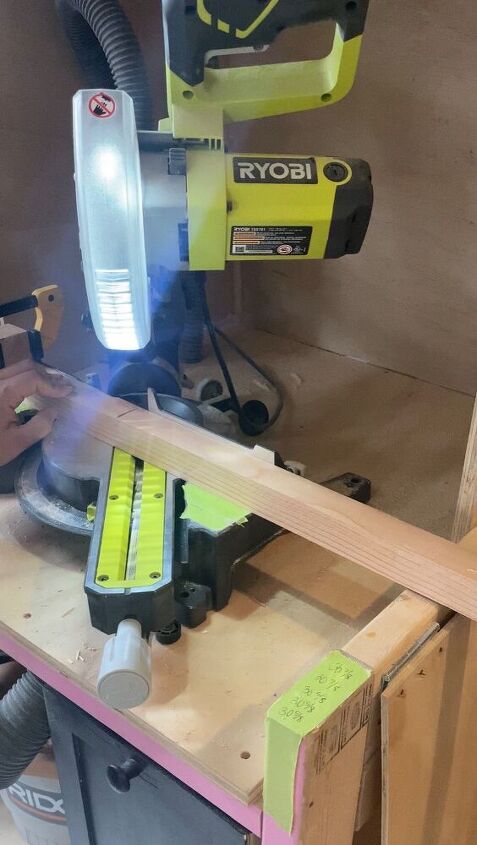
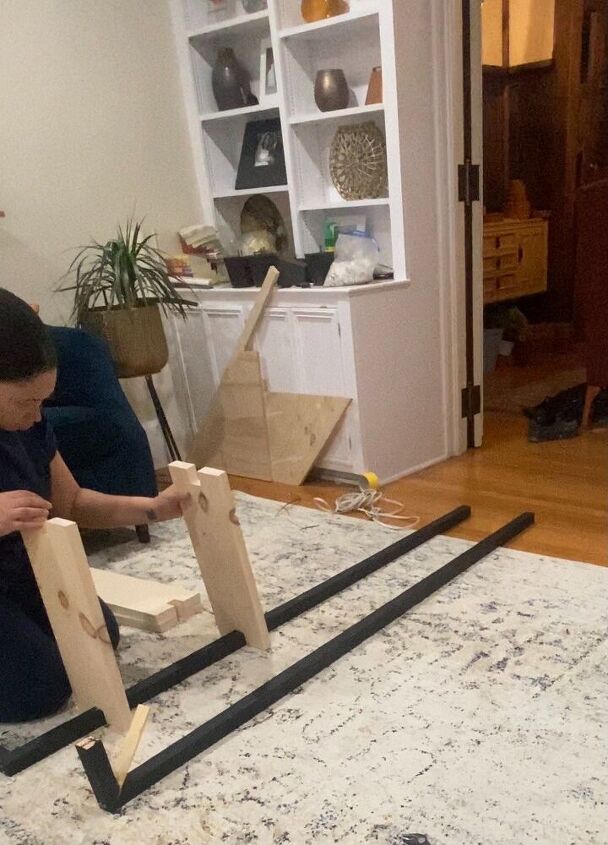
I got 2x4 lumber and cut the rounded sides off with the table saw so the edges would be sharp. I marked the height and cut it on the miter saw at a 45 degree angle. You can cut a straight line if you want to as well.
After cutting this, measure how far away from the wall your stand will be, and cut another piece of wood (using the 2x4 lumber) to that size (see next pic).
You can see here, I have the legs and the shorter block where the stand will connect to the wall. I decided to paint the legs black.
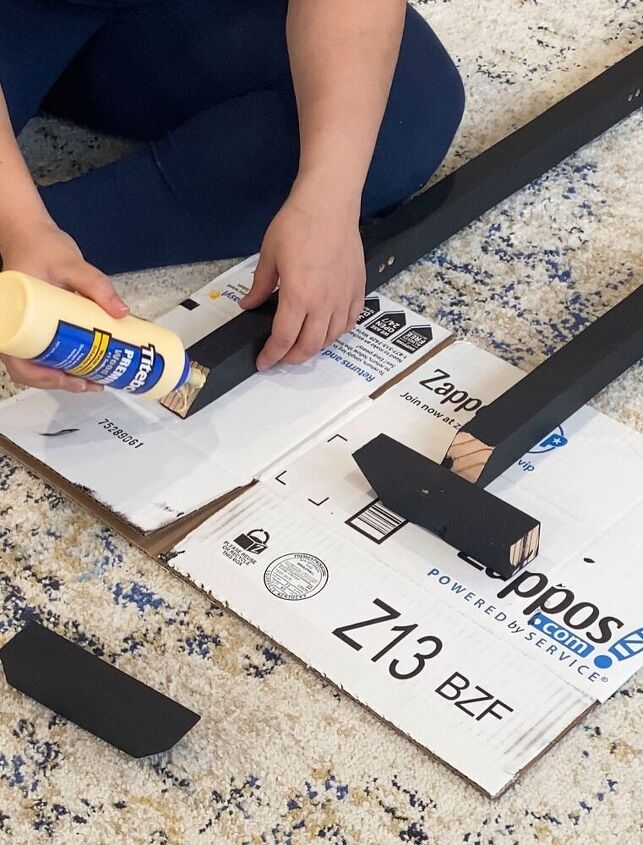
I applied glue for added strength.
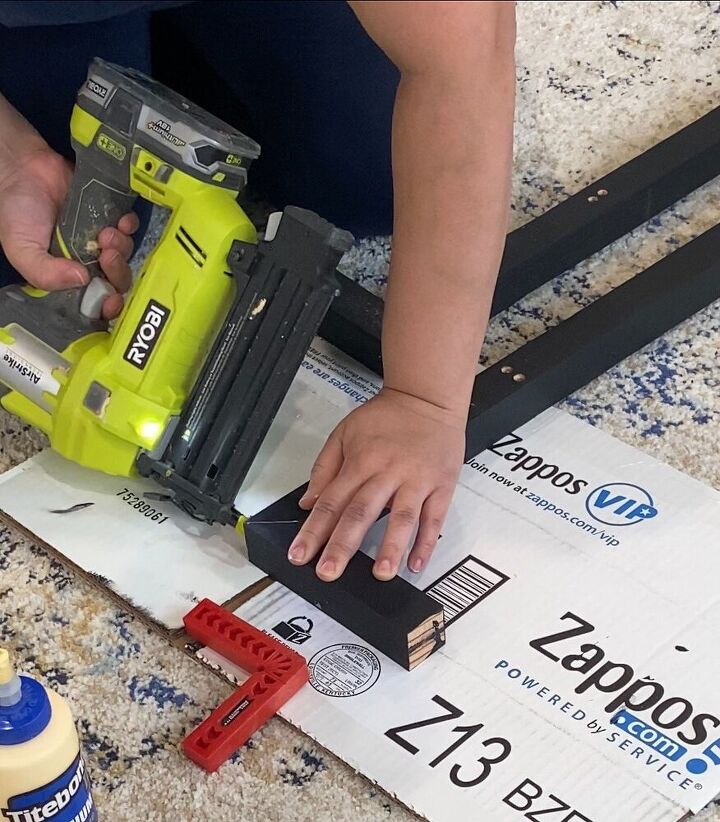
Used a brad nailer to help hold it all in place.
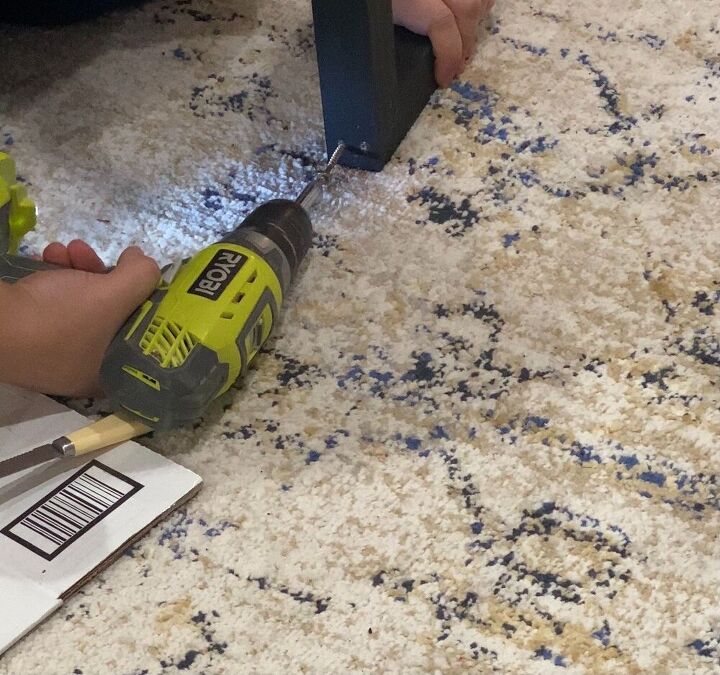
Then screwed it together. I made pilot holes first to prevent any tear-out.
This is how the legs and the shelves fit together.
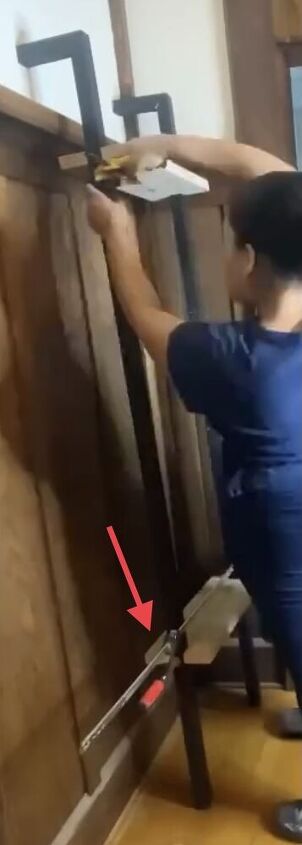
This photo is blurry (sorry!)- it was hard to capture while trying to figure this out. But I want to highlight the use of the clamp (see arrow). I used the clamp to hold the two legs together around the last shelf. I Screwed that in then assembled the 4th shelf, 3rd shelf and so on until I reached the top.
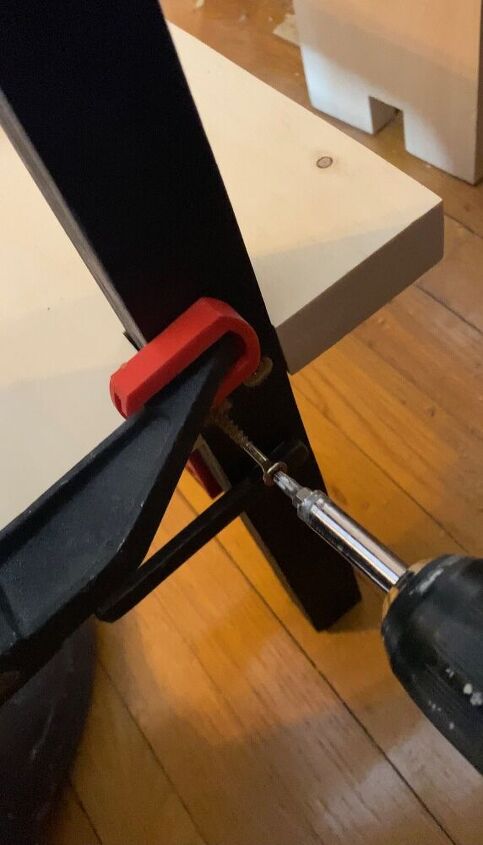
The clamp did a great job serving as extra hands while I screwed it all together. Of course, I pre-drilled pilot holes before screwing the screw in.

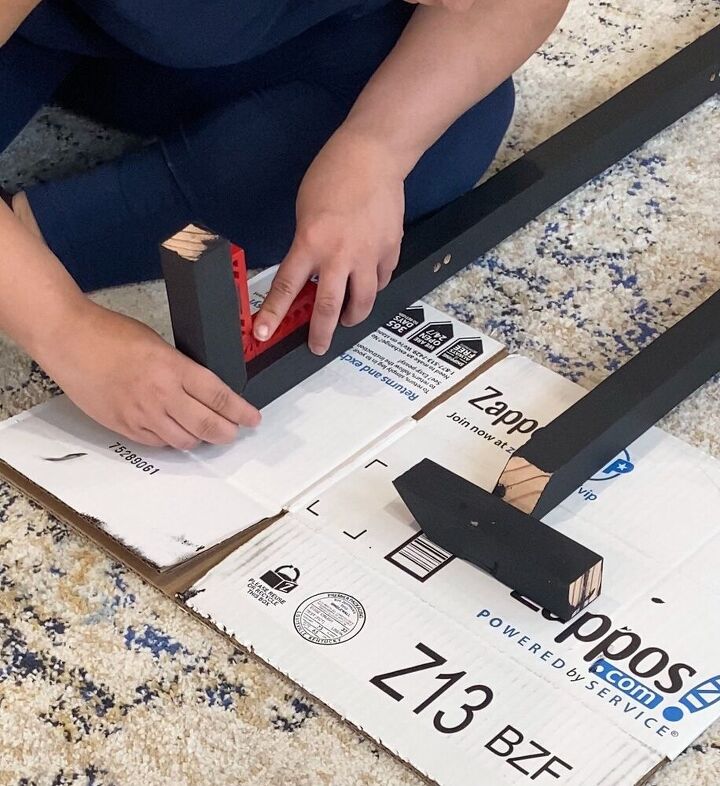
I used my red square to serves a resting place for the shelf while I screwed things together. Make sure to also check that everything is level.
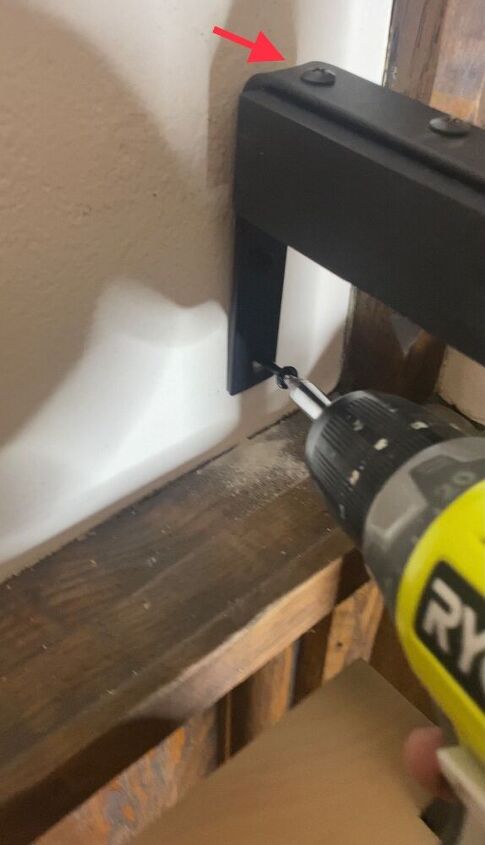
I added these corner braces to the top of bracket and screwed into wall. Try your best to find a stud so it's sturdy.
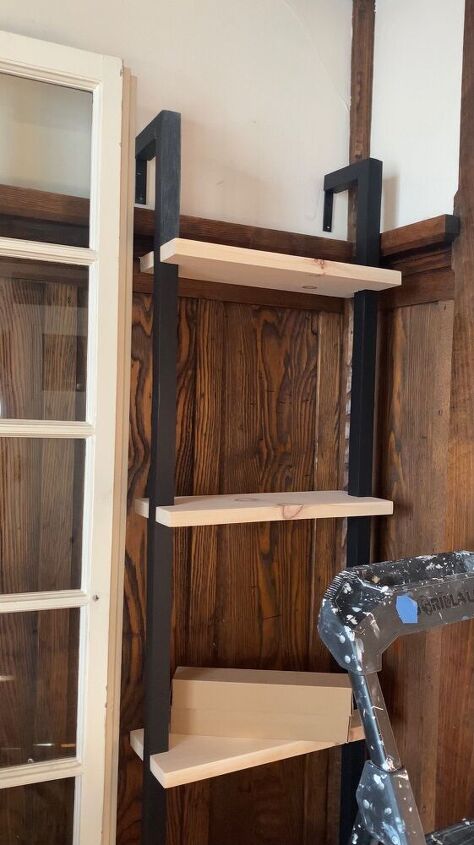
This is what it should like. I applied polycrylic in matte finish to protect the legs and shelves.
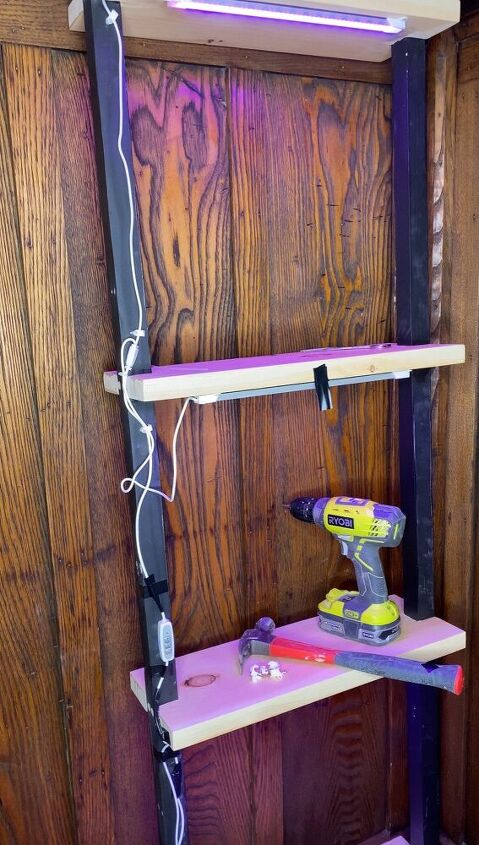
I decided to add grow lights to mine since this is a dark corner. I had to turn the shelf around and I ran the wires along the legs and used tape to temporarily hold the wires in place while I put the cable clips on.
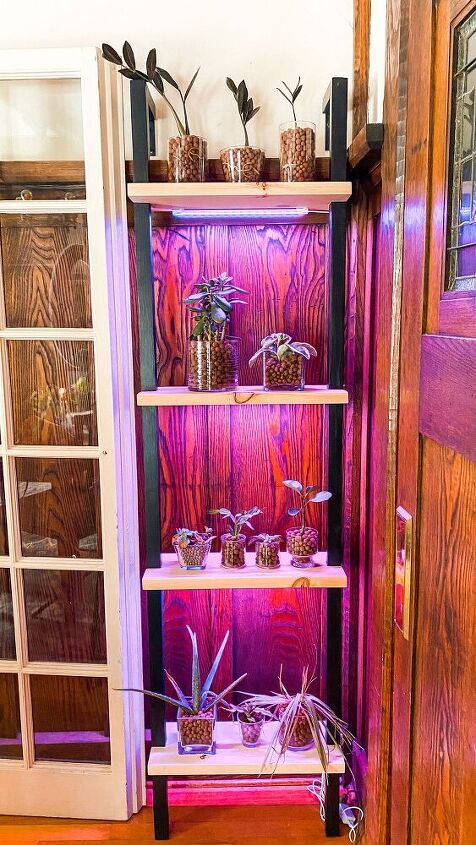
I have to add a cord cover to hide the cords below, but other than that, this is done! Thanks for checking this project out
Resources for this project:
See all materials


Comments
Join the conversation
-
Thanks for sharing! It looks great and it's a wonderful idea!
-
Your shelves look really great. I'd like one in my kitchen for herbs in the winter. ... there's nothing like LIGHT in the winter. Also your design is very nice. ❤👍👏


Frequently asked questions
Have a question about this project?