


Movable 2-Sided Storage Organizational Unit
How to store paint, stains, spray paint and even rechargeable batteries in a rolling DIY double sided storage cabinet.
Please take a minute to click here to sign up for the Mother Daughter Projects weekly newsletter. You'll get notification about our new projects and what is up and coming.
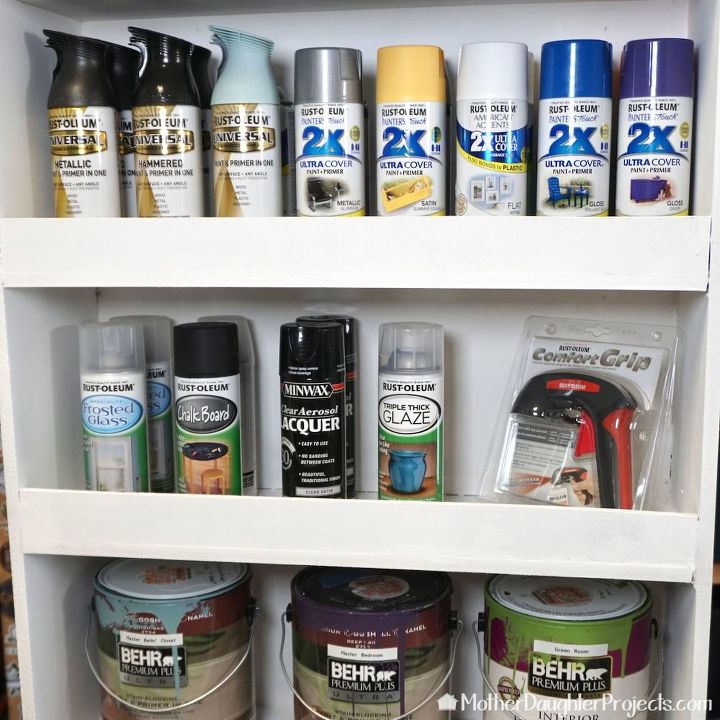
We needed a way to store our growing collection of paint, stains, spray paints, rechargeable batteries, and chargers. You're probably wondering what the connection is between these things. Well, they really need to be stored in a temperature controlled area rather than someplace hot like a garage.
We set about to design something that would hold all these things in a way that they were visible, easy to access, and movable. Check out the video and post to see how it came together. You can find additional details and links to the products we used on the original post on our website. See the link at the bottom.
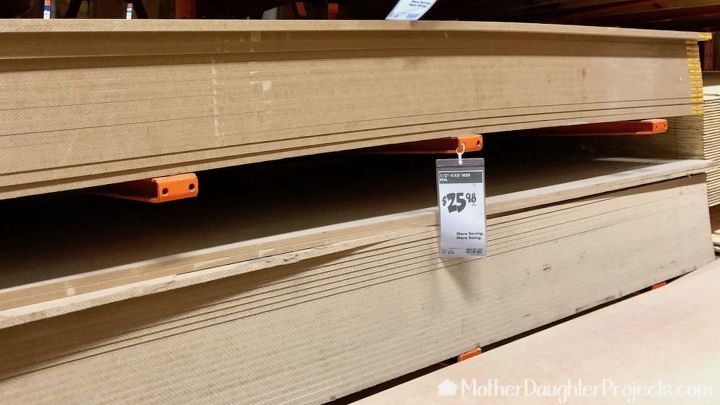
All of our projects start with a trip to The Home Depot for supplies. Here we picked up two full sheets of MDF and casters. Since only one sheet would fit into the car, we actually made two trips to pick up supplies! Anyone else have to do this?
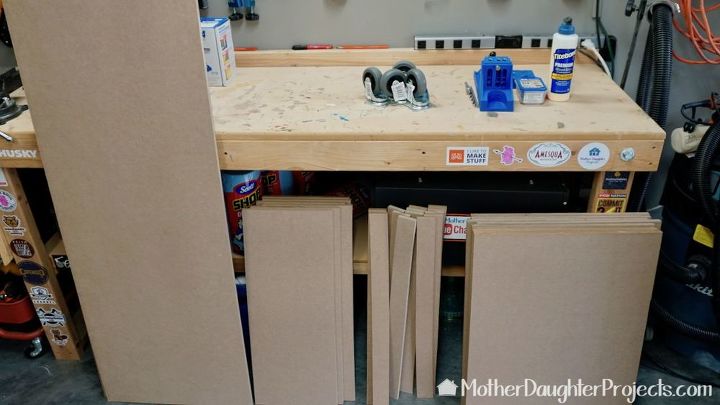
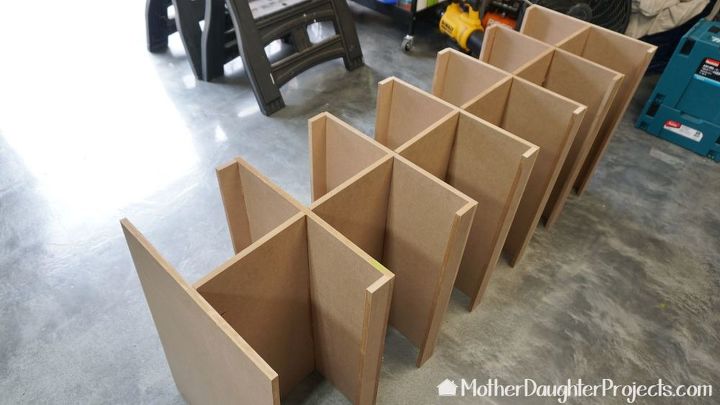
Steph made a very detailed drawing of the cuts we needed to make. Because of this we were able to make the cuts with very little waste. If you visit our website you can see a picture of the cuts we made. All the cuts were made with a plunge saw or circular saw. It's important to be very accurate with your measurements although tiny imperfections in the cuts can usually, but not always, be sanded correct or filled with wood filler.
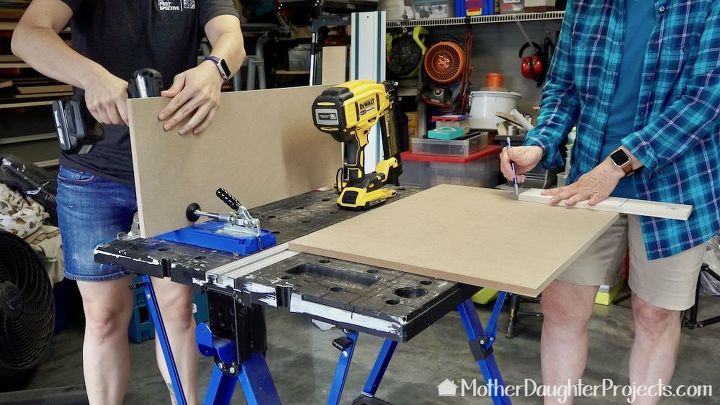
Once all the cuts were finished, we made pocket holes in what would be the vertical shelf divide. On the right, I'm marking the center of the shelf so the piece on the left can be perfectly lined up when we assemble the pieces.
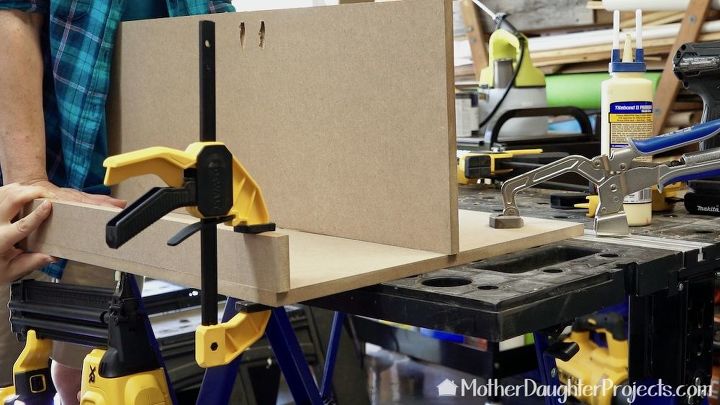
Here you can see one of the shelf verticals after it was glued and brad nailed into place. Those pocket holes at the top will be used to attach all the shelf units together. We added a small rail to what will be the outside edge of the shelf to help prevent things from falling off the shelves.
After all the individual shelves were finished we laid them all out and then glued and screwed them together with pocket hole screws.
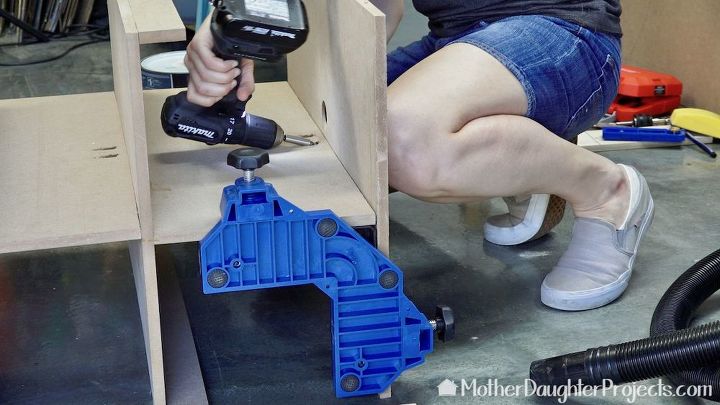
This is a picture of the screws going into the pocket holes. The blue thing is a clamp helping to hold this all in place. The board with the hole in it will be the top of the finished unit.
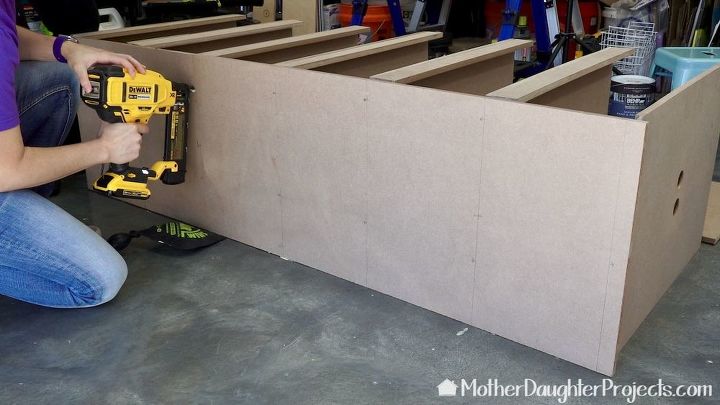
Now it's time to add the sides which were glued and brad nailed into place.
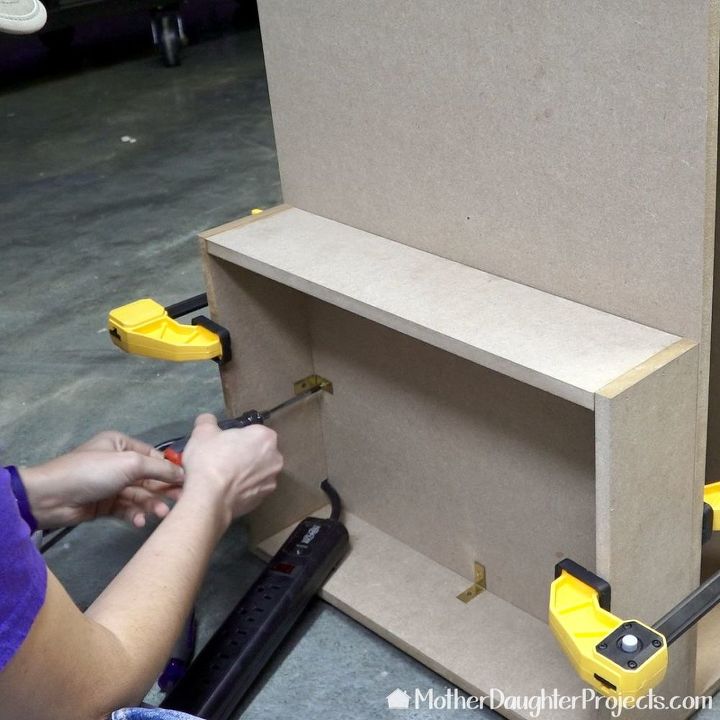
Steph made a little simple box to attach to the top of the unit to conceal a power strip and all the cords from the battery chargers that will sit on the shelf right below the top.
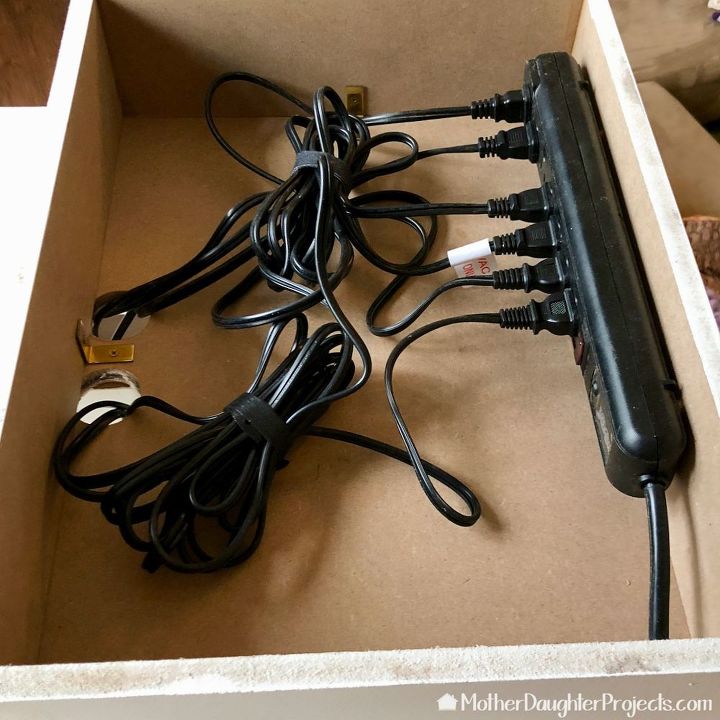
So much neater than having to look at all those cords!
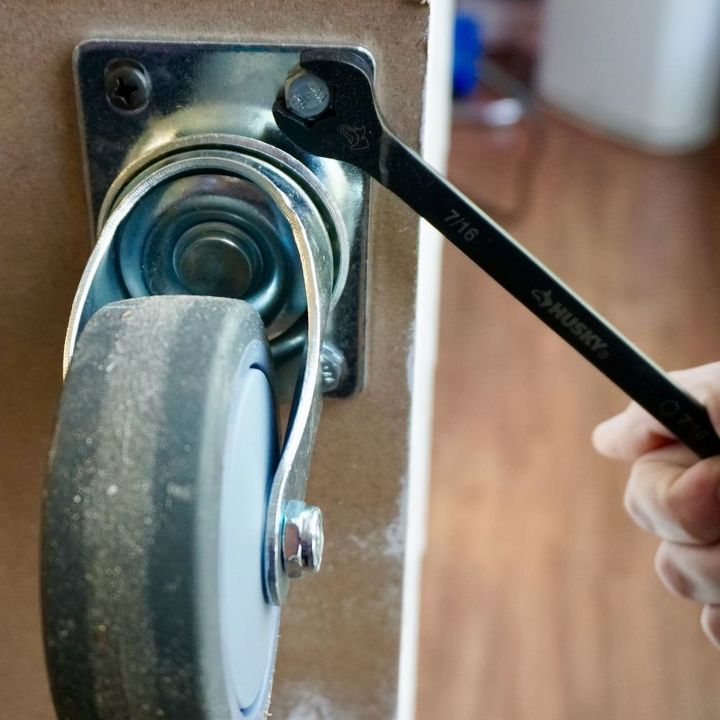
We added some pretty heavy duty casters to the unit. They make it very easy to move around.
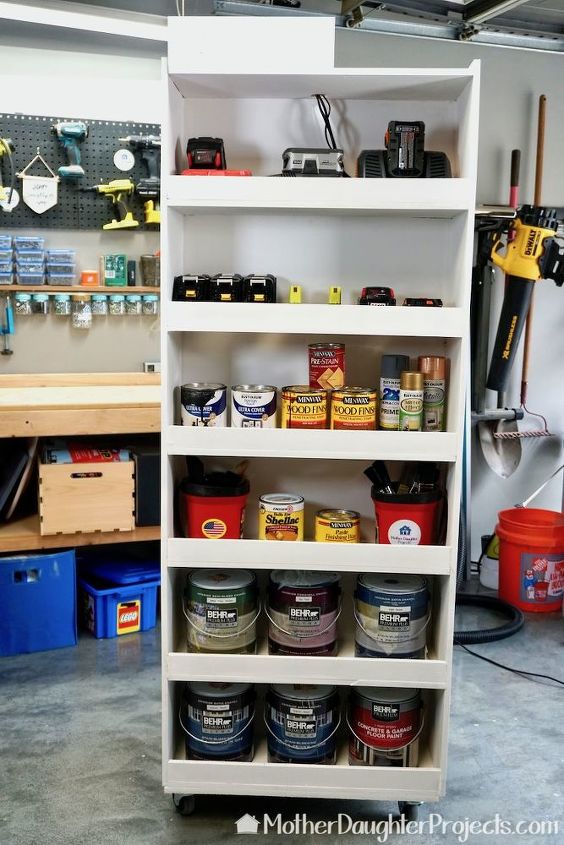
We painted the unit and filled it up! It holds everything nice and tidy.
The unit is one paint can deep by design. Those paint cans are heavy so it's nice not to have to move one away to get to one in the back.
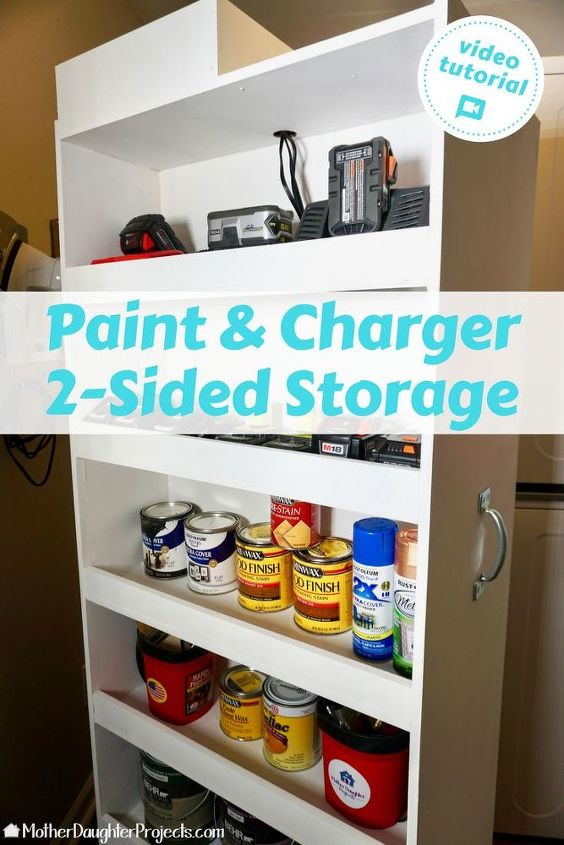
This is designed for our particular needs but can be adapted for whatever you need to store. The nice thing about it is you can store stuff that doesn't get used very often on the backside and things you need more frequently on the front. What would you store in yours?


Comments
Join the conversation
-
Wheels! Being able to move things around is the best. Great job.
-
So clever. You are a great team ! Love it. Enjoy :)


Frequently asked questions
Have a question about this project?