


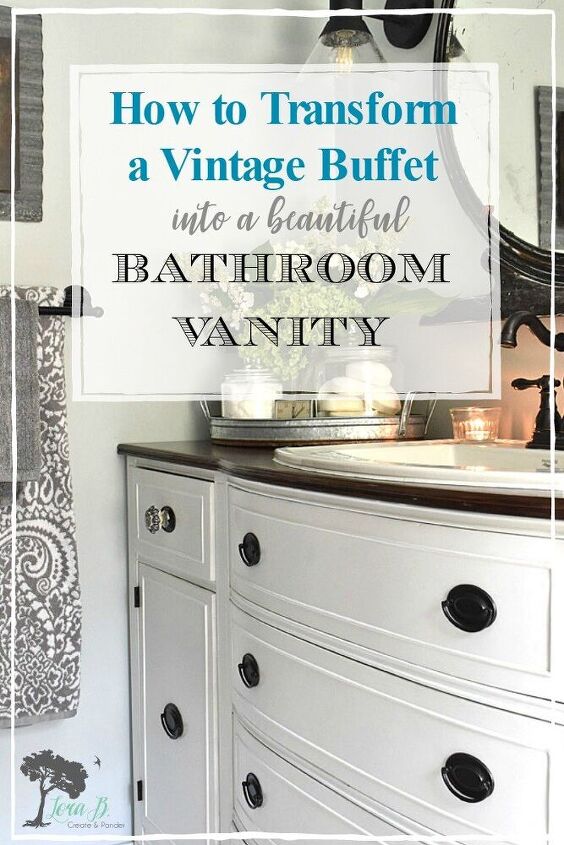
Repurposed Buffet to Bathroom Vanity
For an inexpensive, yet stylish and unique bathroom vanity, repurpose a vintage buffet. Here are the steps we took to transform an old piece of furniture into a beautiful vanity for our vintage modern bathroom remodel.
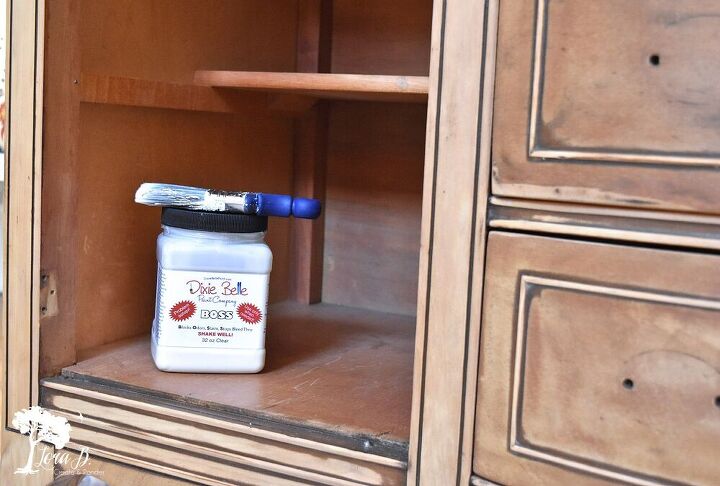
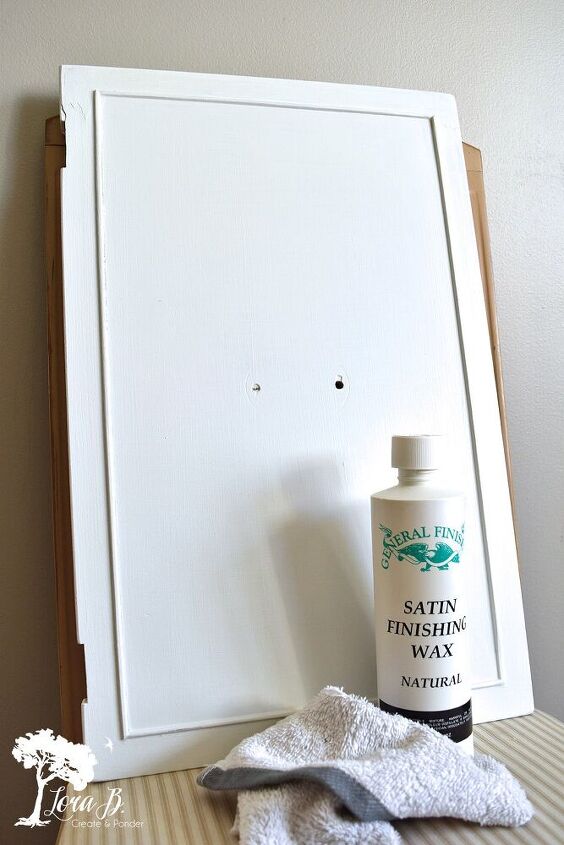
To start, take all the hardware off and sand entire piece with 100 grit sandpaper in a palm sander. Smooth rough edges. I sanded the top completely down and stained the top. I then put on 5 layers of water based polyurethane, drying between each coat. I wanted the buffet base to be whitest white, so I wasn't going to take any chances for furniture bleed. I brushed on 2 coats of Dixie Belle Boss to block any chances of that.
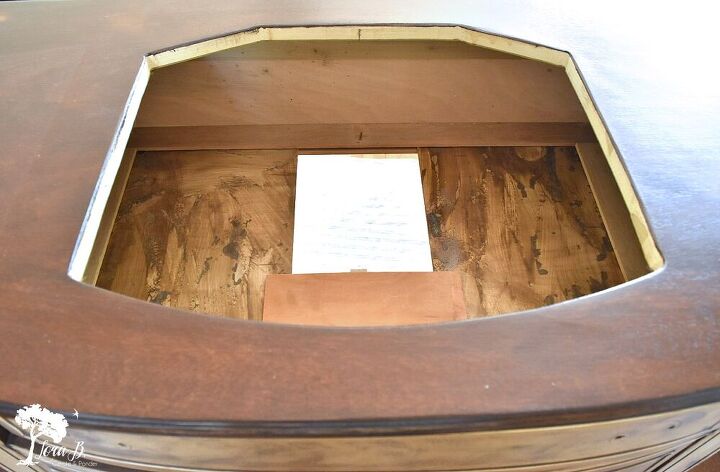
But before I painted it, the buffet headed to the workshop for it's repurposing. A hole was cut in the top for a drop in sink, per the package instuctions. Then holes were cut to accommodate the pipes on every shelf. Here's a picture that will show what we did on the backside (sometimes easier than words;)
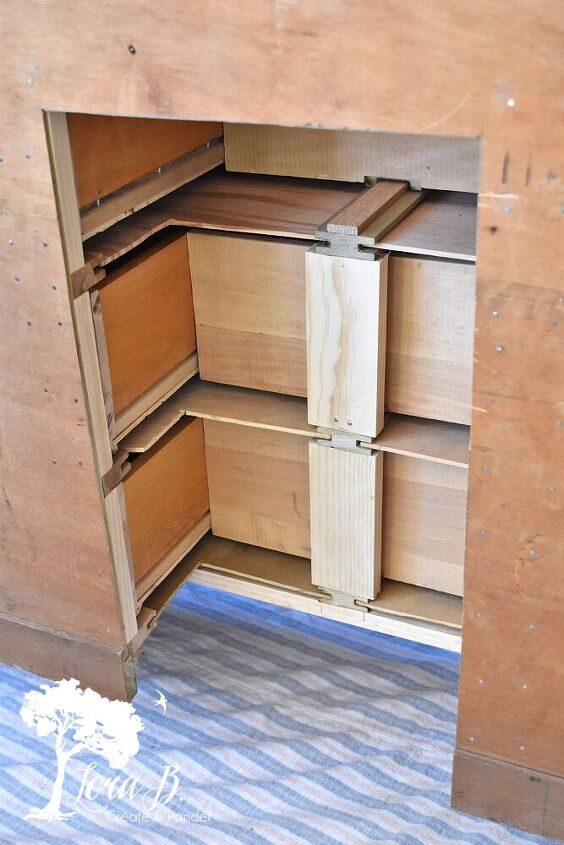
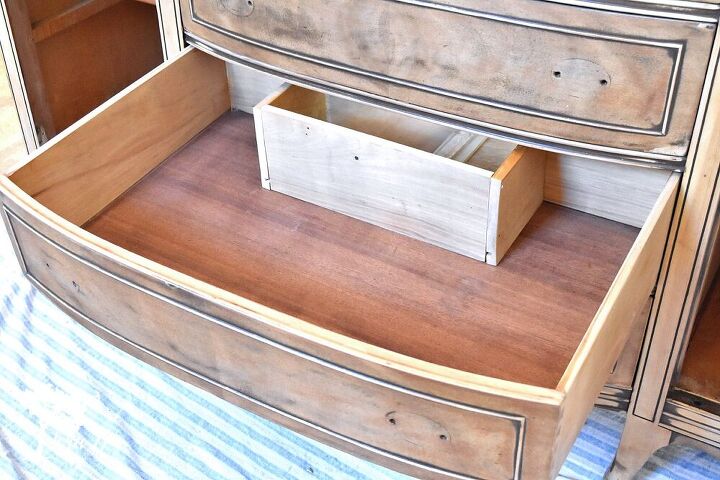
Each drawer also had to get rebuilt with a notch. But most of it is still usable, which is great for storage!
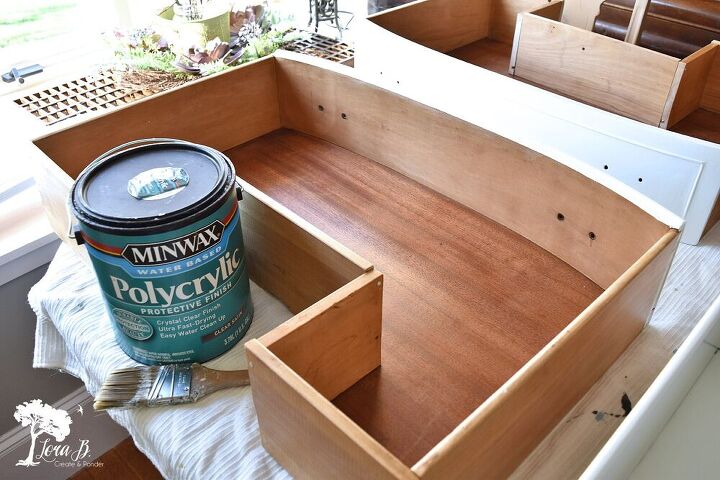
For a nice finish inside as well as outside, I brushed a couple coats of poly on the beautiful wood and the sides of the drawers. This will make the drawers easier to keep clean and wipe out.
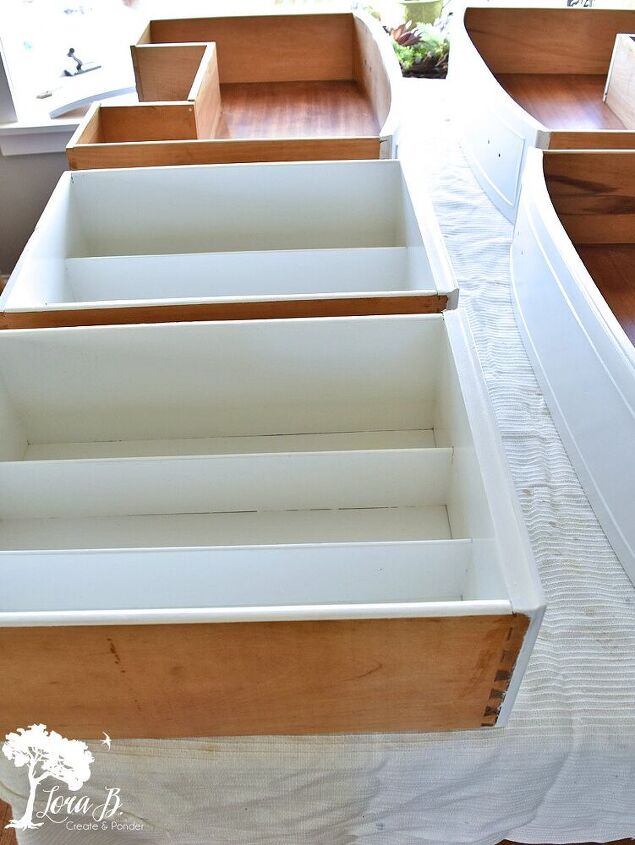
I used a white latex paint with a chalky paint powder additive, so I didn't need to prime. I painted the insides of the top 2 divided drawers and also the insides of the cupboard. I polyed over the top when dry. This will make an easier surface to wipe clean.
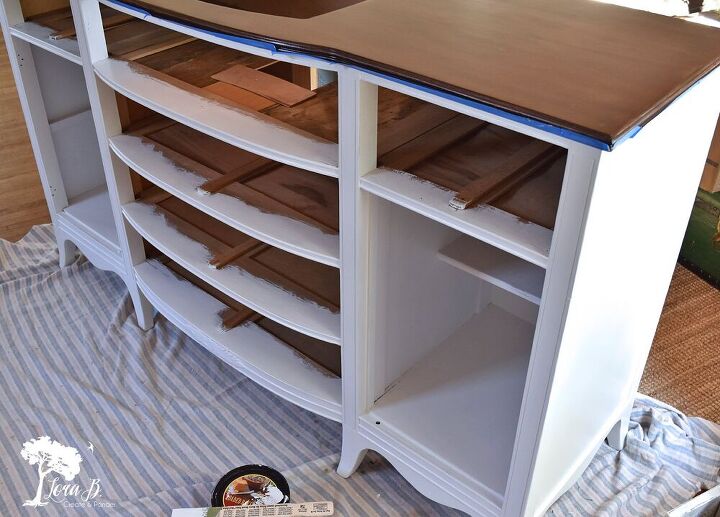
I painted the piece with 3 coats of the chalky paint and once thoroughly dry, sealed with 2 coats of furniture wax.
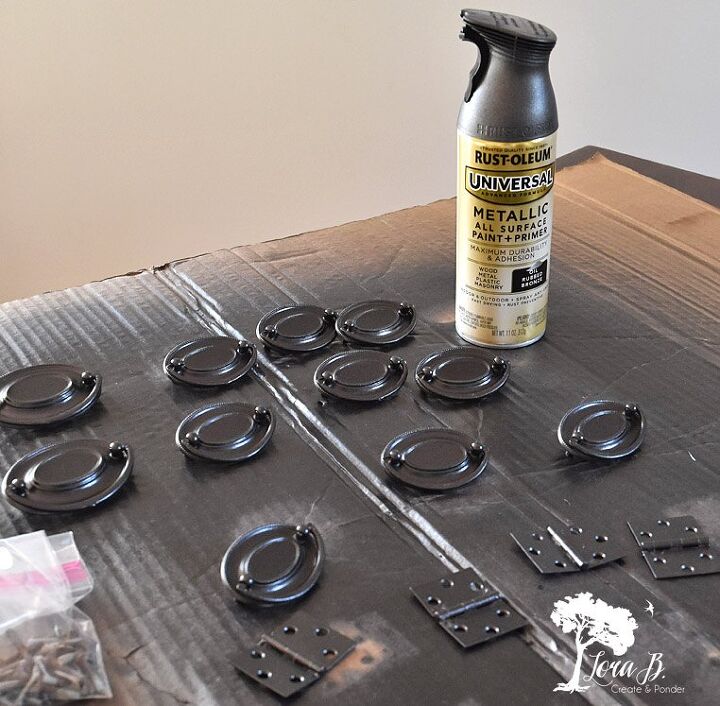
To give the old hardware a fresh look, I sprayed on oil-rubbed bronze spray paint. I also removed the top 2 swingy handles and drilled a hole through the oval. I placed a modern, pretty ceramic knob in the middle. These updates gave the piece a modern touch.

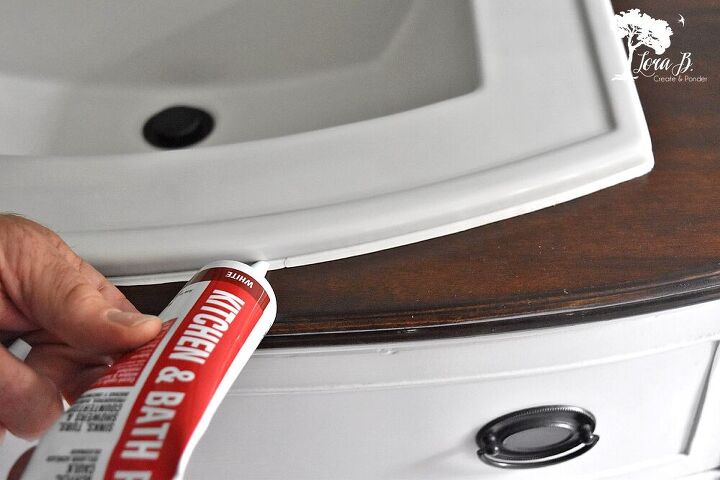
When everything else is done, it's time for plumbing and a sink! Seal around the sink with kitchen and bath caulk.

Yes, it took a lot of steps to repurpose this old piece, but it's so much better quality than anything that would be store bought! It's got a lot of storage, and the higher surface is great. It's beautiful as well as functional.
To see the full bathroom remodel makeover reveal, see HERE.
Resources for this project:
See all materials


Comments
Join the conversation
-
Love it. Great step by step instructions. Looks amazing.
-
You did a fantastic job
I just love it.
Real wood (not fake)


Frequently asked questions
Have a question about this project?