


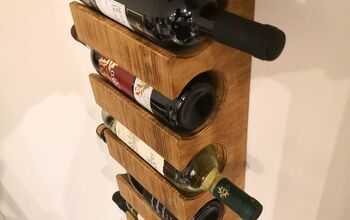
Seasoning Rack

We all know having extra storage isn’t a new thing, but for me it is💃🏽 Of course, I could have bought a rack to install but I love living my best DIY life so I made my own and I’m going to tell you how you can too! If you enjoy videos, check out my Reel of the build on Instagram.
The best part was that I was able to make this out of scrap material and things I had on hand. My only expense was buying a dowel and Euro drawer slides so this cost me less than $15.
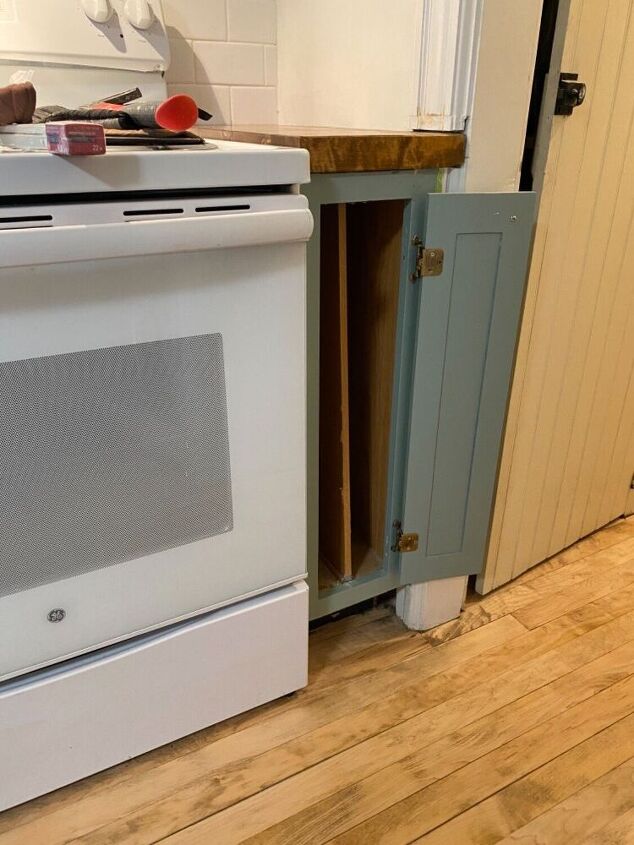
This is the cabinet that I believe was previously used for storing baking sheets.

But that didn't work for me.
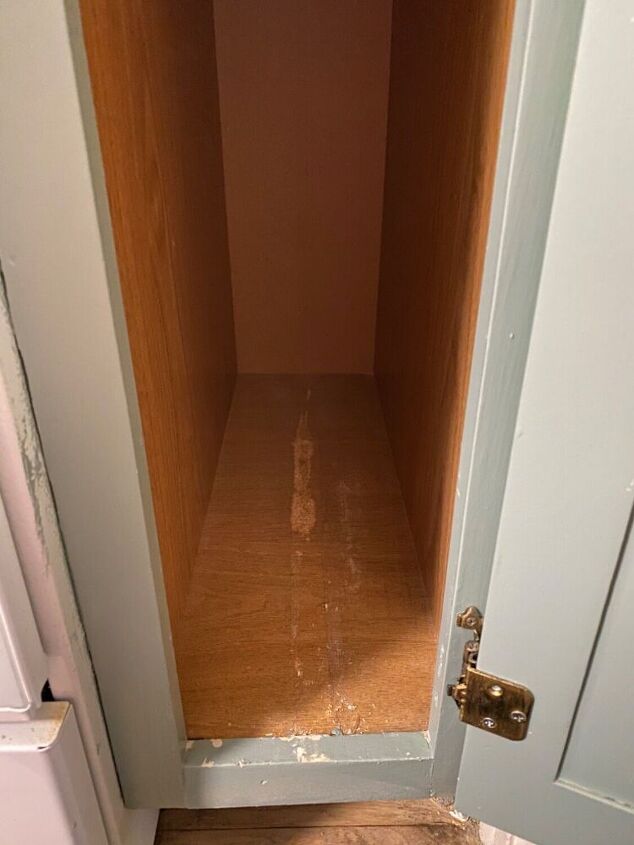
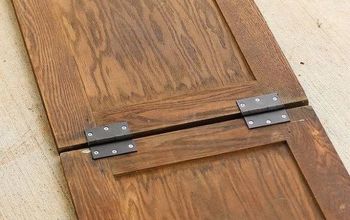
So I removed the center rack and the doors. You can also see that the face trim of the cabinet sticks out more than the sides of the drawer, which wasn't going to work for the hinges.
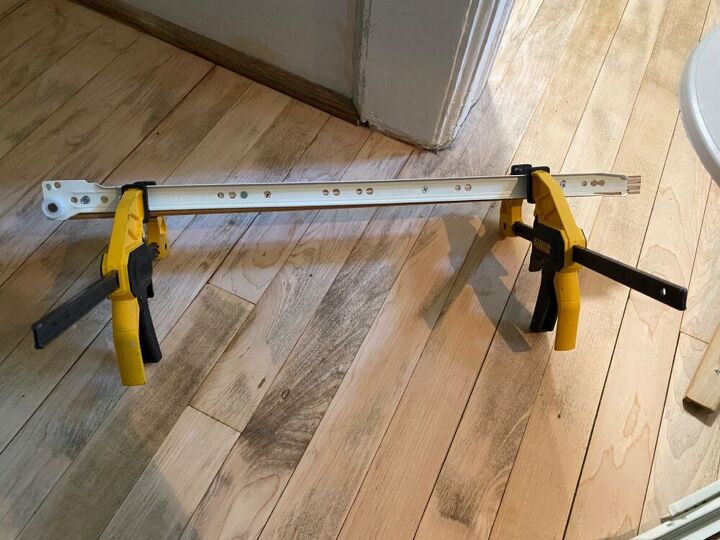
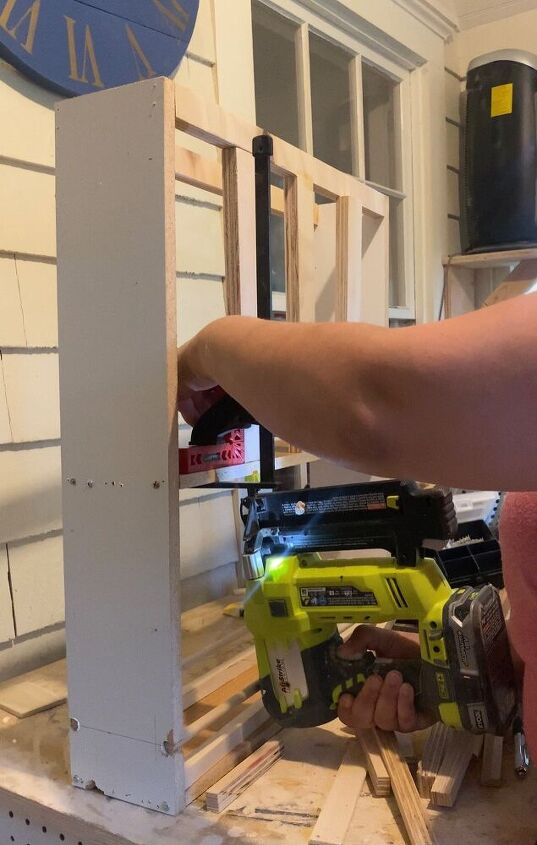
I measured the distance from the side of the cabinet to the frame. It was approximately 3/4". I cut a piece of scrap wood to 3/4" and screwed the drawer slide to that.
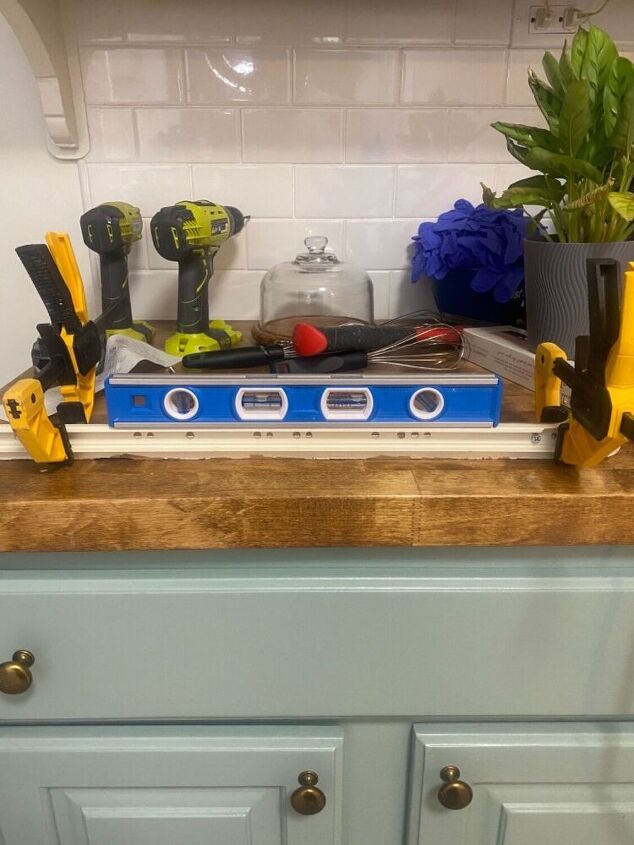
The key here is to make sure it is level or else the rack will not glide smoothly. The cabinet was so small so I had to attach this beforehand.
I made sure that my counter was level before checking.
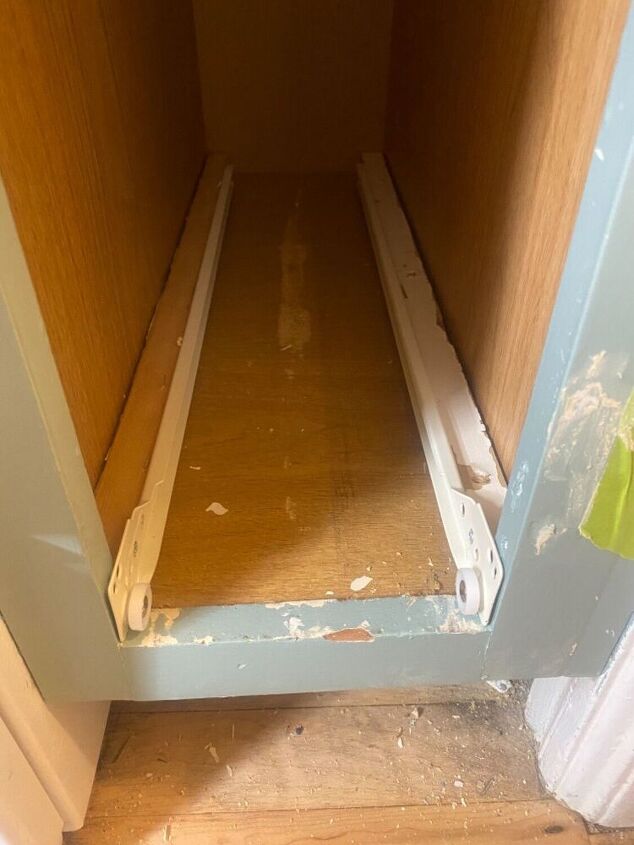
Then I installed the drawer slides and screwed them down with the 3/4" spacer I added.
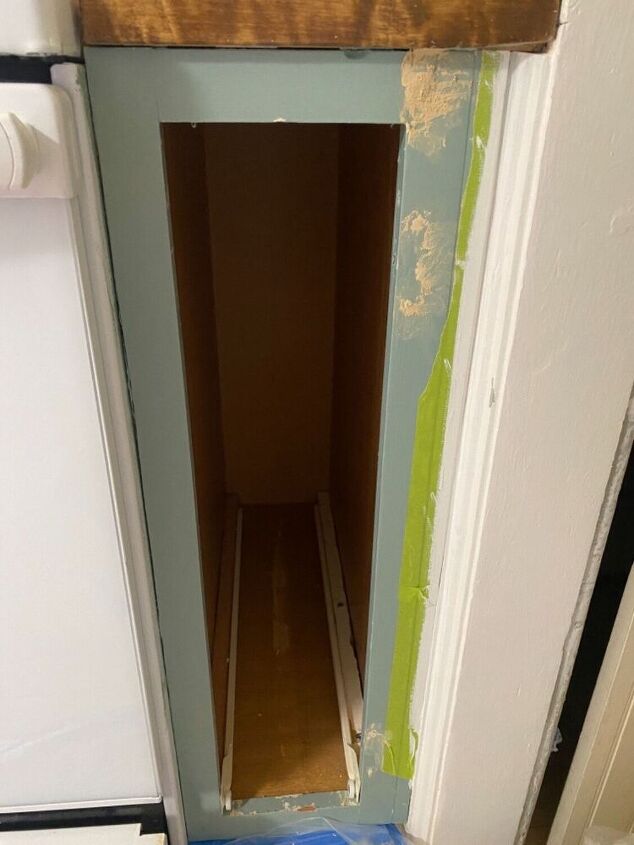
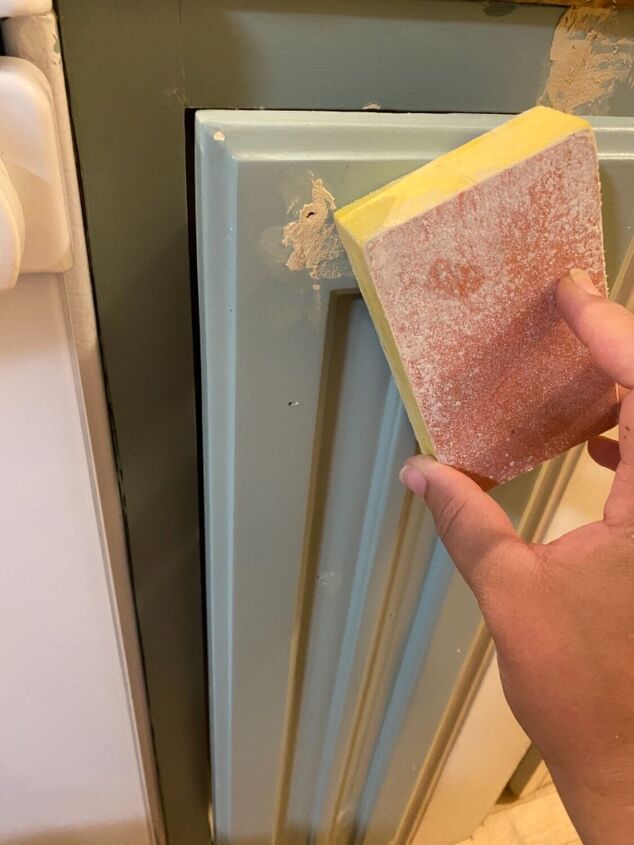
I put wood filler where the hinges were because it had left a little dent.
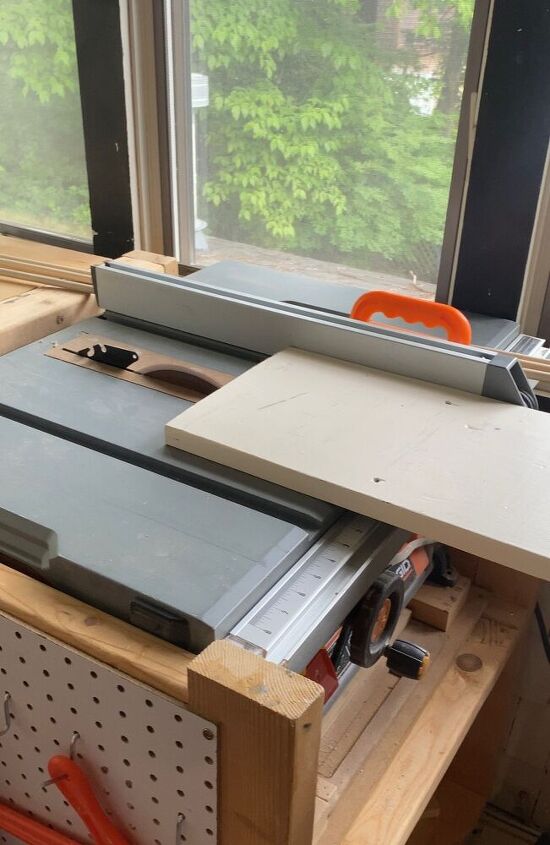
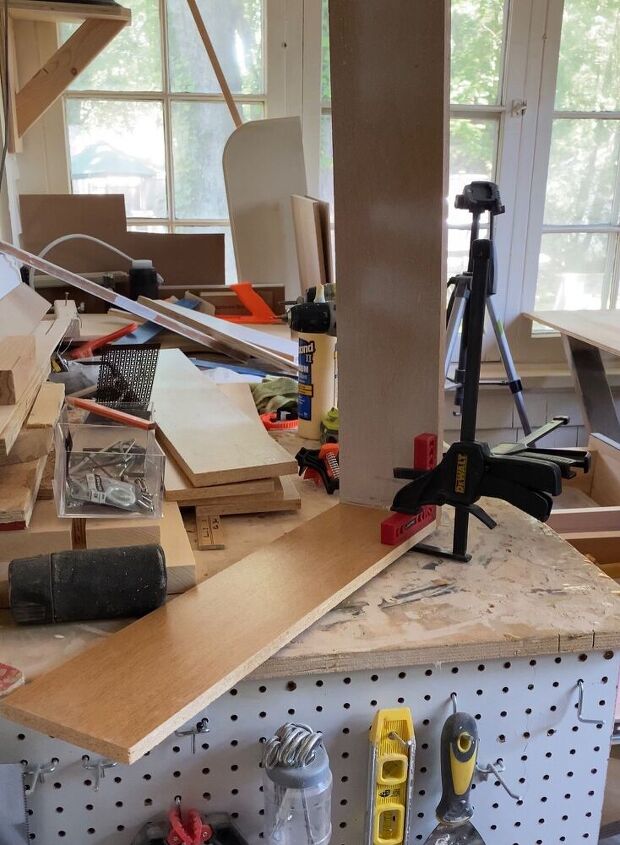
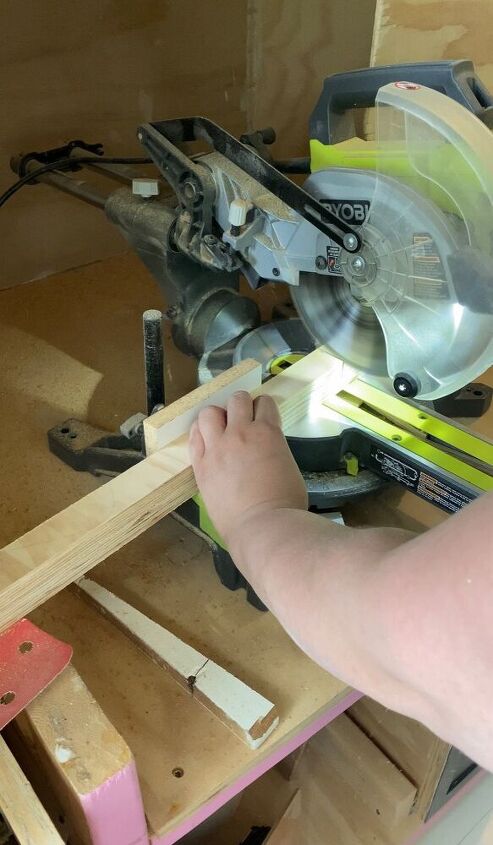
Now let's build the rack. I used scrap wood which kept the costs of this down. I found an old shelf and cut it to the width and height of the cabinet opening (minus 2/8").
In the end I cut three pieces of wood: 1 bottom and 2 sides.
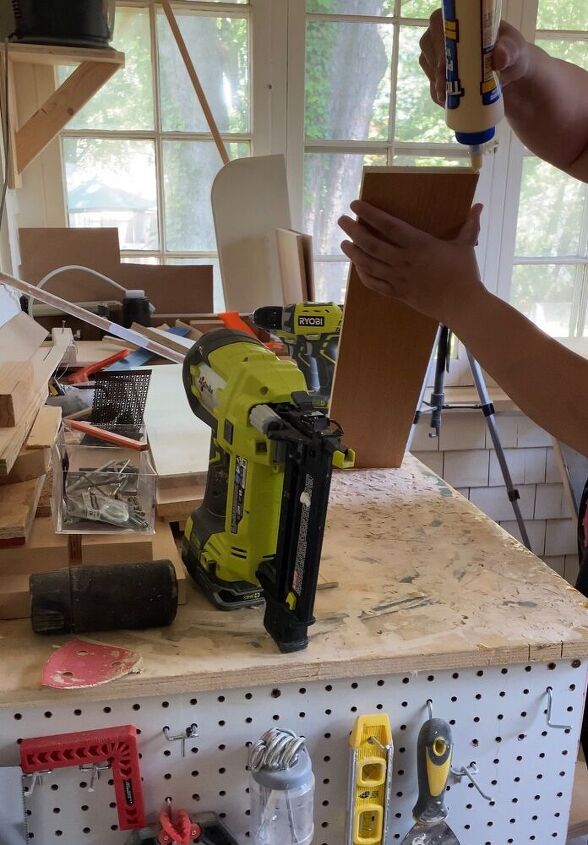
I glued the ends..
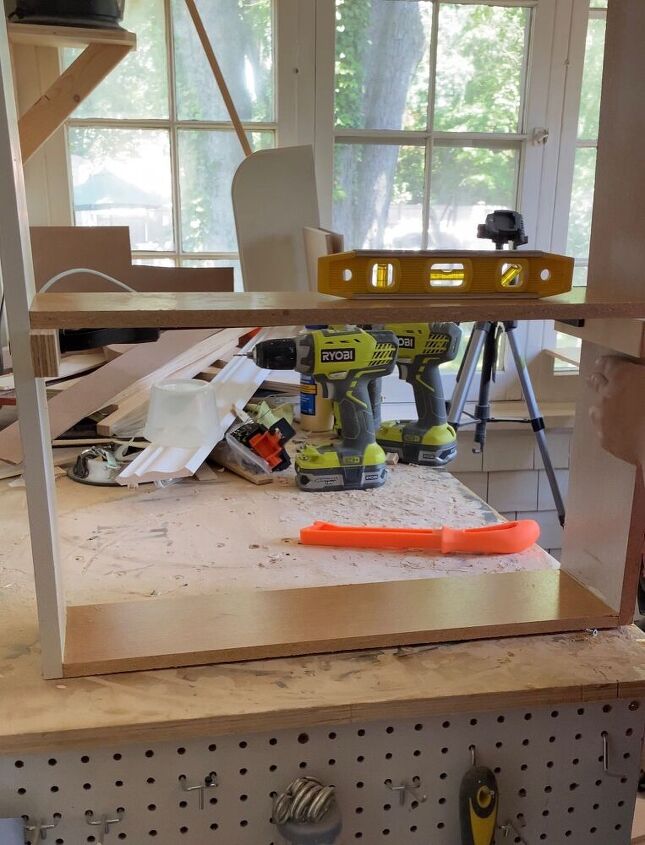
And nailed and screwed it together. I use this square (red tool) to make sure the build was square.
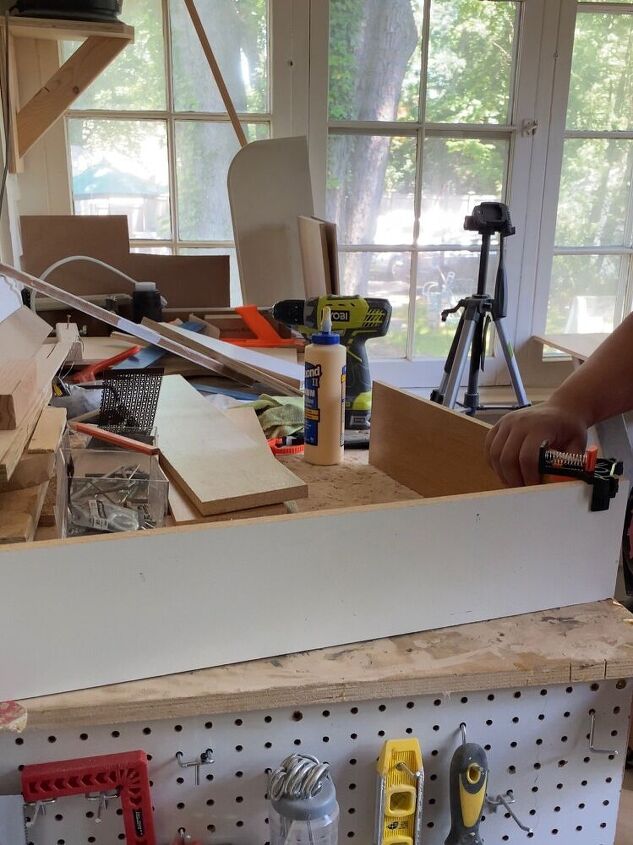
And this other clamping tool to help me hold the boards in place.
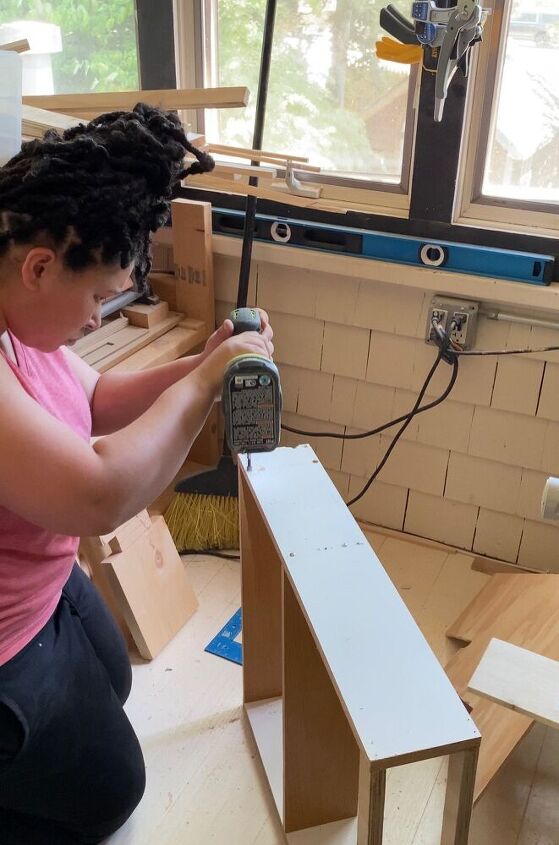
To note, I glued, then brad nailed to help hold the boards together, but reinforced with screws. Make sure to pretrial your screws or your wood could rip.
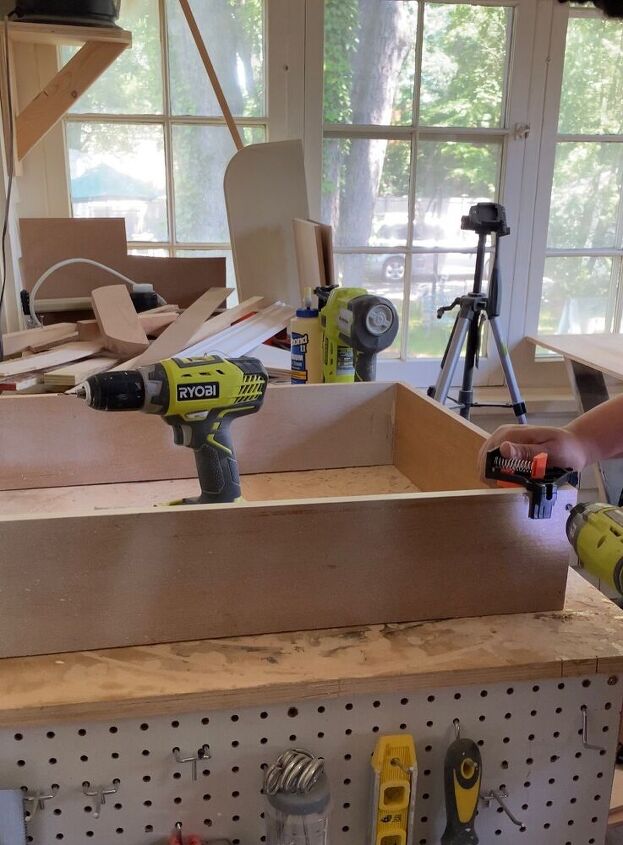
You should have a frame like this. Use another piece of scrap wood to rest your shelf on.
Do that to both sides and make sure it is level.
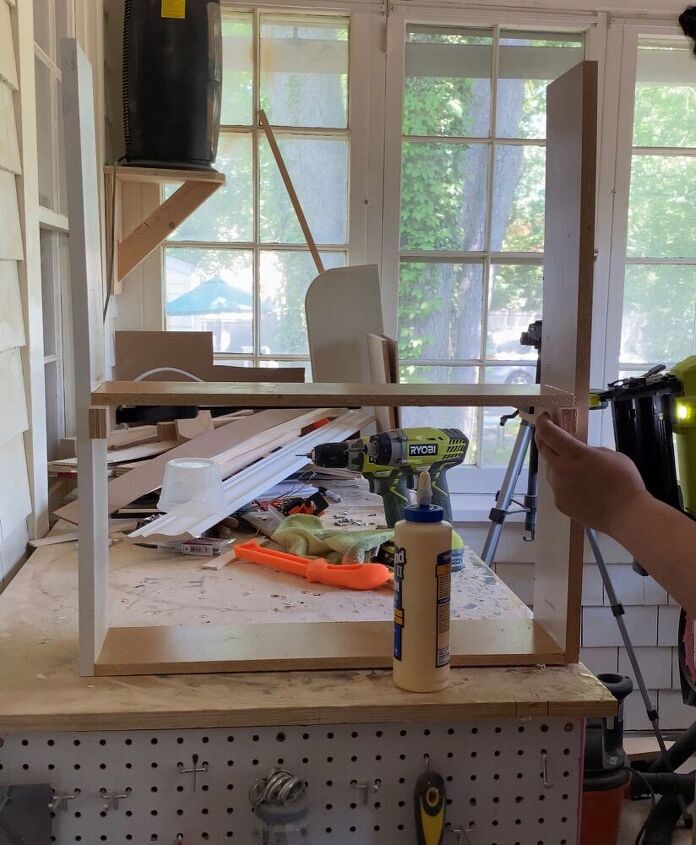
Again, glue, brad nail, pre-drill and screw the board in place. I determined the height by actually placing my canisters on the shelf to see if this would work. This will vary depending on what you use yours for.
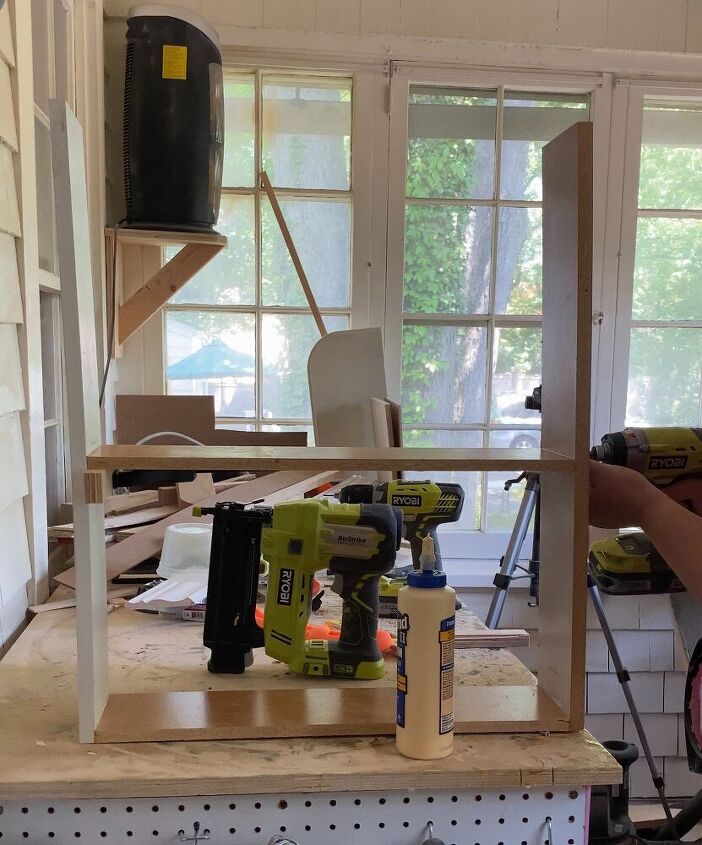
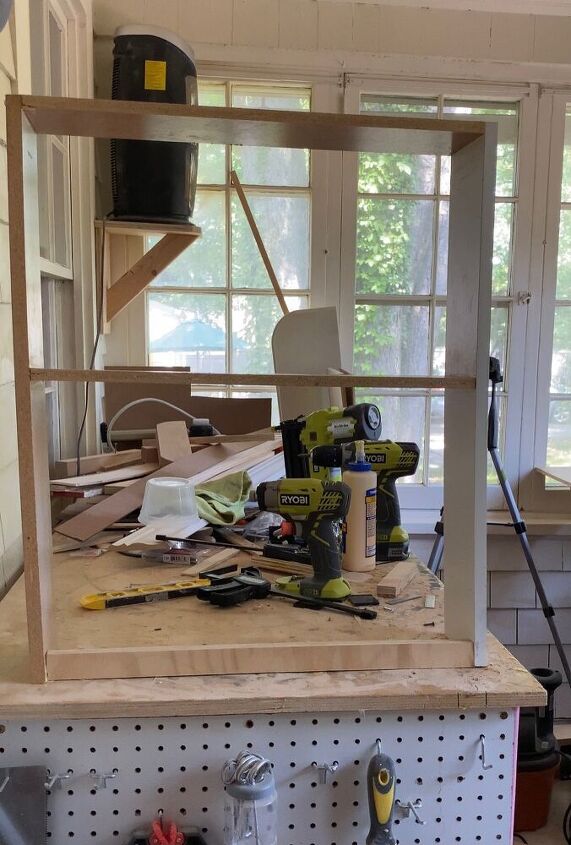
It should look like this.
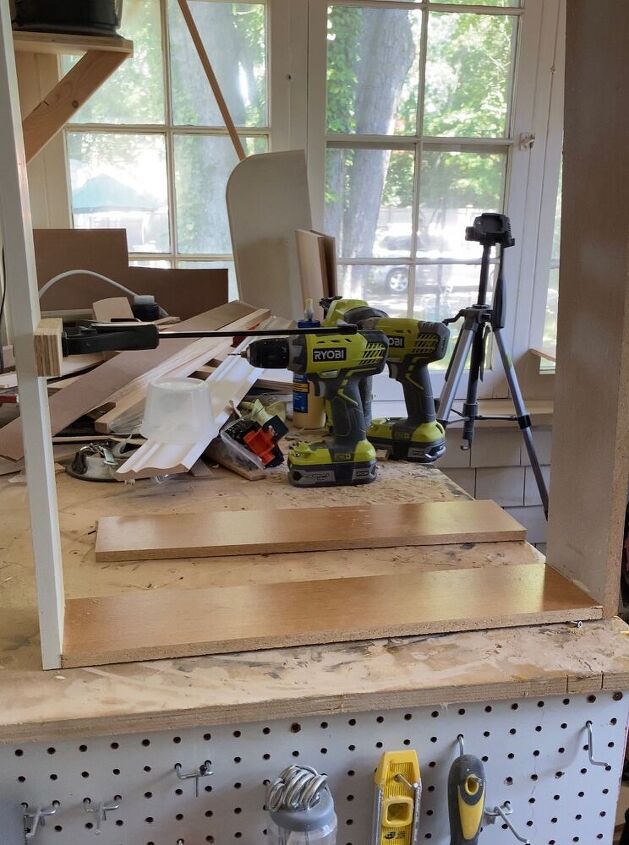
I cut additional wood and did the same as the previous step except added it to the very top.
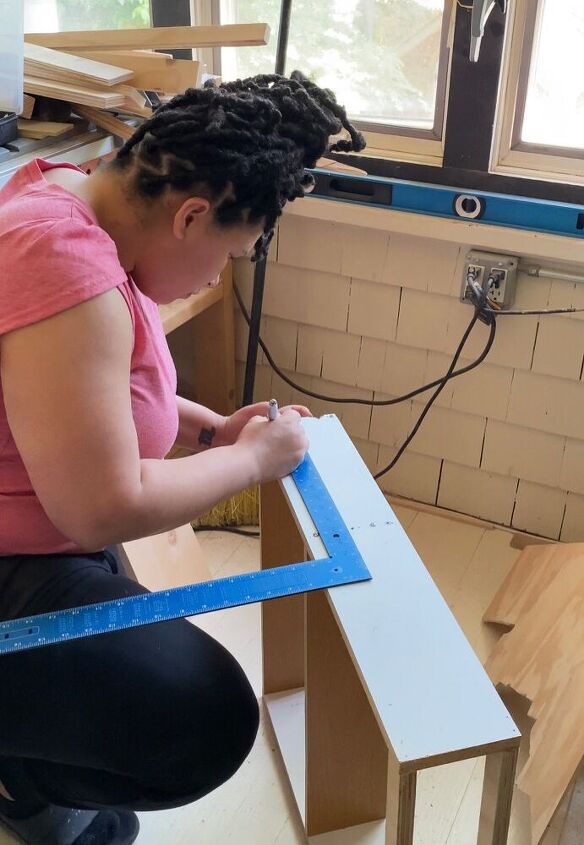
Now it's time to put the dowels. I marked and measured the placement on both of the sides.
I used a forstner bit that coordinated with the size of the dowel.
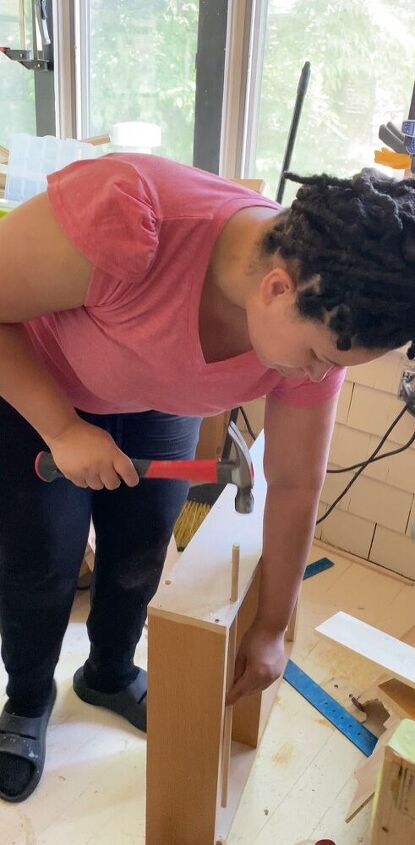
And hammered it through so it was attached to both ends. *You may need to cut your dowel to the width of your rack.
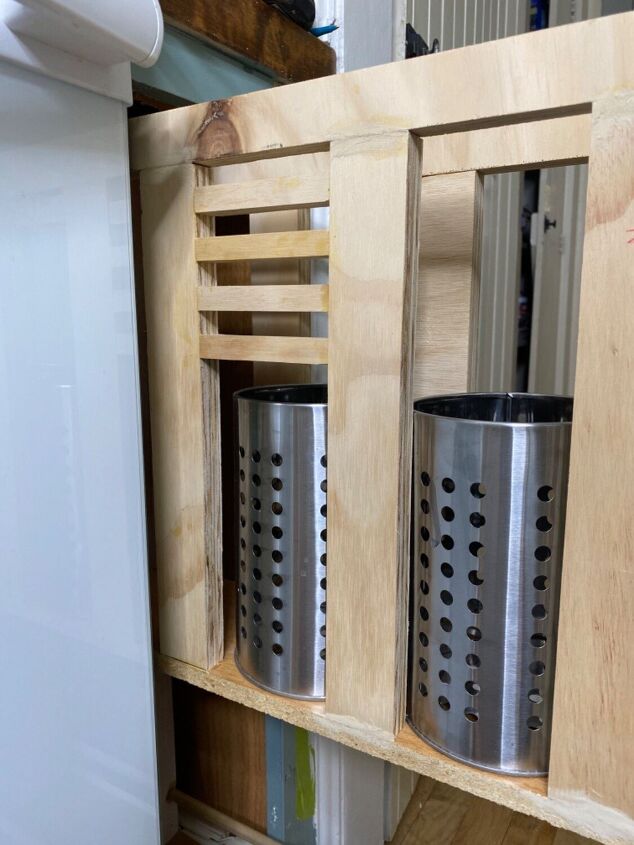
I had to figure out a way to prevent the canisters from falling off the sides on the top shelf. If I used the dowels, the canisters didn't fit. So I had to get creative. I decided to add vertical strips of wood between the canisters and glued and nailed them in place.
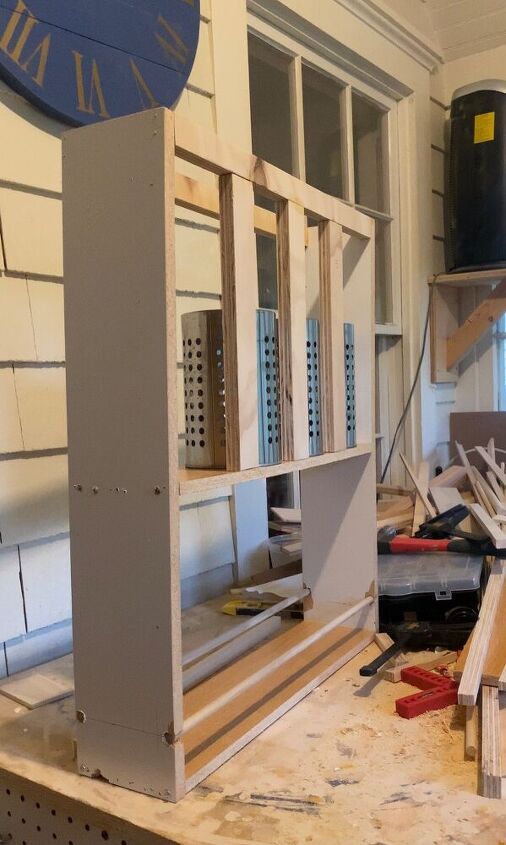
It looked like this.
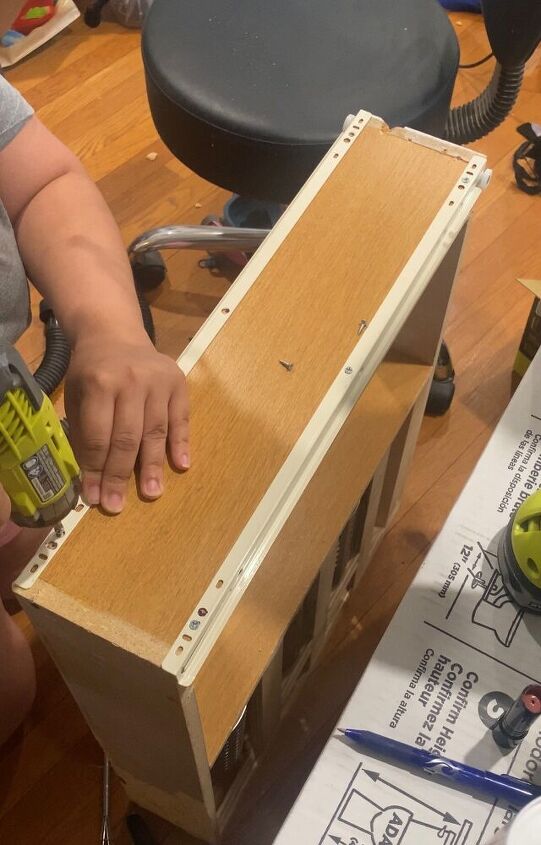
Now that that was done, I added the drawer slide to the bottom.
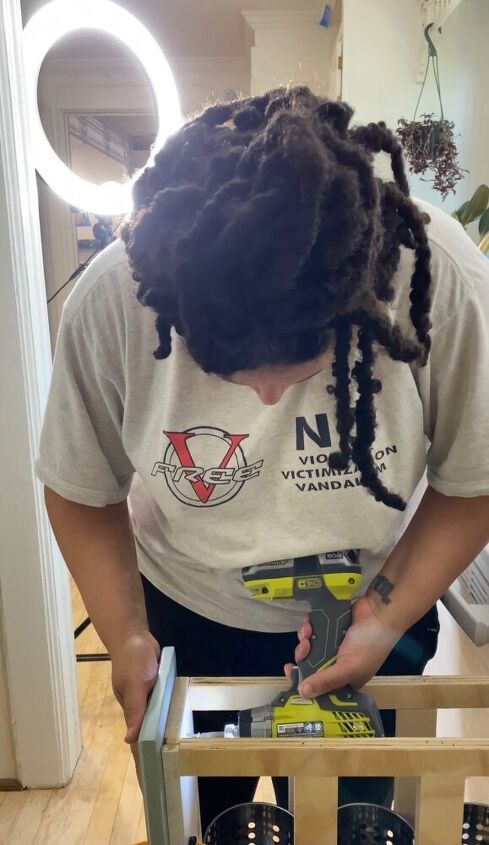
I clamped the door front to the front of the rack and screwed it on from behind and even nailed it from the front.
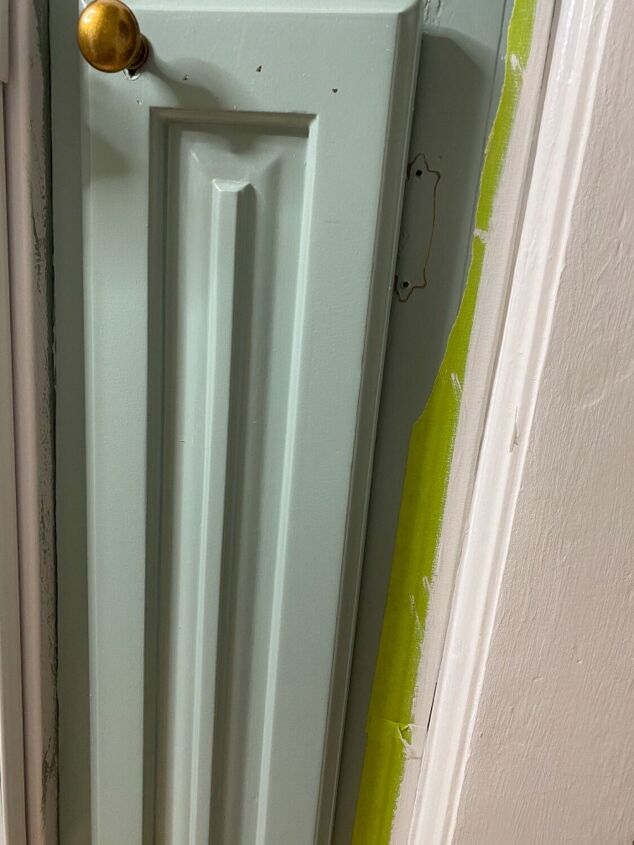
You can see some of the nail holes here. I filled it with wood filler and everything got a new paint job. (you can see where I had to wood fill the hinge mark)

And of course, another obstacle. The spoons protruded to the side which interfered with the door opening and closing.
I played around with the idea of adding horizontal slats. I ended up using two instead of 4 which you can see in the final picture.
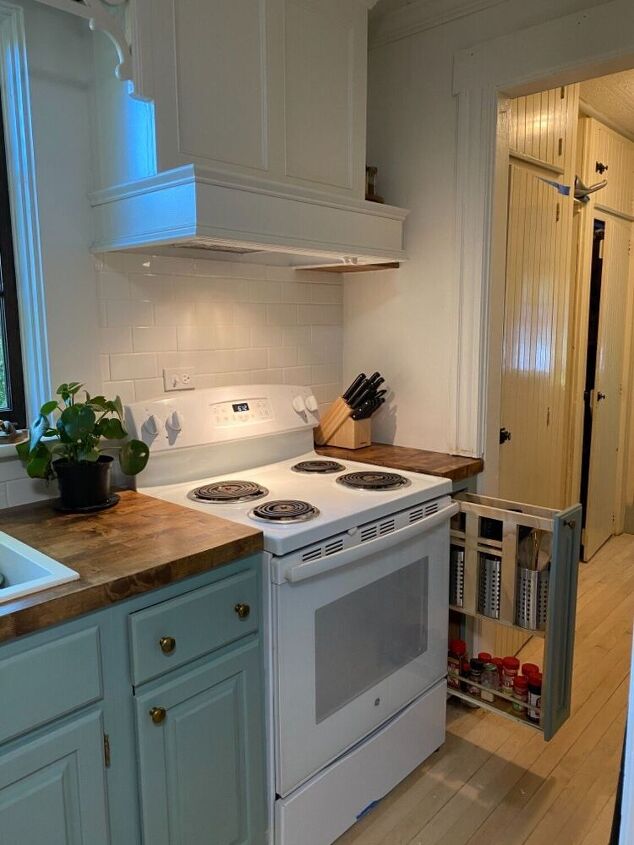
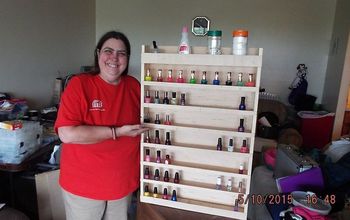
And here it is! The hardest part of this was figuring out how to secure the canisters. This is something anyone could do and makes great use of the space.
Resources for this project:
See all materials


Comments
Join the conversation
-
Yes way to go! I am renting but possibly!
-
Great job. Looks like it will be a lot more useful.


Frequently asked questions
Have a question about this project?
Wow that is an amazing job! And one I will hopefully implement soon! Thanks for sharing!!!
I have heard do not keep spices near any heat..ie the stove. Makes them loose their flavor etc. Quickly.
Excellent job. We use ours for baking racks and cookie sheets. Now I can build a slide out shelf so we can find what we want easily.