


The Easy-Peasy TV Make This Easy Peasy TV Cart in Only 11 Steps

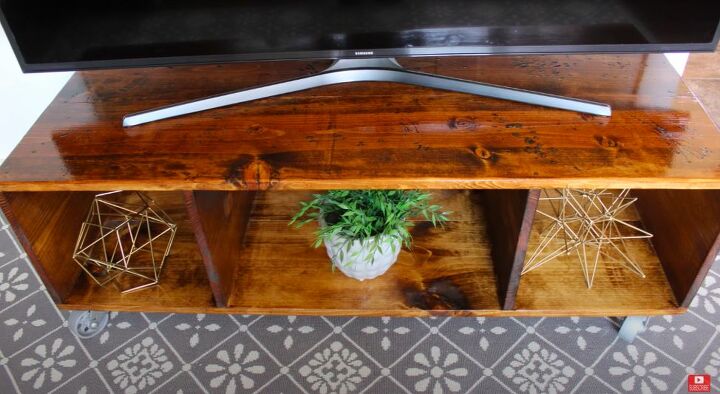
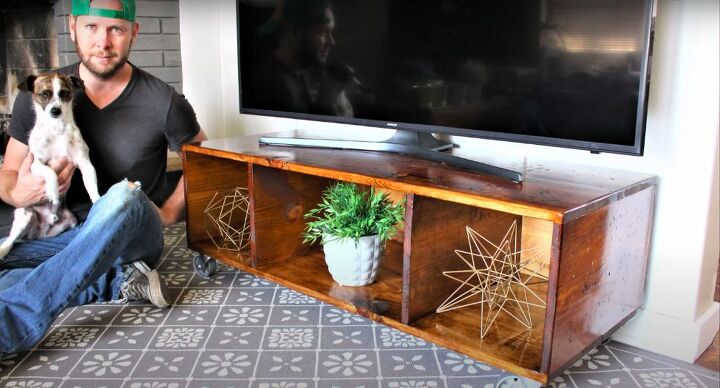
My mom’s 70th birthday was fast approaching, and I was looking for the perfect project to make for her. After going through a few ideas, I settled on this rustic TV cart. The result was magnificent! This cart adds a richness to her living room. I wanted what I made her to be useful, and by putting the cart on casters I’ve made it easy for her to move the TV if she wants some extra space for entertaining. Homemade gifts are the best gifts, and the love you put into them shines through in the finished product. Check out my step-by-step guide so that you can make one for your loved one too.

Tools and Materials
● One 1”x12” x10 ft piece of lumber
● Two 1”x10” x8 ft pieces of lumber
● Miter saw
● Four 3” casters with ¾” screws
● 1 ¼” trim head screws
● Drill
● Screwdriver
● Sanding block
● Wood filler
● Stain
● Rag
● Polyurethane
● Paintbrush
● Ear protection
● Goggles
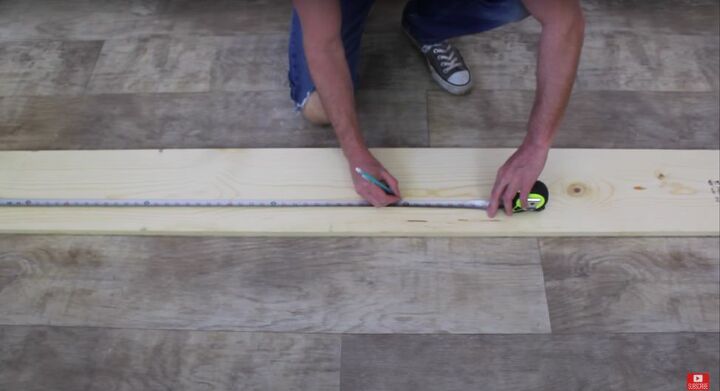
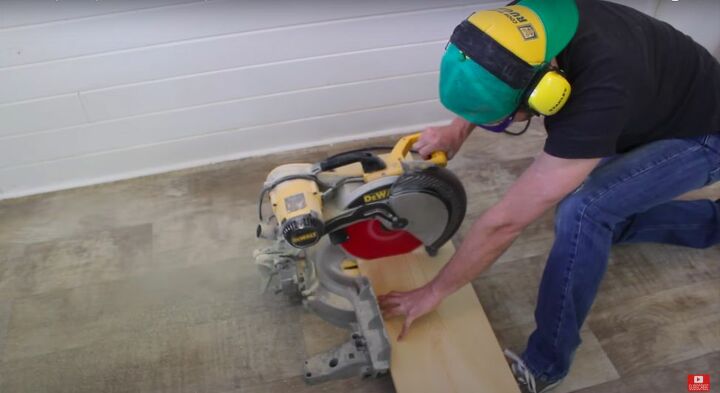
The first thing I did was cut my lumber to size. For this project I needed to cut the 1”x12” piece into one piece 47 ¾” long and four pieces 17 ¾” long. I also cut the 1”x10” pieces into four pieces that were each 47 ¾” long. I measured and marked where I wanted to cut. Then, using a miter saw, I cut the lumber to the size that I wanted. Make sure to wear proper protective equipment while using power tools.
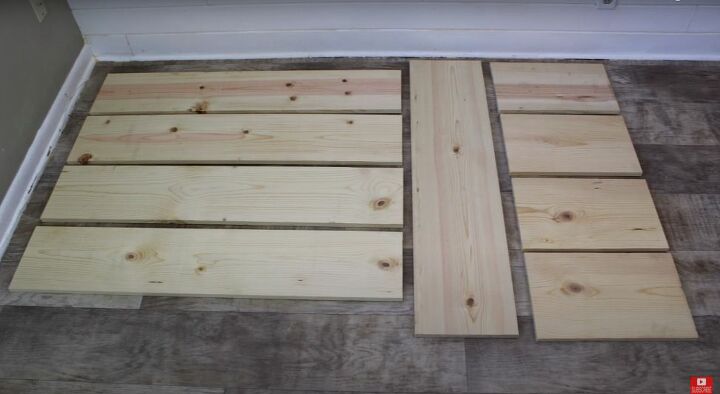
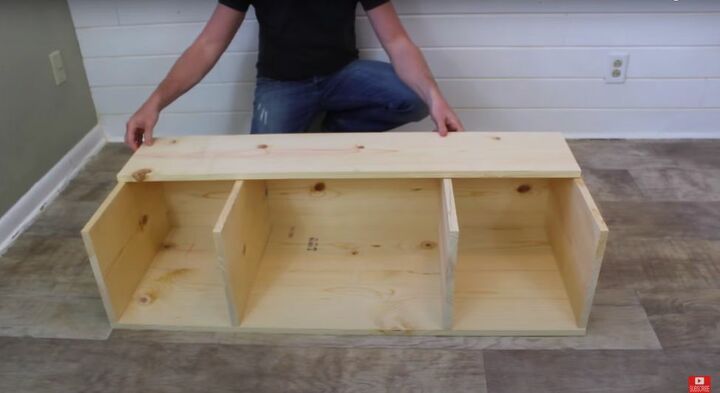
Once I made my cuts, I was left with nine ready-to-assemble pieces that looked like this.
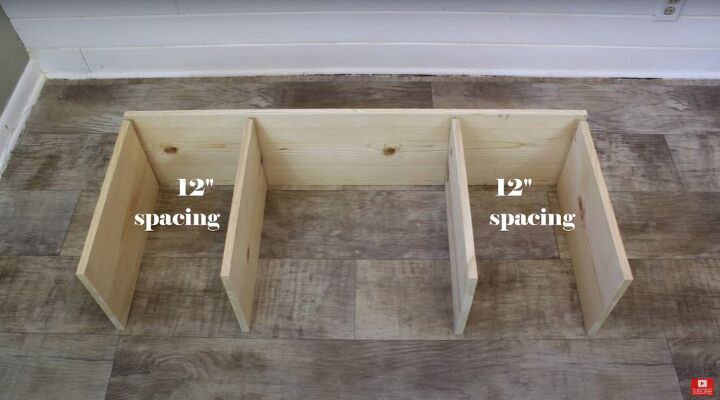
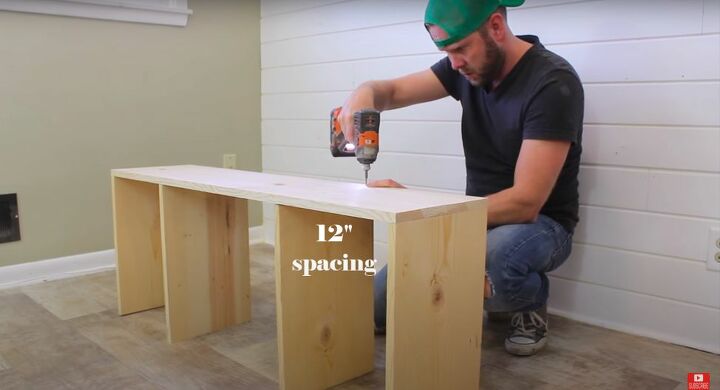
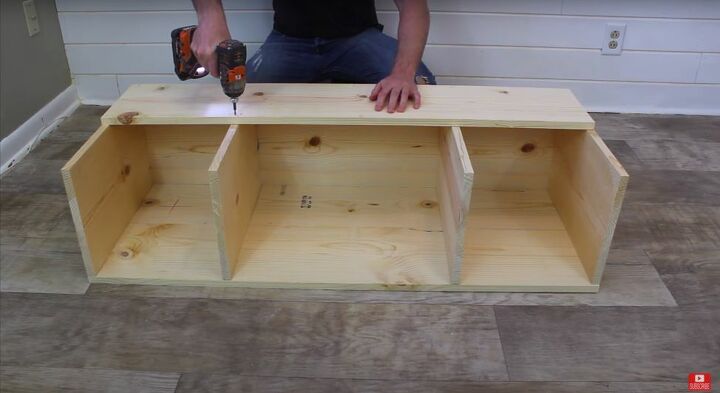
With my lumber ready to go, I could now assemble the cart. I lay out the 1”x12” pieces and arrange the with 12” spacing between them.
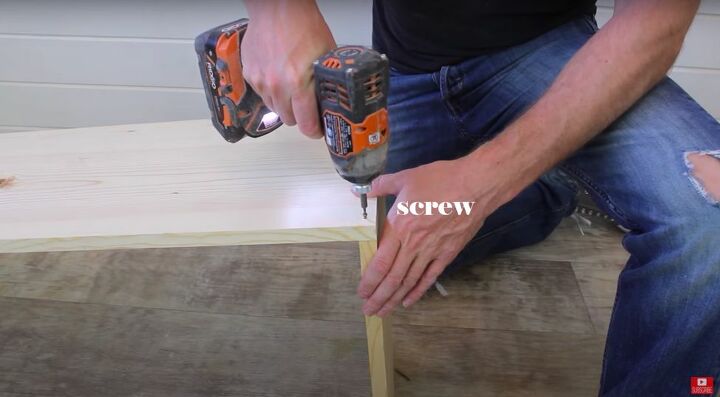
I drilled pilot holes to make sure that the wood didn’t crack, and then screwed the pieces together.

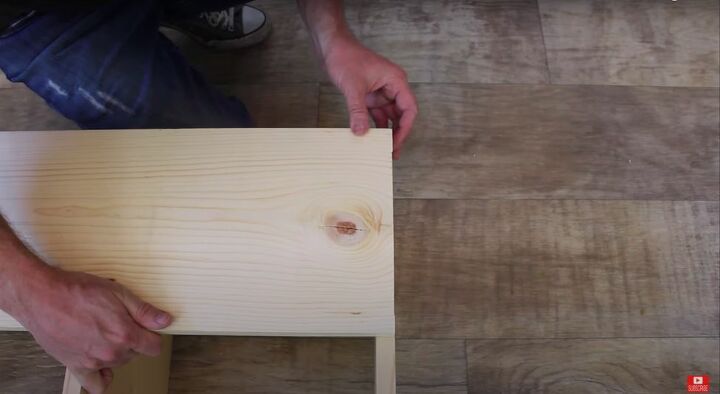
Once I had finished connecting this part of the cart, I moved on to the back. I flipped the piece on its side and lay one of the 1”x10” pieces of lumber across the top.
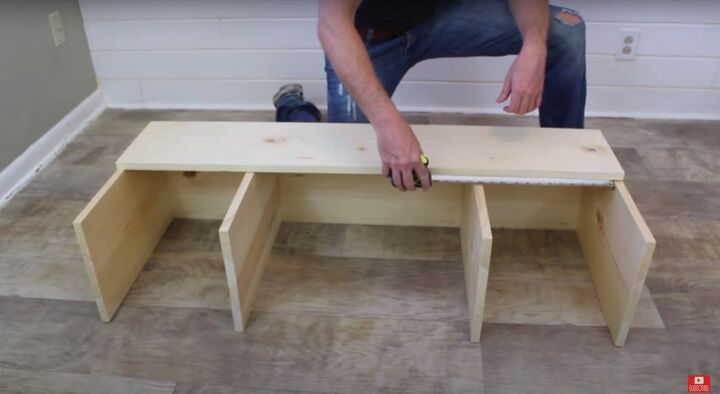
Make sure that it’s flush to the corners and that the 12” of spacing between the pieces on the sides is still even.
I screwed the piece in place with trim head screws. Then I repeated the process with another piece of 1”x10” across the other half of the back.
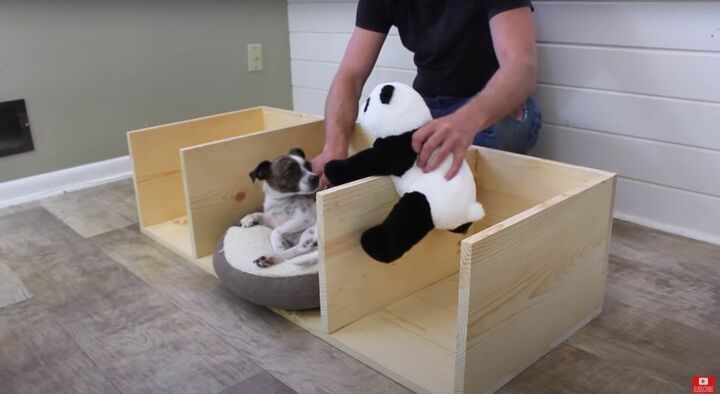
Once I had done this, I flipped it over on its back again. Here’s Henry demonstrating how to properly use the cart at this stage in production!
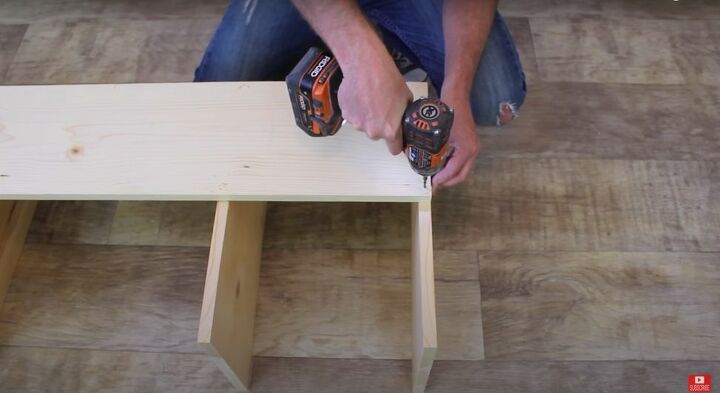
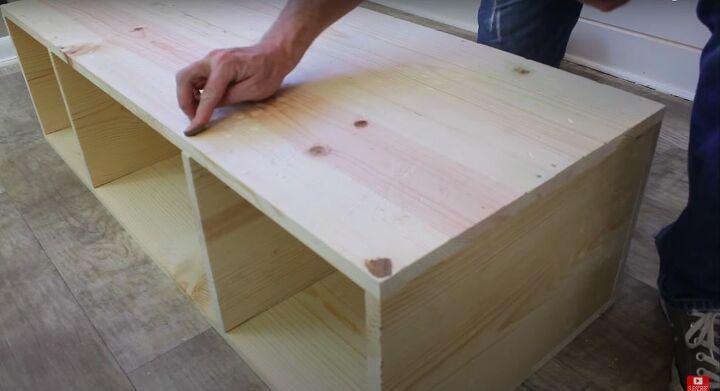
For the last bit of construction, I took the remaining two pieces of 1”x10”s and placed them across the top of the cart. Just as we did in the previous step, I drilled pilot holes and connected the pieces together using trim head screws.
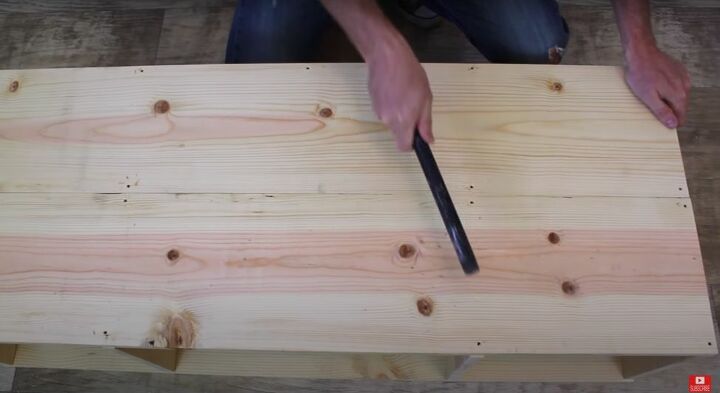
I love that distressed look, so before I moved on to staining and sealing, I beat the piece up a bit. I used a pipe, hammer, and screwdriver, but you can really use anything you want to get the look you love. This is a great opportunity to release some of that pent-up anger or anxiety! But don’t hit too hard, you don’t want to do any real damage to the piece you’ve just created.
Using my fingers and a bit of wood filler, I filled in the holes created by the screws I used to connect the pieces together. You really only need to fill in the holes on the top of the cart, as that is the part that will show, but should you want to fill in all the holes, go ahead.

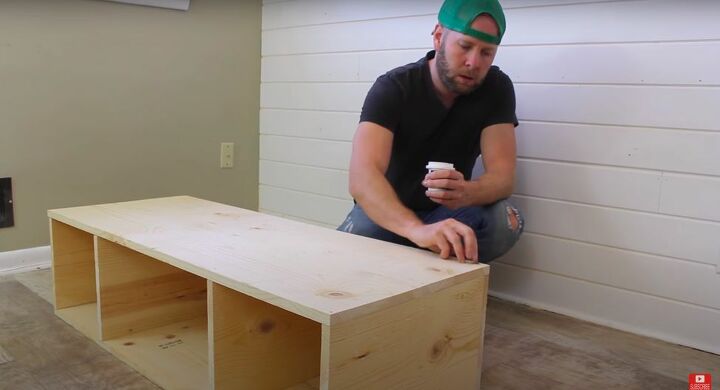
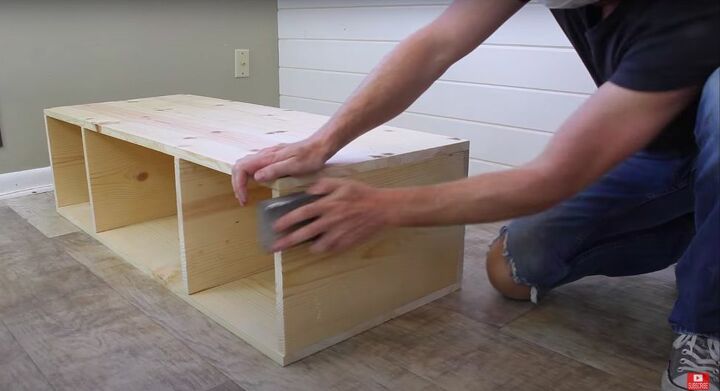
With the wood filler dry, it was time to sand! Henry helped me out a bit, but I let him rest while I did the bulk of the work. Sand the entire structure, focusing on the corners. Nobody wants to get snagged as they walk by, so make sure that everything is smooth before you move on to staining the cart.
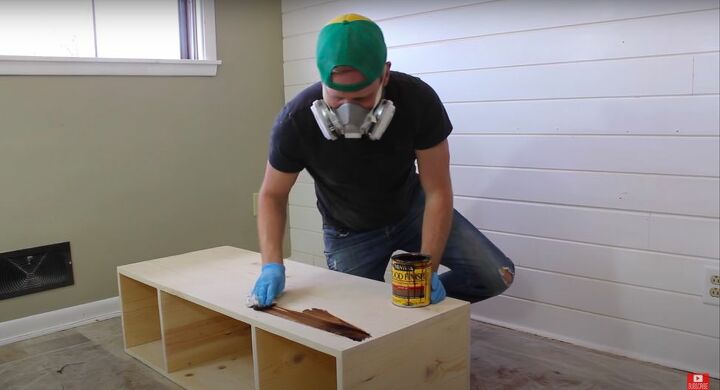
For my cart I chose a rich, dark stain. Using a rag, I rubbed the stain evenly over the entire piece. Make sure to use the proper protective equipment while staining, including a mask with a respirator to protect you from the fumes of the stain.

Make sure to get into every nook and cranny of the cart, you don’t want any unstained spots as they’ll stick out like a sore thumb.
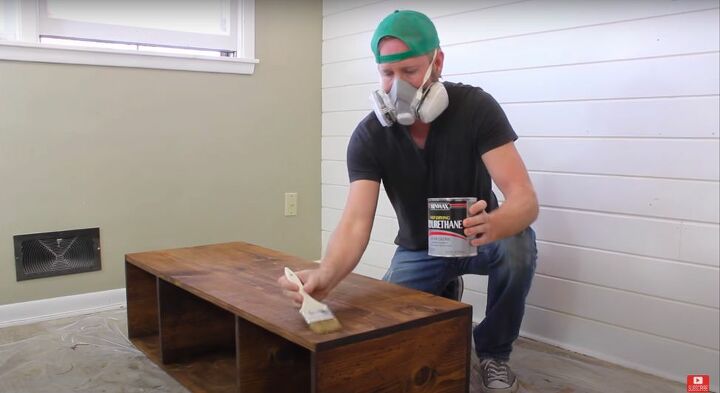
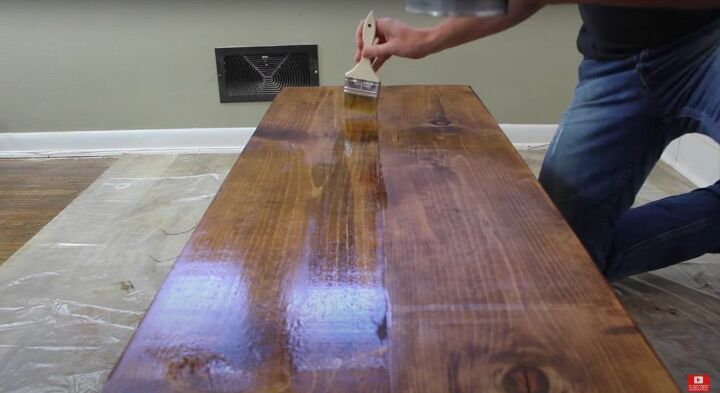
Once the stain had dried, I gave the whole cart a good coat of polyurethane. Wouldn’t it be a shame for all of our hard work to go to waste if something gets spilled on the cart? Poly protects the wood and the stain from daily wear and tear. It dries clear, so it won’t affect the overall look of the piece at all.
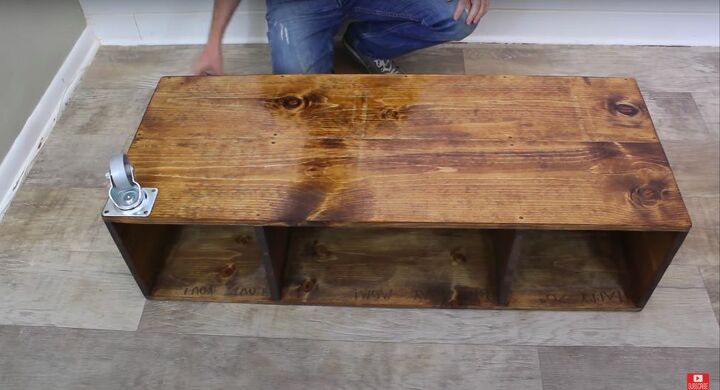
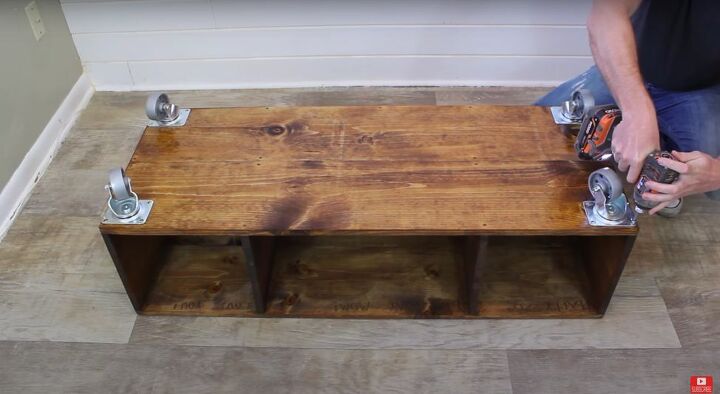
In order to make the cart a true cart, and not just a TV stand, I needed to add casters. If you chose to only fill the screw holes along the top of the cart, make sure to place the casters on the bottom. I placed one in each corner and secured them with ¾” screws. As you can see, I used some really heavy-duty casters. This cart will hold a TV, books, and other heavy items, so it’s imperative that the casters be able to hold all of this weight and still move easily.
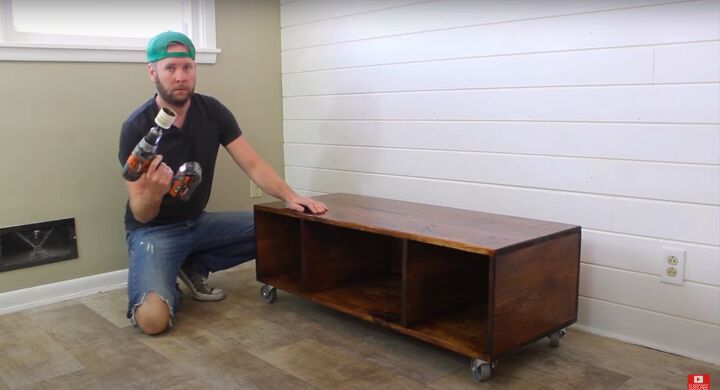
This step is optional. If you’re going to be feeding cords through, drill a hole in the back where needed. I think that this creates a cleaner look overall and eliminates some of the clutter that can accumulate around the TV.
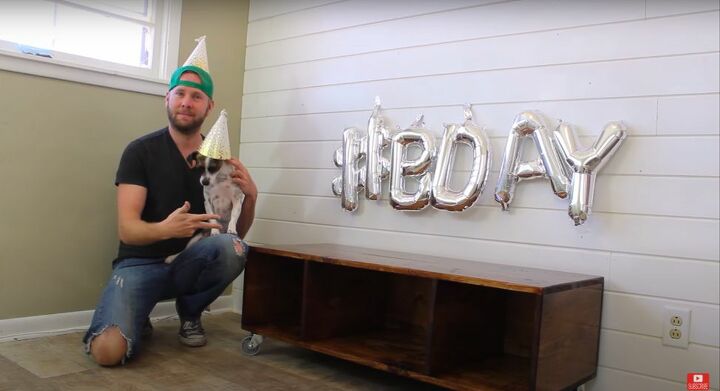
I made this cart for my mom for her birthday. Happy birthday mom! Even Henry joined in the celebrations.
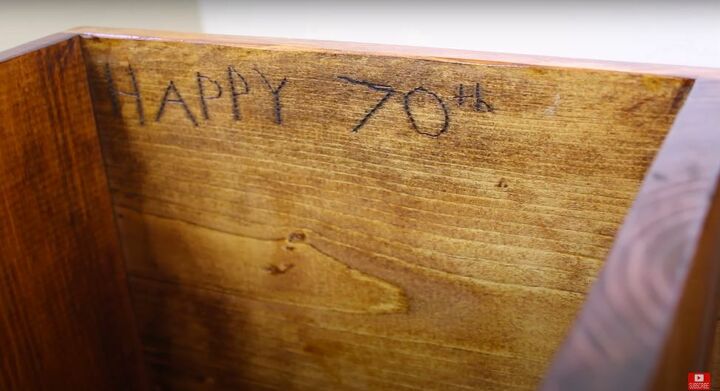
I even secretly carved a few birthday messages for her into the inside of the cart.
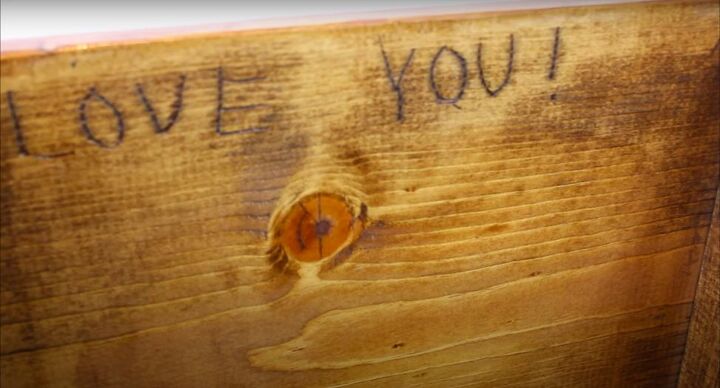
This piece was a true labor of love for me and I hope my mom loves it!
Has my project inspired you to make your own rustic TV cart? Let me know what you’re building in the comments down below.


Frequently asked questions
Have a question about this project?
What size TV does it hold?