


Toddler Step Stool

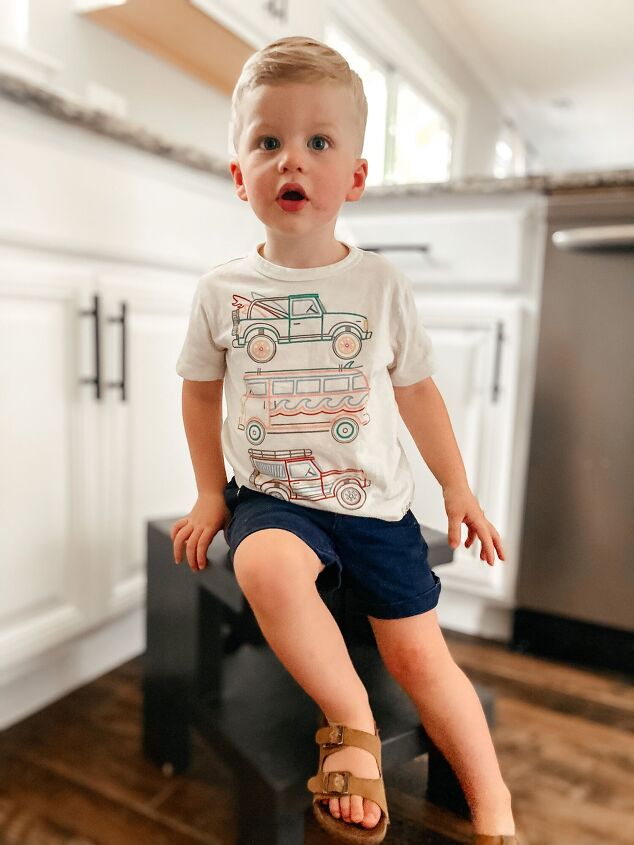
Potty training has consumed our household recently...timers, tiny Lightning McQueen underwear, bribery, the whole nine yards. This seven month pregnant mama is tired and bending down to pick Beckett up and put him on the potty a million times a day was taking its toll. Time to build a step stool!

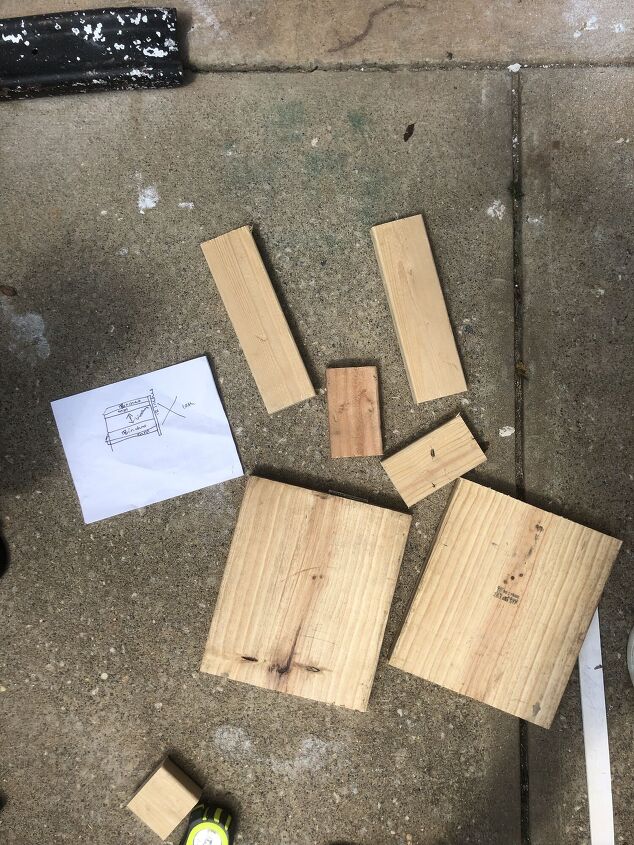
I wanted to use only materials I already had at home, like I usually try to do, so I drew up a simple plan and gathered some scrap wood!
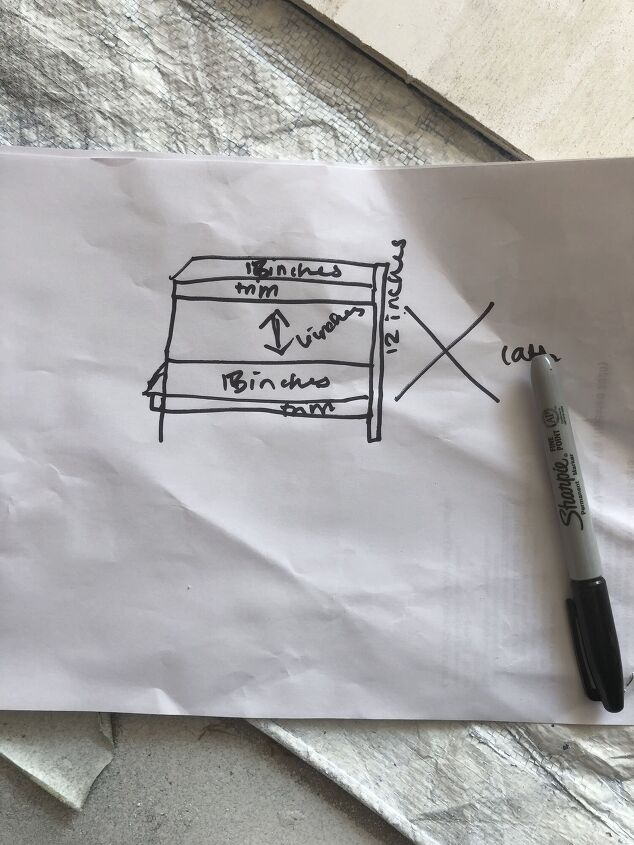
Here is the VERY rough plan I drew up. I wanted something super simple and functional. 12 inches in height, 13 inches in width with 2 steps and a little “x” detail in the back.
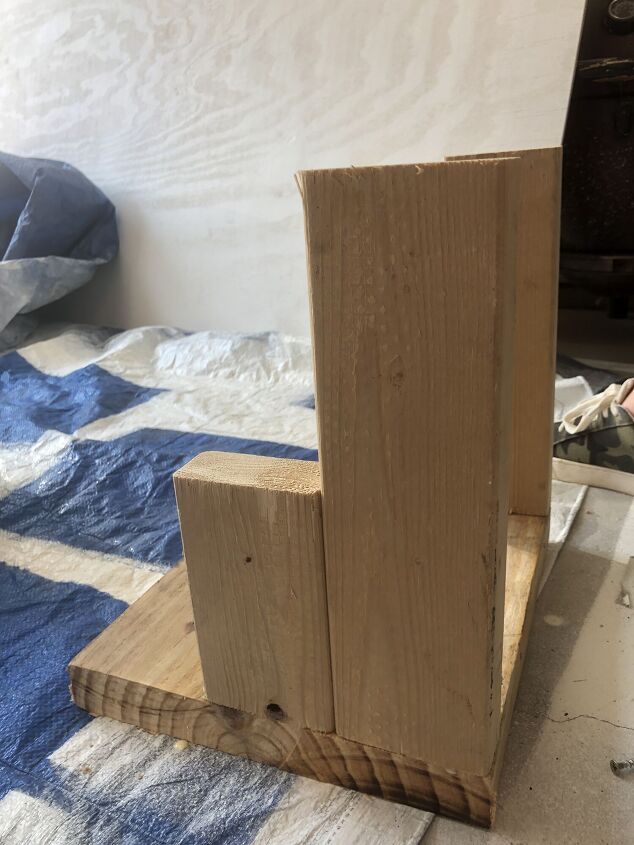
The back legs will be 12 inches in height. You will need 6 inch legs to support the second step and roughly 4 inch legs to support the front of the bottom step. It sounds more complicated than it is but as you keep reading and looking at the pictures, it will make sense!
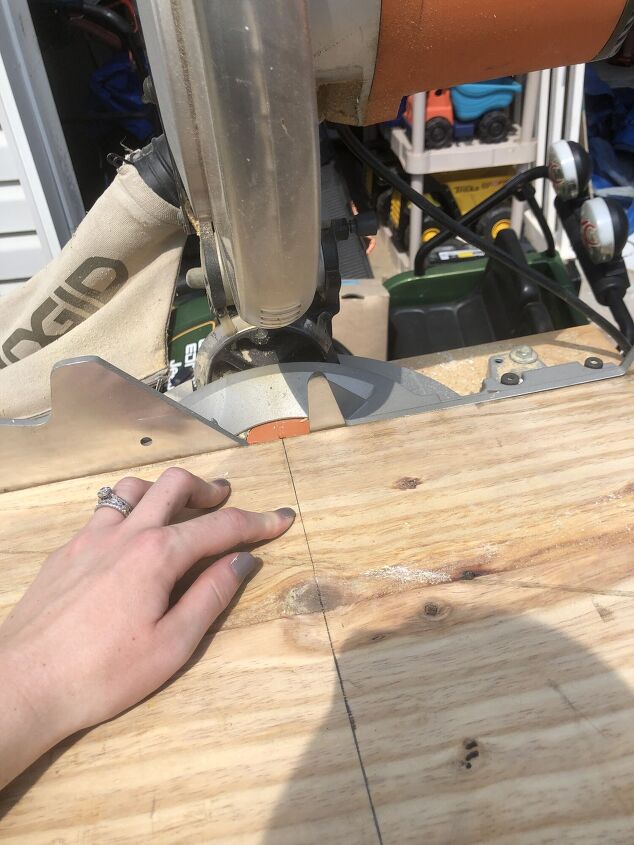
I had some spare 2x10 boards that I used for my coffee bar, so I cut those down to make the steps.
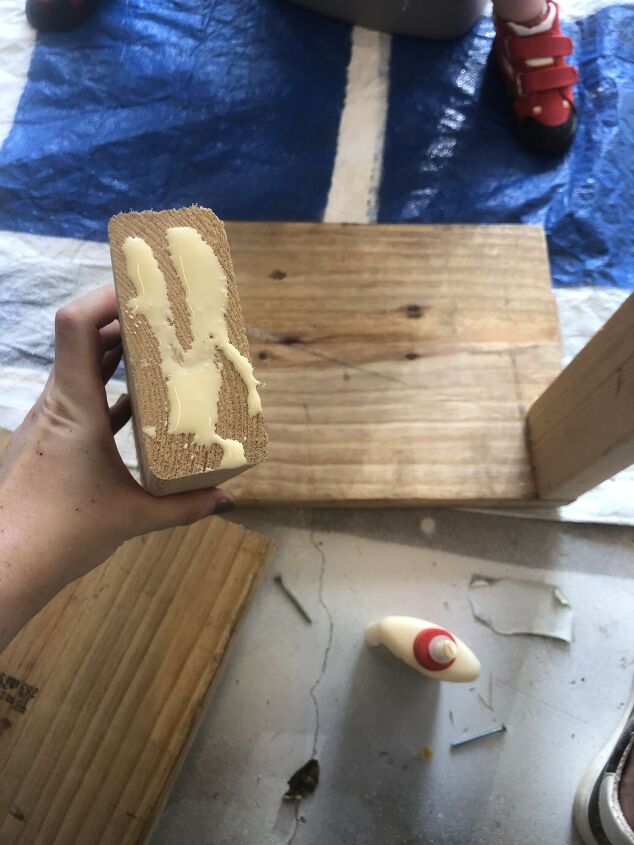
I used 2x4s to make the legs and attached them with wood glue.
I needed a 12 inch tall leg for the top step and a 6 inch tall leg for the bottom step.
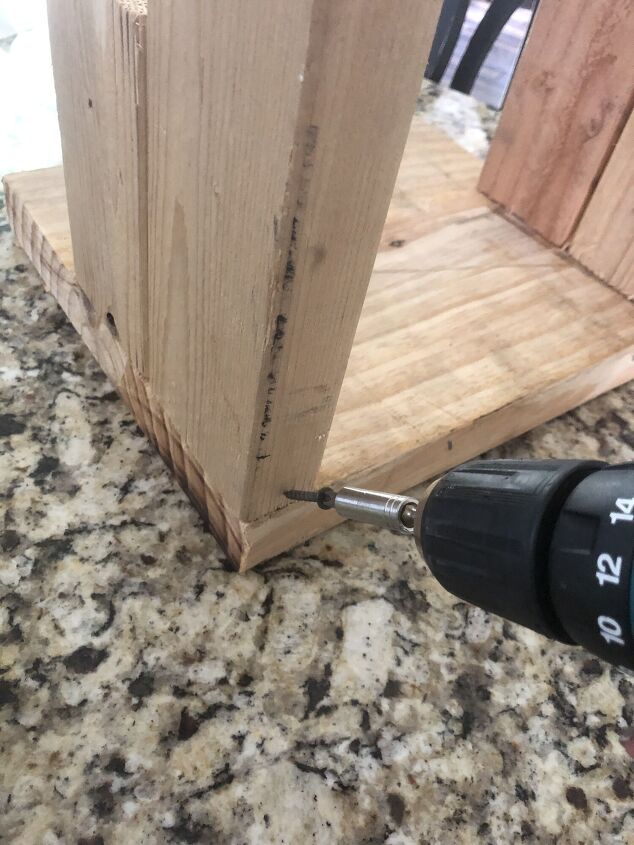
After the wood glue dried, I used wood screws to make sure the legs were really secure. I put them in at an angle because the wood was very thick. You can do pocket screws if you have the tools for it! Otherwise, just screw them in at an angle as deep as you can get them. That way you can fill over the screw with wood filler and it will be nice and smooth, just like if you used pocket screws!

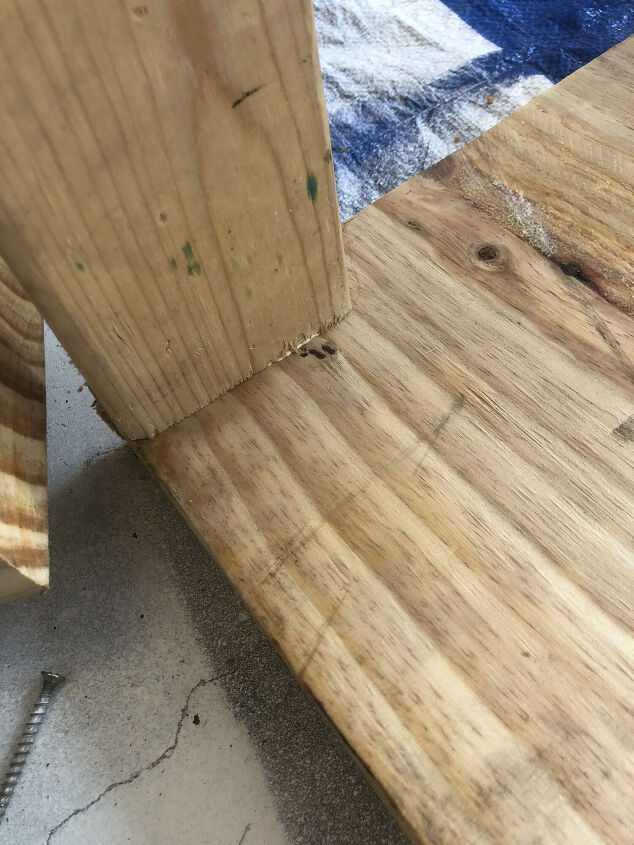
I used wood glue and screws to attach the bottom step just like I did with the legs.
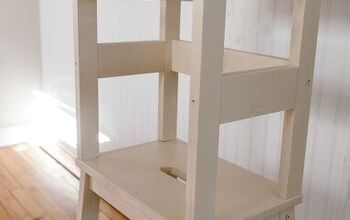
This picture shows the 12 inch back legs and 6 inch bottom step supports.
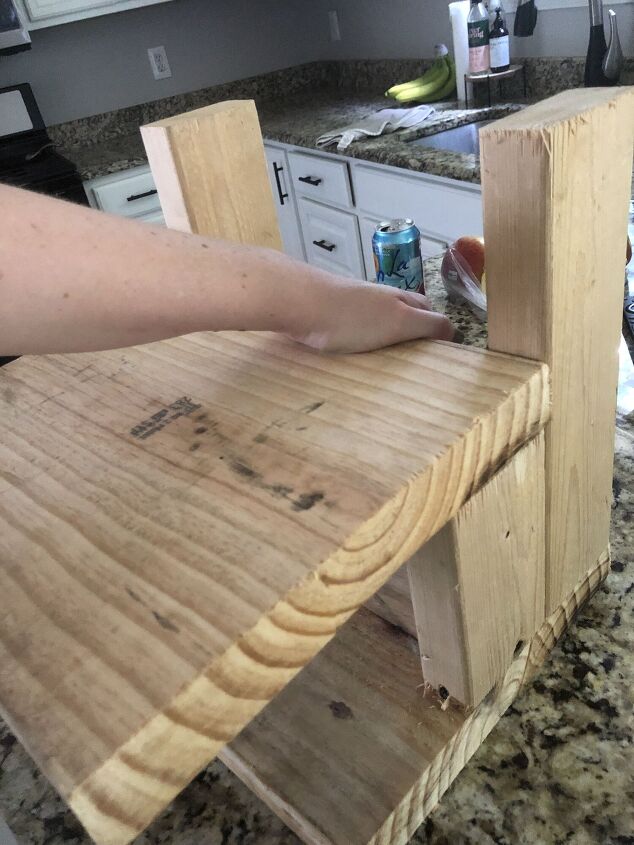
You can see how the bottom step attaches to the 6 inch legs here.
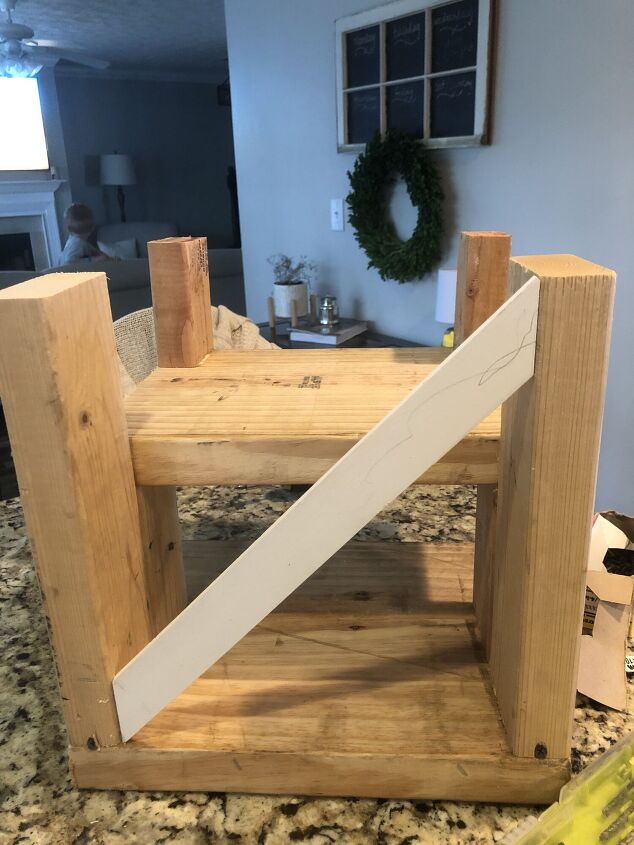
I wanted a little “x” detail in the back, so I used lattice board cut at 45 degree angles to fit in between the back legs.
In this picture, you can also see the roughly 4 inch support legs attached to the front of the bottom step.
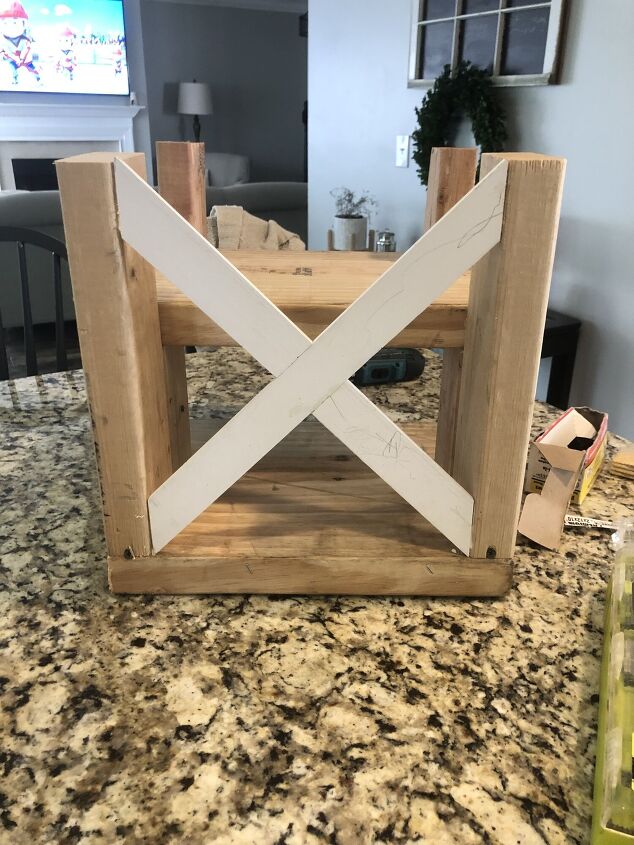
I cut the 2 lattice boards to length, then cut 1 inch out of the middle of one of the boards so that they would fit together flush. I used wood glue to attach the boards.
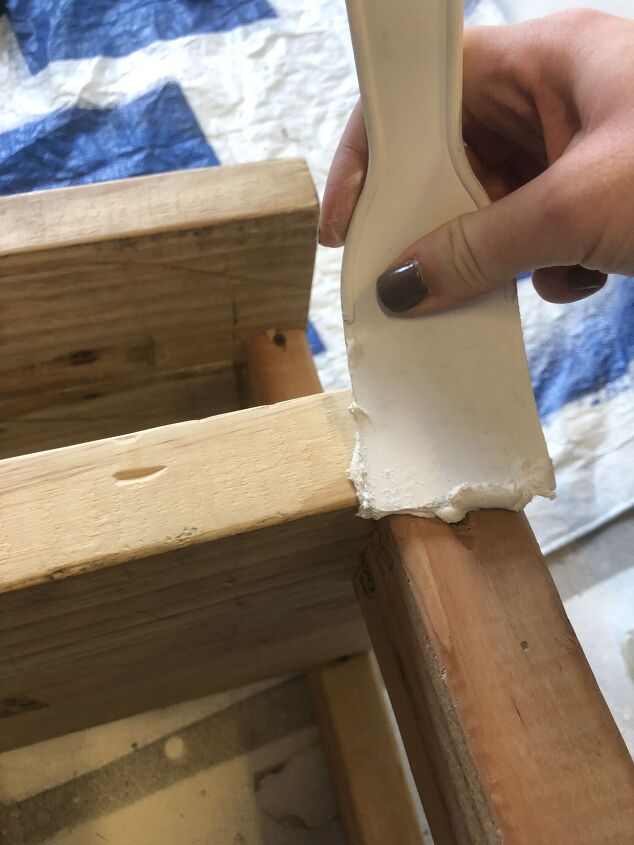
Next, I used wood filler to fill all the gaps and holes (and there were a lot lol).
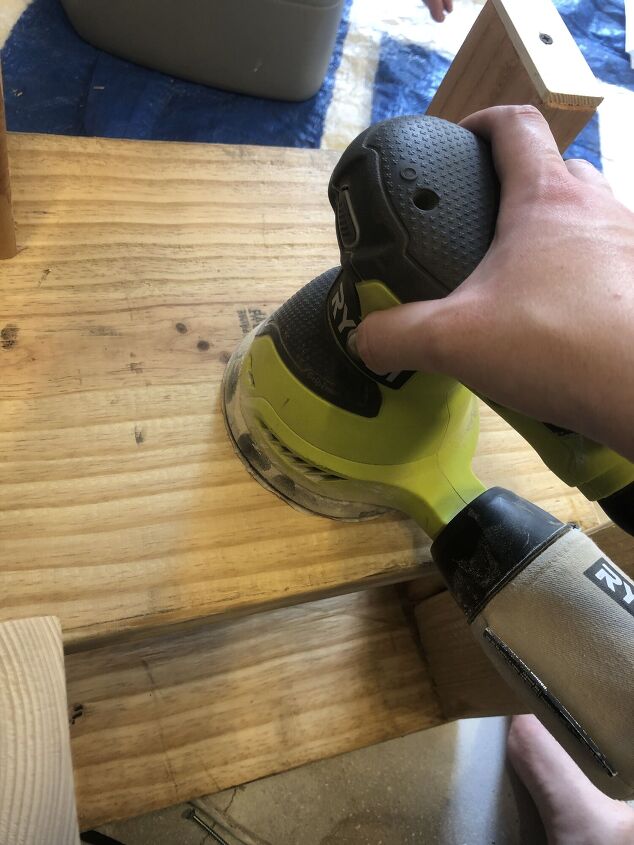
After the wood filler dried, I sanded everything down to make it nice and smooth and ready for paint!
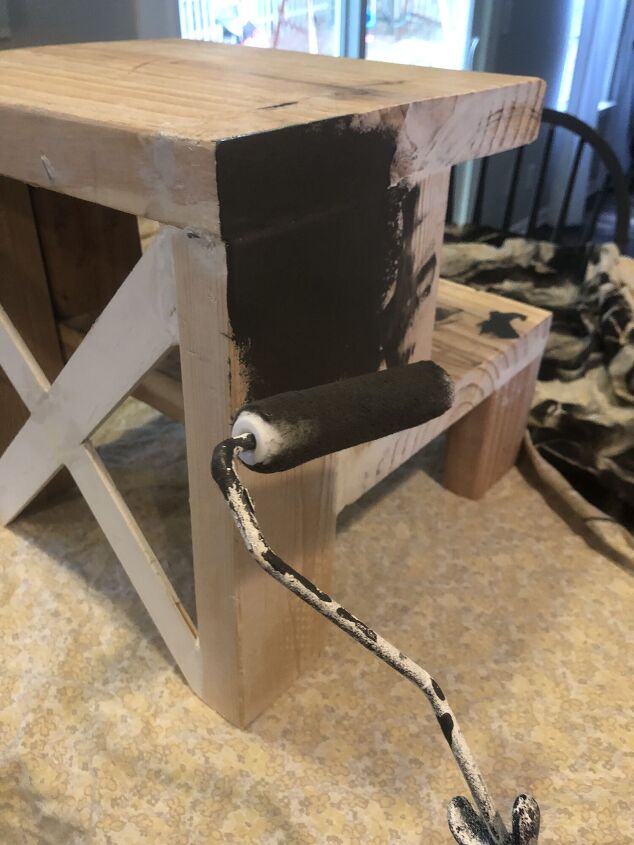
Finally, I used spare Sherwin Williams Iron Ore in a cabinet and trim paint to paint the stool.
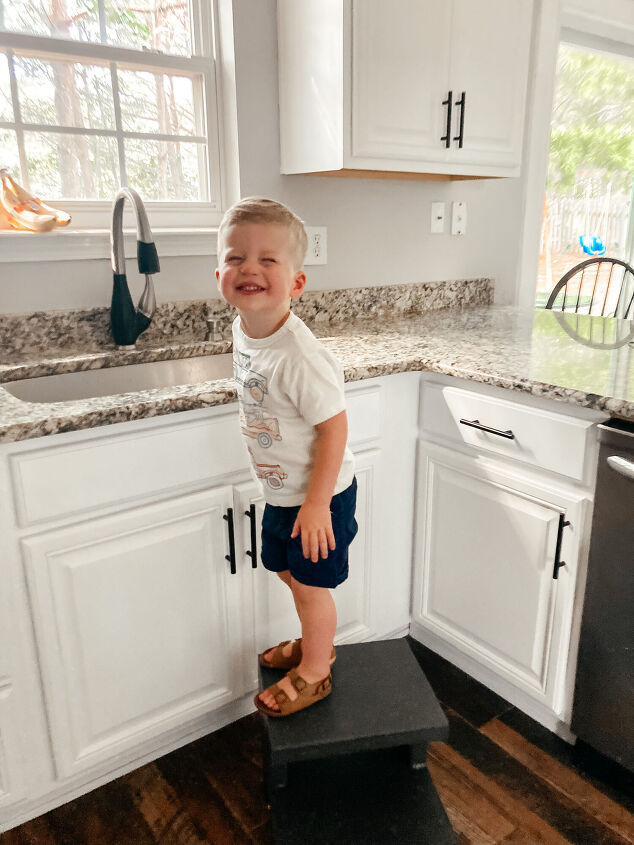
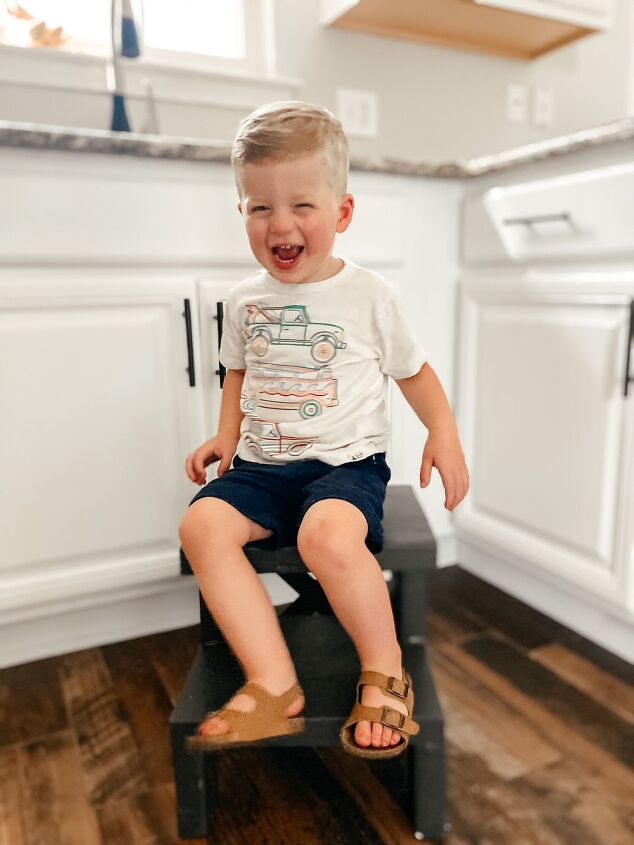
And DONE! Cutest stool model ever.
I did end up cutting 2 inches off of the length of the top step to make it easier to step up and down.
It’s not perfect, but for my first furniture build from scratch, it’s pretty darn good! Perfect for cooking help, potty training, and washing hands :)
Resources for this project:
See all materials


Comments
Join the conversation
-
Yes what a smart way to keep your little sous chef near by.
-
Great job!


Frequently asked questions
Have a question about this project?
Do you have a step stool for dogs also? My bed is high and my dogs are minis.