


Wooden Crate Table

I had seen photos of these tables and thought I would like one for my living room. This project was very cheap and so easy to do! I love the end result. I already had a lot of the materials used so the cost was even less than the one posted. The only items I purchased for this were the crates and one board!

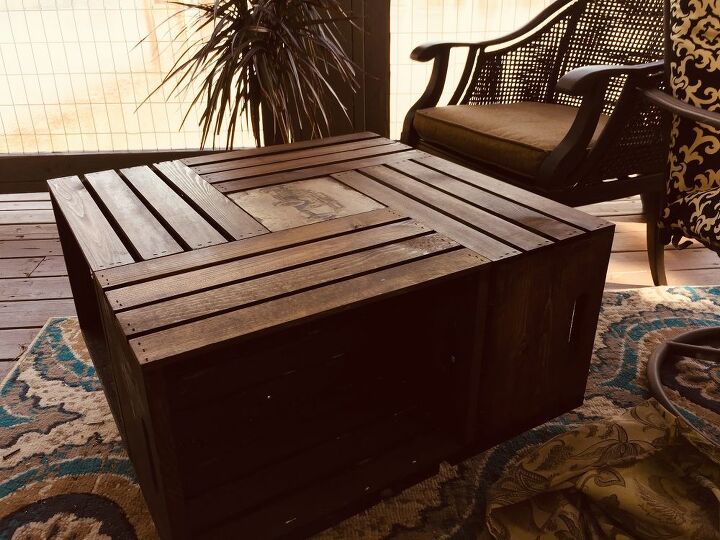
Table is finished! I could not be more pleased. I love it.
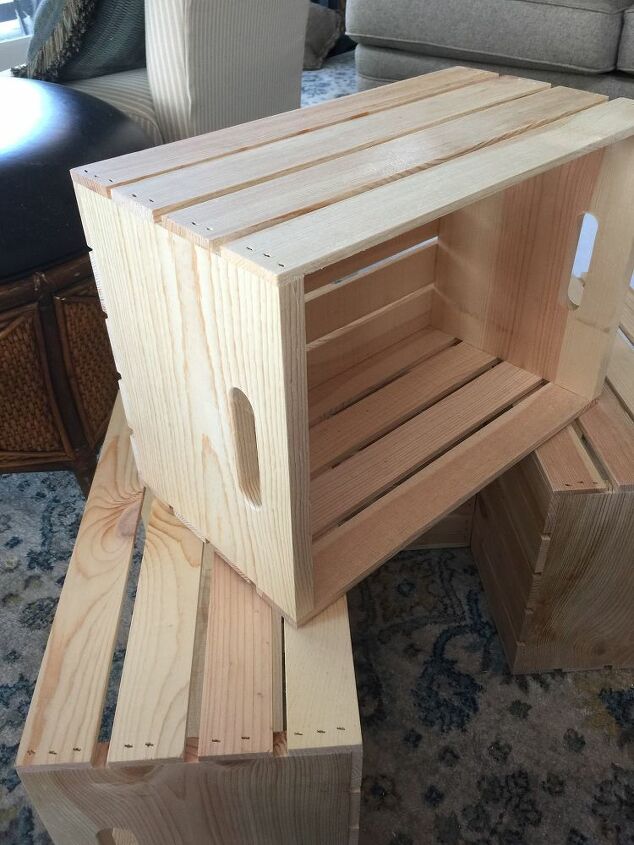
I ordered four crates from Michael's. Total price for all four was $39 on sale.
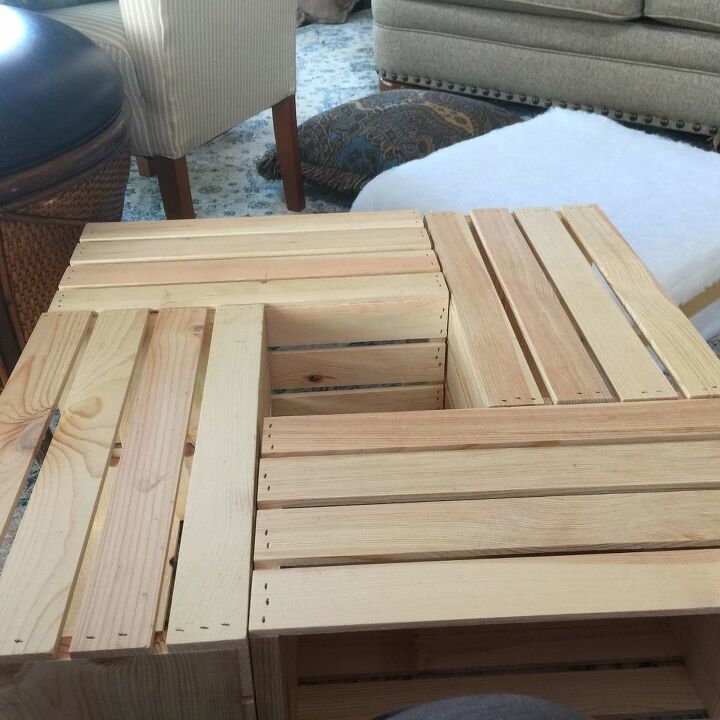
I made a dry run arrangement to see if I like the overall size and configuration. I did like it! The overall size is 27 1/2" square.
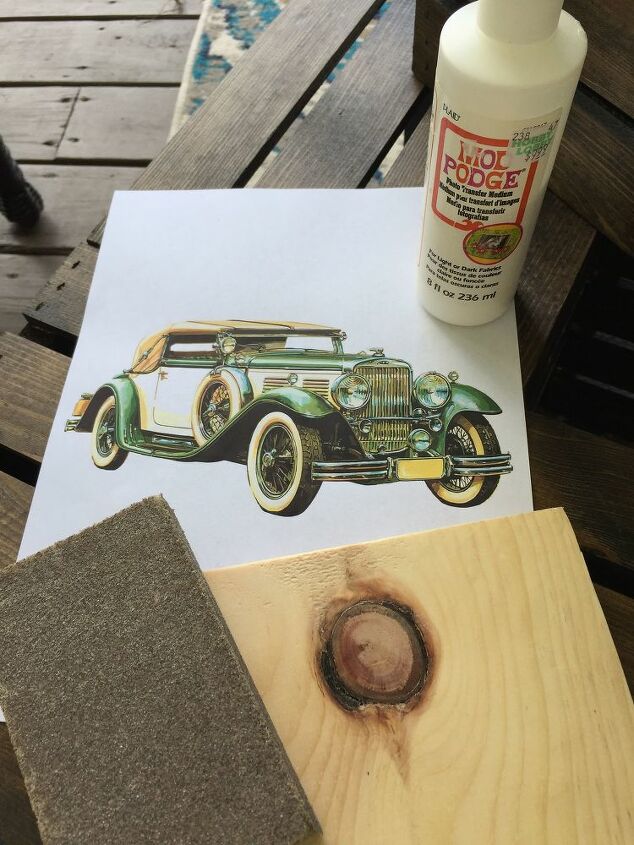
I didn't want a hole in the middle of the table and I wanted something that would look good with the rustic appearance. I found this free picture online and Googled how to use Mod Podge Photo Medium to transfer photo to wood.
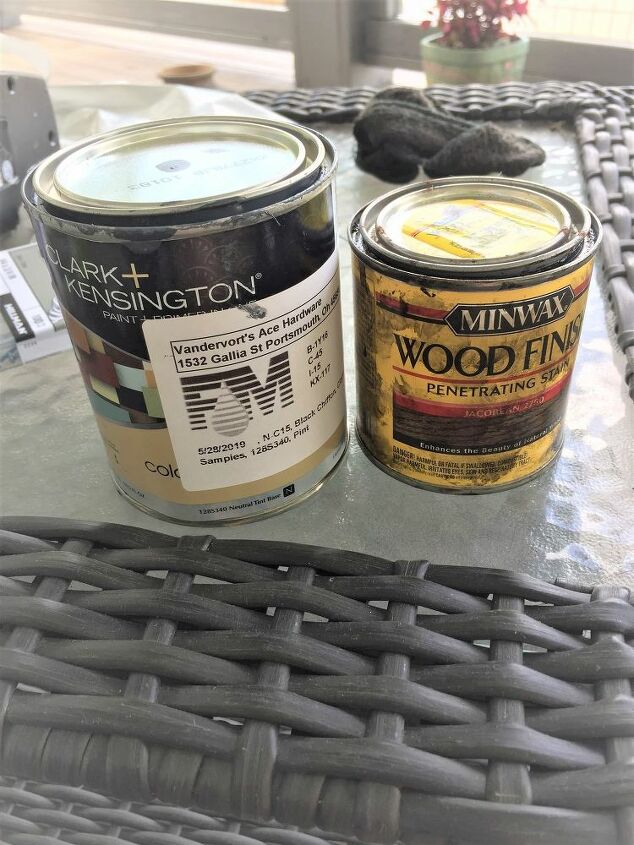
I stained the exterior of the crates and painted the inside. I would have stained the inside, too but I did not have enough stain. The interior wood was very rough and soaked up too much stain and kept snagging the rag I was using to stain. I used a bristle brush to paint the insides.
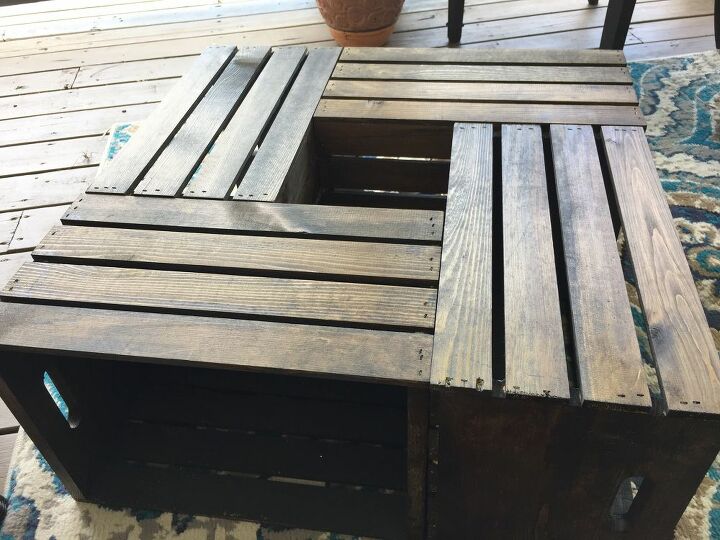
I used screws from my "stash" to connect the crates together. I just made sure they did not go completely through and stick out anywhere. I pre-drilled the holes to make the job easier. These were not at all hard to keep aligned while drilling and screwing.
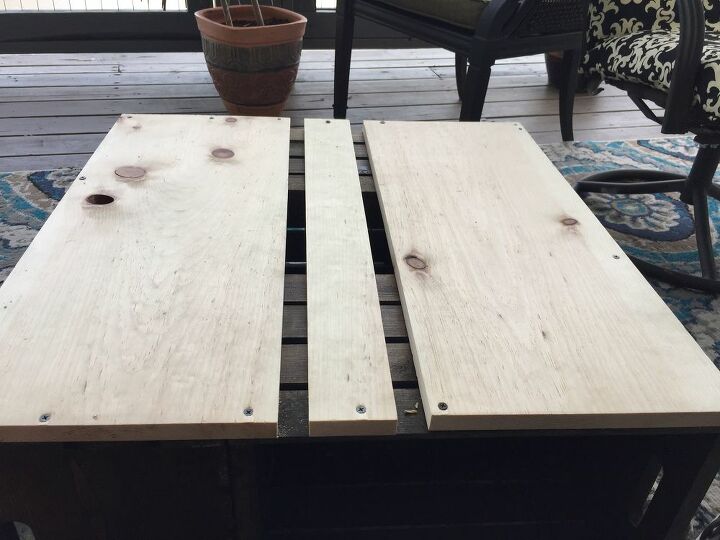
This did not go exactly to plan but it worked out okay. I bought a
1 X 12 X 8 board at Lowe's. The wonderful worker at Lowe's cut and ripped the board for me! He cut three 27 1/2" long pieces. I then asked him to rip one of them down to 5 1/2". I figured this would equal the 27 1/2" width of the table. 1 X 12's are actually only 11" wide. He also ripped the remaining piece into two equal widths. My original layout was too wide (using the 5 1/2" piece) so I used one of the smaller pieces in the middle. The remaining unused piece of the original board was cut into an 8" square and became the board I used for the center of the table. Nothing wasted! I stained the edges of the boards after I fastened them to the table.
HINT: Paint or stain the tops of the boards prior to attaching to the table. The bare wood was showing through in places and I had to use a small paint brush to paint them after everything was assembled.
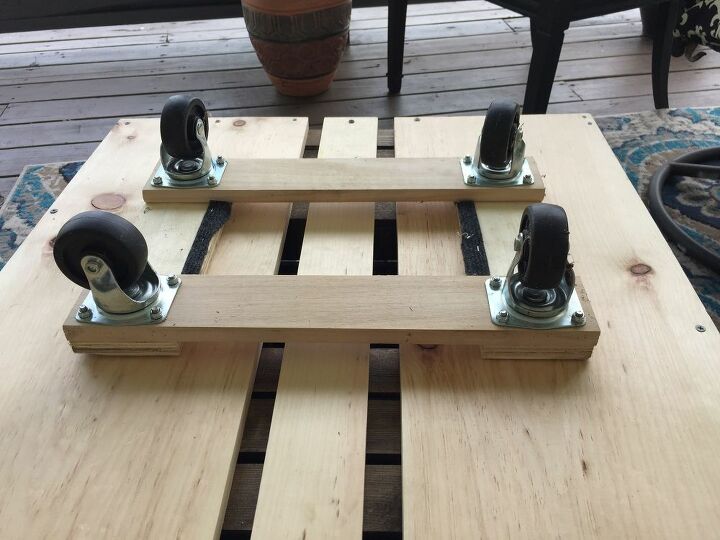
This was a furniture dolly. I removed the carpet that was attached when I got it. I bought this a few years ago just to get the wheels. It was cheaper than buying the wheels by themselves! I tried to remove the wheels but couldn't get them loose. I did not have the proper tools! So I just screwed the whole thing to the middle of the bottom of the finished table. It works like a charm! It very smoothly rolls in any direction.

I'm showing you the storage you get by using these crates. You could put baskets with your knitting projects, stack magazines, kids toys, etc. in these spaces. Please excuse the upside down picture and hole drilling "crumbs" inside the box. LOL I lightened up the photo to better show the interior. The original paint is more black than blue/gray.
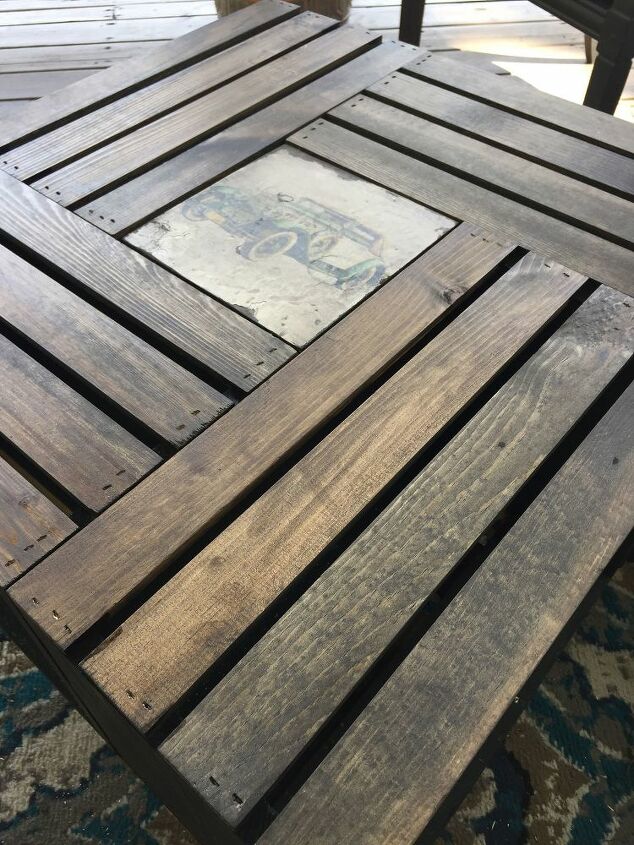
You can see that I "aged" the photo of the old truck. I used the same stain and roughed up the edges. Securing the photo in the middle of the table was a bit of a challenge. I turned the table onto the side and used roofing nails for spacers. Since I did this alone I had to use a board to prop up the picture from the back side to hold it in place while I drilled and screwed it into place. Be sure to put the photo in before you attach the bottom to the table.
I even impressed myself a little bit with this one! LOL
Comments
Join the conversation
-
This is soooooooooo very functional. Inside, outside, coves for storage and on wheels.........I LOVE it!
-
I really love this idea. I thought that you might use a potted plant in the center place. The pot would need to be large enough and have a slight edge to it so it could rest on the edge, or you might need to lower the center plate down and secure it. This is such a great idea and looks lovely when you finished it.


Frequently asked questions
Have a question about this project?