


Wooden Rolling Cart

I’ve seen carts made from drawers on Hometalk before and wanted to try it myself, so here it goes!
Tools and Materials
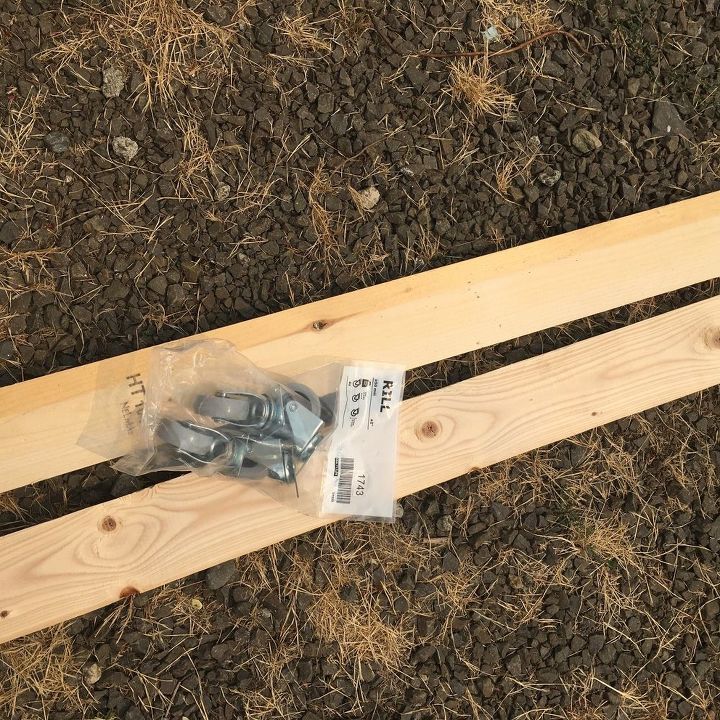
- 2 pallet boards
- Wheels
- Drawers
- Stain
- Paint
- Paintbrush
- Wax
- Screwdriver
I started with 2 long pallet boards and a package of wheels from Ikea. These wheels are fabulous for small projects like this.
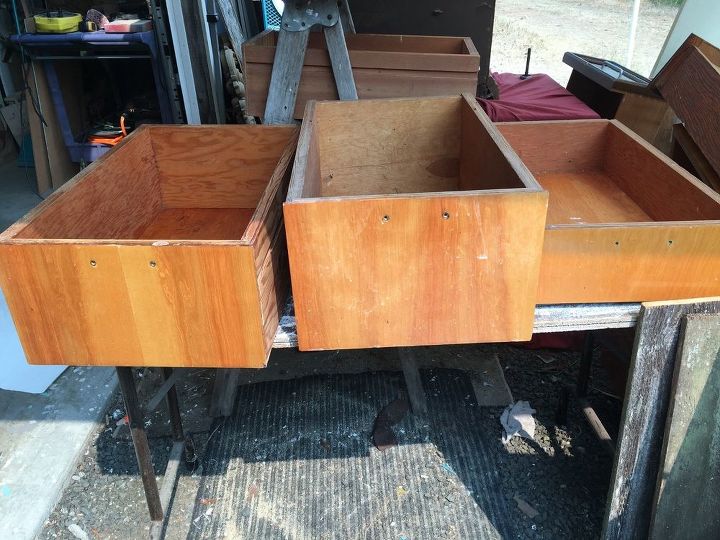
I gathered 3 drawers with the same width and depth but the height was different on all of them.
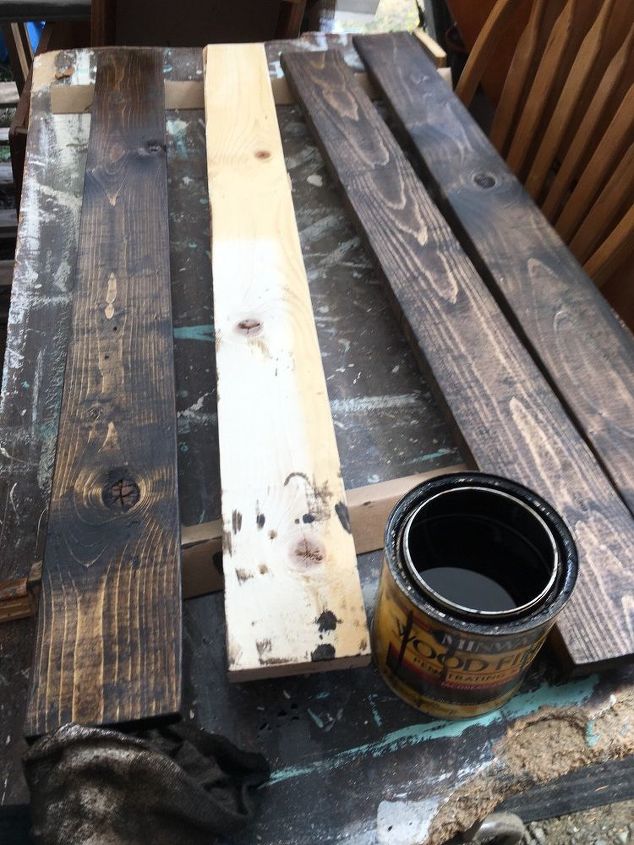
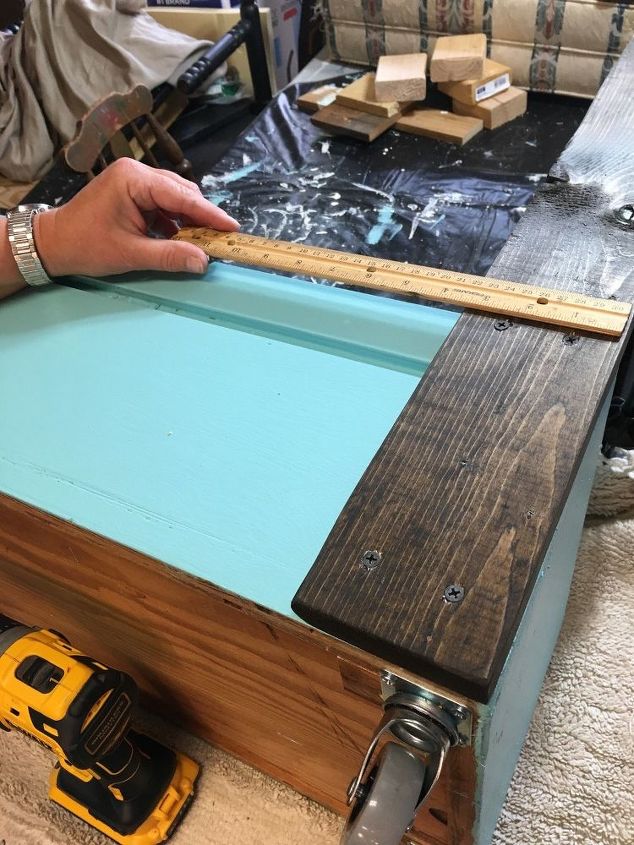
Then I cut, sanded and stained the boards. The way I determined the height was to measure the total height of all three drawers and then add 8“ between both the middle and bottom drawers. The only reason I chose 8” because the bottom drawer was 8 “. You can decide what size spacing you want.
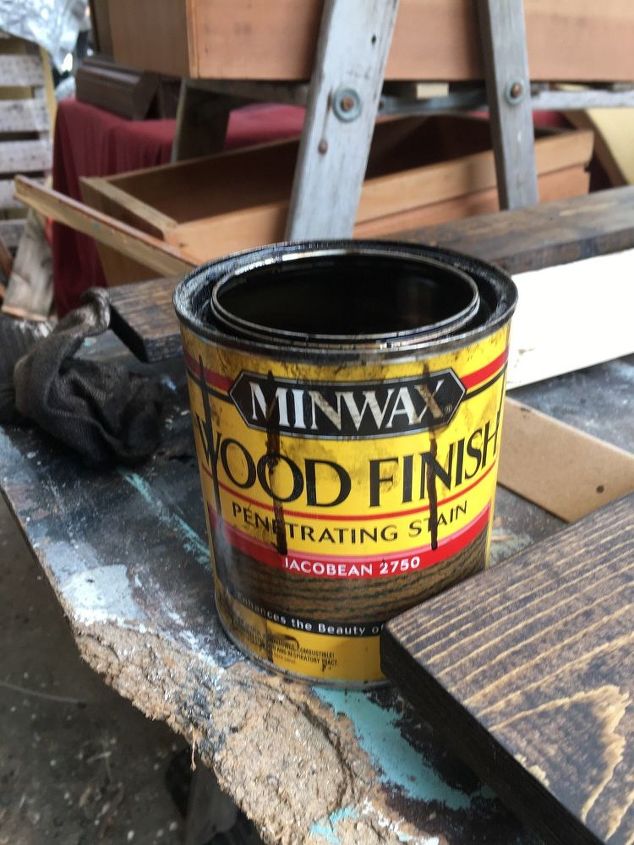
Love, love this color of stain! Jacobean by Minwax.
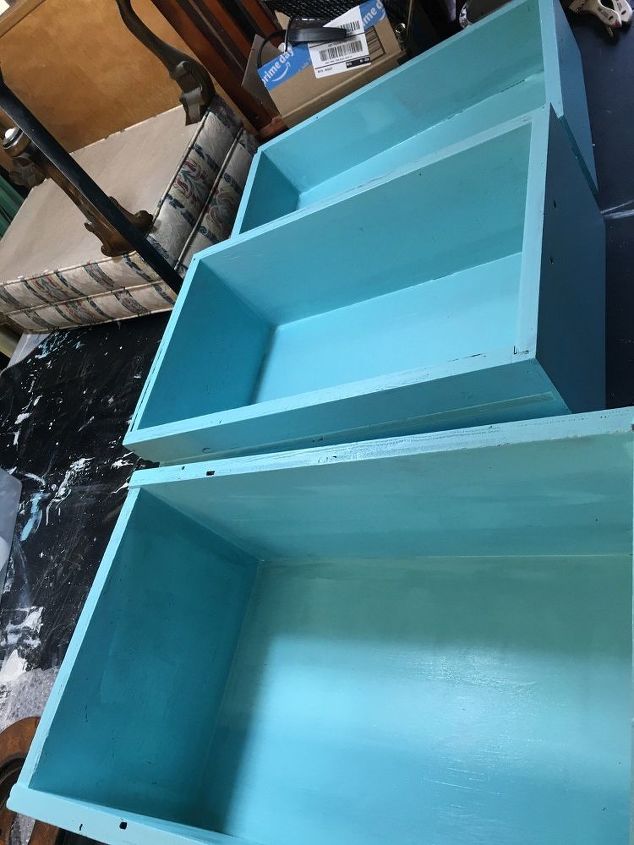
I painted the drawers inside and out an aqua color. You can use whatever color fits your decor. I put 3 coats of paint on each drawer.
I forgot to take a picture of putting the wheels on. But, I attached them to all 4 corners of the bottom drawer. The wood was thick enough to handle the screws I used in 3 out of the 4 screw holes. I had to put a small, thin piece of scrap wood in the inner screw hole to support the screw. If your drawers are not supportive and thick enough you would need to add additional blocks of wood for support.
Then, with help from a friend, we started adding the pallet boards to the bottom shelf first making the drawer and pallet board all even at the bottom.
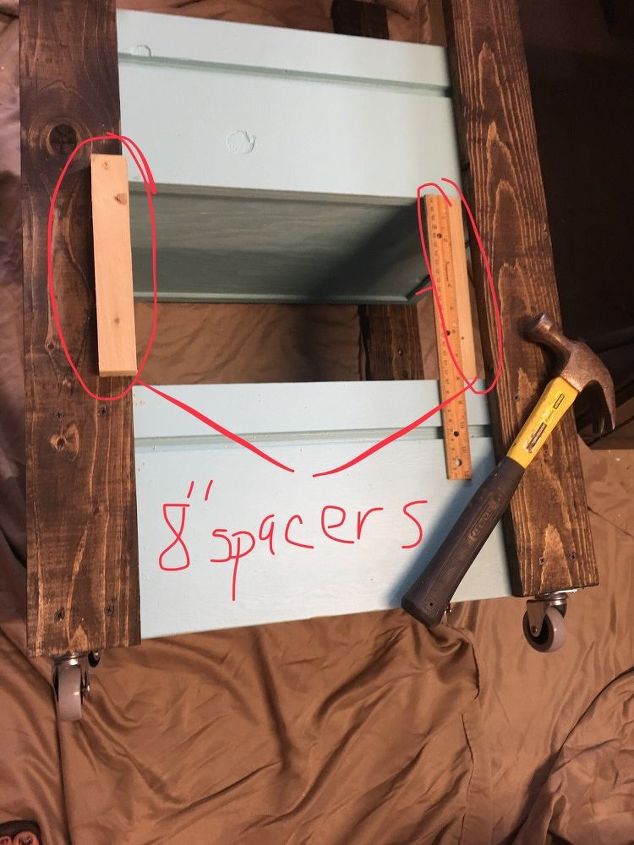
To make everything easier when attaching the remaining drawers, we turned everything on its side and used 8” spacers that we cut from scrap wood to align them. This made it so much easier!
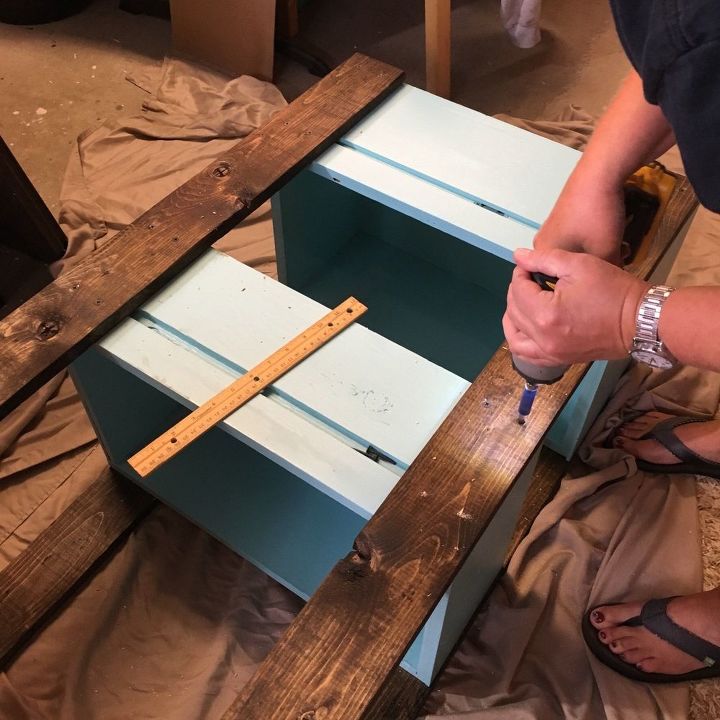
Using a ruler, we measured and placed screws at the same place on every drawer to make it look uniform. We also predrilled every hole so the wood would not split on us.
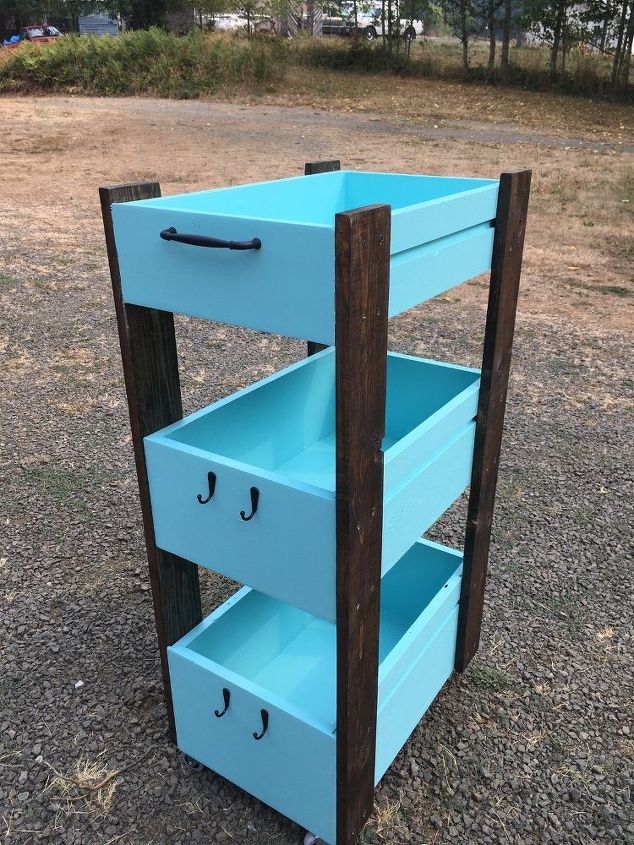
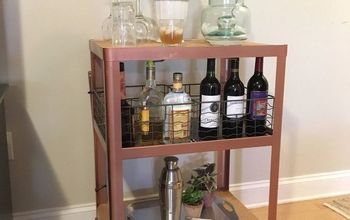
Here is the final project! I also added a handle on the top drawer and 2 hooks each to the bottom 2 drawers. Depending on how you use it, you could add whatever accessories fit your needs.
Resources for this project:
See all materials


Comments
Join the conversation
-
Great job! I obtained an old drawer several years ago and added legs to make it a storage drawer table for my bathroom. I love your idea and think I'll start looking for drawers for one of them.
-
Awesome way of repurposing some old used drawers. Great for a craft room, or garage. GREAT JOB.


Frequently asked questions
Have a question about this project?
What is the right paint for a cement outdoor decoration?
Love it, but am wondering if there is enough space between the drawers to be able to put in/take out, items you store.
Lovely. Is there a reason you desired to not make the drawer flush with the legs on the top? I wasn't sure I liked it but I began to think of ways it would be useful. As you stated it depends on what you are using it for. Blessings multiplied