


DIY Concrete Pots
2 Materials
$10
2 Hours
Easy
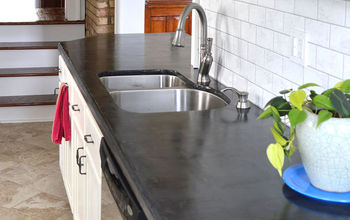
I really should be cleaning or organizing something in my house, but after a busy December, all I want to do is have a little zen time in my workshop (aka 3rd garage space turned workshop). It's going to sound weird but I really love working with concrete - see my concrete countertop project https://www.hometalk.com/diy/kitchen-dining/countertops/concrete-countertops-32547429. But I wanted to use it on a smaller scale - and pots seem like a good place to start.
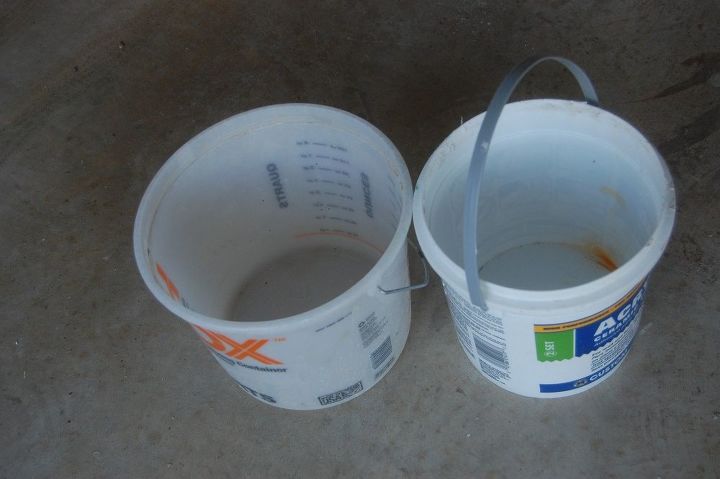
STEP 1 - the Mold
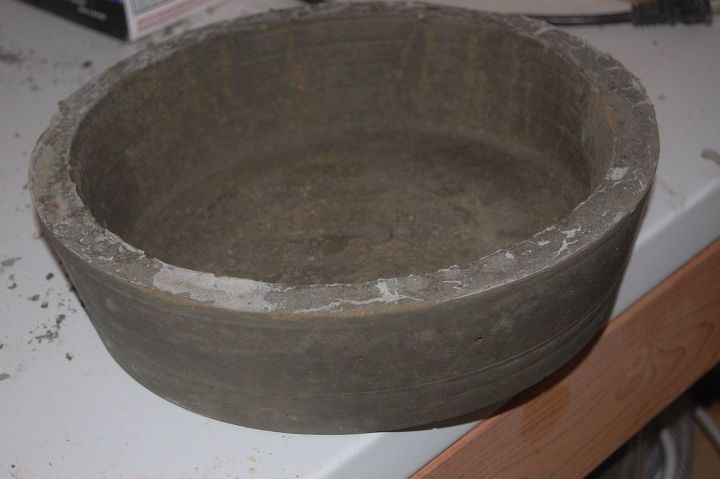
The first step is to decide what you will need for your mold. You will need a bottom and top container - the top needs to be smaller, unless the bowl is somewhat v shaped(like the photo below). The narrow bottom allows for you to pull the top mold out once it's dry. Old containers/buckets or even plastic bowls from the dollar store will work. The cement residue will rinse right off whatever you use.
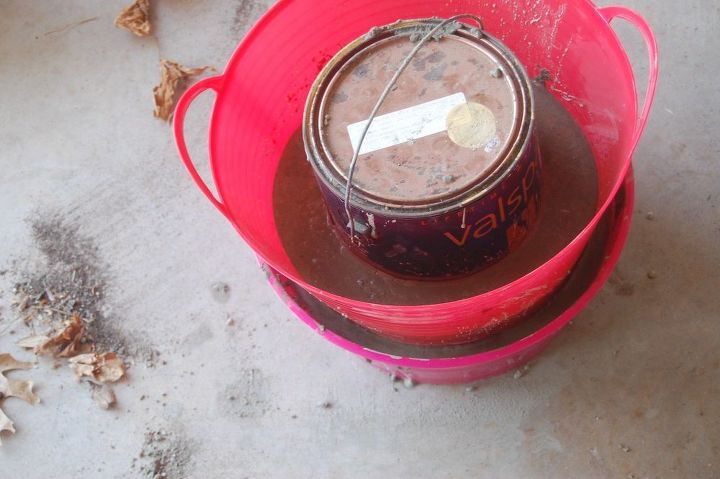
This picture is a good example that you can use many different shapes for your top and bottom mold. Just make sure to grease your containers, I used crisco but any grease will work. Also keep in mind that the containers will be really heavy the thicker the pot. After some experimentation, I like slightly thicker at the bottom with an inch thick side.
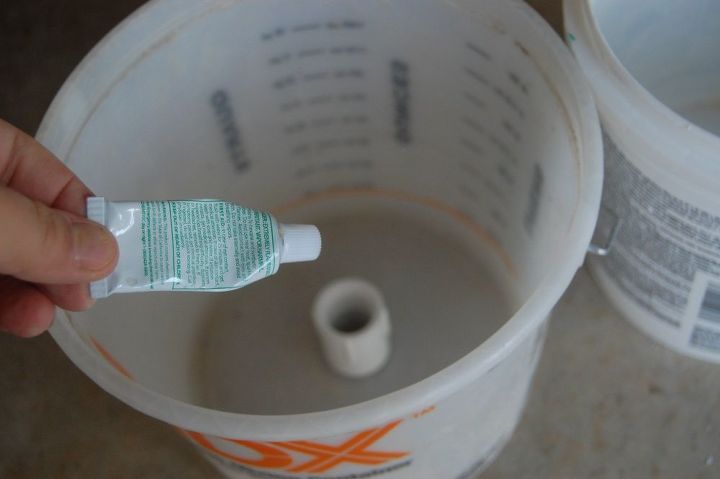
STEP 2 - Add drainage
If you are not using this as a planter, feel free to skip this step. I glued a piece of pvc pipe to the bottom mold and place the top mold on it. This will create a drain hole in the container. Don't worry if a little cement gets in the hole - this is easily drilled open after it has dried. If you don't have a pvc pipe, other ideas would to use a small piece of wood/rock or anything roughly 1 to 1.5 inch thick to create the drain hole.
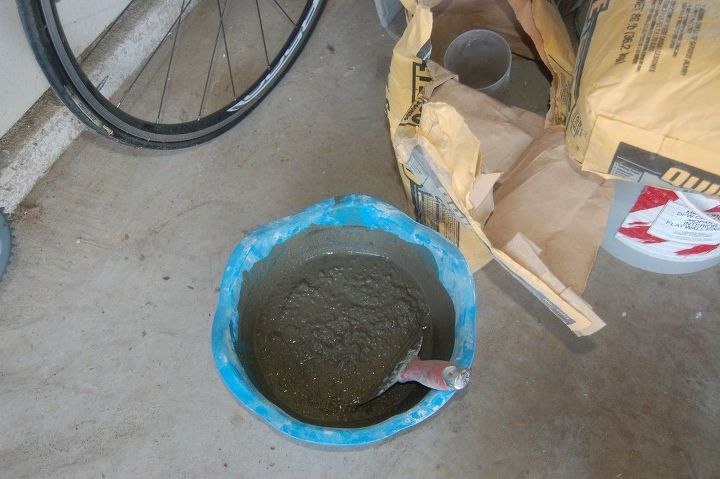
STEP 3 - Mix your concrete
I used Quickrete, about $4 a bag at home depot and one bag will make many pots. There is also a quick drying version for about $8 per bag and that works well too. The smoother/more fine the concrete the less rough the finished product. So depending on the look you are going for...I like the rough look but for indoor pots it might be nice to have a more pollished look.
Add 4 to 5 cups concrete, and 1 cup water, mix and assess the consistency. You want it to be a little like pancake batter, not too watery but liquid enough to pour into the mold.
STEP 4 - Let dry for at least two days!
Don't rush this step because the pots are much stronger once completely cured. In colder weather it takes longer to dry, possibly consider bringing them indoors to speed up the process. Carefully remove the top mold, then turn over to gently remove the bottom. You can take a coarse sand paper and remove any rough areas. Another option would be to seal the pot with concrete sealer - but I prefer the raw look, so I opted to leave mine.
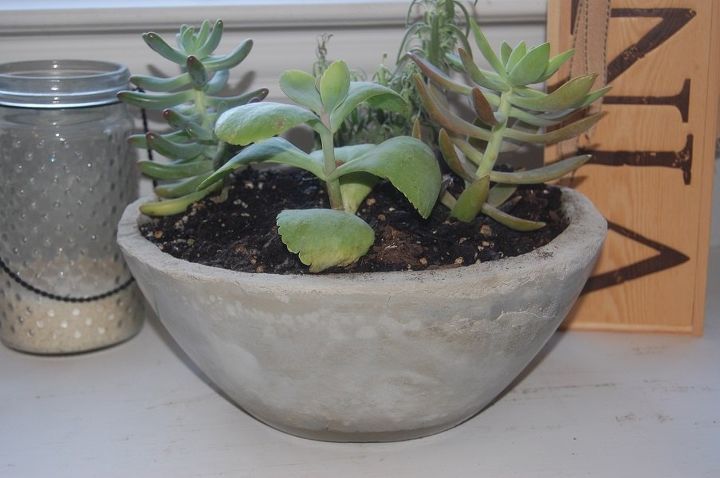
These pots are so beautiful with succulents and will be great with vibrant colored flowers in the spring!


Any price and availability information displayed on [relevant Amazon Site(s), as applicable] at the time of purchase will apply to the purchase of this product.
Hometalk may collect a small share of sales from the links on this page.More info

Want more details about this and other DIY projects? Check out my blog post!


Frequently asked questions
Have a question about this project?