


How to Build a Beautiful Wood Planter With Just 2 Planks of Wood
The sun is out, the birds are chirping, and my patio is in need of more plants! Always. When it comes to DIY I really can’t help myself. I saw some builders on Instagram compete in a build-off for a wood planter and I wanted in! Though their competition is technically over, I am making a planter off to the side in the spirit of DIY.
I ended up using a 2×12 by 16’ board that I acquired for free from an old warehouse that was clearing out space. The boards were being used as giant warehouse shelves and I’m not sure what type of wood they are. Because of this, I don’t know if the wood is naturally resistant to mildew so I will be using an outdoor wood stain and sealant to be better suited for outdoors. A lot of these tools can be found in my .
Let’s start!
Most lumber sold in stores like Home Depot and Lowe’s have rounded edges. The table saw helps with this if you want crispy corners. So once I start cutting pieces, I will first run the rounded sides through the table saw and remove ⅛”.
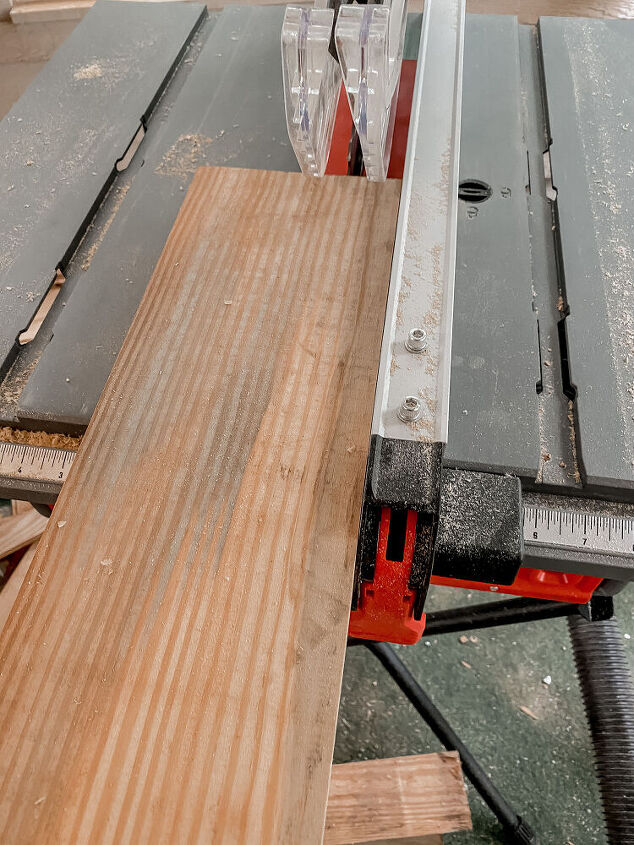
I cut two 18” sections from the board and trimmed off the rounded edges. It’s important to remember to measure each piece one at a time, OR to include the loss of ⅛” from the blade in your measurements, this ⅛” loss is called kerf.
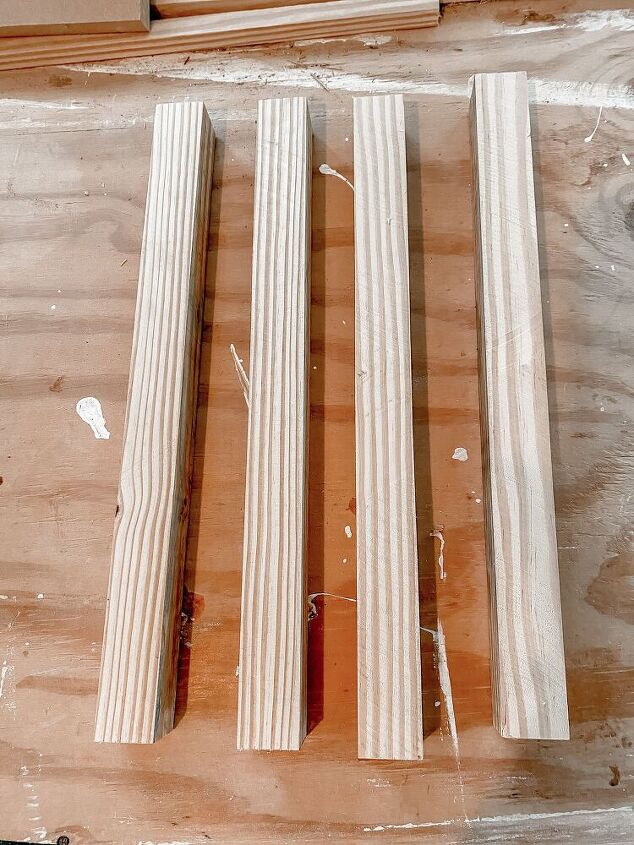
I cut two 18” sections from the board and trimmed off the rounded edges. It’s important to remember to measure each piece one at a time, OR to include the loss of ⅛” from the blade in your measurements, this ⅛” loss is called kerf. After those 2 pieces were cut, I then ripped the board along the long edge into 1.5”x1.5”x18” pieces.
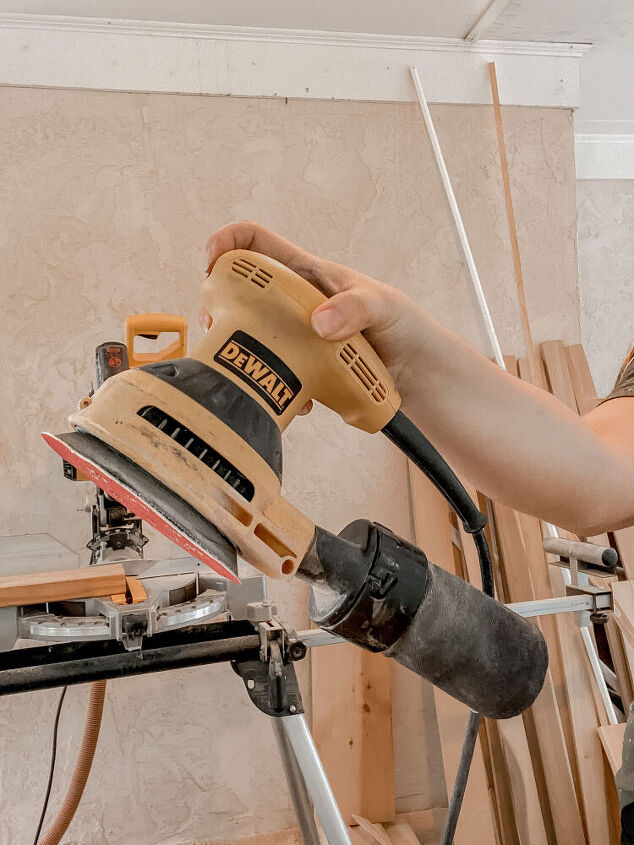
I tried to sand all the pieces as I cut and I would recommend you do the same.
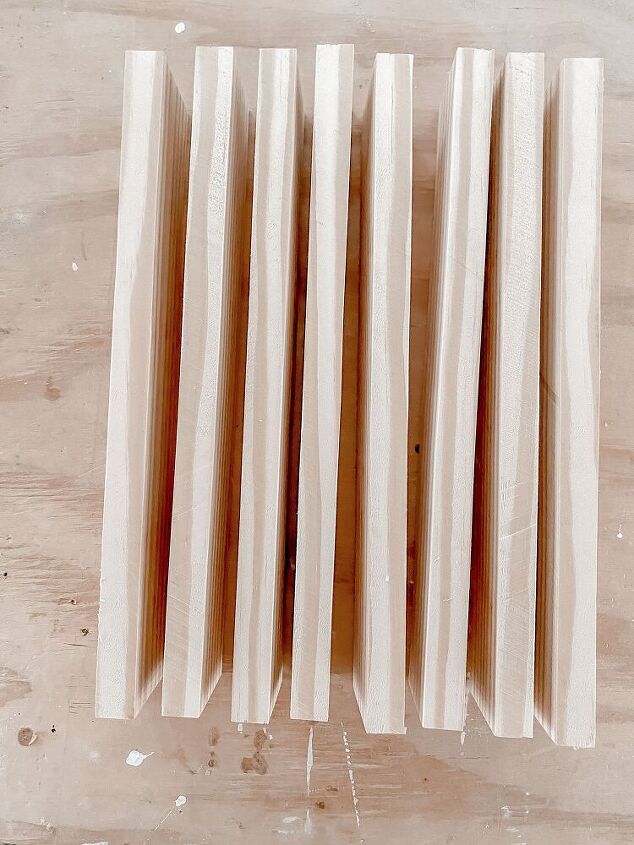
The next cuts will be for the side supports for the wood planter. Cut two 12” long pieces from the 2×6 (don’t forget to square edges from the table saw). These two 12” board will then be cut into four 2.25” wide pieces. Note that there will be some leftover wood. This is helpful in case you need to recut a piece. They will then need to be ripped long ways to be half as skinny. You should now have 8 boards at 2 ¼” x ¾” x 12”. Don’t forget to sand your new wood pieces.
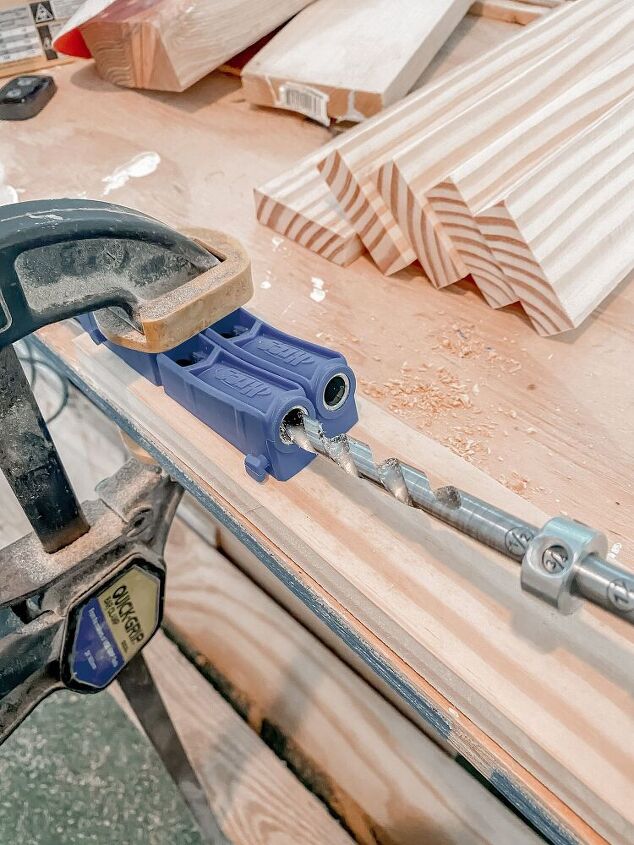
So to be perfectly honest, I’ve never used a Kreg Jig before. I’ve made pocket holes before but Taylor just likes to eyeball it. I don’t really trust myself to do that with any level of accuracy so… I bought ! It was actually really fun to use.
I actually didn’t follow the directions exactly and just used the Kreg Jig at its default setting and I split 2 of the wood pieces. I had to then recut those pieces, read the directions to change the configuration of the holes, and start drilling pocket holes again.
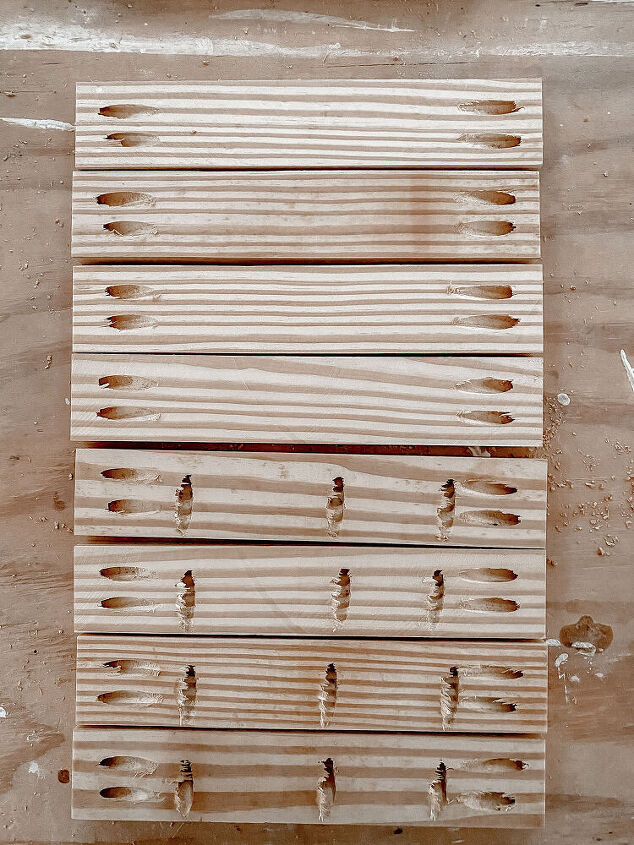
Once all the pocket holes are made, you should 8 pieces like these! Honestly, this wood planter wouldn’t look as good if it was covered in screws. These pocket holes make all the difference!
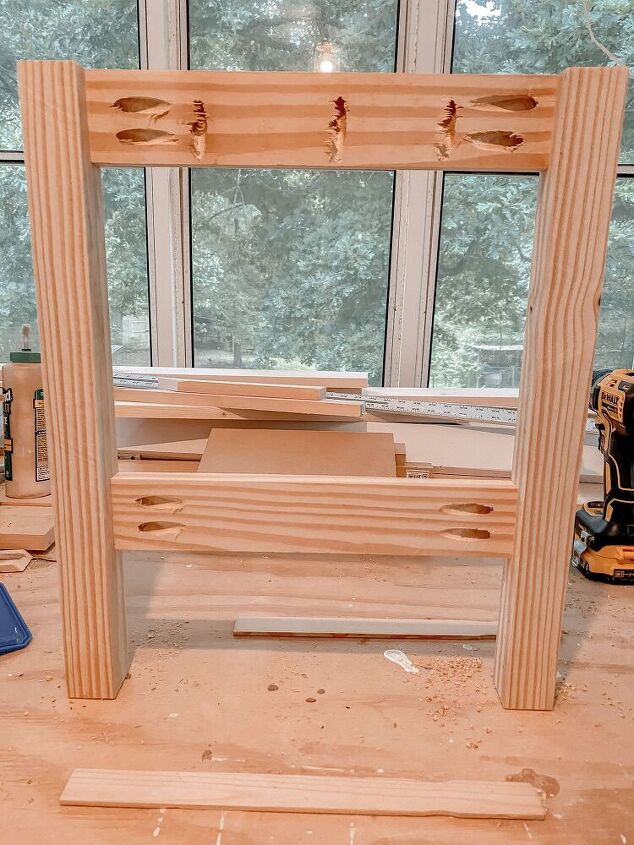
The frame pieces are done! Now we can piece them together! When Angela made her wood planter, she used paint sticks to help space the support boards back from the legs. Place 2 under the supports and clamp one of the legs against the table.
You'll have 2 sides like thi! make sure the to keep the pocket screw holes on the size of the box.
If you have more clamps, you may as well clamp the other side too but a clamp is necessary if you want everything to line up. The top of the bottom support should be 11” from the top of the legs. Use the 1 ¼” pocket hole screws to secure the supports to the legs. Work your way around and you’ve got a frame!
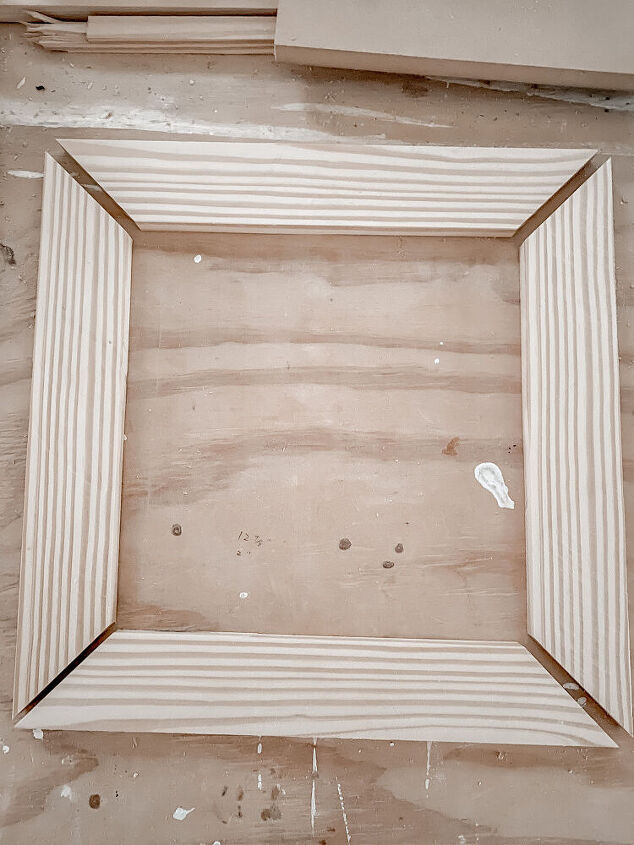
Cut 17” from the 2×6 and make 4 more pieces, 2 ¼” x ¾” x 17” using the table saw. Then cut 45-degree miter cuts with opposite angles on either side. The longer edge should be 16”, I told you to cut 17” instead of 16” so that we had a little bit of wiggle room and so that our angle cuts would be nice and crisp.
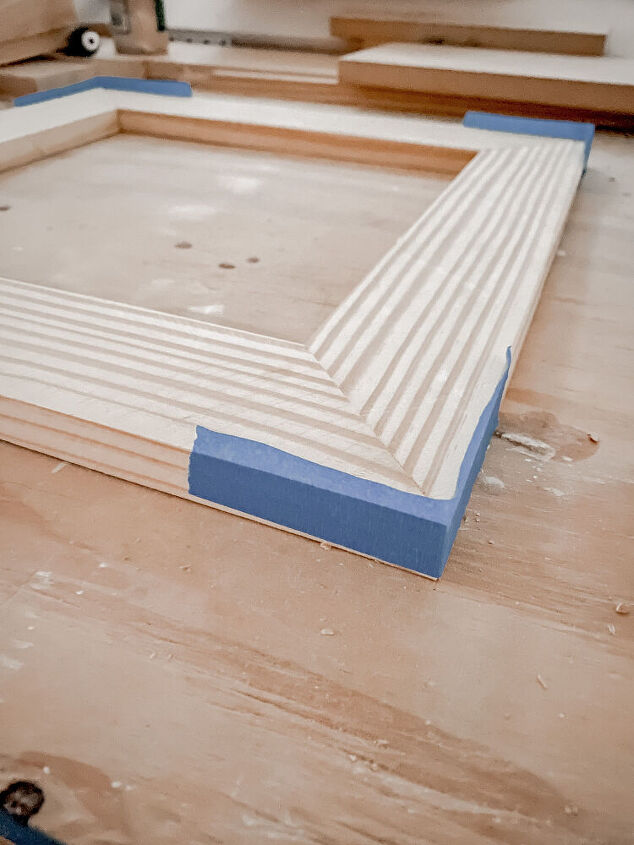
Use a little bit of wood glue and painters tape to complete the mitered corners. Should look like a picture frame.
I would love to have used some sort of biscuit or dowel system to get these corners really nice, but I don’t have the knowledge or the ability to do that yet so glue and tape is really the next best thing. The tape works like a clamp, keeping the corners together.
Once dry (about 30 minutes), line it up on top of the frame with ½” overhang on all edges. Flip it over and attach using the 12 pocket hole screws to secure it in place! If you haven’t sanded any of your wood pieces, go ahead and sand the frame now while it’s easier to work with.
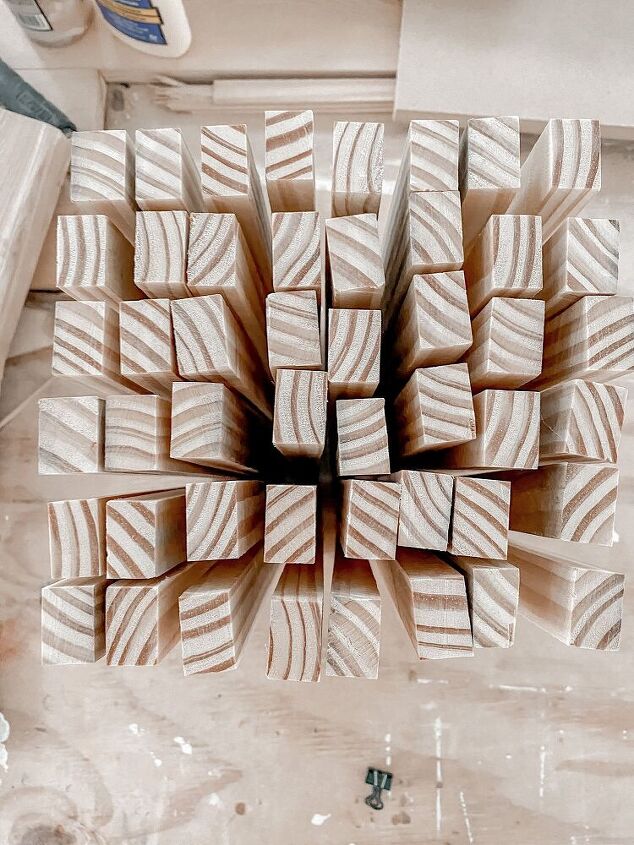
The slats will be 12” long but any width you like. I really liked how Angela and Philip’s wood planter turned out, so I ripped twenty-four 1” wide pieces from the 12” board we just cut. Then ripped them again in half so they are about 1” x ¾” which makes 48 total pieces.
By using table saw to cut these pieces in half, we go from 24 to 48 pieces!
Attach the slats using 1 ¼” nails into the side supports.
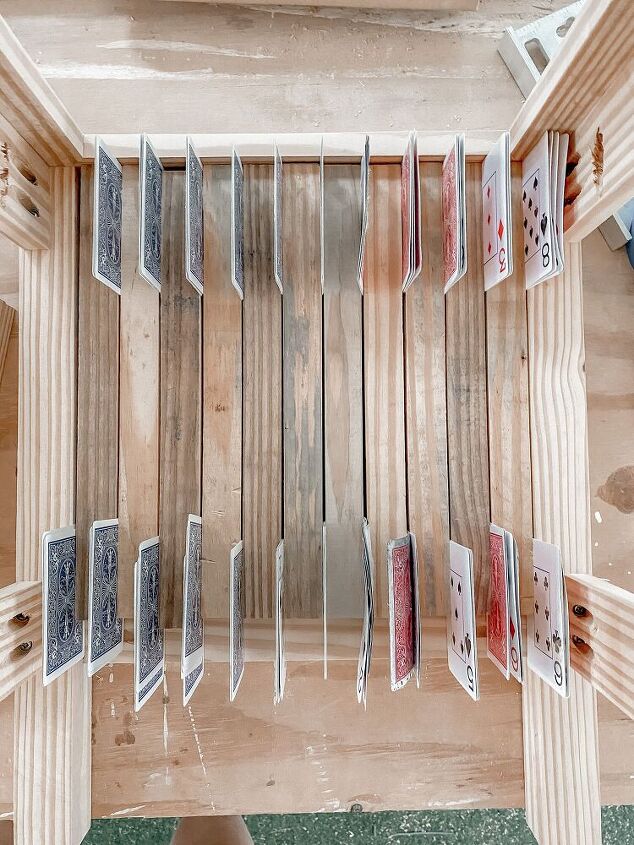
I planned for there to be 12 on each face of the planter spaced evenly (but that didn’t work mathematically because I could only fit 11 with gaps). I used playing cards to get a consistent spacing!

One by one, work your way around all 4 sides. You may or may not have some pieces leftover depending on what size you opted for. Remember to put the prettier side facing the outside! In the image above, you can see all my ugly sides, unsanded and discolored, facing the inside.
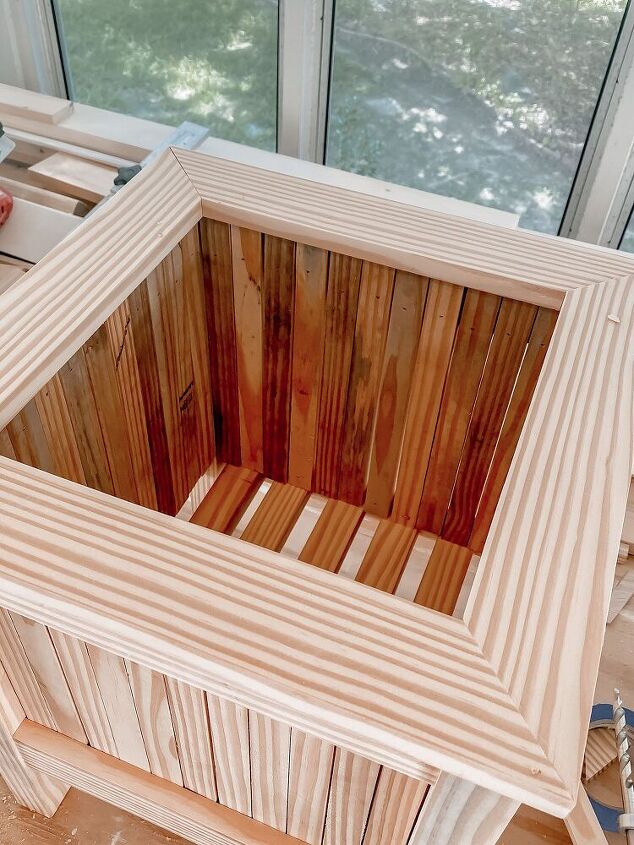
The bottom slats are hidden from view so the sizes of these pieces depend on how much drainage you want. I took my remaining wood and cut out 5 1”x2”x 13 3/8” (I don’t know why it’s such a weird dimension! Just be sure to measure yours first just in case it’s weird like mine). I used pocket screws (like above), attached them to the side supports from below, and I left plenty of spacing for drainage.
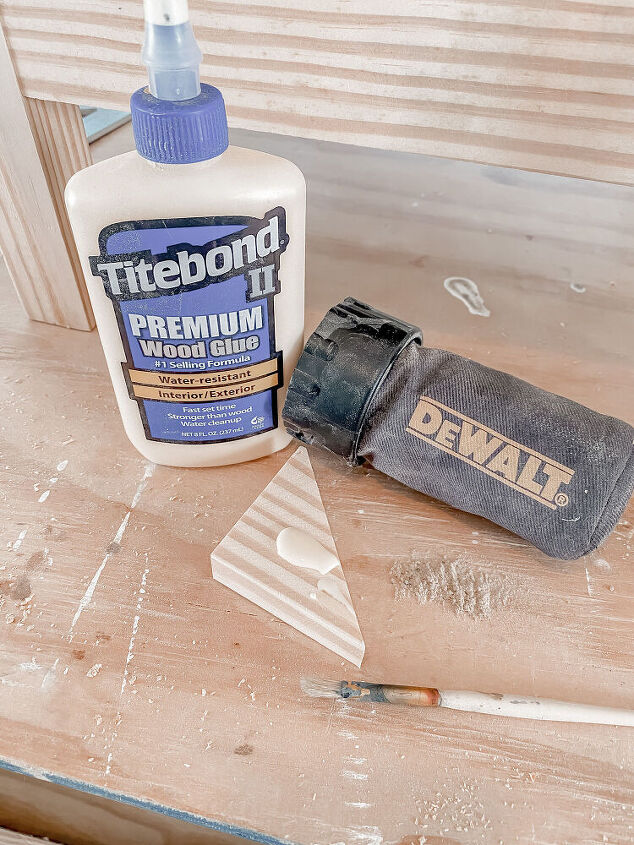
So I was kinda disappointed with the slight gaps I could see in the mitered corners. I learned a neat trick where you use sawdust from the wood you’re using and mix it into a paste with wood glue. You rub that glue into the gaps and let it dry. Honestly, it kinda looks like you’re rubbing peanut butter on your wood!
Once it was dry, I sanded it down and HOLY MOLY! I love the way it looked!
I used the saw dust from my orbital sander and mixed it with this wood glue on the left. In the middle is the slight gap in the mitered corners.
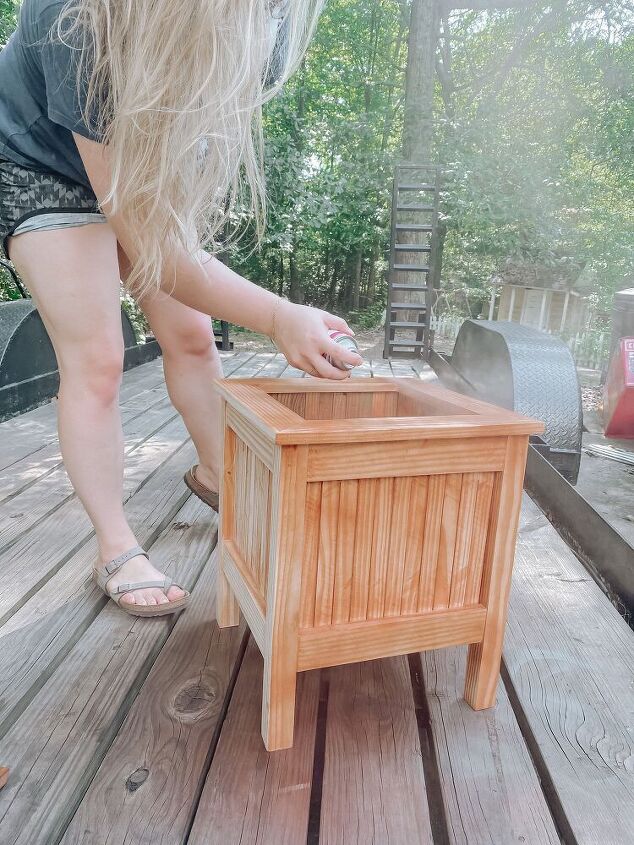
Since I didn’t use wood meant for enduring the elements, I’ll have to protect it in some way. You could paint yours, you could just add a water sealer but I decided to use an outdoor stain with a little bit of pigment.
I ordered a Thompson Stain and Seal spray can from Amazon. Honestly, I didn’t even know they had spray cans so I decided to give it a try and the Woodland Cedar stain and my wood did not mesh well. It was the orangiest planter I have ever seen. I ordered the Acorn Brown, because it was the only other color on Amazon, and sanded down the planter to respray.
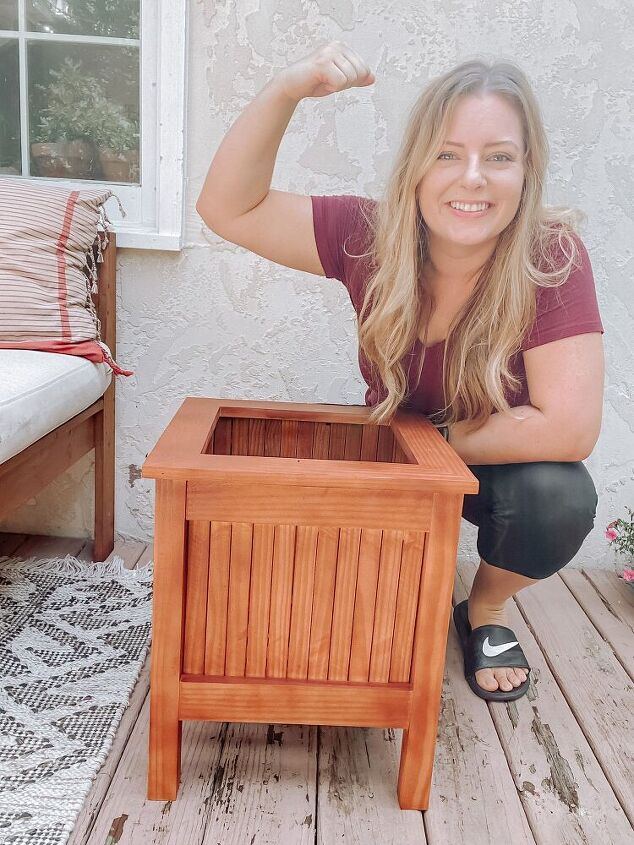
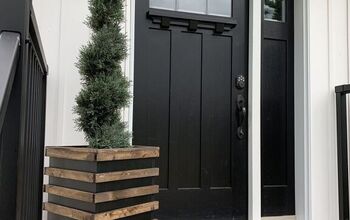
This stained wood planter looks so much better now that its not a giant wooden cheese cube!
So much better! Slightly redder than I would have chosen otherwise but I am happy with it now!
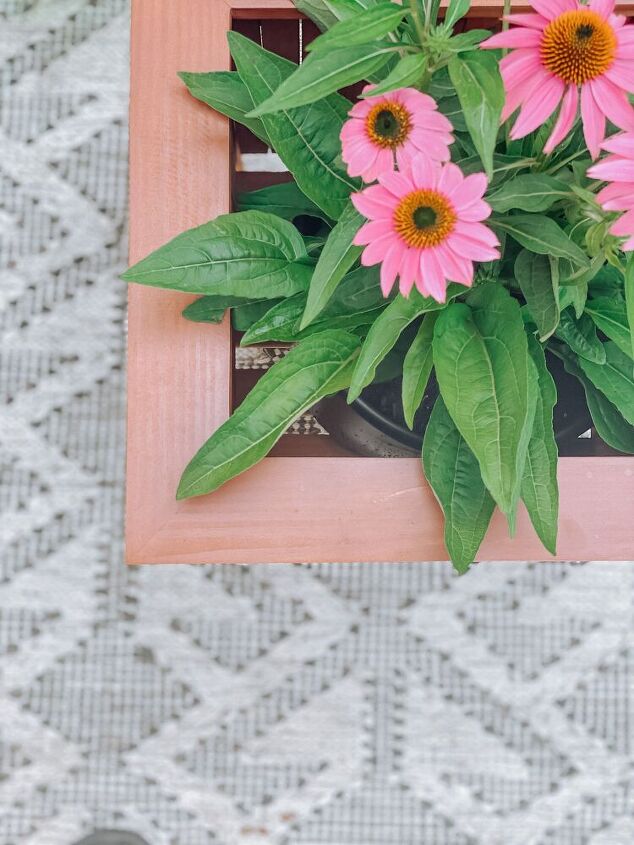
The wood planter can fit a 2-3.5 gallon plant container. I decided to plant some pink flowers in a 2 gallon nursery bucket and it looks great! I bought a couple extra flowers to plant near the garden to attract pollinators to our tomatoes.
Resources for this project:
See all materials


Comments
Join the conversation
-
You do beautiful work! I have found that Spar varnish does a really good job protecting wood from the elements when you want to place something wood outside
-
Nice !


Frequently asked questions
Have a question about this project?
Great job and quite funny commentary lol! My question is - at what measurements did you put the pocket holes?