


How to Make Tomato Cages
I am so excited to share my tomato cages DIY. It’s an easy and fun project that anyone can make. They are inexpensive and look so amazing.
Yesterday I shared all of my tips for growing tomatoes. So many of you reached out to ask where I bought my wood tomato cages. Since I made them, I thought it might make sense to share my Tomato Cages DIY.


Three years ago I made these “well-weathered” tomato cages. My handyman did the cutting but I did everything else. I was barely blogging at that time and, unfortunately, I forgot to take photos and document how I made the cages.
A year ago I acquired a set of tools and I decided it was time to make the tomato cages and document the DIY. Just for the record, this was my first set of REAL tools, ever.
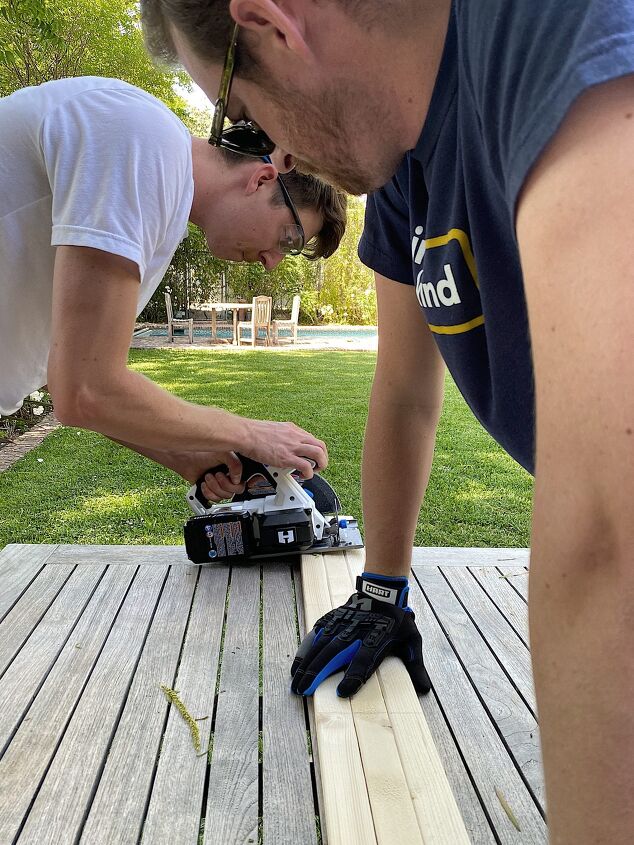
I set out all of my tools and soon my two grown sons, Matt and Michael, were at my work table and sharing with me their tool safety guidelines from Shop Class with Mr. Rainey in the 7th grade.
Oh brother.

DeWalt 20V Max Cordless Drill/Driver Kit
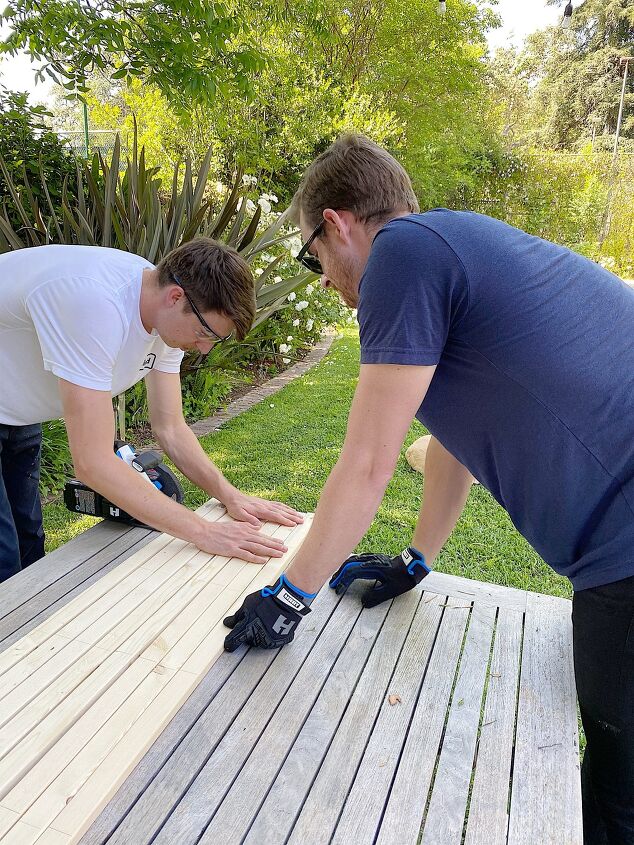
Then they started lining up the boards for cutting.
The next thing I knew, they were posing for photos.
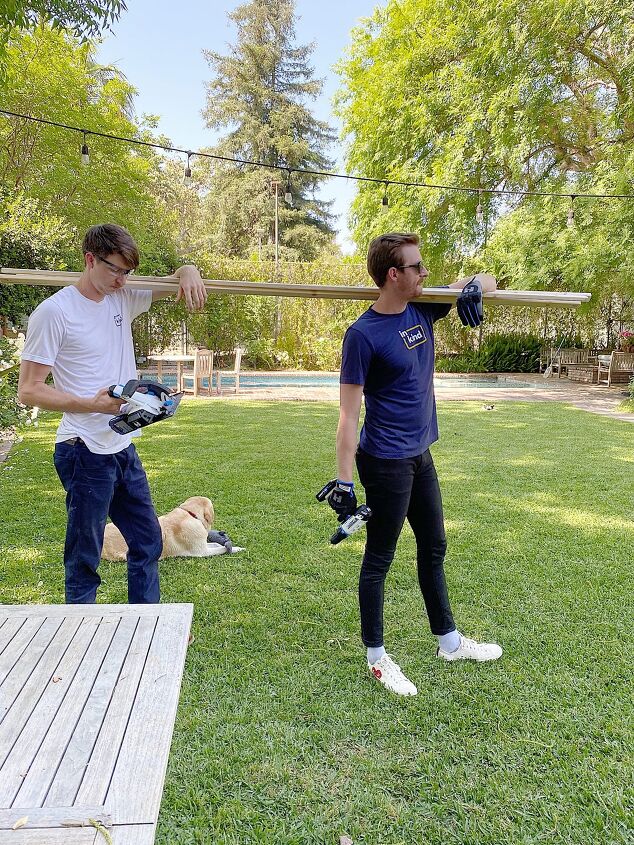
I appreciated their input but soon realized my project had been hijacked. I now had two assistants who were in charge.
But I am not stupid, so I welcomed their help.
What You Need to Make Tomato Cages
(All items listed are to make one tomato cage.)
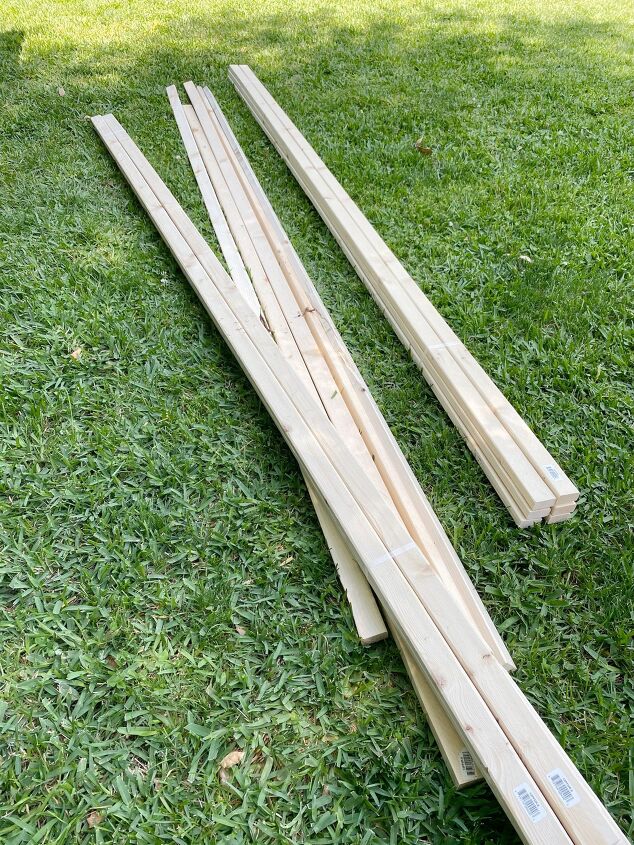
Four 8ft. long, 1″ x 2″ Spruce Pine Fir Boards
Approximately 30 Flathead, multi-material screws, 1 1/2″
One wood decorative Finial (with a screw on the bottom)
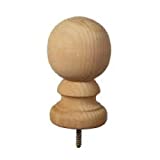
Colonial Ball Finial/Post Top

1-1/2″ Wood Screws
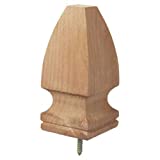
Finial/Post Top
How to Make Tomato Cages
Cut the Boards
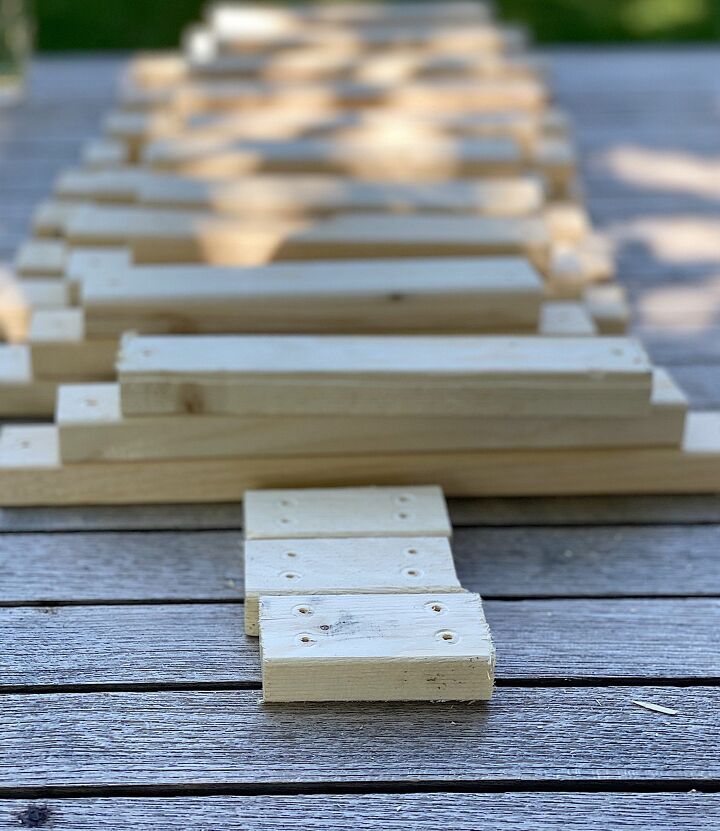
Measure each 8 ft. board to cut one each of the following sizes: 58″, 12″, 10″, 8″ and 3″. (You will have three of the 3″ boards leftover.)
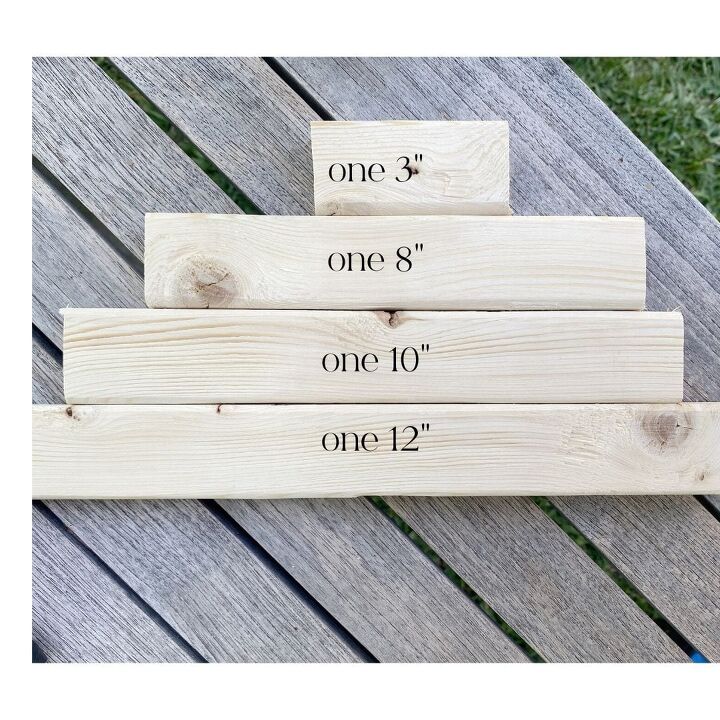
Since I (we) were making four cages, I (we) cut 16 total boards.
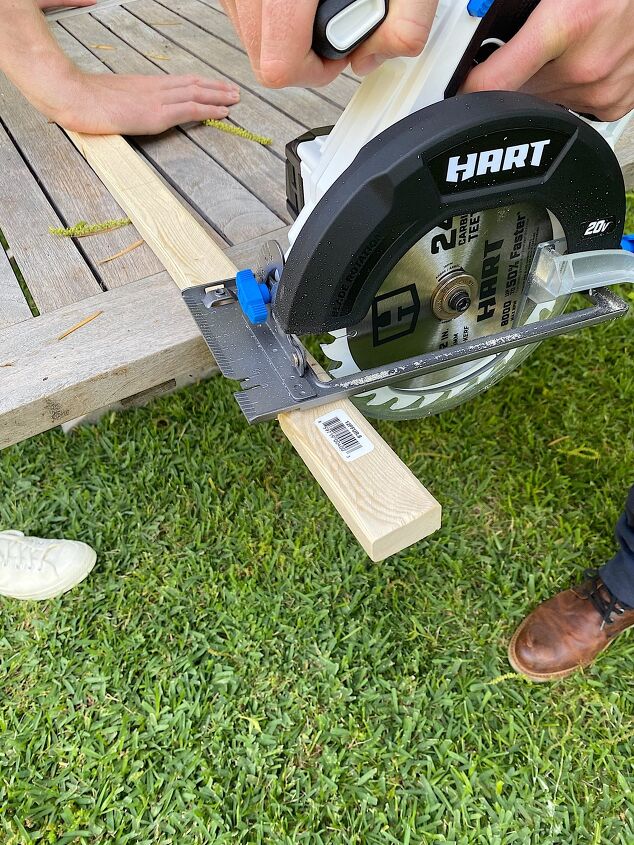
All safety precautions were followed, including goggles, long pants, covered shoes, and more …

General Utility Work Gloves
3-Piece Spirit Level Set

Safety Goggles
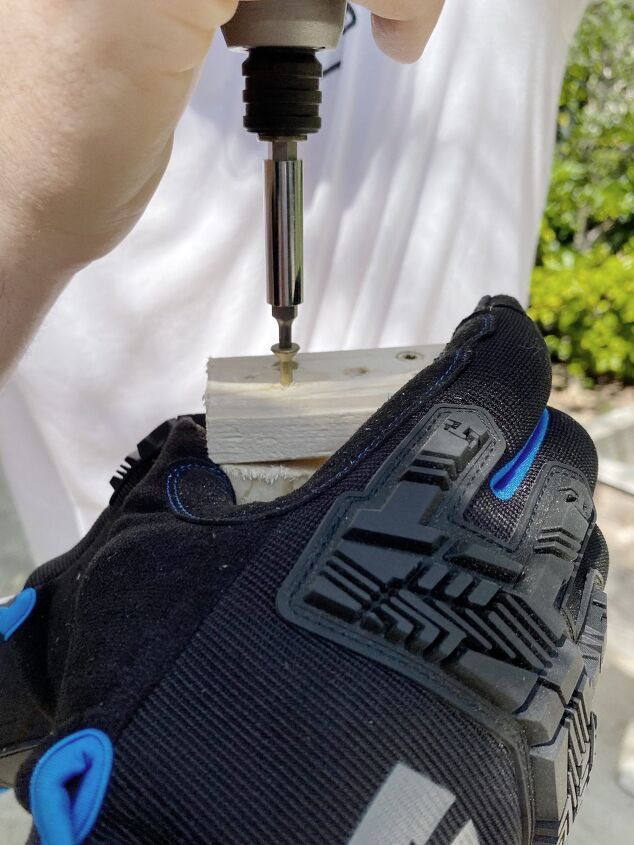
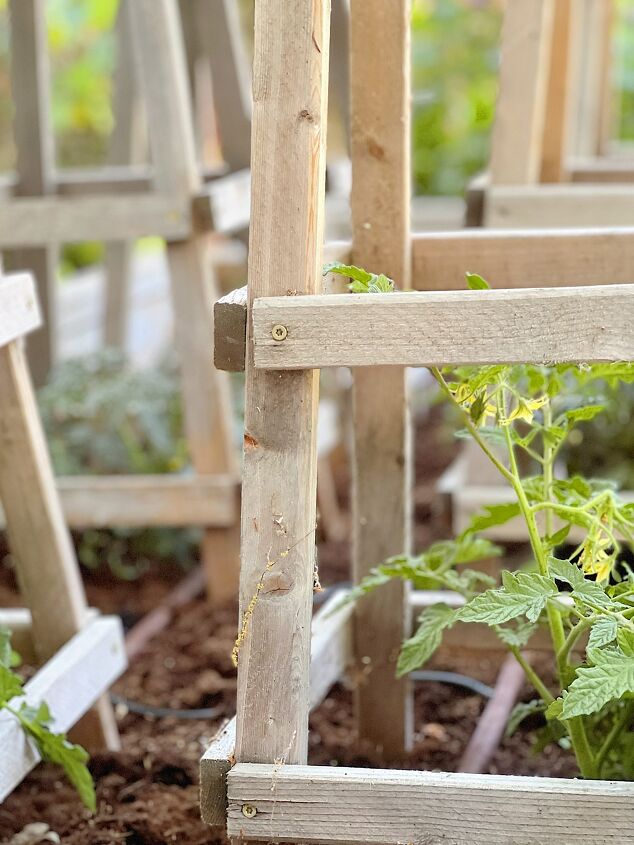
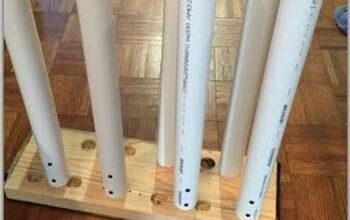
Pre-Drill the Holes
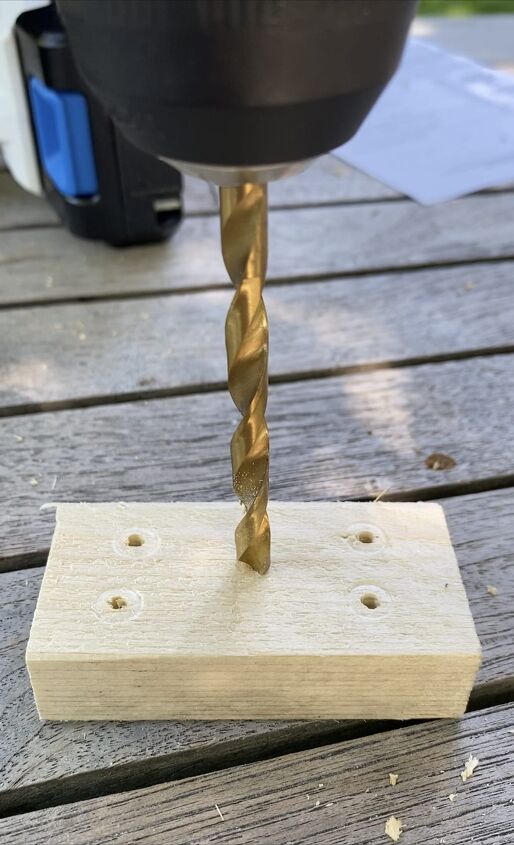
While the boys were cutting, I predrilled holes for the screws. The holes should be drilled about 3/8″ – 1/2″ from the edge.
Somehow I was able to do this job entirely by myself.
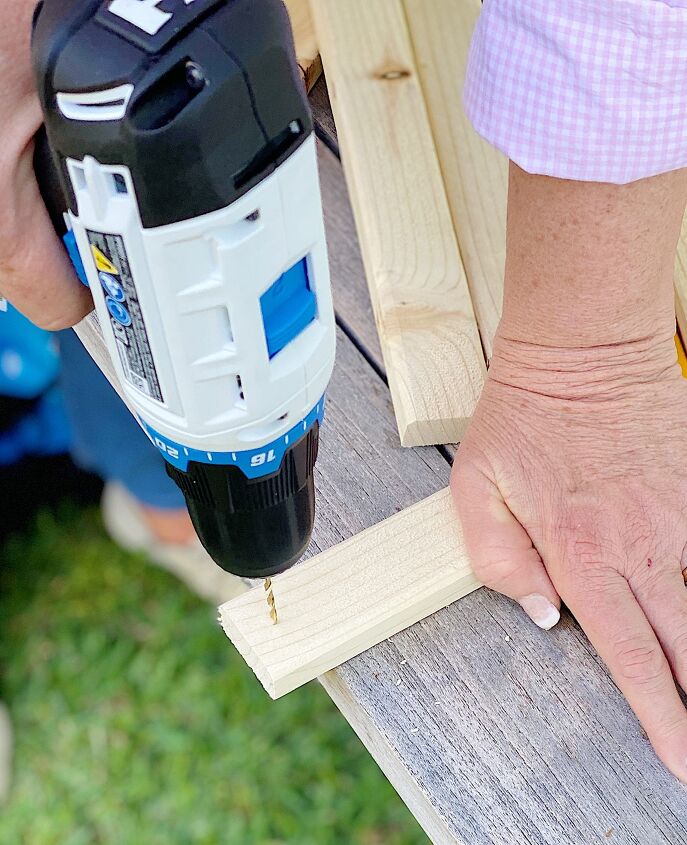
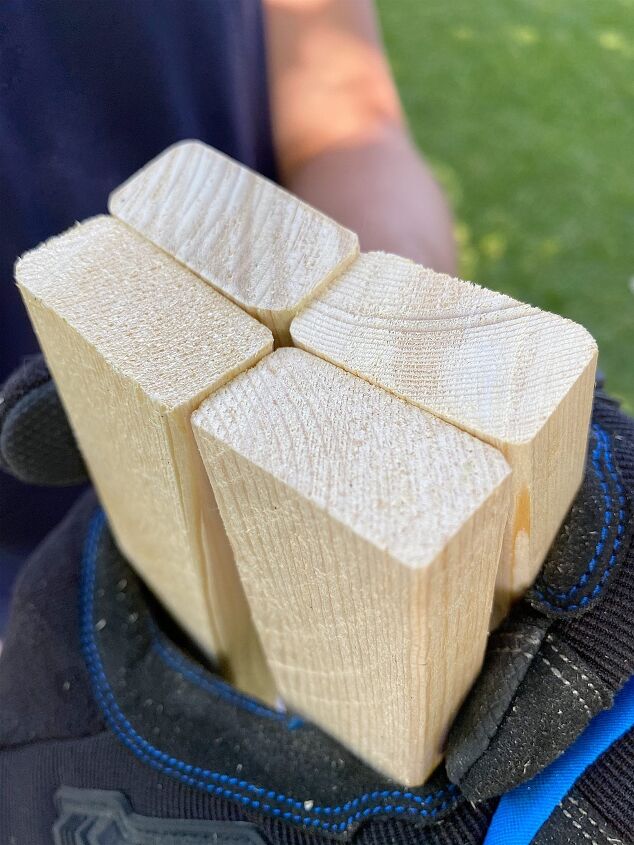
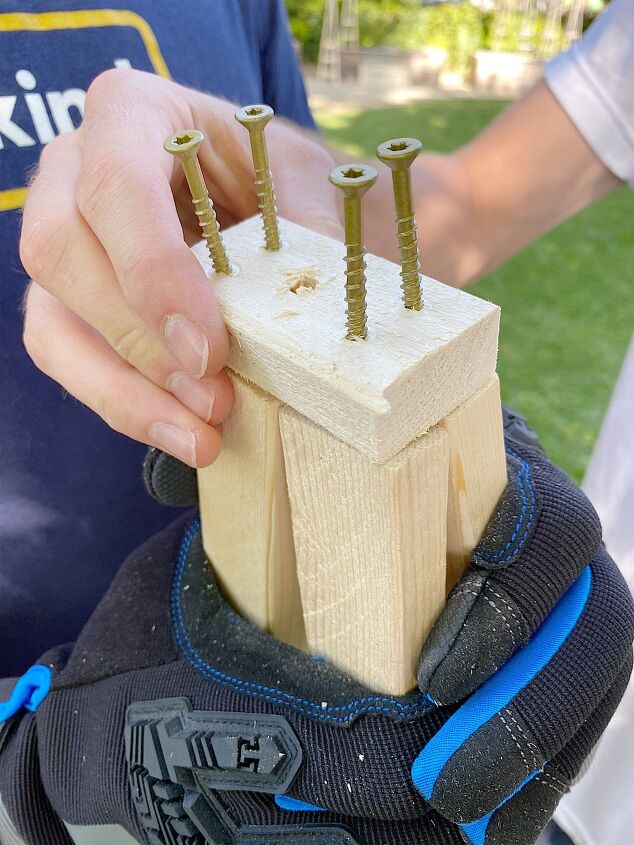
I drilled one hole in the center at the end of each board, except for the 3″ board. On the 3″ board I drilled two holes on each end, as seen below. Please note you only need one 3″ board per tomato cage.
Mark the Boards
Next, mark each 58″ board at 30″, 40″, and 50″ from the top. These are the locations where you will place the horizontal boards.
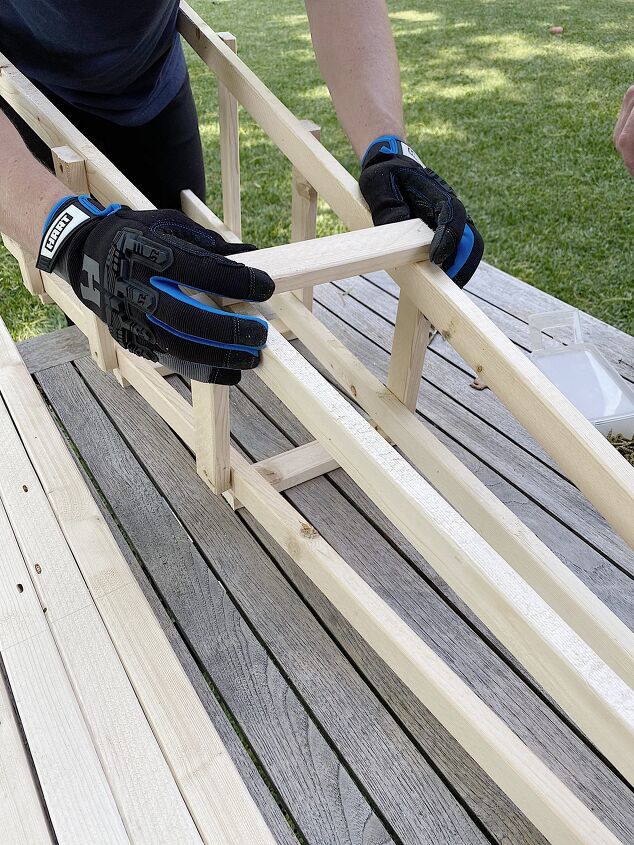
Place two of the 58″ boards on a flat surface with one end of the boards flush. Next place the 8″ board 30″ from the top. Place the 10″ board, 40″ from the top, and place the 12″ board 50″ from the top. Spread out the 58″ boards so that the 12″ board lines up first. Secure with screws and do the same for the 8″ and 10″ boards.
Attach with Screws
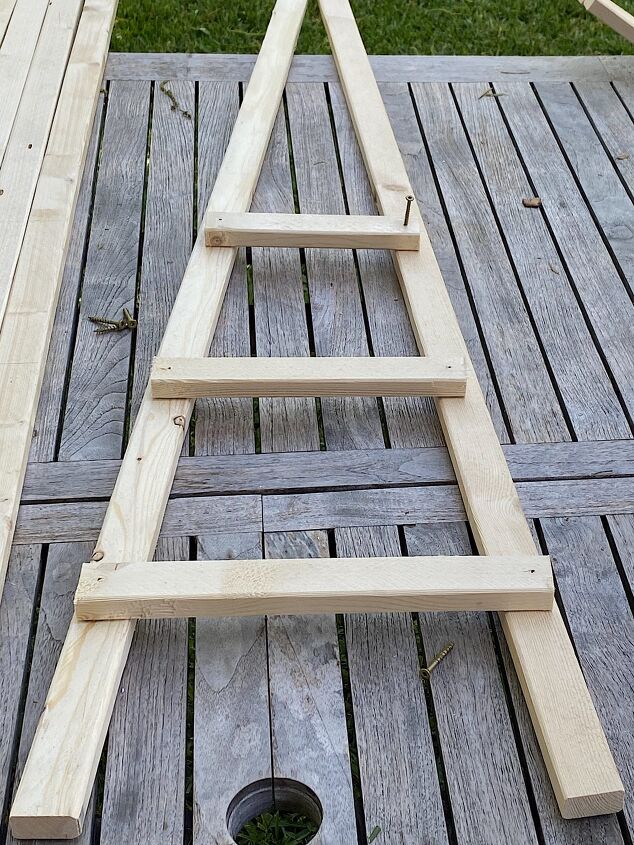
Make two of these sides for your tomato cage.
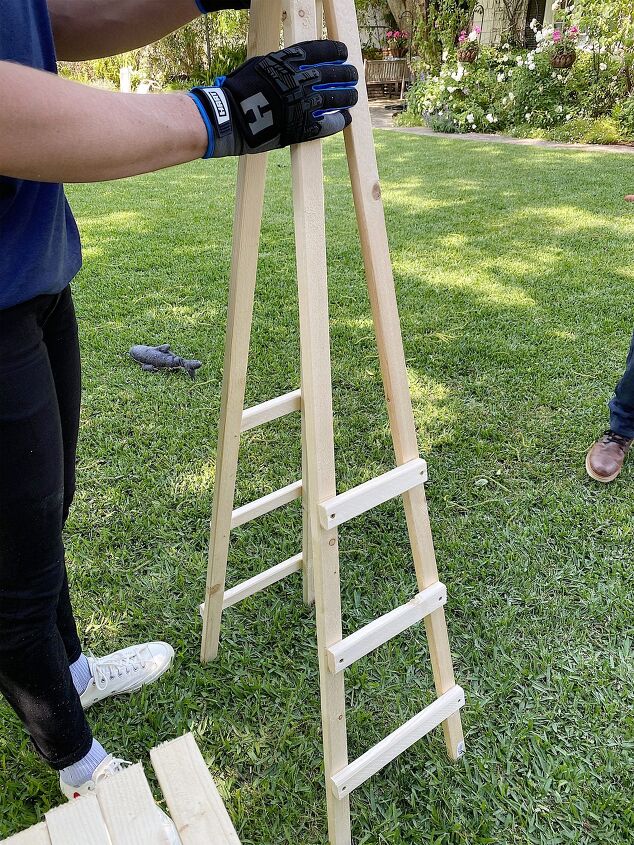
Place the two side cages on a flat surface and add the three remaining boards on both of the open sides.
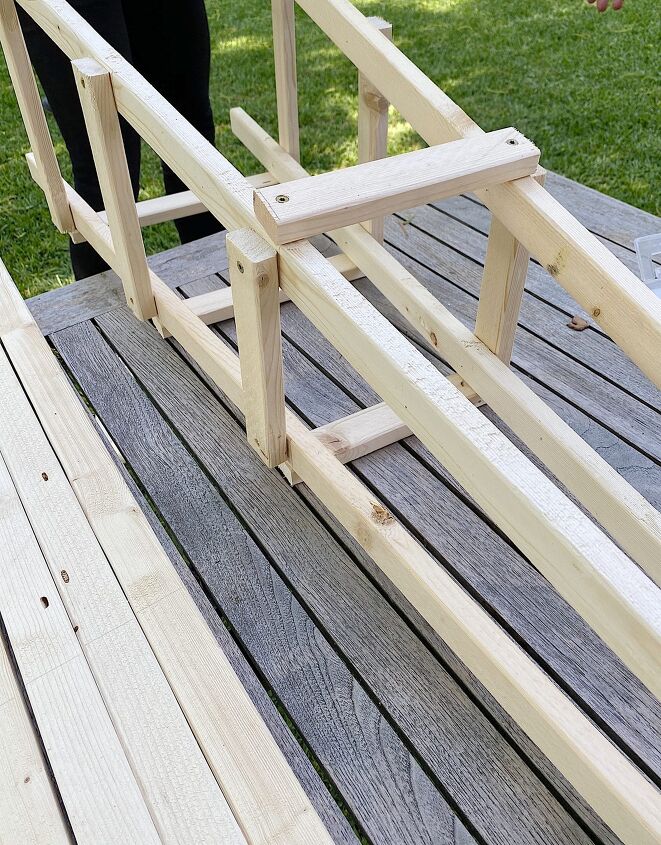
Be sure to keep the top ends of the tomato cage flat.
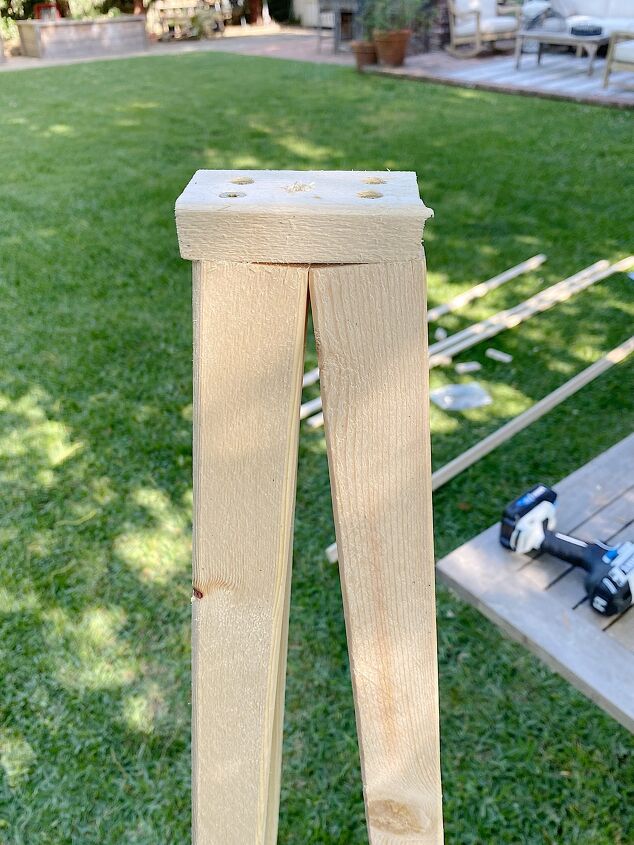
Add the Finial
Next, drill a hole in the center of the 3″ piece. The hole should be slightly smaller than the screw in the bottom of the wood finial top of the cage.
Attach the 3″ wood piece to the top of the tomato cage with four screws, using the drill holes as guides.
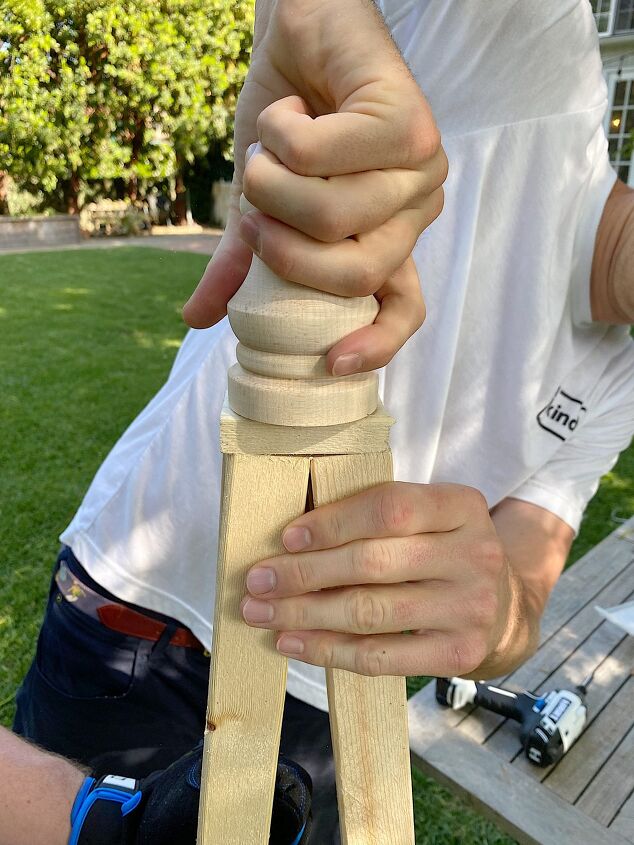
Secure tightly.
Attach the decorative finial by screwing it into the drilled hole.
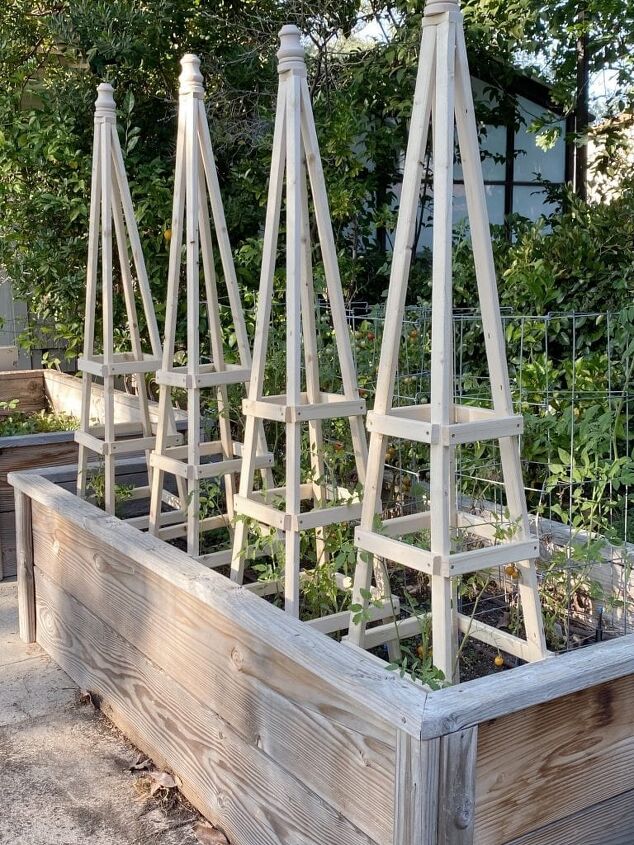
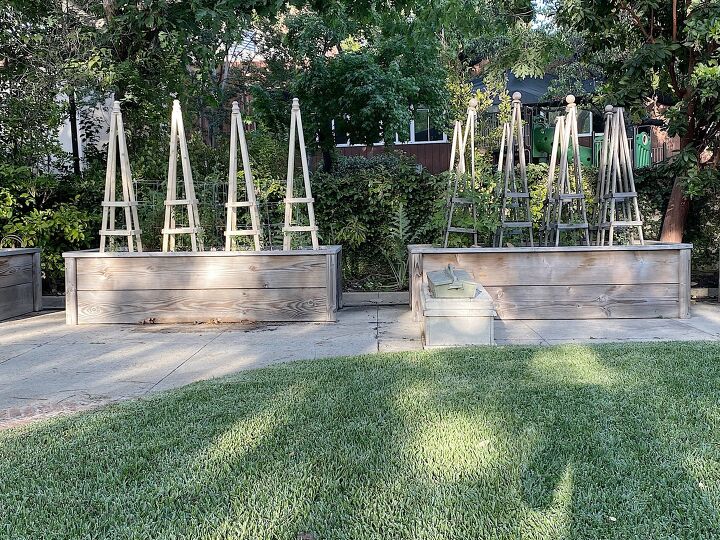
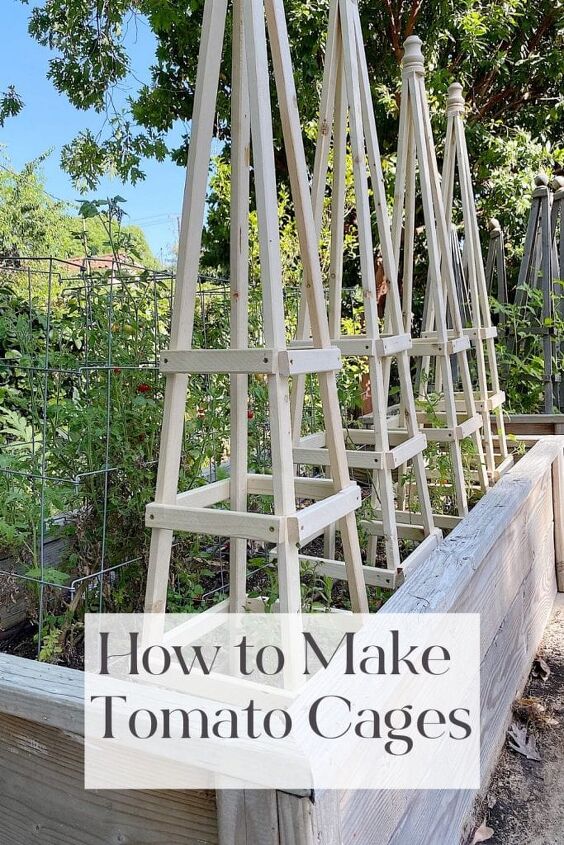
The cages are done!
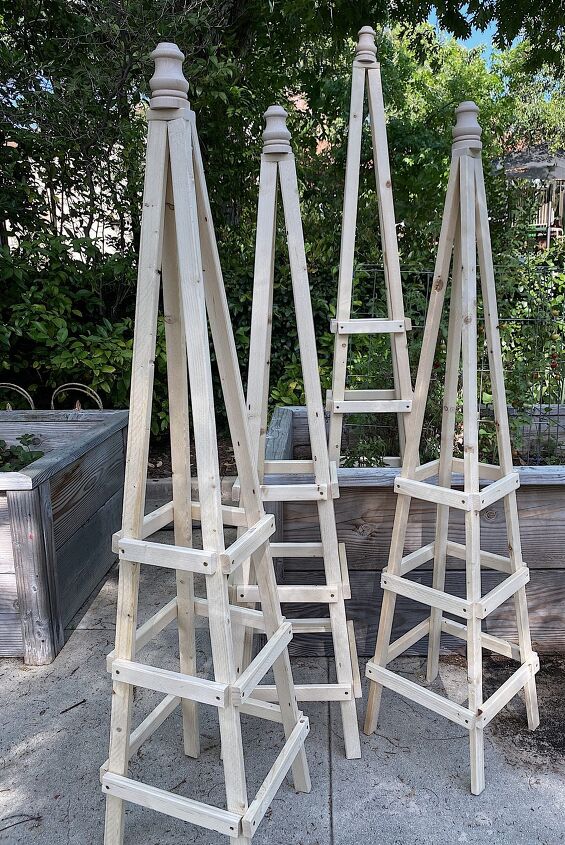
Don’t they look fabulous in my raised vegetable garden? Believe it or not, I even mixed new and old cages.
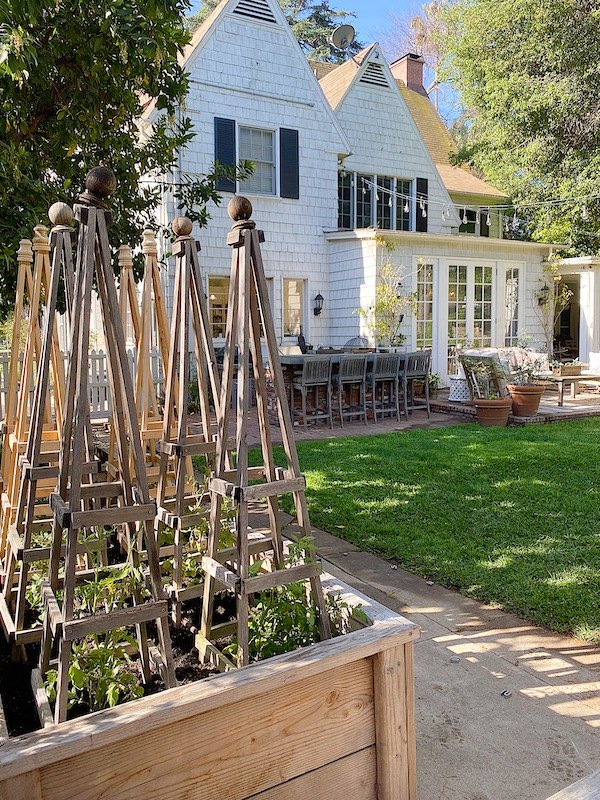
I do have to admit that these new cages are made much better than the older cages. I think I might go back and try to repair the ones I made three years ago. The finials weren’t attached securely. (And guess who thinks these are better because of their handy 7th-grade woodshop skills? No comment.)
Matt and Michael loved them too. Although these tools are MINE, they are very excited about my their new tools.
Tomato Trellis Tower
Galvanized Square Tomato Cage, 2
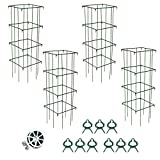
Green Coated Wire Tomato Cages
I absolutely love how these tomato cages were made. And the cost for each tomato cage was about $8.
Video How to Make Tomato Cages DIY
To really get a sense of what this day was like, watch the video below! You will see that my project really was hijacked. Hahaha.
And one last thing, I need more ideas for more DIY’s so I can keep these two busy. Send the ideas my way!

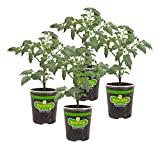
Celebrity Hybrid Tomato Live Plants – 4 Pack
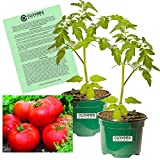
Big Boy Tomato Plant , 2 Live Plants
Sun Sugar Yellow Cherry Tomato 4 Live Plants
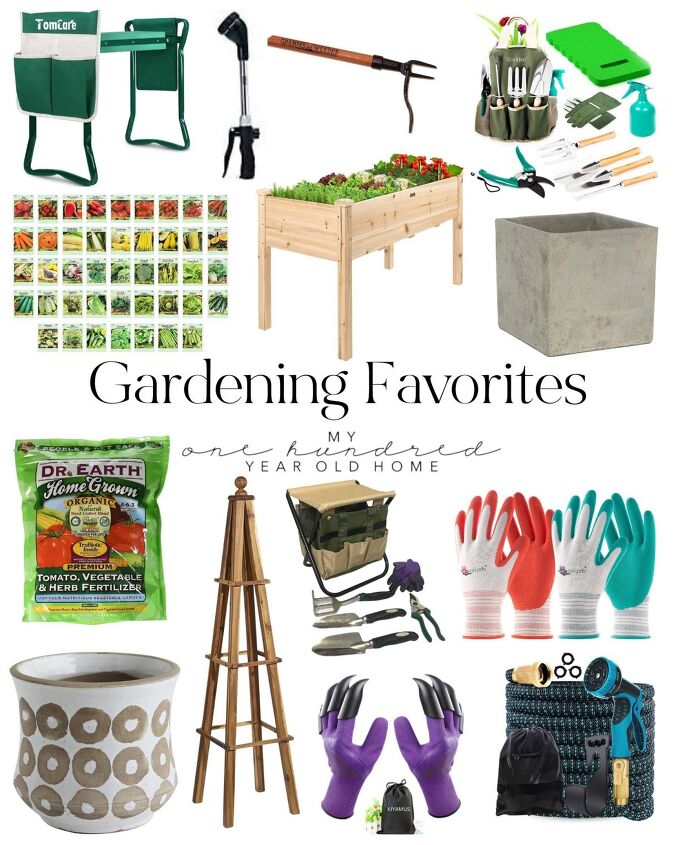
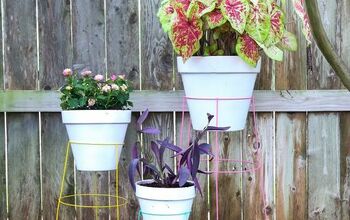
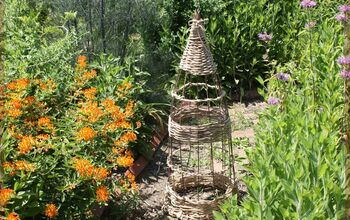
More Gardening Items I Love
Similar Posts

Pin the image below to your Gardening or DIY boards on Pinterest (just click the Pin button in the top left corner). You can also follow along with me on Pinterest!
For more real-time updates, follow me on Instagram @My100YearOldHome
Resources for this project:
See all materials


Comments
Join the conversation
-
These would be good for flowers too. I just might make one. Don't know where I would round up the helpers though......:-)
-
Absolutely charming.


Frequently asked questions
Have a question about this project?
Do you think these cages would work for pole beans?