


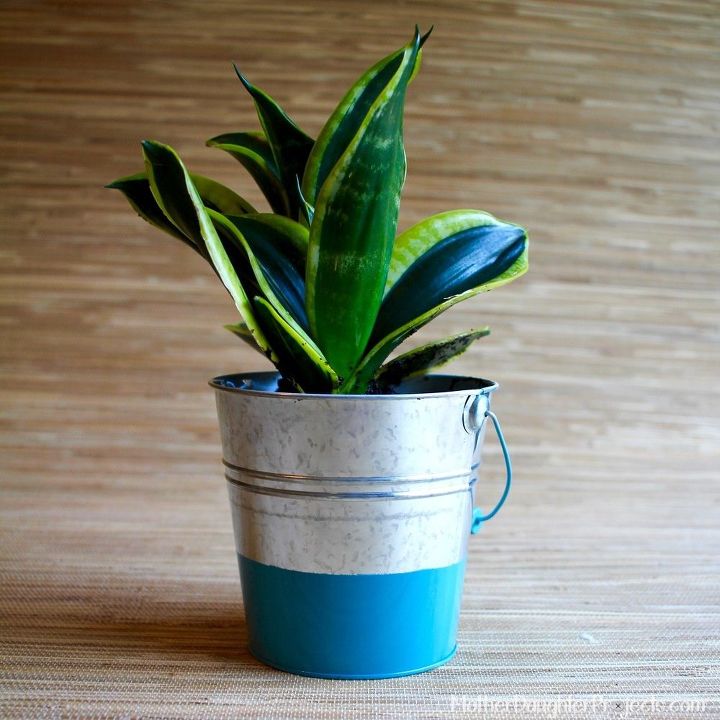
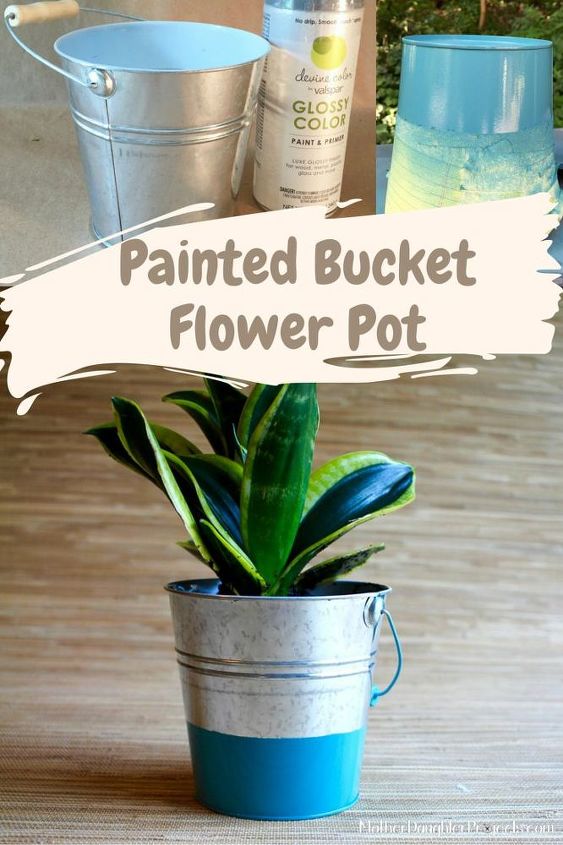
Painted Bucket Flower Pot
In our project, Pipe & Pallet shelves we were staging the studio/office shelves and I (Vicki) let Steph borrow one of my plants. We liked it so much that we wanted to get another of the same flower pots and plant for her to have permanently.
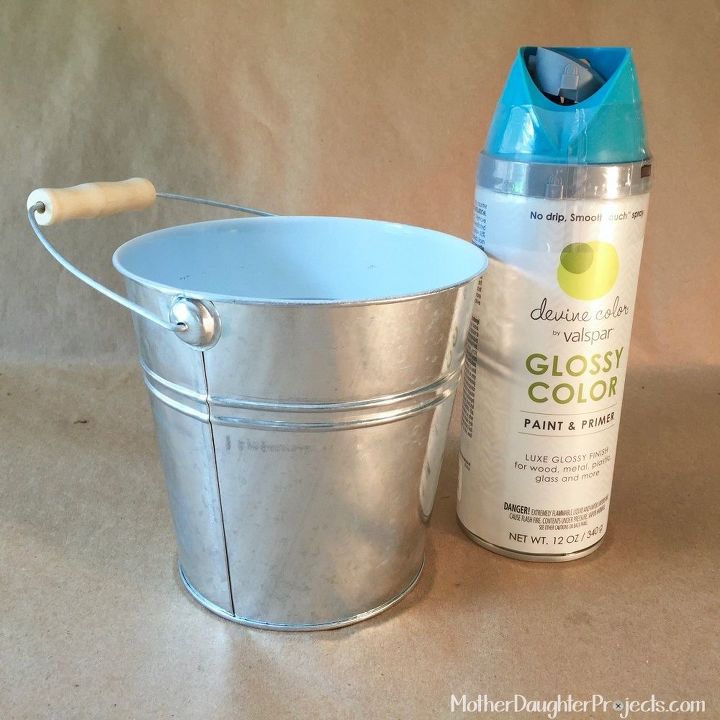
Materials:
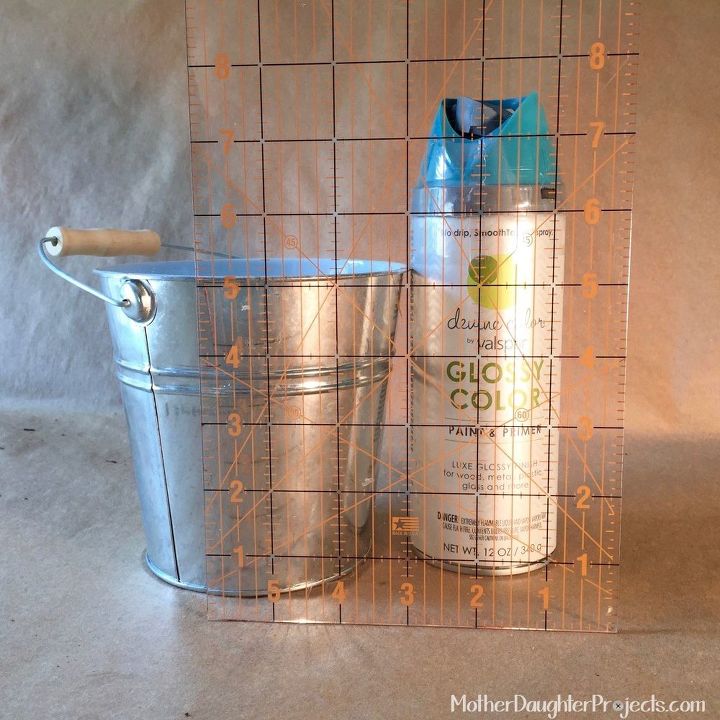
Determine placement of painted area. I decided 1/3 of the total height would look good.
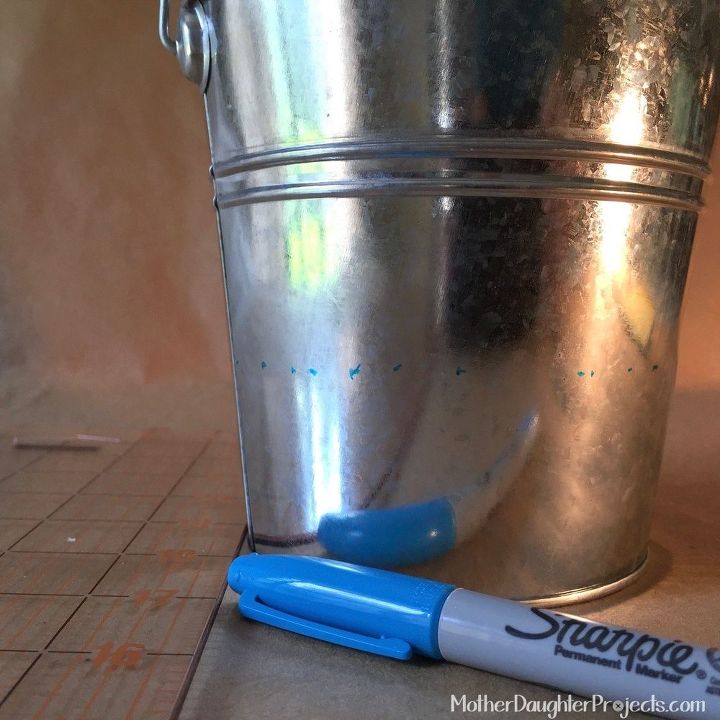
Using a ruler and marker I measured off the bottom third of the bucket.
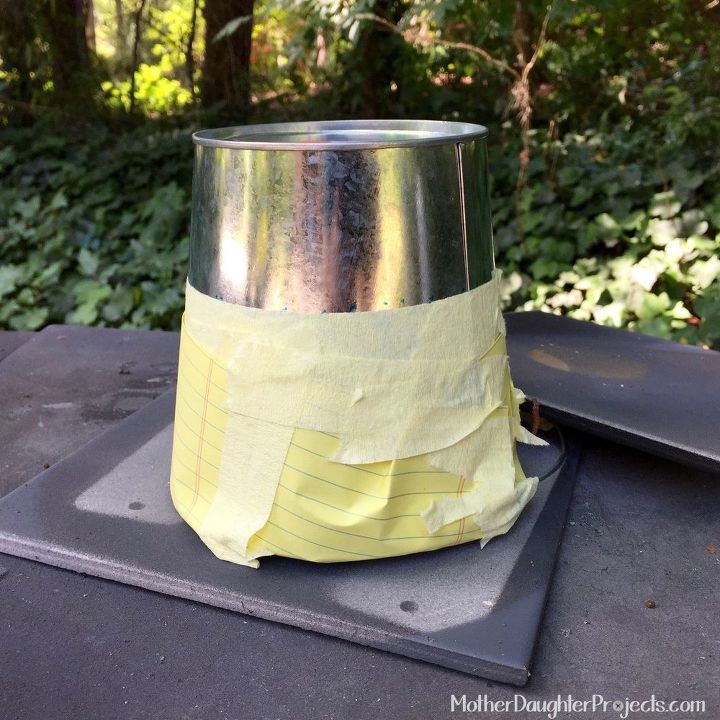
Follow the marks to tape off the upper part of the bucket. Cover anything that is not to be painted. I painted the bottom third and handle of the bucket.
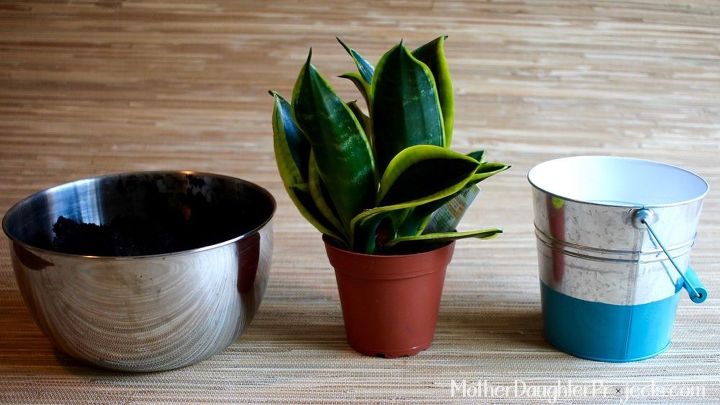
Once dry Steph added her new plant and placed it on the pipe and pallet office shelf. It’s just that simple! Every once in a while it’s nice to do a DIY that is simple and without complications!
Check out our website for more details!

Want more details about this and other DIY projects? Check out my blog post!


Frequently asked questions
Have a question about this project?
I love this idea ...how would I do it with a bucket that's rusty inside (nothing rusted through)?