


Planter Update – How to Add Texture to a Plastic Garden Pot
Hello Friend,
Are you busy working on all of your spring yard and garden projects? I have just started, but I have all kinds of ideas in my head. Hopefully, I will accomplish most of them, but the spring and summer seem to fly so fast. There are festivals and concerts and flea markets to attend: dog walking and weed pulling, and lawn mowing to maintain. Fortunately, the days are longer, too, which gives me some hope of being more productive than during the short dark days of winter.
This year I am starting with some of the smaller, more straightforward yard and garden projects first, and this week I have three more small garden projects you can make in just a few hours. To check out all three projects, watch the video below.
My first project is a simple planter makeover using coffee grounds
Step 1 – Gather Supplies
- Old plastic planter
- White primer paint
- Day-old coffee grounds
- Painters tape
- Paintbrush
- Krylon all in one copper spray paint
Step 2 – Tape off the design
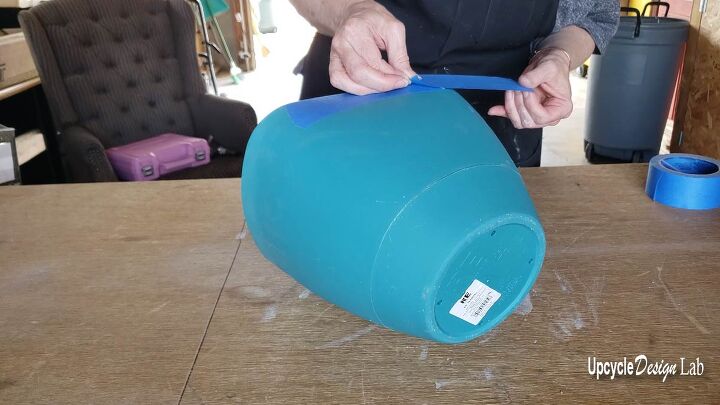
If you plan to put textured paint on the entire surface, you can skip this step, but I wanted a smooth strip around my planter’s top and bottom. You can use the tape to make any pattern you would like.
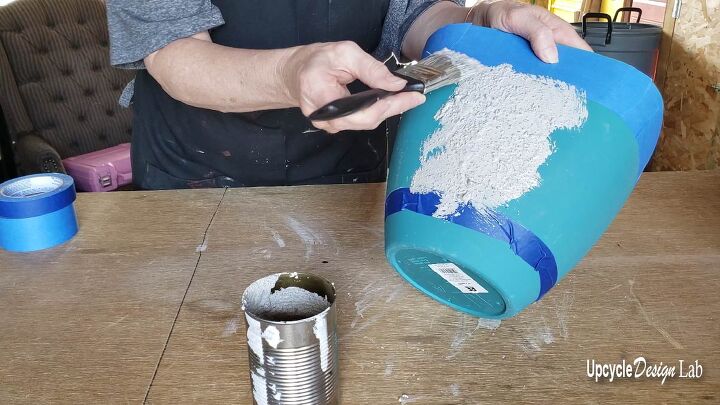
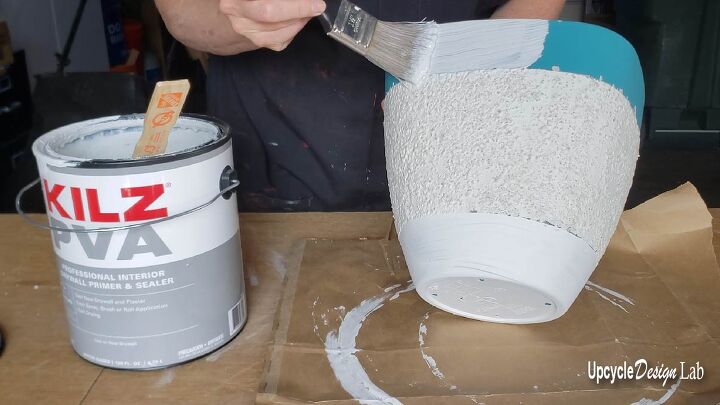
Step 3 – Textured paint

In a separate container, measure out the approximate amount of primer paint you need for the project. Next, add in some used coffee grounds. I added quite a few coffee grounds to my paint for extra texture. Keep in mind that the more texture, the easier it is to scrape off the paint. Since I had a lot of texture in my paint, I added a top coat of plain primer paint to help secure the surface.
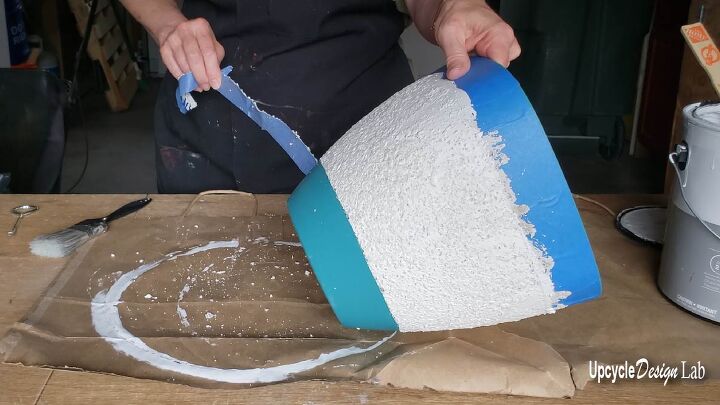
Once both coats of primer paint were dry, I removed the tape and painted the rest of the planter with a coat of primer. This step is optional since the spray paint is an all-in-one paint, but I have found that it requires less spray paint when a base primer is used.
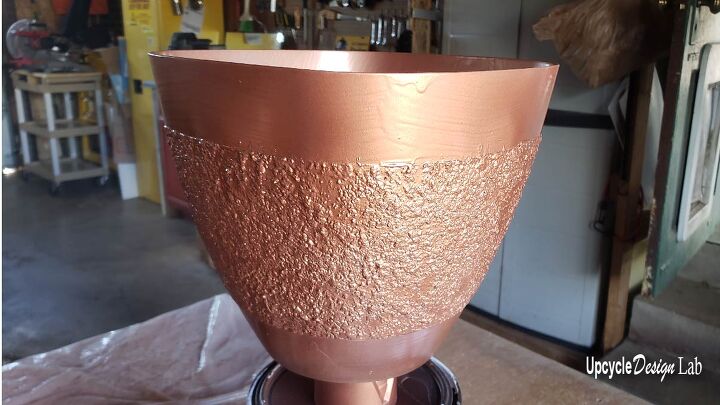
Step 4 – Top Coat
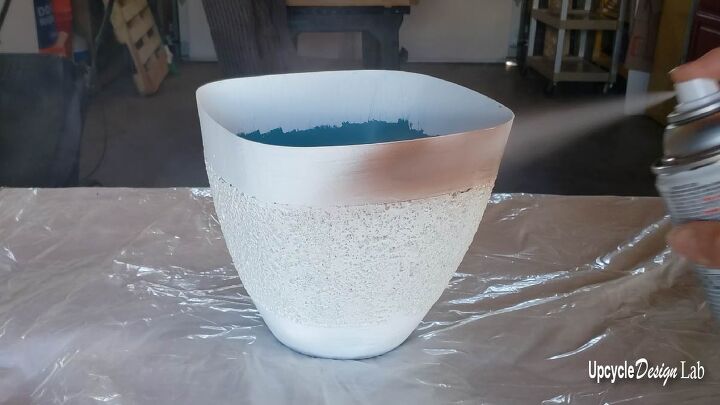
The final step is to add the topcoat color. I used the Krylon Fusion all-in-one spray paint in the metallic copper color for my project. I chose this paint because it is supposed to have five times the adhesion of other paints and is also approved for outdoor use. I added two light coats to my project with a dry time of two hours between coats.
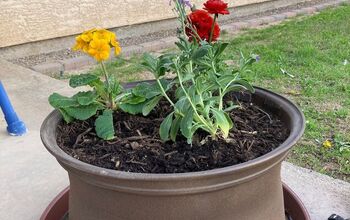
Step 5 – Add some plants.
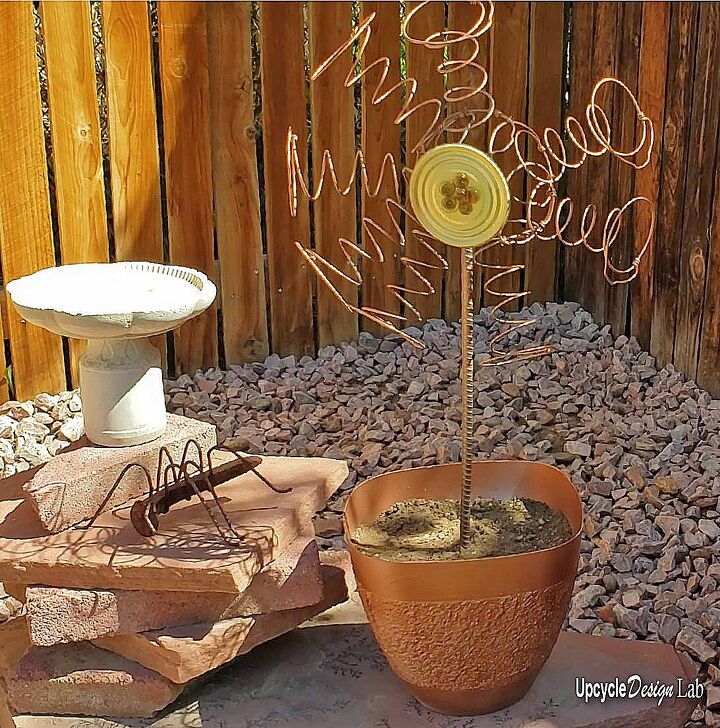
Once the top coat has dried, your planter is ready. I have a rock garden in my backyard, so I used my pot to plant this metal flower. You can find more instructions and projects in the video below.
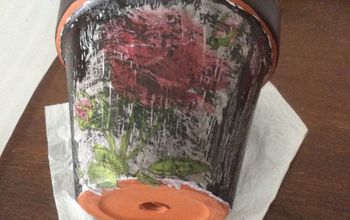
Check out two of my favorite upcycled garden projects from last year.


Comments
Join the conversation
-
Never thought of adding coffee grounds to paint for texture. Great idea. It's a fine pebble texture. It looks amazing. I have an idea for using the coffee grounds/paint for one of my projects.


Frequently asked questions
Have a question about this project?