


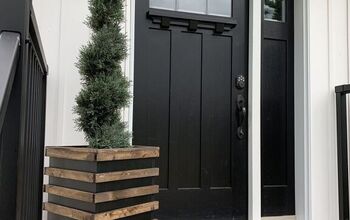
Cedar Raised Planter Box

A friend was wanting to brighten the walk into her clinic, so she asked me to help with some raised planter boxes to grow some color
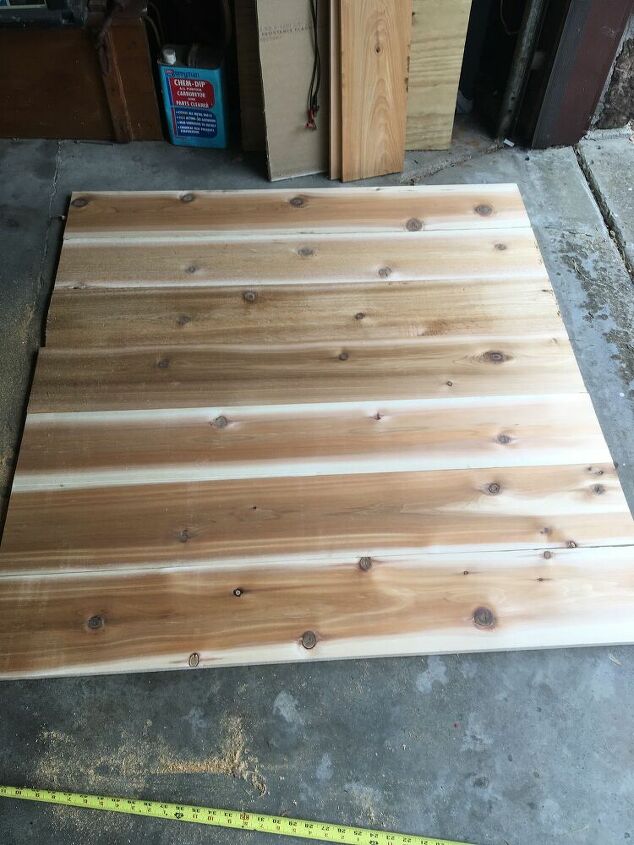
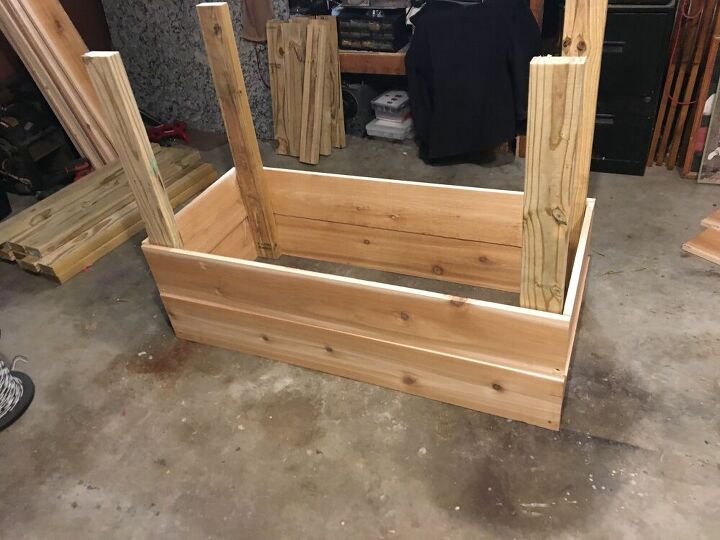
The person needing these boxes brought me the lumber. I gave her a rough idea of what was needed. Turned out she needed two and wanted to give two as a gift, so I spent most of a Saturday making four. To start with we need 7 48" pieces of 1x8 cedar. Some of it was dinged, damaged, or marked from shipping, so I sorted it as needed. I used four nicer pieces for the side plates and three not-so-nice for the floor. This would be the 'before' shot 

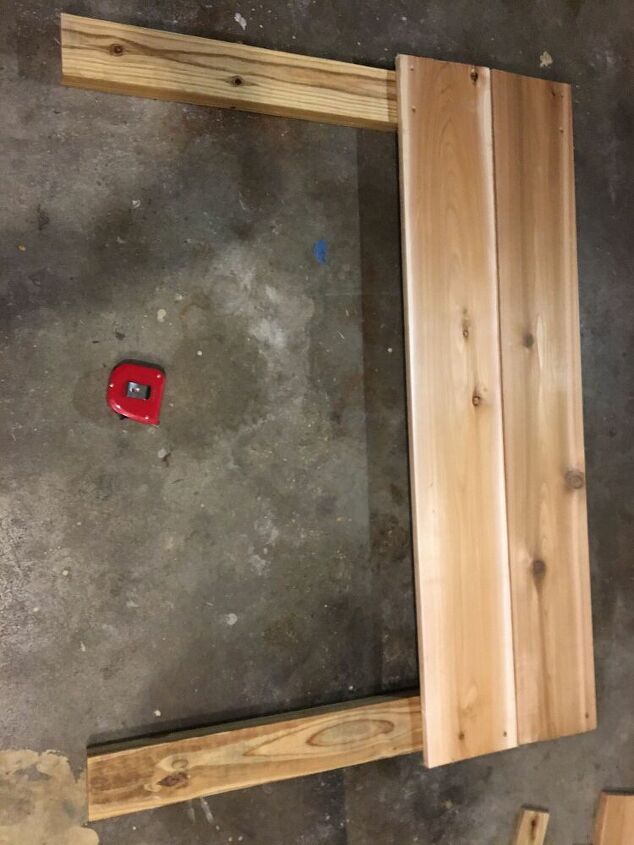
I cut four pieces of treated pine 2x4 36" long out of a pair of 8' boards for legs, saving the other 2' of scrap for later. Here I'm attaching the side plates to one leg, with only one 2" wood fastener/screw for now (to allow for future adjustment), making sure I'm square as each screw goes in. Note the legs are set in 5/8".
Here's a finished side, you can see the inset of the legs, and how I've only used one screw on each board where it meets a leg. Be gentle moving this as you'll knock it out of 'square'.
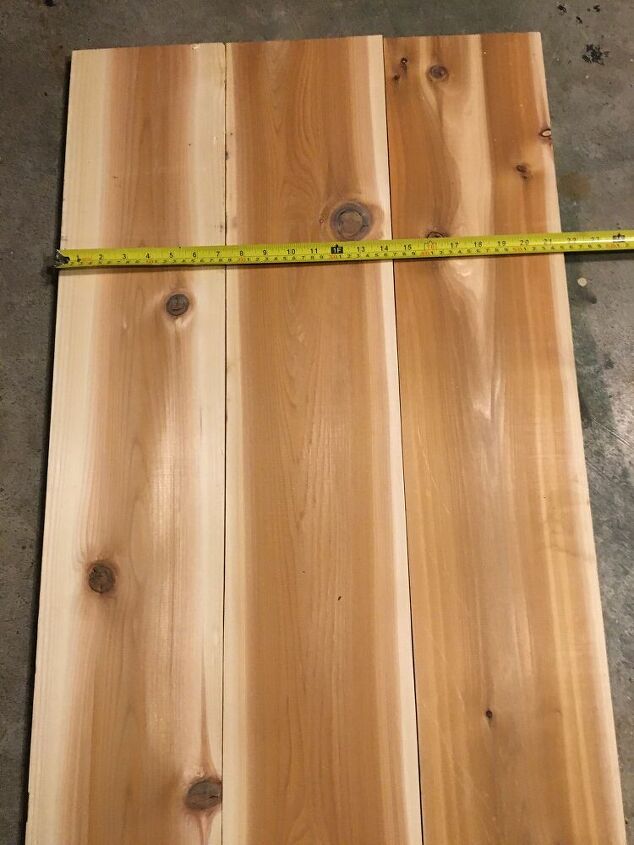
The owner wanted 2'x4' raised boxes. I convinced them to go 21", simply because three boards would be 21.5" and would save time and effort.
After I measured these boards, I subtracted 5/8" TWICE - for two thicknesses of the side plates
After subtracting 1.25" from the 21.5" bottom plates I cut my end plates 20.25" long. Using the same method, I attached the end plates with one screw in each corner and all along the way made sure things were square
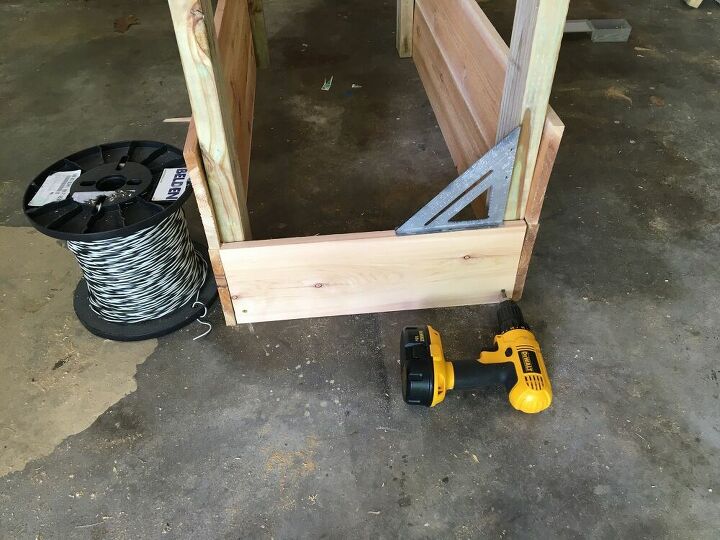
The roll of wire is my third hand 
Here's the two plates per side and two more on each end.
In the back left corner you can see the top of my future kitchen island

Turn it right side up and make sure you're plumb on each leg, and every thing is square. Here you can see the bottom plate on this side is just a bit offset to the left. I removed the plate and re-attached with just a bit of correction to the right, and then turned in back upside down
I measured the size of each leg, plus ONE thickness of the plates each direction, and marked out the corners of the bottom plates to be notched. The next pic will help even more
BTW The jigsaw was a Hometalk reward!
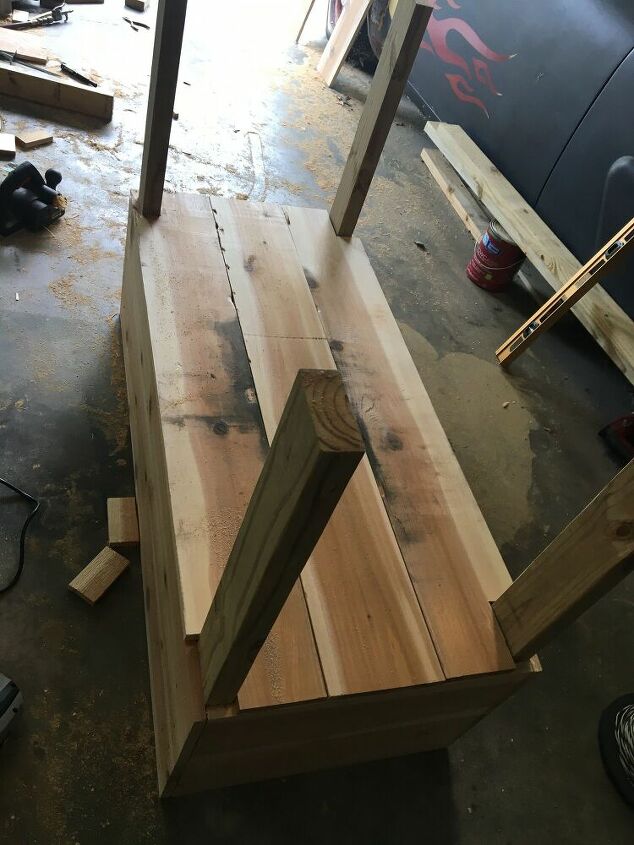
Here you can see three very unsightly bottom plates, with the outside two notched to clear the legs.
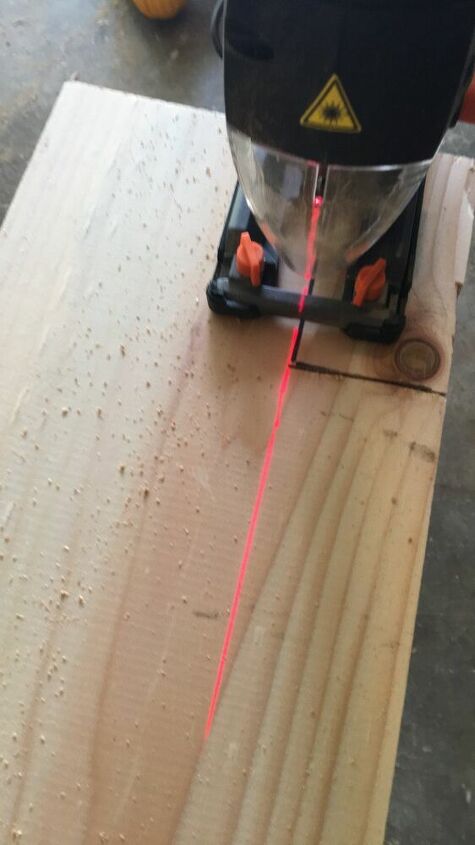
Anytime I'm this close to the edge I pre-drill my holes. Here you can see I marked a line on the bottom plate which is the center of a side plate. Note that scrap on the floor from the corners, save that.
I attached the bottom plates to the side plates with #8 screws.
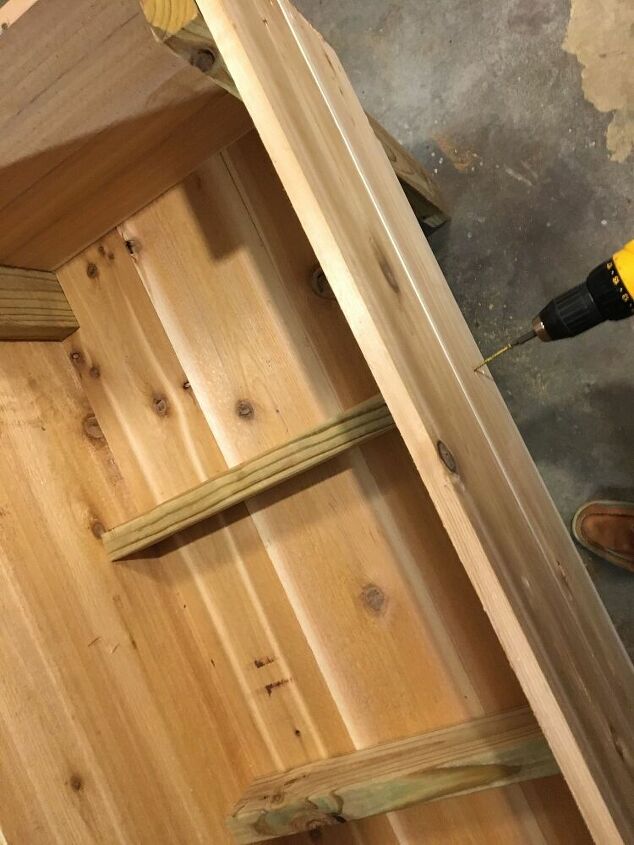
I used the scrap from the legs to make a pair of 20.25" braces to go across the bottom. I secured them from the outside with 2" wood fasteners.

And now from the bottom, I attached the plates to the new braces using 1.5" screws
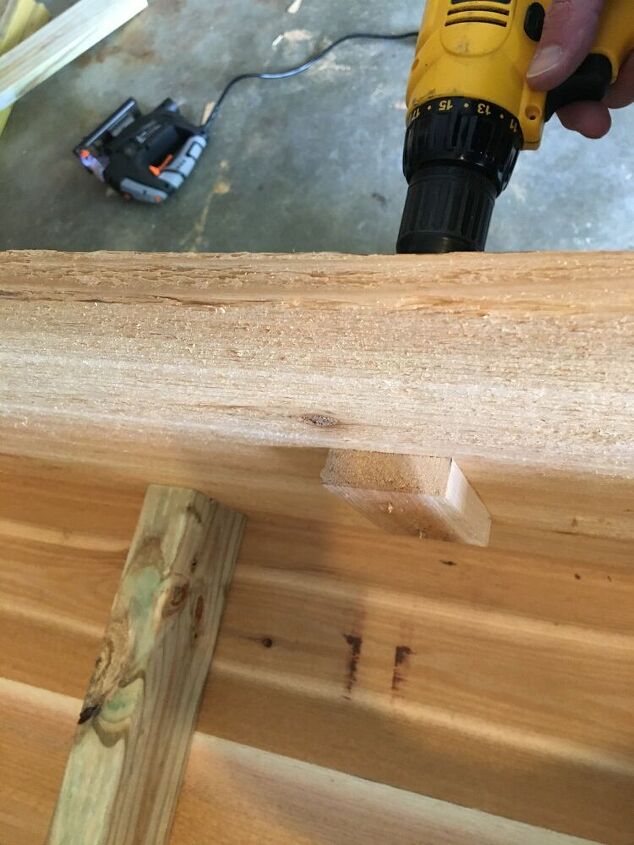
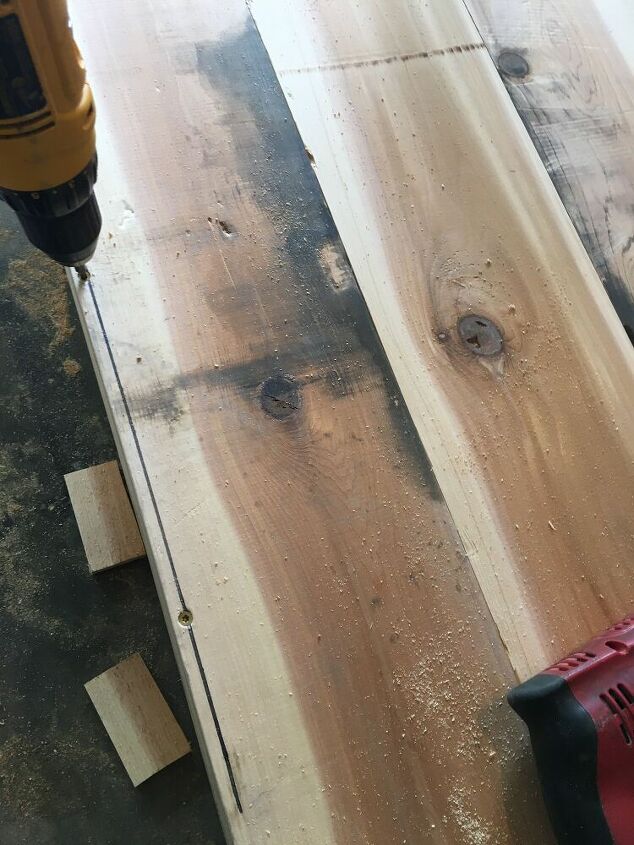
Using those corner scraps, I put one in each side dead center, across the seam from the upper and lower plates. I used 1.5" screws here, which you can see are still a bit too long. To prevent injury and aggravation I ground off the sharp ends with a cordless angle grinder
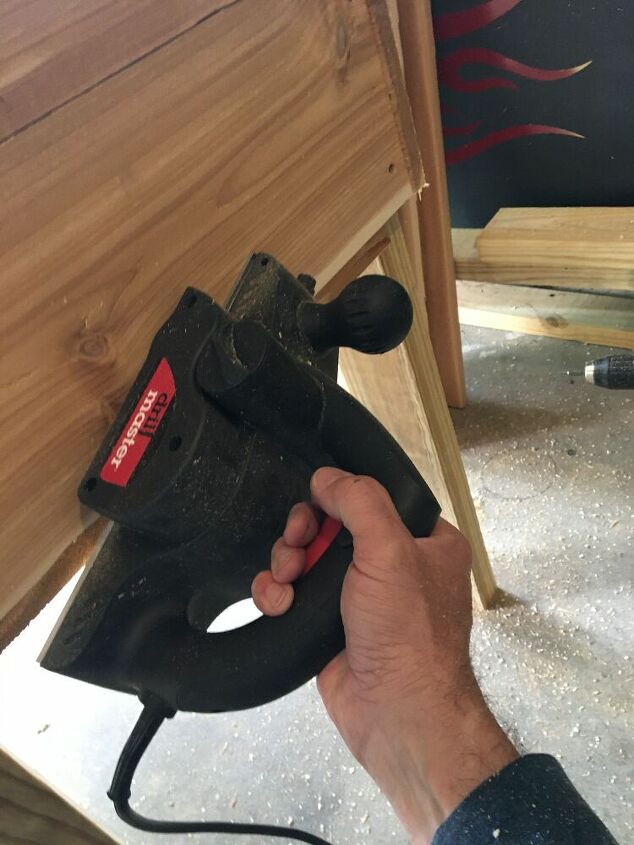
For those boards that were still just a little too long, I used a portable planer to knock down the ends. IF you decide to use one of these, never go all the way across an end grain - you'll chip it. I go 60% and then from the other side come back 40% until I've trimmed all I need to
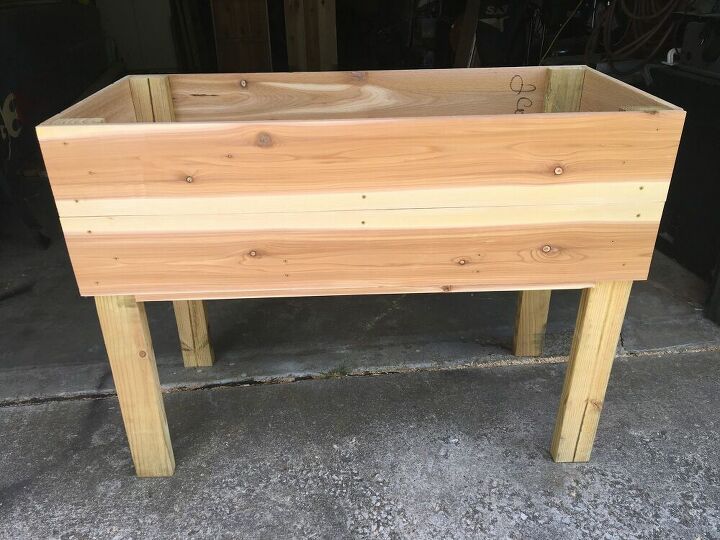
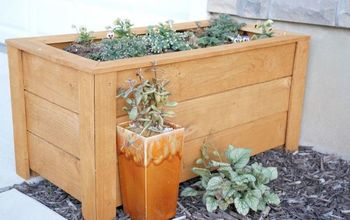
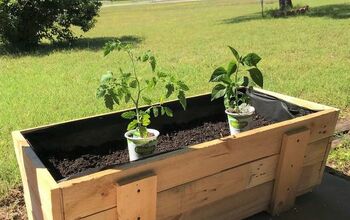
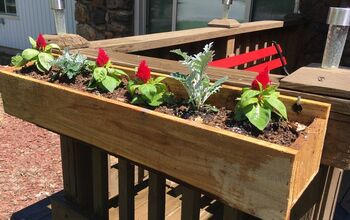
Here is the finished planter box. It's a nice height to work and looks pretty good too. The new owner will line it with landscape cloth ASAP. Once they have some color I'll update this pic. (FYI I built four of these, so you don't always see the same planter as you go thru the steps)
One thing you won't see in my posts is links to another blog etc. Some have asked, I just don't have time. I have a full time job designing substations, I teach electricity at the local community college, and do random electrical & automation projects for hire. Hometalk.com is my DIY blog
Another thing you won't see are any outlandishly expensive tools. For this project I used a $99 cordless drill, a $50 used miter saw from FB marketplace, and a $35 planer from Harbor Freight. Each of those tools is affordable, and will pay for themselves again and again.
Please Holler if you have any questions, and comment if you have ideas to make it easier for the next person. Happy Hometalking!
Resources for this project:
See all materials


Comments
Join the conversation
-
Yes! I absolutely will. I've always wanted one but was afraid to try it. But I'm excited now and can't wait to get started. I did see the bricks at the Home Depot. I've
-
Thank you! I'm making one for my daughter and just want to know if you put any holes or left any spaces for drainage?


Frequently asked questions
Have a question about this project?