


Rosy Red Stenciled Flower Pots

by
Jemma
8 Materials
Today I am sharing with you a super easy tutorial on how to make your own Rosy Red Stenciled Flower pots.
I am working with a great group of DIY experts who help me from becoming stagnate.
They merrily encourage, while sharing so much enthusiasm and quite frankly there is no telling what idea they might present to us.
Then to top it off they tell us "go have fun with the project!"
I am working with a great group of DIY experts who help me from becoming stagnate.
They merrily encourage, while sharing so much enthusiasm and quite frankly there is no telling what idea they might present to us.
Then to top it off they tell us "go have fun with the project!"
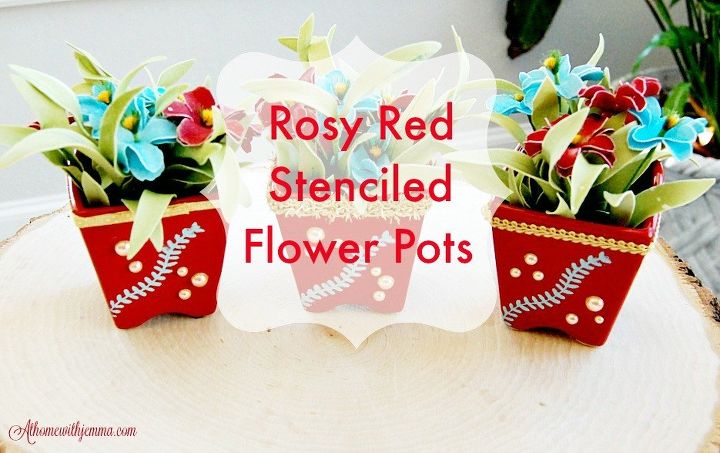
I began this project by taking these three rather plain-jane flower pots who seemed to have no purpose and not much personality and transformed them into some real cuties that are dressing up some various spots of our home.
Step 1. Cut florist foam into squares that will fit into bottom of ceramic pots
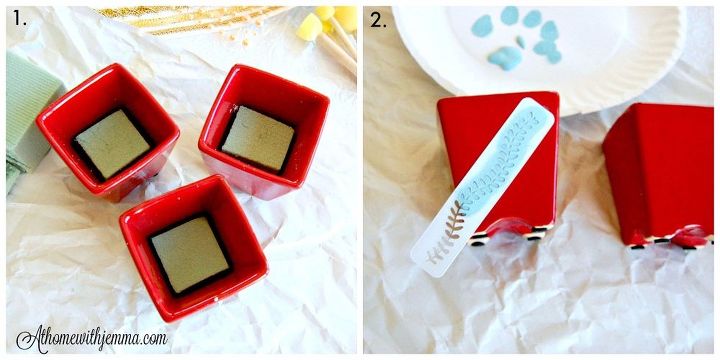
Step 2. Put acrylic paint on paper plate, then place stencil on flower pots, you can tape the stencil in place.
Step 3. Using foam stencil dabber, dip dabbler into paint and then blot repeatedly on paper plate until dabber is nearly dry in appearance.

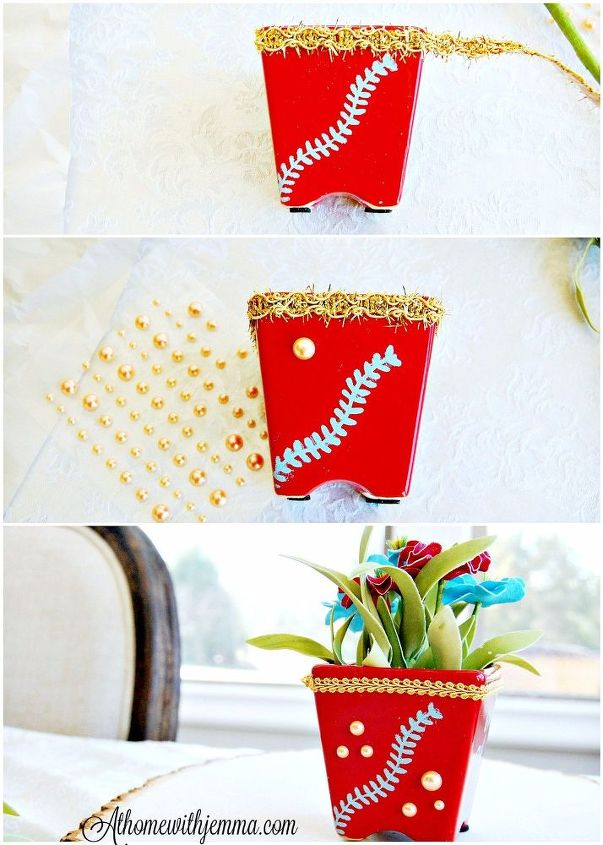
Step 5. Once paint is dry add self stick trim around the top edge of the flower pot. If needed cut to fit.
Want more details about this and other DIY projects? Check out my blog post!


Frequently asked questions
Have a question about this project?