


Plywood, Walls and Siding Our Garage Addition
Adding plywood and siding to the side wall and back of our garage addition. In the last post about our garage addition I recapped Lodi’s amazing job getting the roof completed by himself one weekend. We had help coming to finally get this dang building buttoned up before winter and his thinking was totally fair – the more we could have done before help arrived the farther help could get us along. With the insane cost of building materials this year Lodi and I got desperately creative in every way we possibly could on this building.
That being said what I figured would be around a $5,000 building is definitely still going to put us over $6,000.
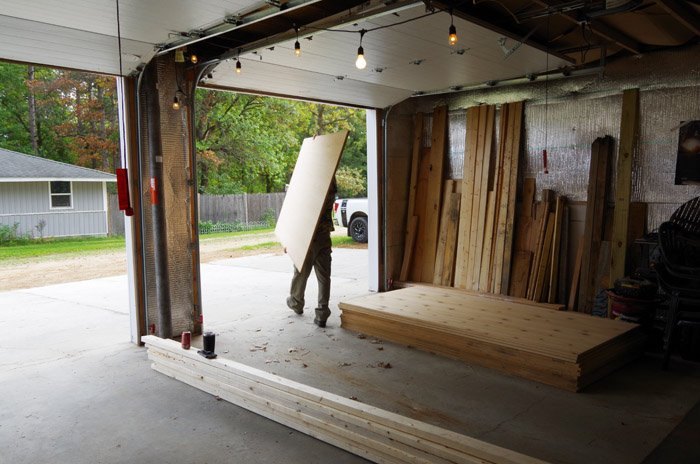
Lodi saved us nearly $1,500 finding “oopsie” plywood from a local lumber manufacturer. You can see it is definitely not the normal board used on a building like this one but it still works just fine!
So Fancy
When we went to put up the walls however we found out just how “flawed” it was…
It was an inch wider than four feet so we had to cut every single piece of plywood twice. Once to take it down to seven feet in height and again to get it down to 48 inches wide so it would hit our studs.
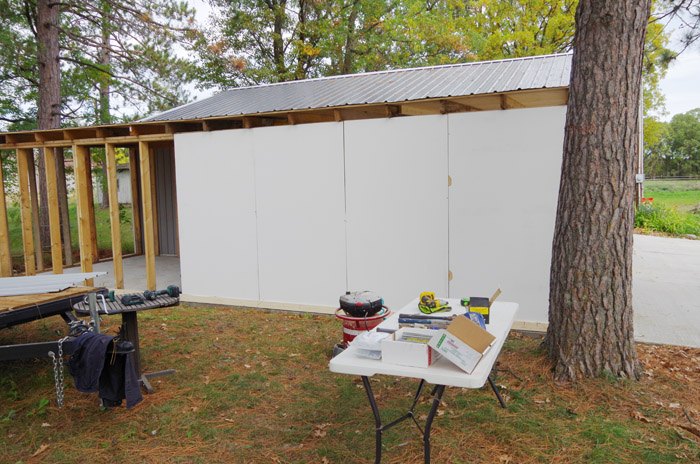
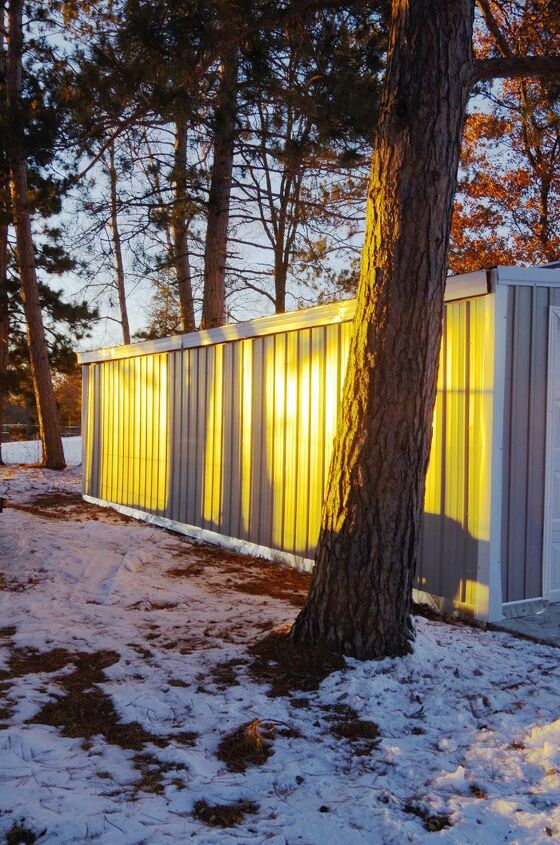
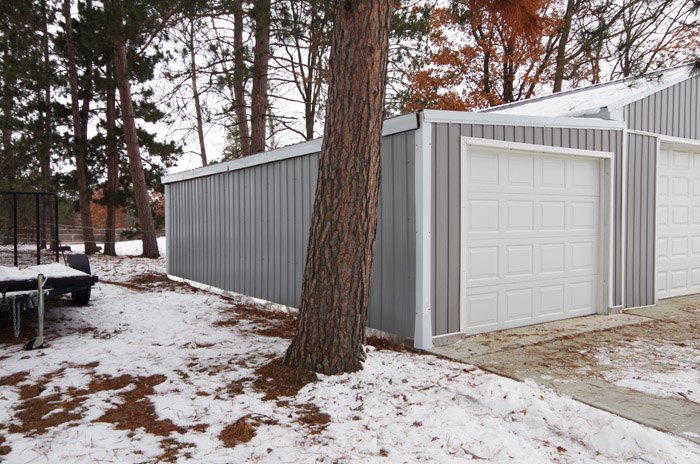
Most people don’t notice actually as our unique vertical vinyl board and baton siding looks quite a bit like steel in its own right and the color is darned close too.
Besides that covering a wall with steel takes about 1/8th of the time (at least!) as it would take to put up the vinyl siding. So, once I figured out how much money we would save it was basically a no brainer for us.
We also got lucky that we happened to have just enough leftover vinyl siding to match the front of the garage so we had very little extra cost once we finally got past this last big step.
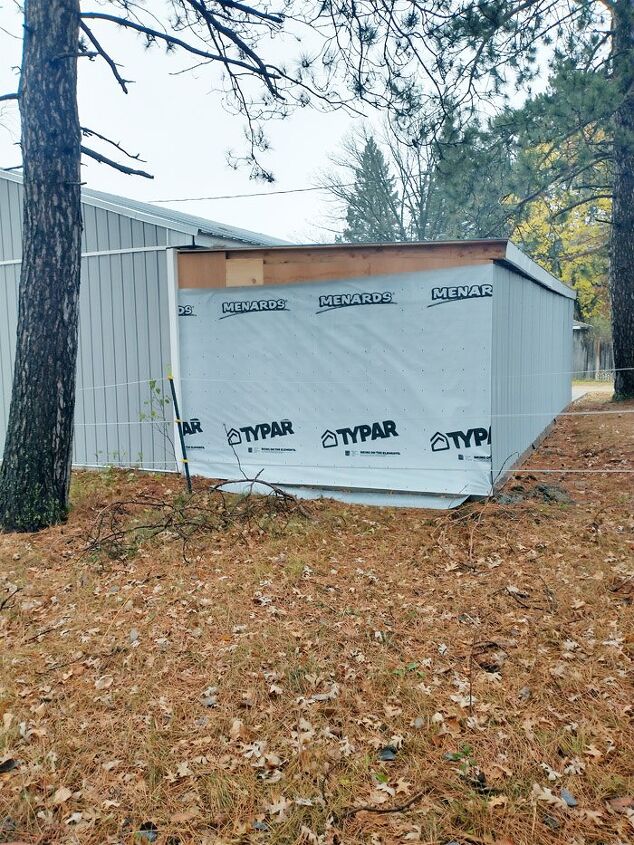
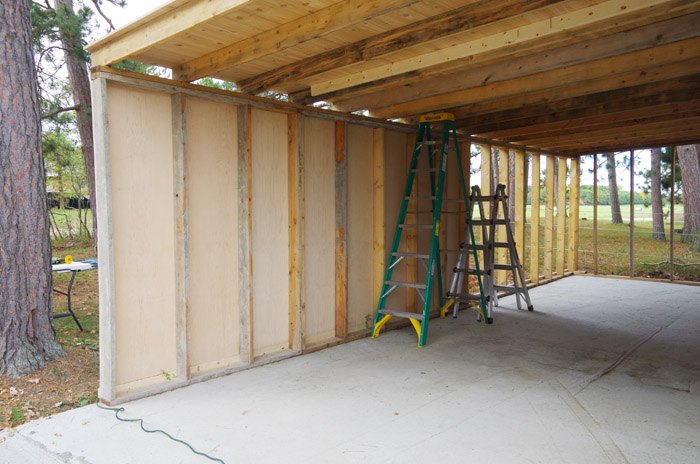
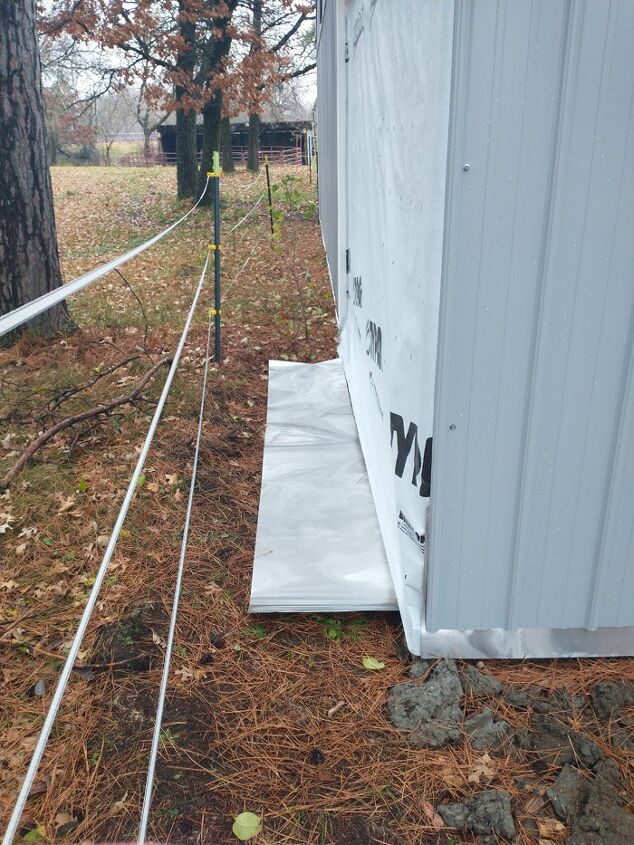
Once we got the plywood up (literally using every. last. piece.) we covered the walls with house wrap and ran flashing along the bottom of both.
I chose stainless steel flashing for two reasons. First reason: it matches the flashing I used on the house. Second reason: it matches the flashing I used on the house because its the only flashing they sell in town lol.
(I am aware the flashing kind of looks like crap – it needs to be straightened out and trimmed a bit but all in due time! I was done working outdoors at this point – it was cold out lol I will tidy everything up next spring!)

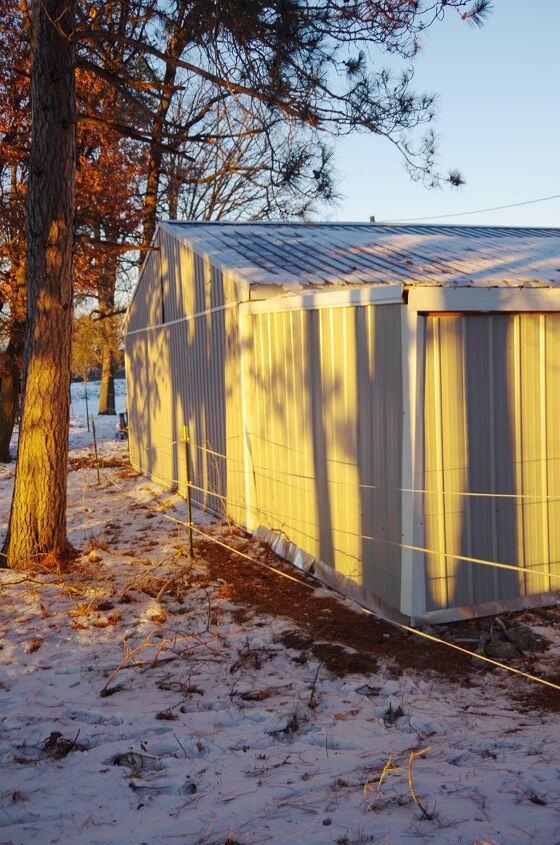
It seems counter intuitive but you actually put the smaller groove over the larger groove when putting up steel. We worked our way from the original garage toward the outside corner of the addition so the seems would completely disappear with the view most people would have of it.
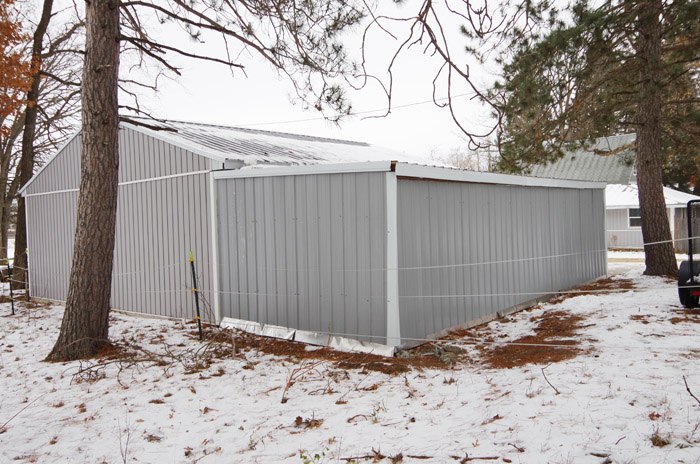
In the back here is where you can see the biggest difference between our vinyl siding and the steel.
It doesn’t bother us one bit actually and I can’t imagine anyone caring enough about the back of our garage to notice.
We put the plywood up with a couple of screws initially and then went back and hammered it on with a rented nail gun.
From there we applied the steel with self tapping steel screws that include rubber washers.
GUYS IF YOU HAVE A LOT OF STEEL TO CUT RENT AN ELECTRIC STEEL CUTTER. Cutting it by hand is for the birds! I had only the tops of the four pieces of steel to cut across the back of the garage and I legit used our angle grinder for the last two. Its just such a pain in the butt to cut by hand! (The steel was the right length for the whole side so the back wall was the only place any cuts had to be made thank goodness.)
After that it was just a case of covering the corners and roof line with white steel corner / gable trim. We got “lucky” at the fact that I literally throw nothing away and had plenty of extra eve and soffit material leftover from the garage build back in 2015!
Phew! Roof is done. Back and side walls are covered in plywood, house wrap, flashing, siding and trim.
Just a couple more steps!
The next post is all about how we completed the front wall, electrical and got a new garage door!


Frequently asked questions
Have a question about this project?