3 Fantastic Step-By-Step Ideas What To Do With Pallets!
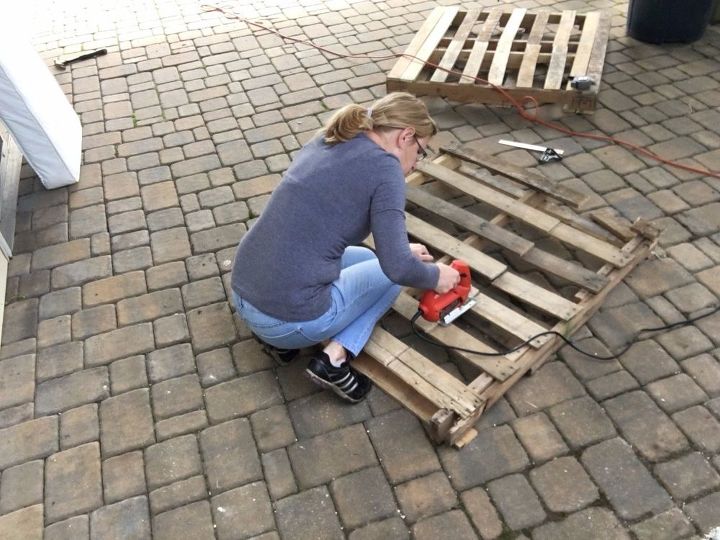
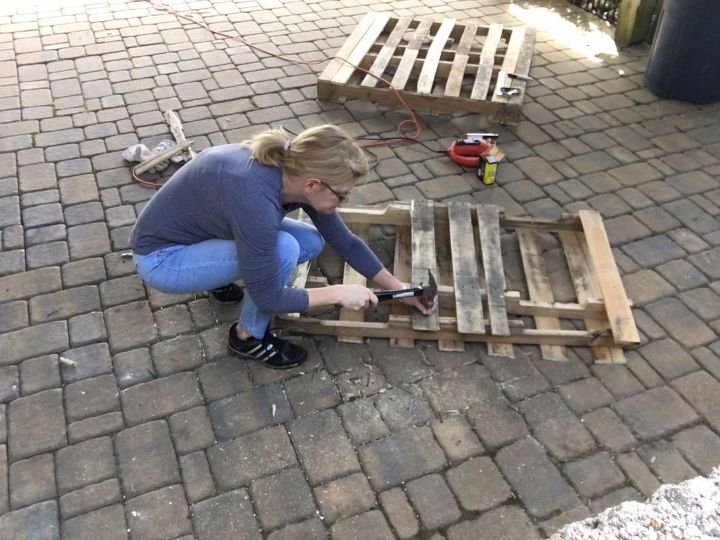
Step 2: Cut off the excess pallet
Keep the pieces you removed, you'll need them. Get tutorial here
Step 3: Reinforce the front of the swing
Use the excess wood you just removed. Get tutorial here
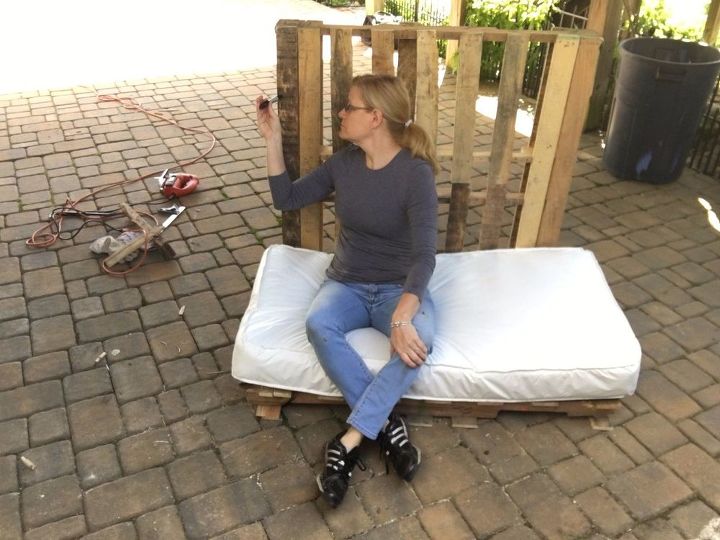
Step 4: Measure height of the second pallet
Place the second pallet behind the first pallet and mark how high you would like the back of the swing to be. Get tutorial here
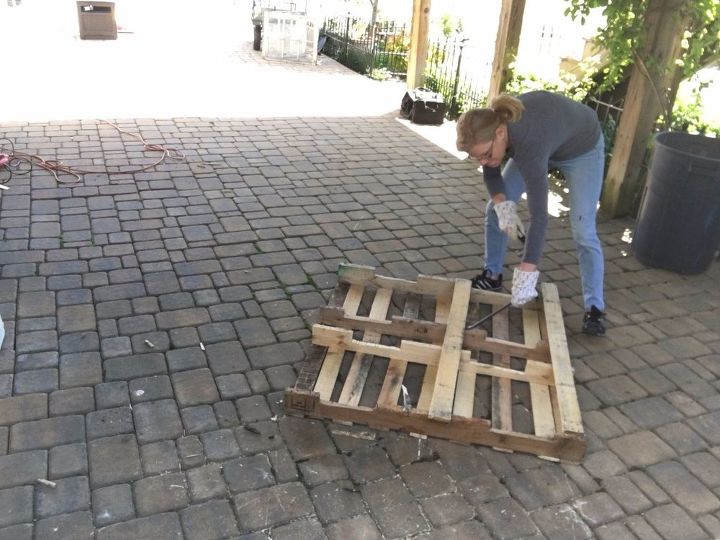
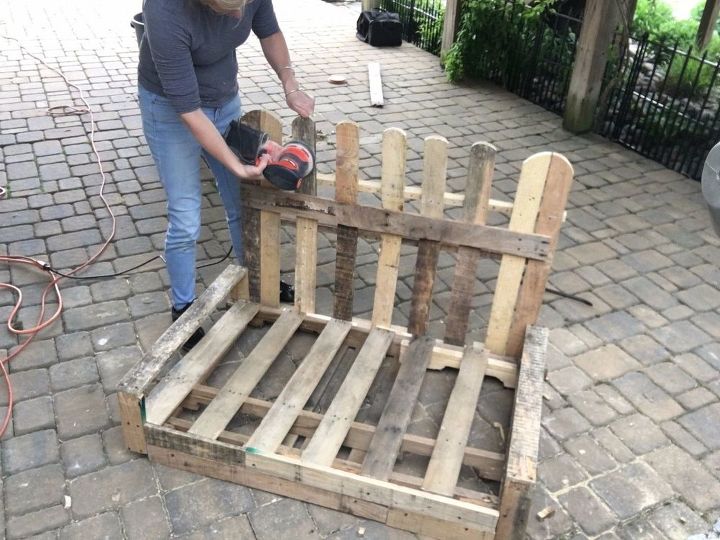
Step 5: Remove the back panels of that pallet
Remove the wood from the back of the second pallet to lighten the weight. Get tutorial here

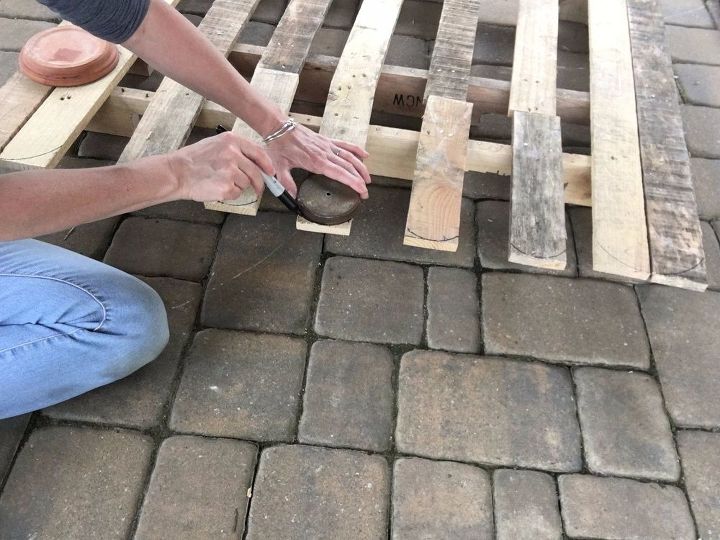
Step 7: Mark and cut rounded edges
To make the top of the backrest rounded, use the lid of a can to trace a half circle and then cut the top to a rounded shape. Get tutorial here
Step 8: Screw pallets together
For additional support, use longer pieces of wood around the entire edge of the first pallet/seat. Get tutorial here

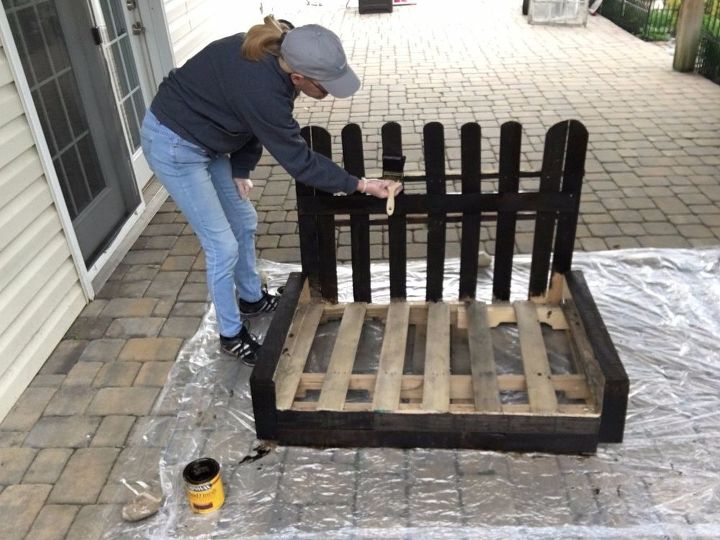
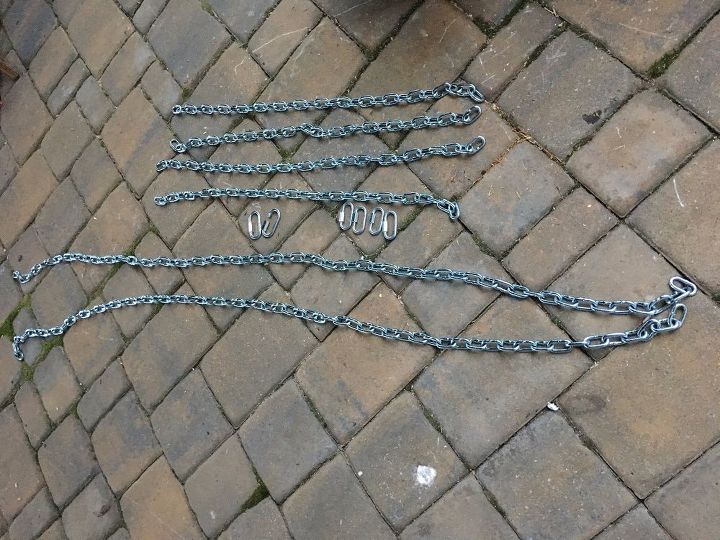
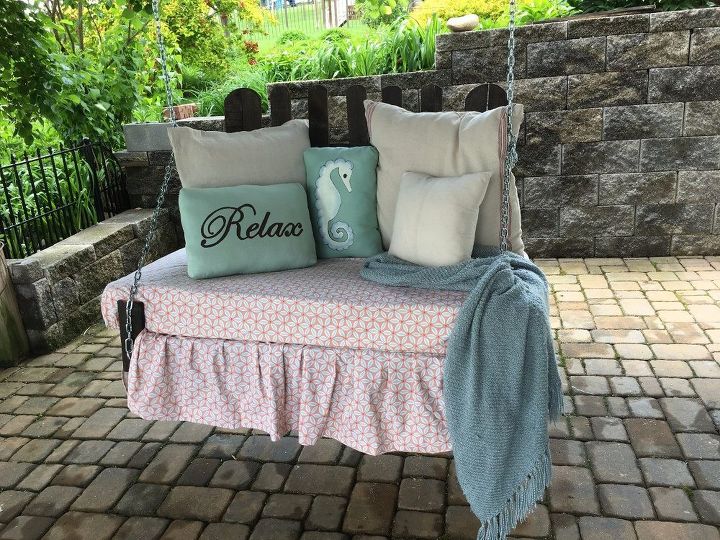
Step 11: Add chains with bolts and carabiners
Insert eye bolts into the front and back of the seat, and attach chains to them using carabiners. Get tutorial here
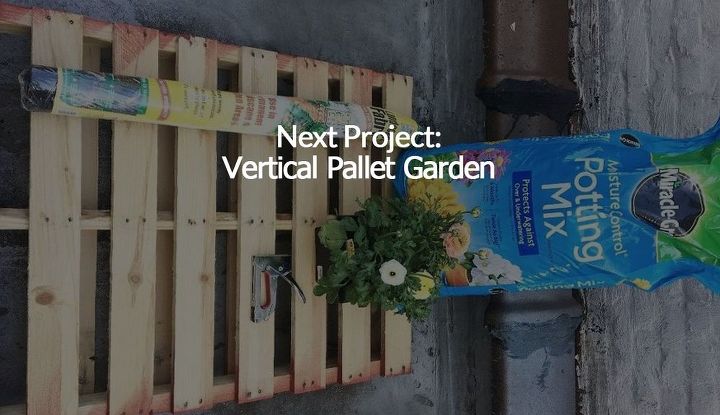
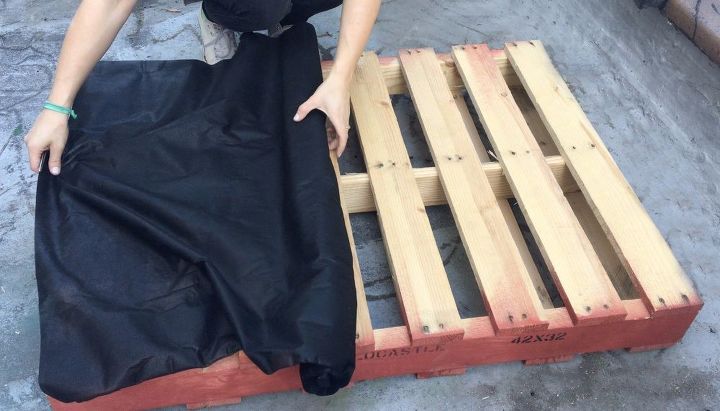
Step 1: Measure fabric to cover back side
Lay the pallet flat with the slats that sit closer together facing up. Measure landscape fabric to cover that side. Get tutorial here
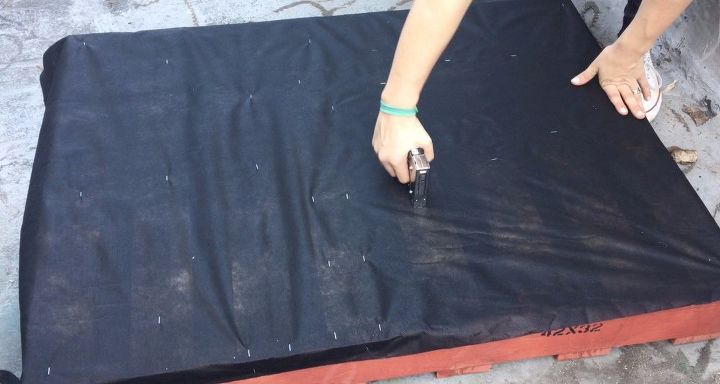
Step 2: Cut excess material and staple down
Staple the fabric down to the pallet working your way across each beam. Get tutorial here
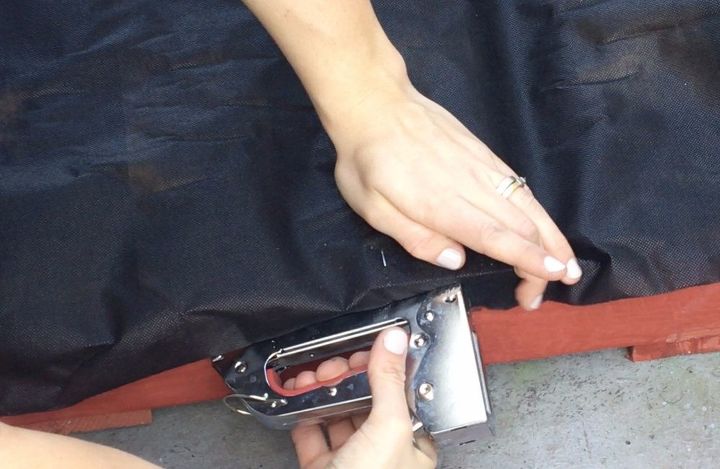
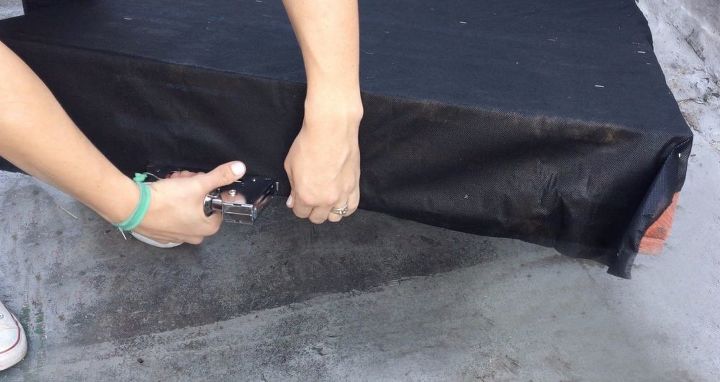
Step 3: Fold excess fabric and staple borders
Wrap the excess fabric around the edge and staple it in place. Get tutorial here
Step 4: Staple fabric at the ends
Wrap fabric around the openings and staple it. You can leave the top open if you want to plant tall plants. Get tutorial here
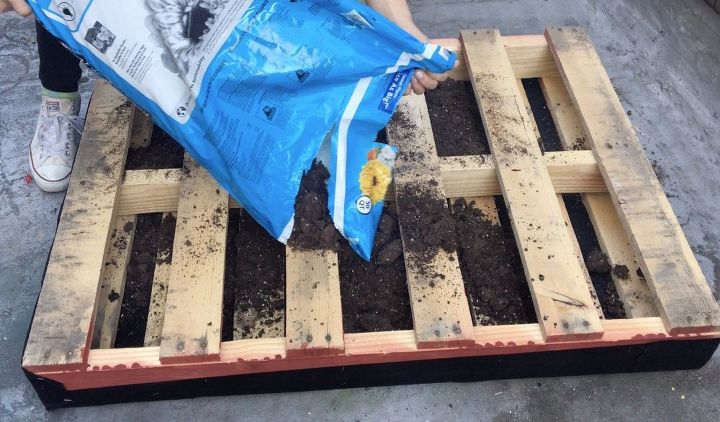
Step 5: Flip pallet and fill with potting mix
Turn your pallet over and fill with a bag of potting mix in between the slats, making sure it is level. Get tutorial here
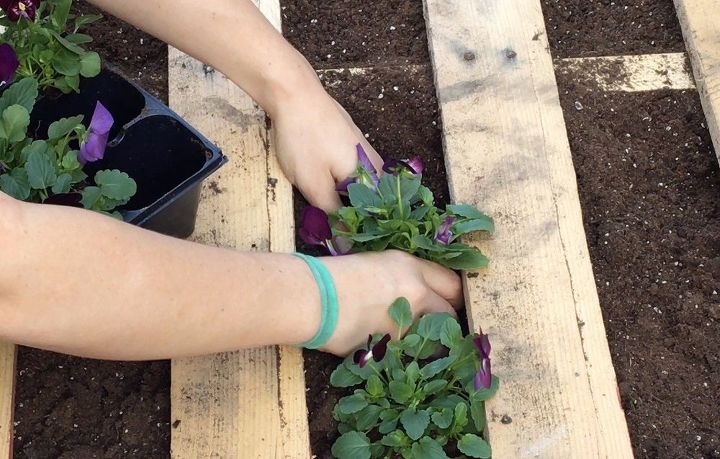
Step 6: Make small ditches and plant flowers
Make little ditches for each plant and set them within the ditch. Scoop dirt in to cover the roots. Get tutorial here
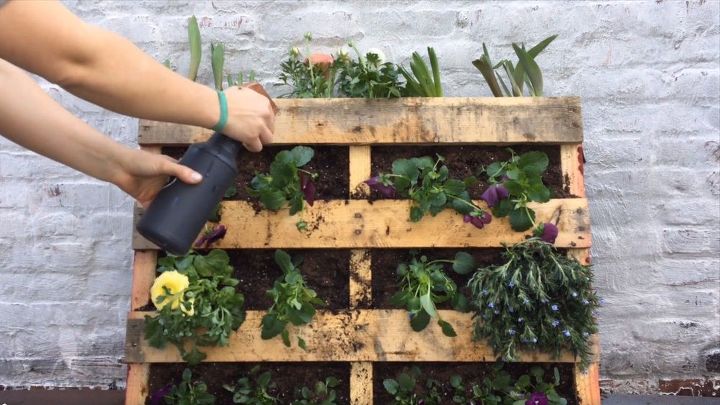
Step 7: Flip pallet vertically and water
Water the plants immediately so as to help pack in the dirt. Get tutorial here
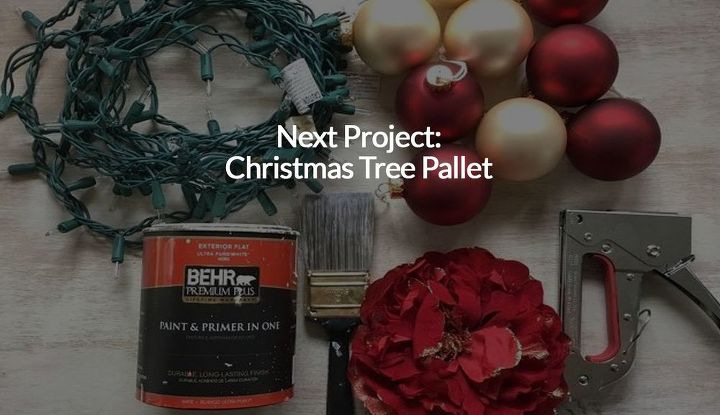
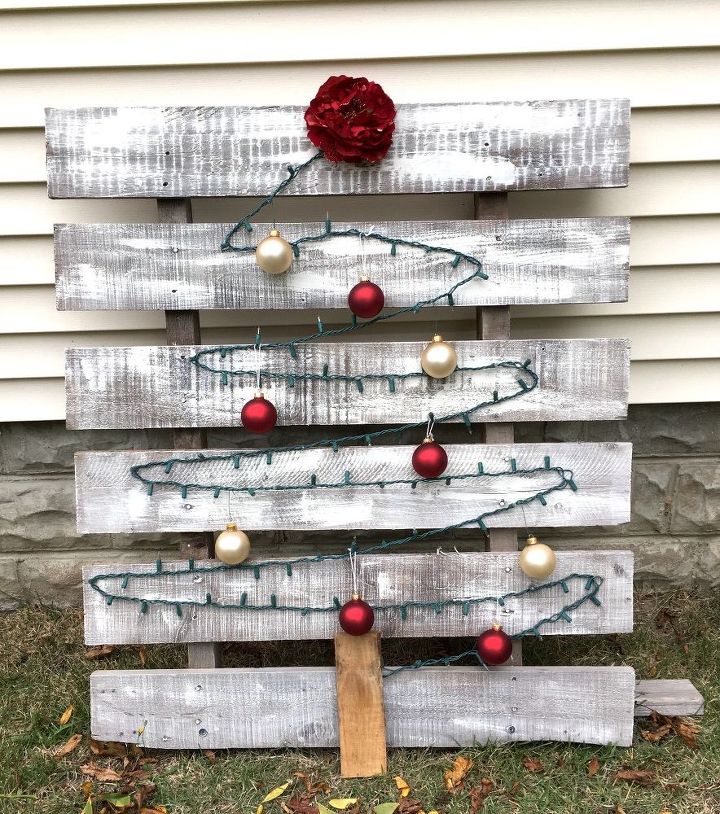
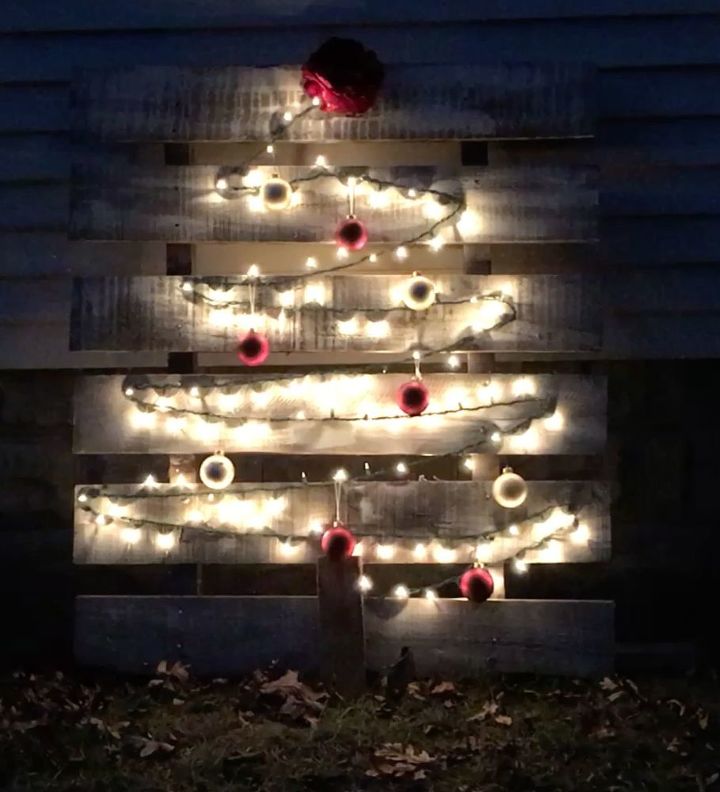
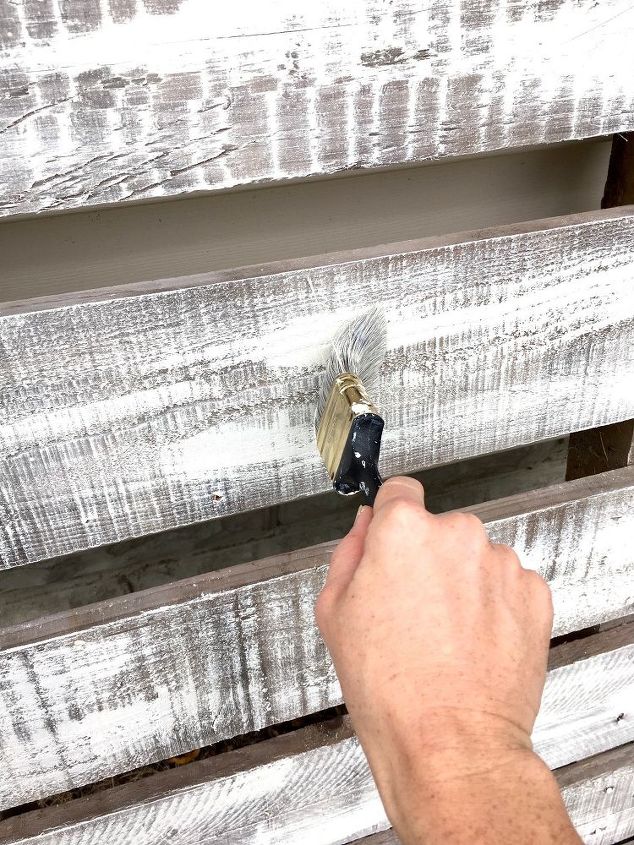
Step 1: Paint your pallet
You don't necessarily have to do this, but the light color helps to see the tree even when it's not lit. Get tutorial here
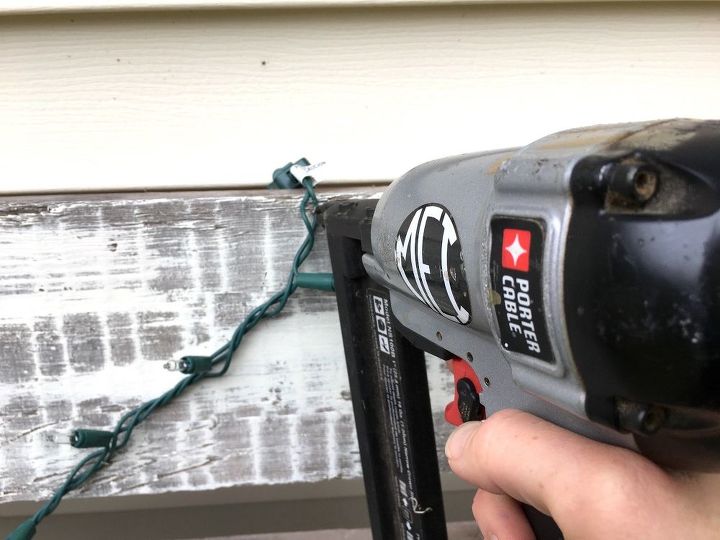
Step 2: Attach Christmas lights with stapler
Carefully pull apart the strands so as not to staple through the wire. Get tutorial here
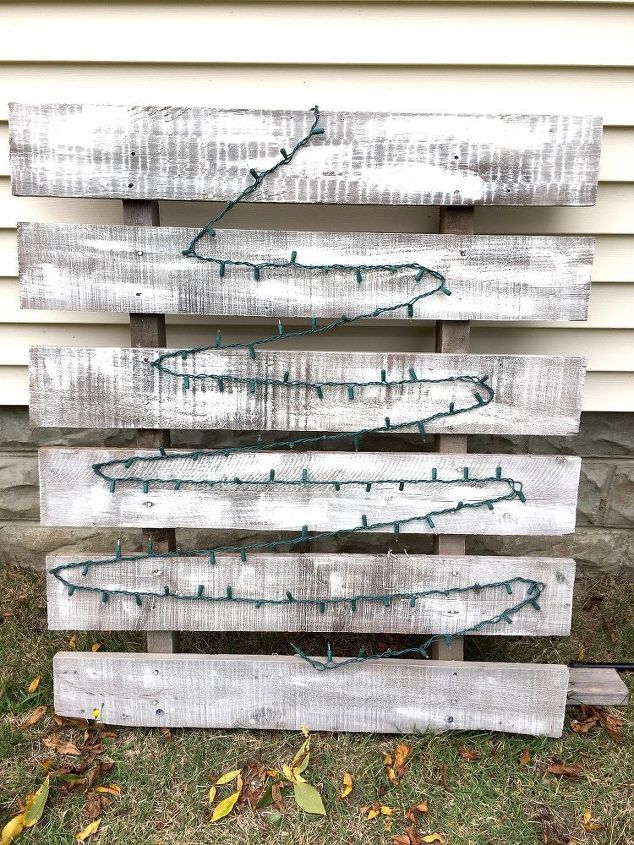
Step 3: Staple down in a zig-zag pattern
Be creative with this part - if your strand of lights is long, you can make fuller zigzags. Get tutorial here
Step 4: Hang ornaments and add "trunk"
Stapled a scrap piece of pallet wood to the bottom for the trunk of the tree. Get tutorial here