


A Simple Wooden Key Holder

by
Adam Gabbert
1 Material
1 Hour
Easy
Looking for a simple wooden key holder? You're in the right spot. This is how I made an extremely simple key hanger for my entry way wall out of some scrap black walnut I had in my workshop.
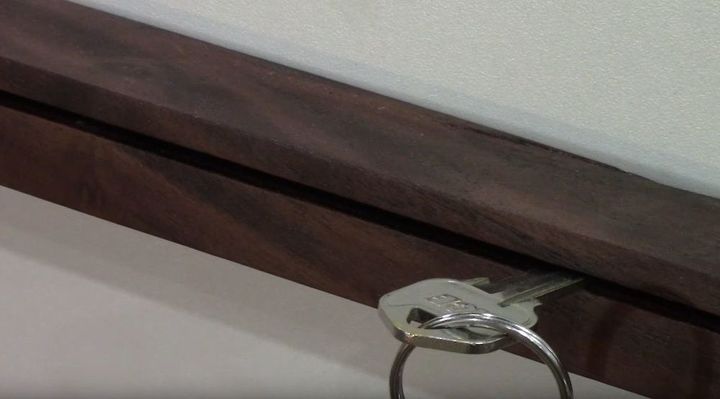
Above is a picture of the finished key holder. My focus was on simplicity and functionality. You can get a full picture of the key rack in the video below.
{
"id": "3617784",
"alt": "",
"title": "",
"video_link": "https://www.youtube.com/embed/v5K5de-vP5Y",
"youtube_video_id": "v5K5de-vP5Y"
}
{
"width": 634,
"height": 357,
"showRelated": true
}
Above is a video I posted to my woodworking YouTube channel showing how I made this key holder. It only took me an hour or so so whip it out, and the final result turned out to be really functional and helpful in our entry way.
The first thing I did was rip down some 5/4 walnut on the table saw to its rough dimensions of 1"x1-1/4"x16".
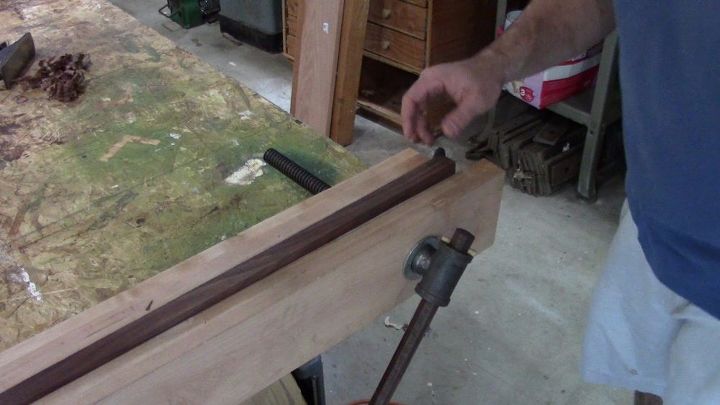
Then I fastened the workpiece into my Moxon Vise and smoothed all four sides with a block plane. I don't show the block plane here in the image, but it's clearly shown above in the video.
I then cut the key holder to length on the table saw. I used a sharp 80 tooth cross cut blade to eliminate tear out.
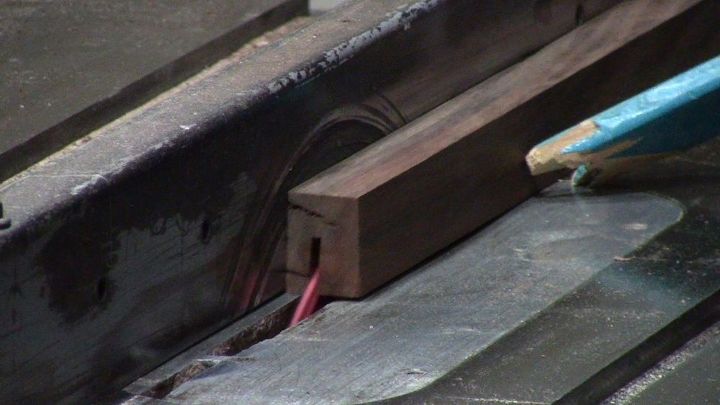
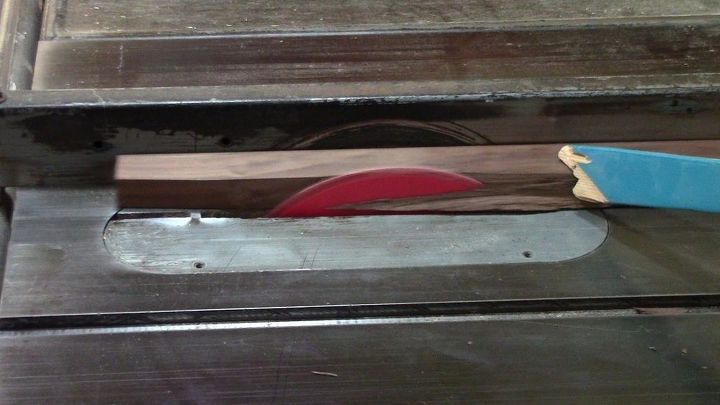
I turned the blade to about 7 or 8 degrees and ripped a groove into the key holder. This created the kerf, or key slot to hold the keys. The angle of the kerf makes the keys lay flat when you place them into the holder on the wall. I ended up cutting the key rack a little shorter due to the checking you can see in the image.
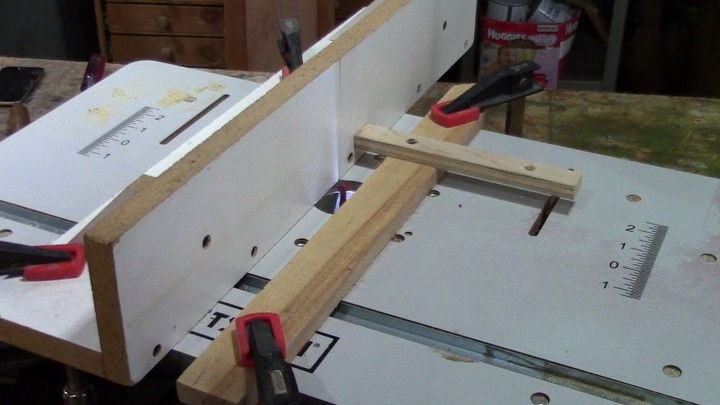
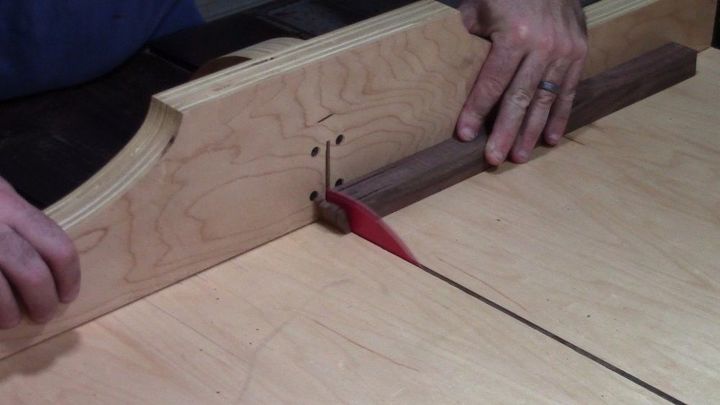
Then I set up this contraption on the router lift so that I could put a key hole in the back of the key holder. I'll show you what the key hole looks like in a couple steps. I used the two fences so that I could move the holder along the scrap, and get the key hole as straight as possible.
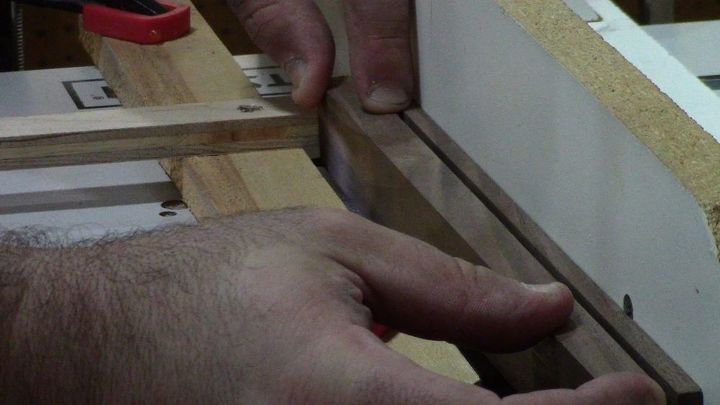
Then I lowered the key holder onto the keyhole router bit, and pulled it along the scrap to the other fence. Creating the key hole. You can see what it looks like below.
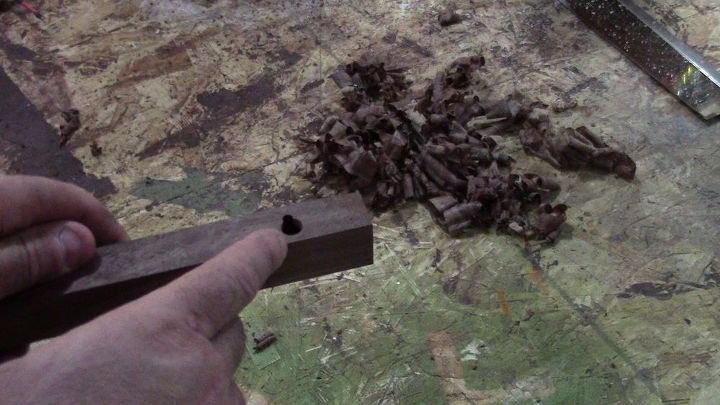
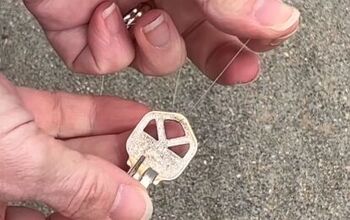
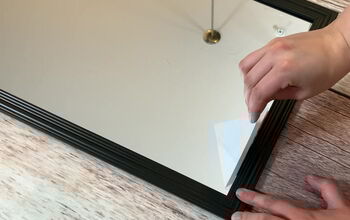
This is what the key hole looks like. It allows you to put nails or screws into whatever you're mounting the holder onto. And the head of the fastener fits into the larger hole and slips up behind the smaller groove fastening it to the wall.
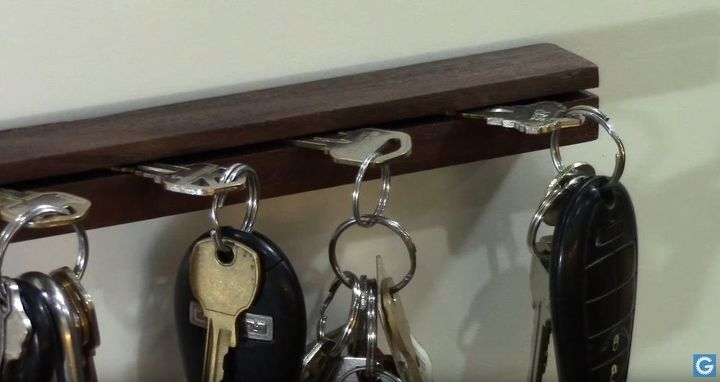
And this is what it looked like when I was done! It's just a simple slot to hold your keys, beautiful in its sleek functionality. If you'd like to see more of my projects, don't forget to check out my YouTube Woodworking Channel. The video at the top of the page will take you there.
Comments
Join the conversation
2 of 23 comments
-
Very different idea. I like it
-
Very cool! Love the idea of hook less key holder!


Frequently asked questions
Have a question about this project?
Hello Adam, have you given anymore thought to selling these? Let me know..... neid2756@gmail.com. Please put ”Key Holder” in the subject line so I know it’s not spam. Thanks so much!