


Built In Desk | Upcycling At Its Best
This project has been a long time coming. We’ve been working on this built in desk with shelves for Ellie’s bedroom for the past 3 weeks. Sometimes we set unrealistic expectations of how much we can get done in a week.
In a perfect world, with everything going smoothly we hoped to get this built in desk done in a week. Ambitious I know, but that’s what I am, ambitious! But the reality of it is, that it’s summer, there are swimming lessons, play dates and sleepovers with cousins and the list goes on.
Ellie is our budding artist! She is constantly drawing, crafting or creating something. She is our little protégé. With all of these art and craft projects, she needed a big work surface and lots and lots of storage. Definitely a built in desk with shelves is just what Ellie’s room needed.
We are no strangers to built ins, we (with the help of Steve) have built 4 bookcase built-ins and the mudroom. All of these built-ins were built from scratch. However, this time we thought we’d show how to build a built in desk with shelves using existing second hand furniture.
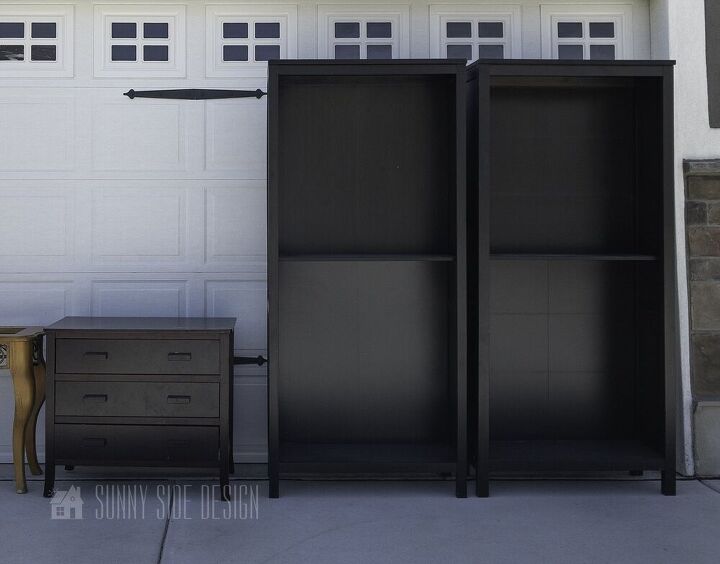
Steph began a search on Facebook marketplace for bookcases and a small dresser. It took a few weeks to find the sizes she needed to work in Ellie’s room. But this turned out to be an inexpensive project. Steph spend $175 total! Isn’t that amazing!
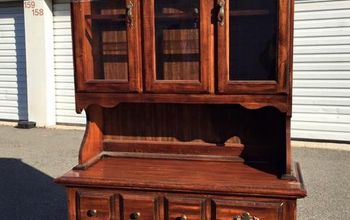
The small dresser was $20 and the two bookcases were $50 for the pair. They are solid wood and were easy to work with. In fact the bookcases were from Ikea which made it simple to make modifications. Scroll down and see how we put this all together.
If you are a more visual learner, you can see the video tutorial below.
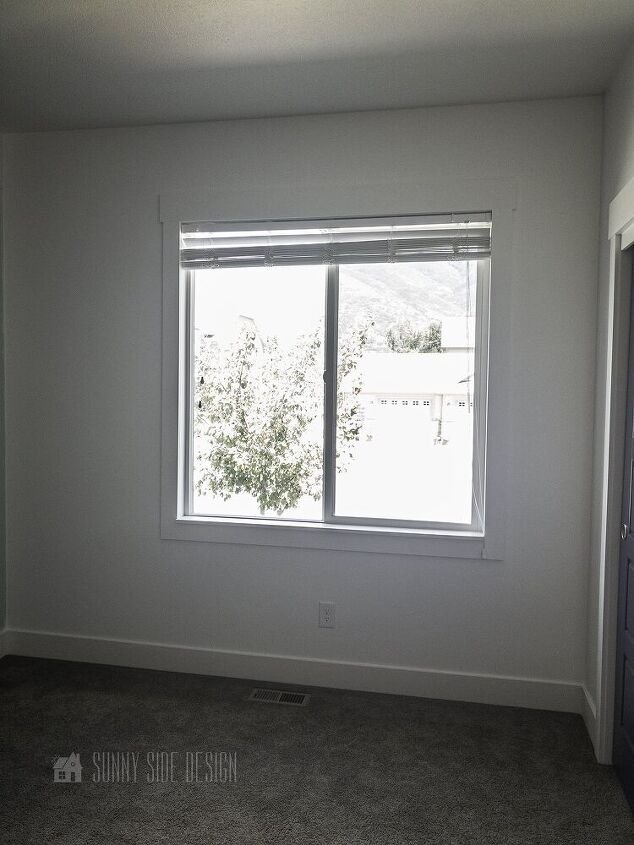
This is the wall where we will install the built in desk and shelves. Steph searched for furniture pieces that would fit the area on the left side. We were able to find bookcases that were the exact width of the wall on the left side of the window.
The bookcase on the right side of the window would need to be modified.
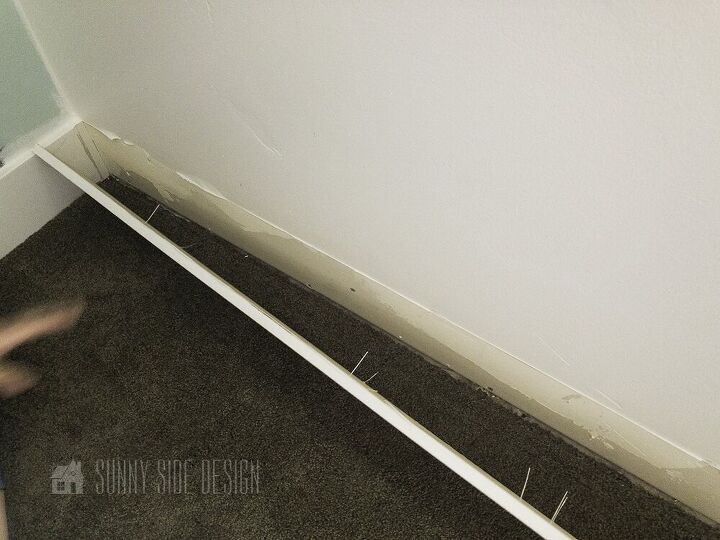
To remove the baseboard, we scored the caulk with a utility knife, then pried the baseboard away from the wall.
We removed the baseboard carefully so we could reuse it around the built ins.
The small dresser was brought in so we could get an exact measurement where we would need to remove the baseboard on the side wall as well.
We also removed the windowsill. We placed a board under the edge and tapped with a hammer to loosen it. The desk top will be at the same height as the windowsill.
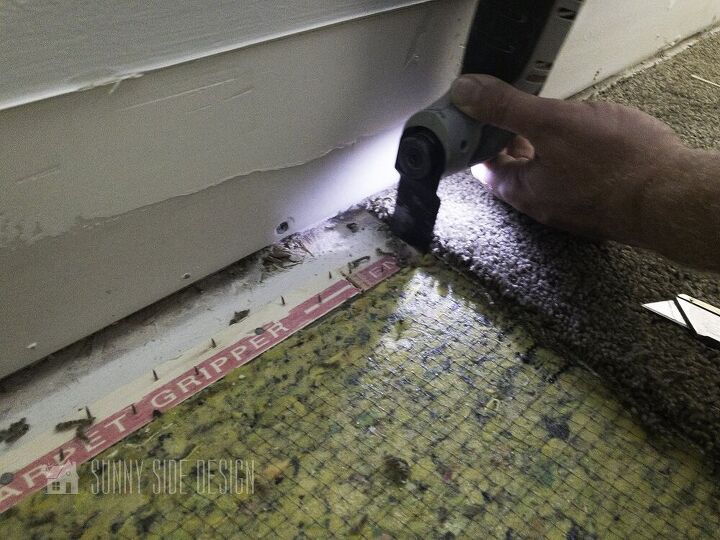
The carpeting will also need to be removed where the built ins will sit. We marked and cut the carpet with a utility knife and also removed the carpet pad as well as the tack strip.
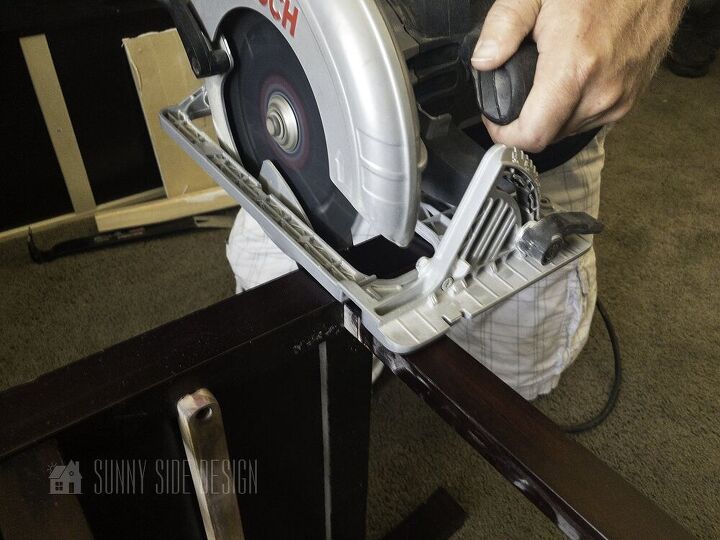
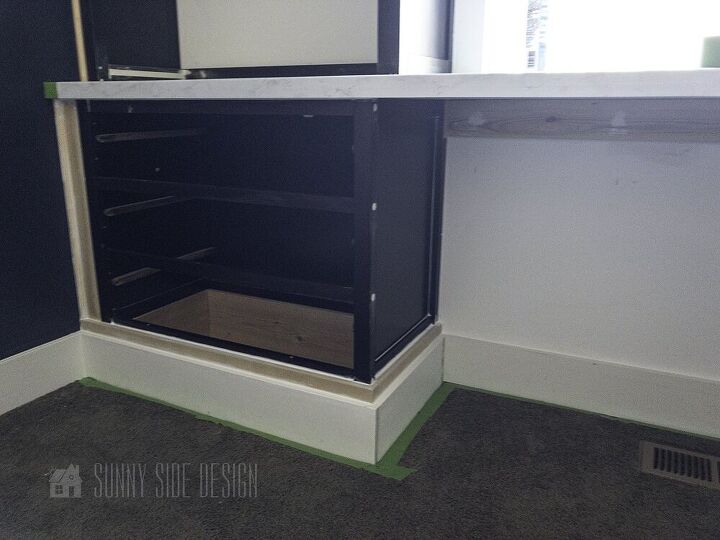
Two modifications needed to be made to install the dresser. First we cut off the legs with a circular saw. Then we removed the top as well.
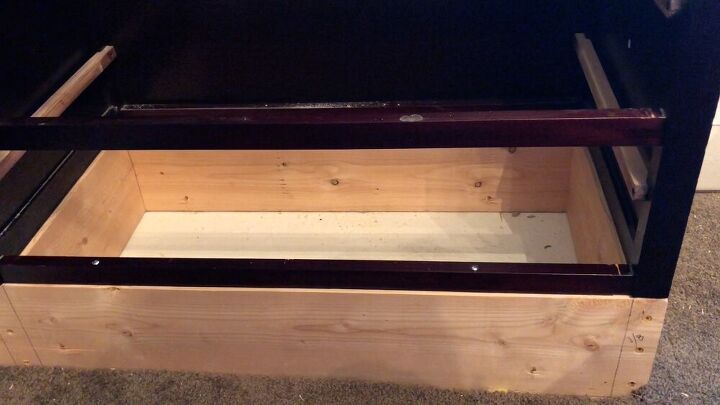
We created a base for the dresser to sit on from 2×8 lumber. The board was ripped down to 6 1/2″ high. This was the height that we needed the dresser to be for the desk top.
The boards were screwed together forming a box. This box was then secured to the wall and the floor.
The dresser then was placed on the box and attached with screws.
We also attached the dresser at the top edge with screws into studs.
This side is where we bring in the brains. Steve always finds the best way to make things work.
First, we basically cut the bookcase in half. The top section of the right shelves will be the full length.
Second, we needed the remaining half of the bookcase to be cut down to the height that the countertop will be.
Then we build a base just like the left side for the bookcase to sit on. The base was then secured to the wall and floor with screws.
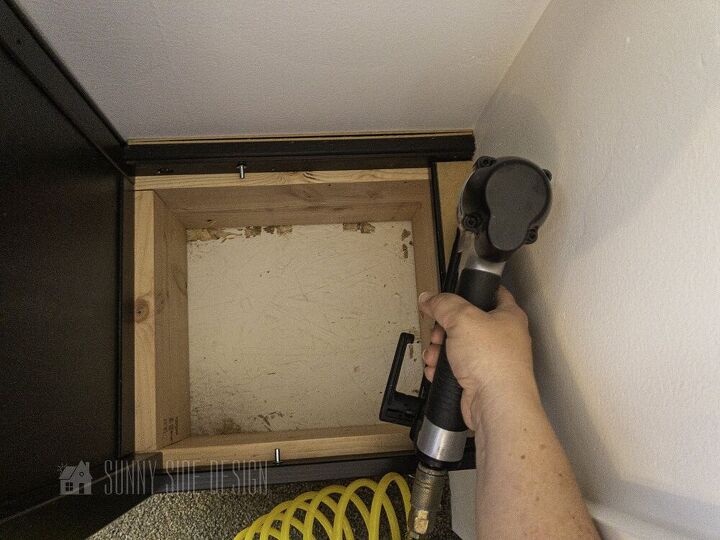
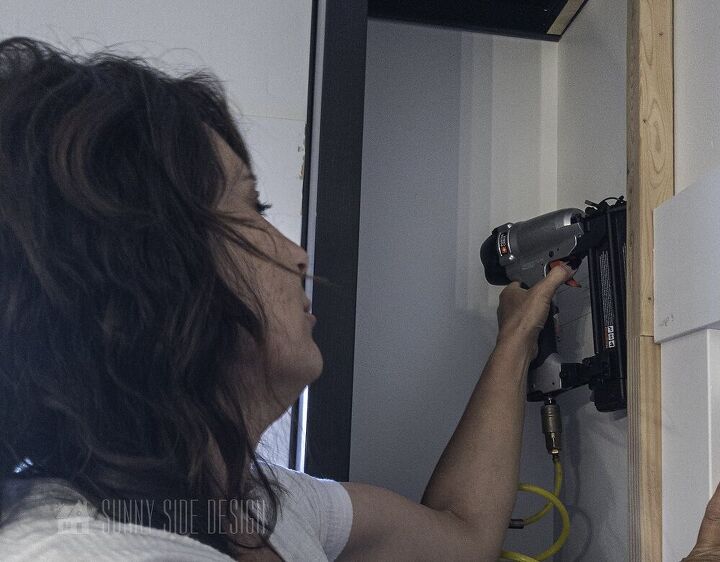
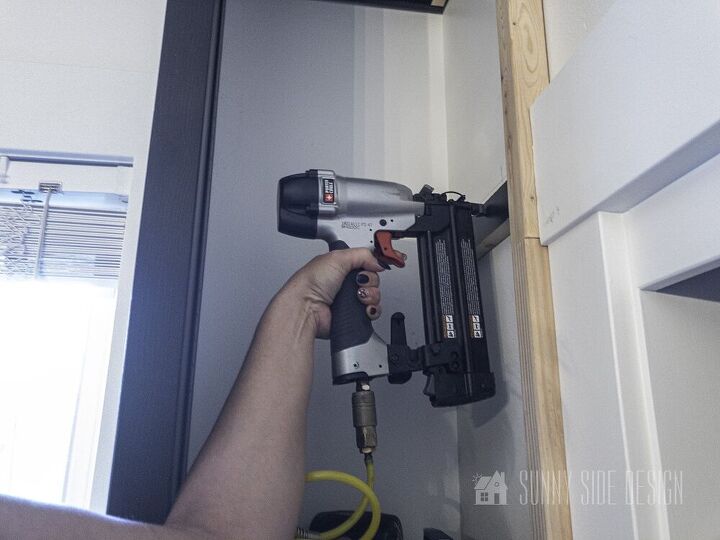
Next we secured the lower section of the bookcase to the base. We used the brad nailer for this.
This is where Steph and I get stumped. How to secure the two sections together. I love the solution Steve came up with!
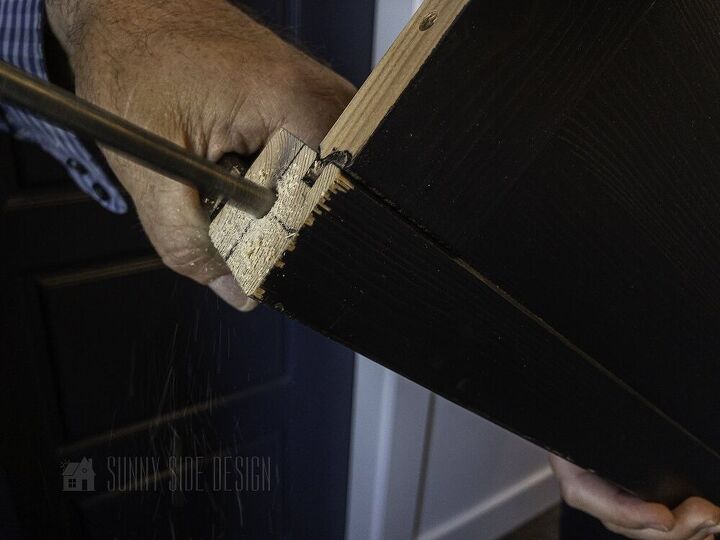
We marked the center of the side post of the bookcase on the top of the lower section and the bottom of the upper section.
Then we drilled holes in each section.
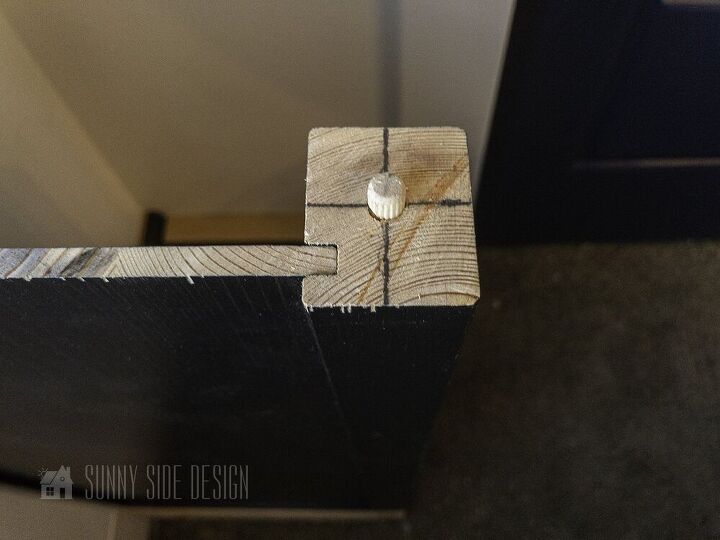
We then inserted a dowel with wood glue, securing the two sections together.
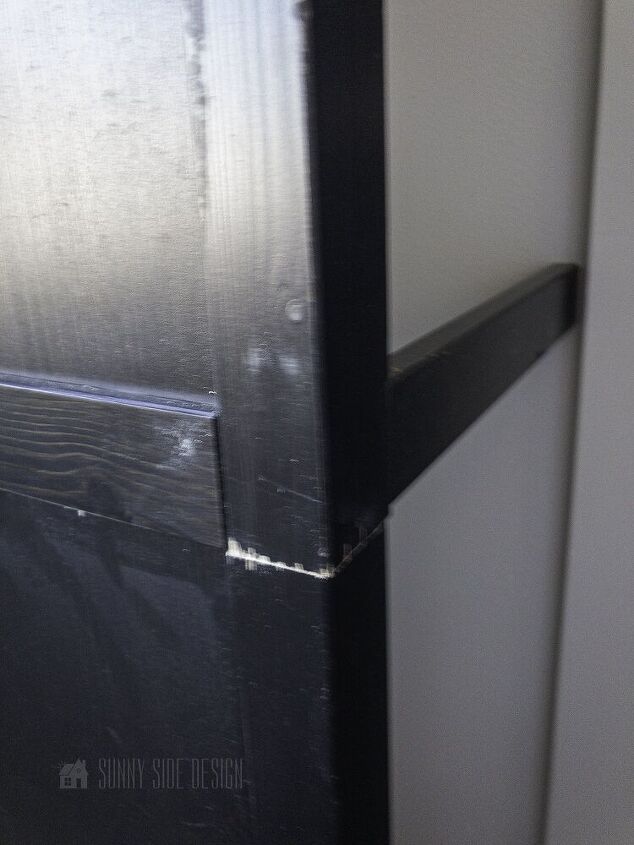
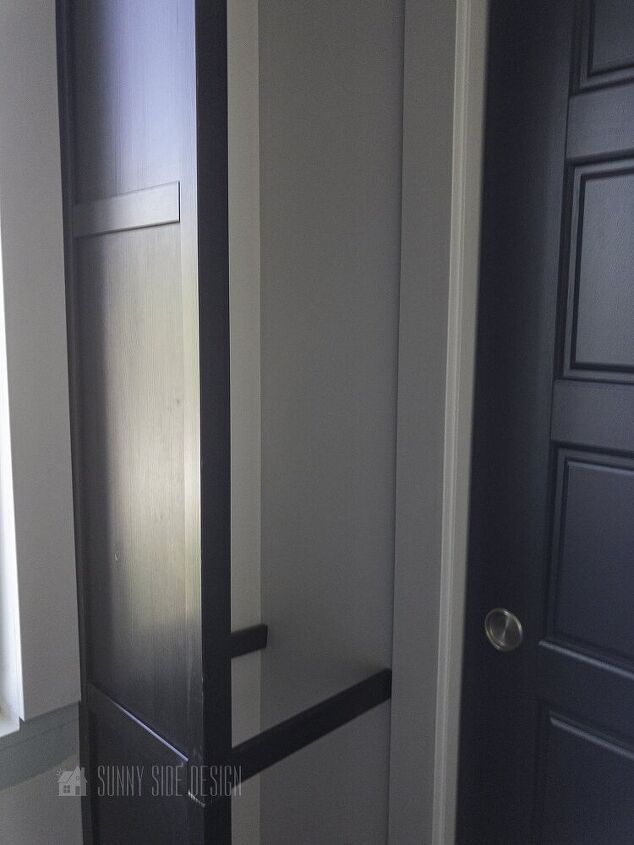
You can see the seam here, but with a little wood putty and paint it looked like one continuous piece.
The cross sections of the bookcase were then secured into studs with the brad nailer.
Now because we cut the bookcase in half we did not have a side post on the right side of the bookcase. So we created one from a 2×2 piece of wood. It was cut to length and attached to the wall with the brad nailer.
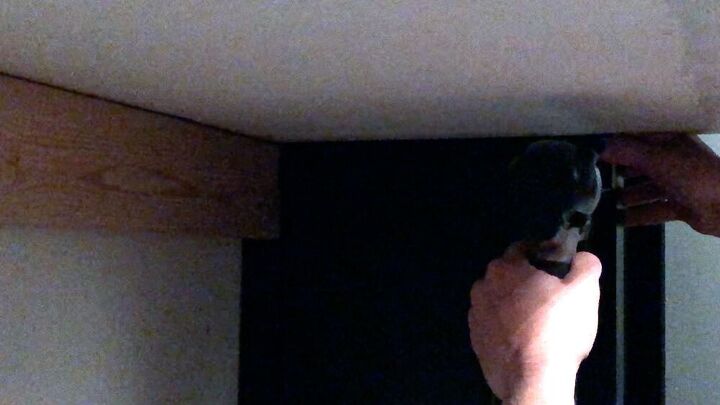
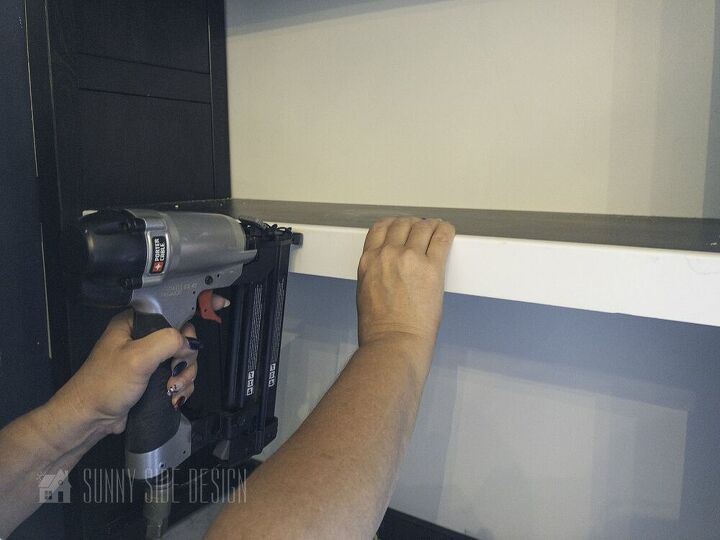
The next thing we needed to add was cleats to hold the shelves on the right side. Again, these were attached with the brad nailer.
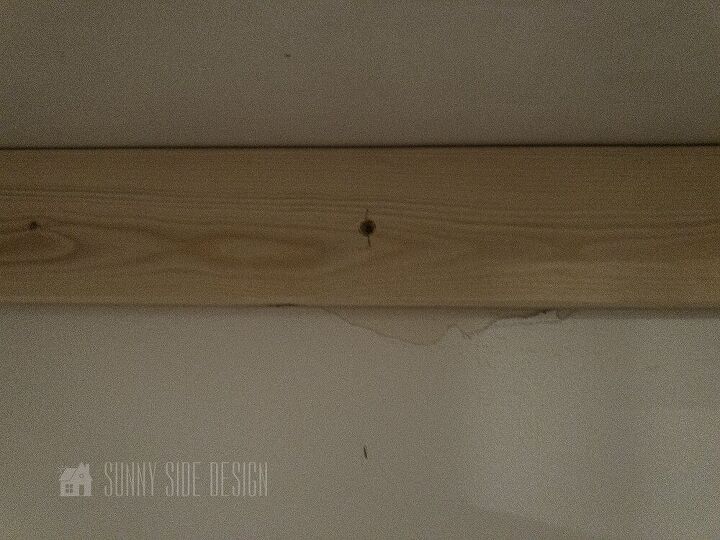
We made a cleat from a 2×4 board, and secured it at the height of the window. This is the same height as the top of the dresser as well.
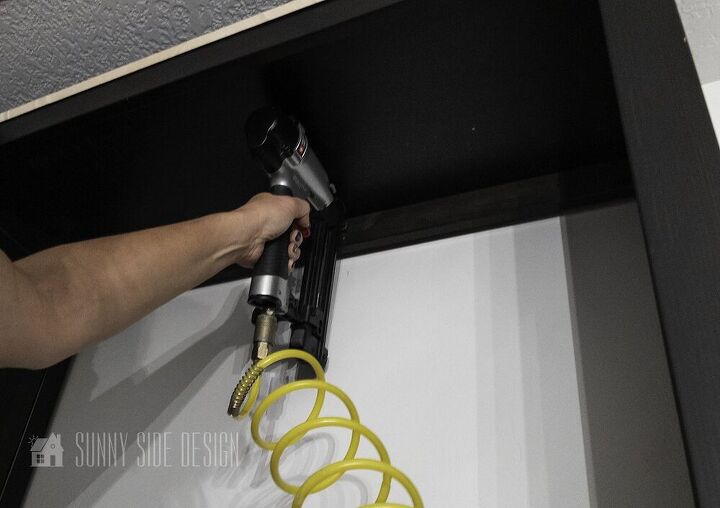
We then secured the desk top to the dresser with a few brads. Shooting them through the top rail of the dresser into the desk top.
Another cleat was installed on the right side bookcase to secure that end of the desk top.
To see how we created the desk top, click here.
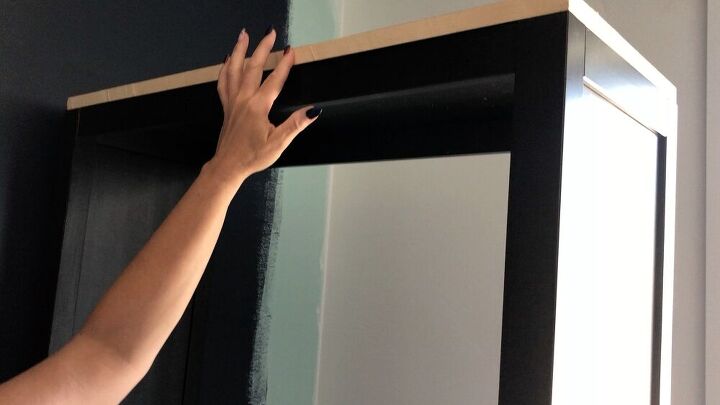
For both bookcases we trimmed the top so it was flush with the front of the bookcase.
This was easy to do because they were from Ikea. We simply unscrewed them and trimmed them on the table saw, then reattached.
The left bookcase was placed on the desk top and secured to the wall. We marked where the studs were and secured with the brad nailer.
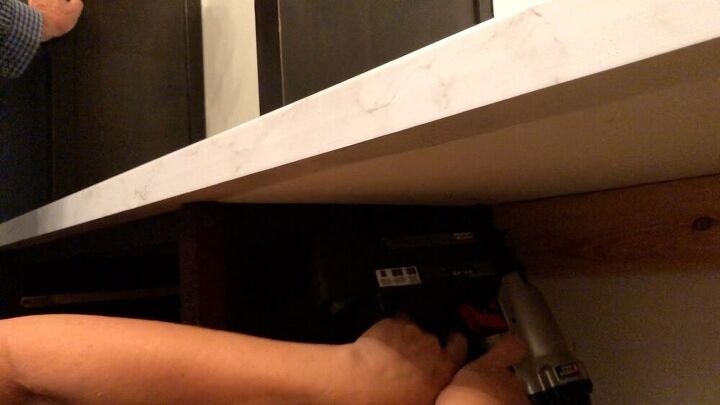
The lower portion of the bookcase was attached to the desk top by shooting brads through the bottom of the desk top into the sides of the bookcase.
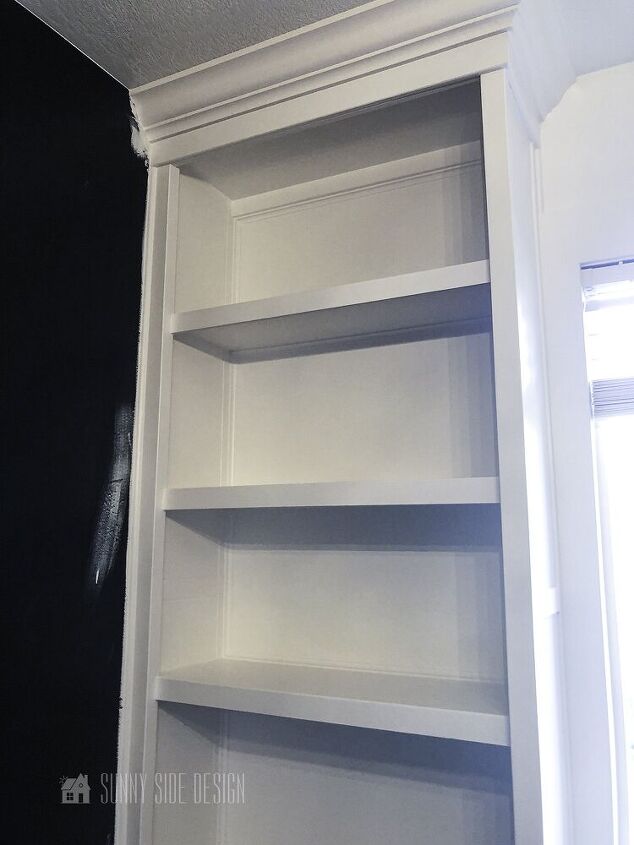
To make the shelves appear chunkier, we cut flat molding to length and attached it with the brad nailer.
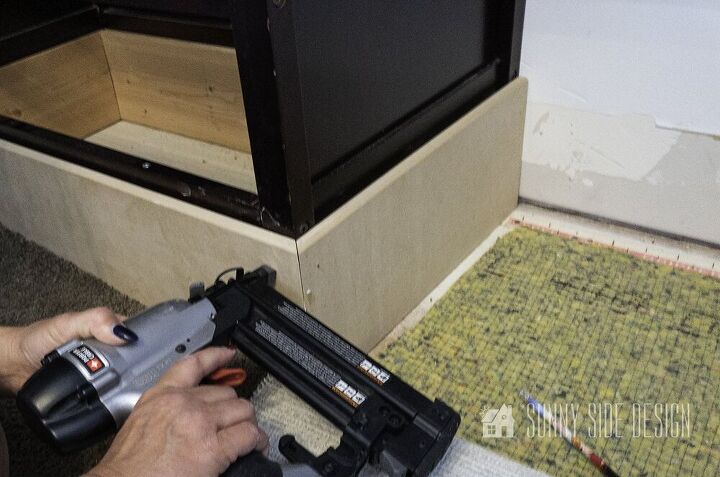
Next we covered the base and the lower edge of the dresser and the right bookcase base with a MDF board that we had routered. It was cut with a 45º angle and attached with the brad nailer.
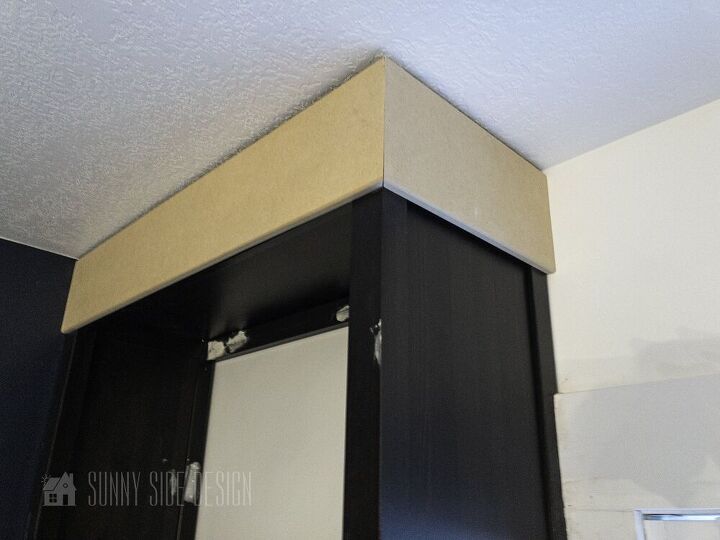
The same molding treatment was added to the top of each bookcase as well.
We are coming to the home stretch!
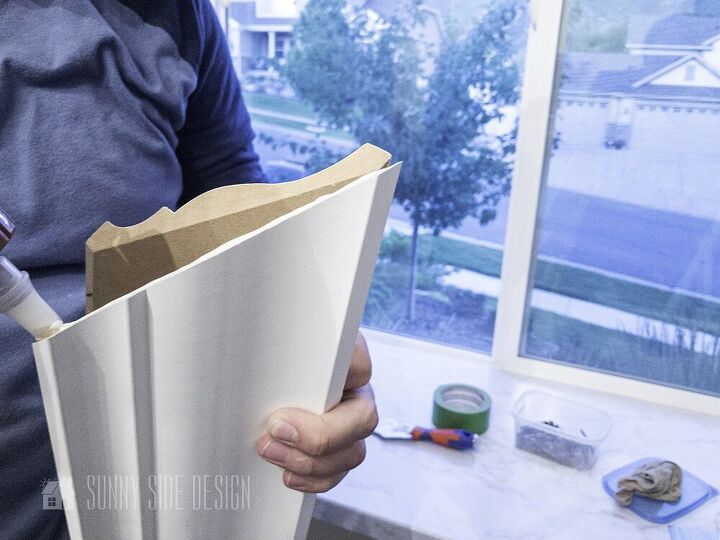
It’s time for the crown molding! This is a step I let Steve do. Maybe one day I’ll give it a shot. But, he does such a good job.
The cut for crown molding is a double mitre cut. Steve always makes a dry fit and makes sure it all lines up perfectly before attaching.
Then he applies wood glue on the angle and nails the joint together.
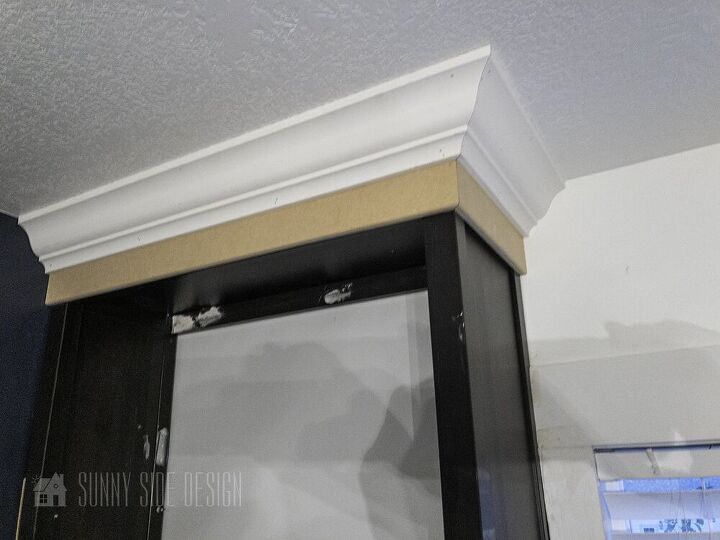
He then takes the joined piece and attaches it into place with the brad nailer.
We had some gaps where the bookcase met the wall. So we attached a small 1/2″ quarter round molding down the sides of the bookcase and dresser.
The last bit of molding to attach is the baseboard. We reused the pieces we took off and had a left over piece from another project to complete this.
This tutorial was all about creating a built in desk with shelves using second hand furniture. So we’re not showing you how to caulk, putty, prime and paint. For a tutorial on that you can see these 2 posts.
How to Paint Furniture with Professional Results
How to Paint a Room and Get Pro Results
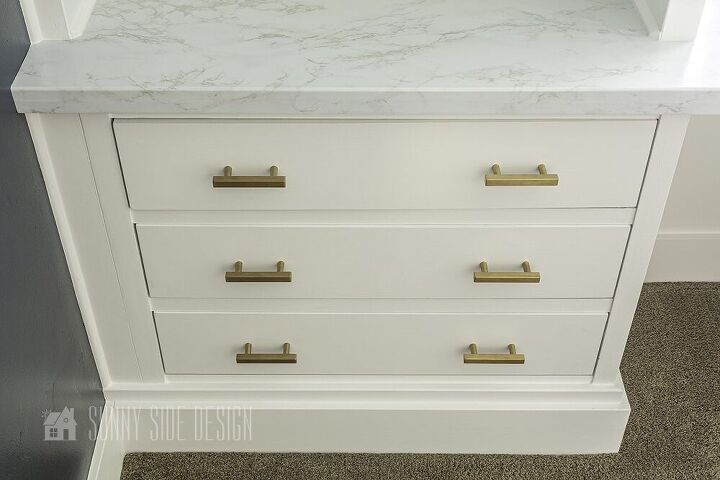
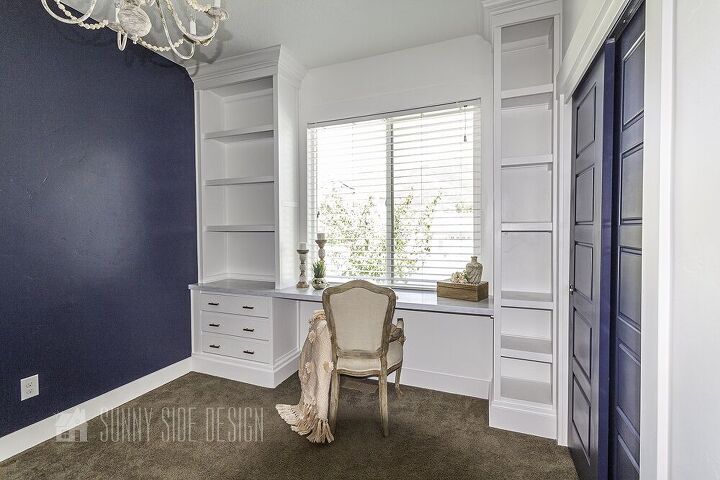
We are so pleased with the way this turned out. It has that touch of glam that Ellie wanted in here room.
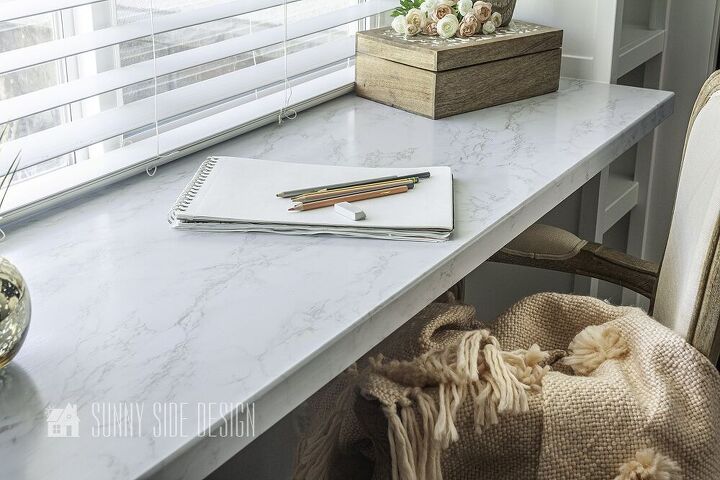
She now has a huge desk area for all of her creative projects. This will also be a great homework station.
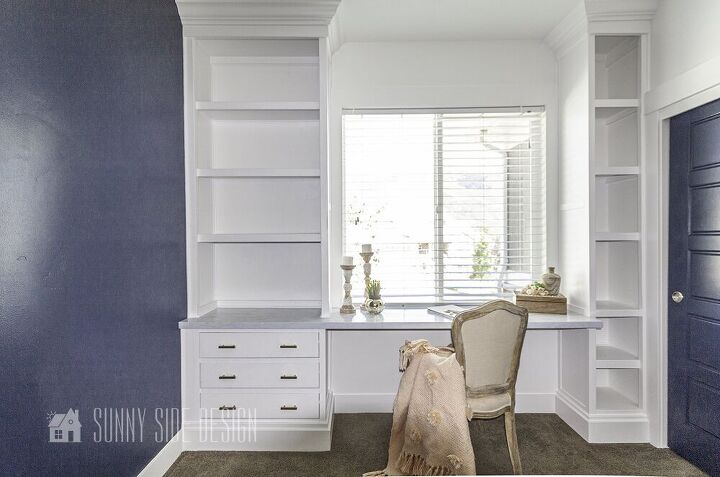
We can’t wait for the paint to cure so we can get in here and style these shelves.
Have you ever considered adding a built in to your home? If you do not need to customize a bookcase to fit, then this is a simple way of adding built ins to your home.
If you have questions or comments about this project we’d love to hear from you.
Resources for this project:
See all materials


Comments
Join the conversation
-
Lots of work, but such a smart idea, I love using old things i have around the house to make something new again... you did a fantastic job and it looks so nice in the end!!! Great job!!!
-
Looks like expensive cabinetry built-ins. You really went above and beyond. Thanks for sharing all the tricks and tips.


Frequently asked questions
Have a question about this project?
A job well done - by people who own a lot of tools! Could I do this with a hammer and screwdriver?
If it's attached to the wall is it necessary to cut the carpet?
Beautiful!! Well done!!