


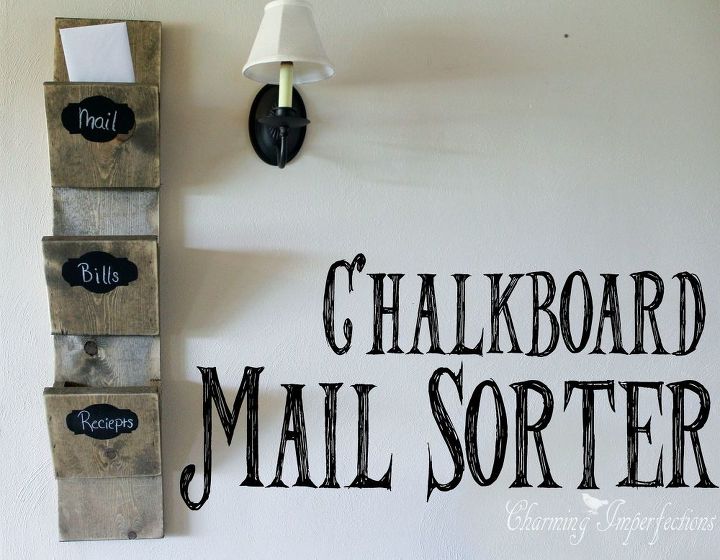
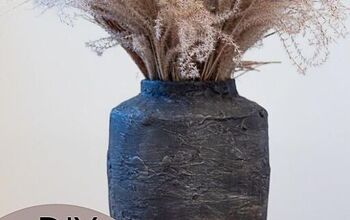
DIY Chalkboard Mail Sorter
$20
2 Hours
Easy
Bills, notices, invitations, announcements, offers, deals, news, magazines….we receive so many important things through the mail every day and, if you are like me, you toss them on the counter in a disheveled pile for a few days before getting up the gumption to sort through them and attend to the matters that needed attention. This wasn’t working for me for several reasons: I was losing things and the messy pile looked terrible. The solution I came up with was homemade, of course: a DIY Chalkboard mail sorter.
The materials you need are:
A 1x10x8’ board
1 Sawtooth Picture Hanger*
Stain
The materials you need are:
A 1x10x8’ board
1 Sawtooth Picture Hanger*
Stain
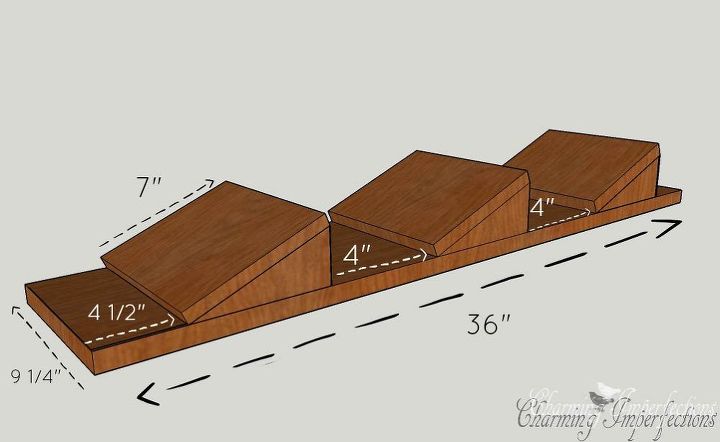
Ok, let’s start measuring and making cuts. Begin with a 36” cut for the backboard of the sorter.
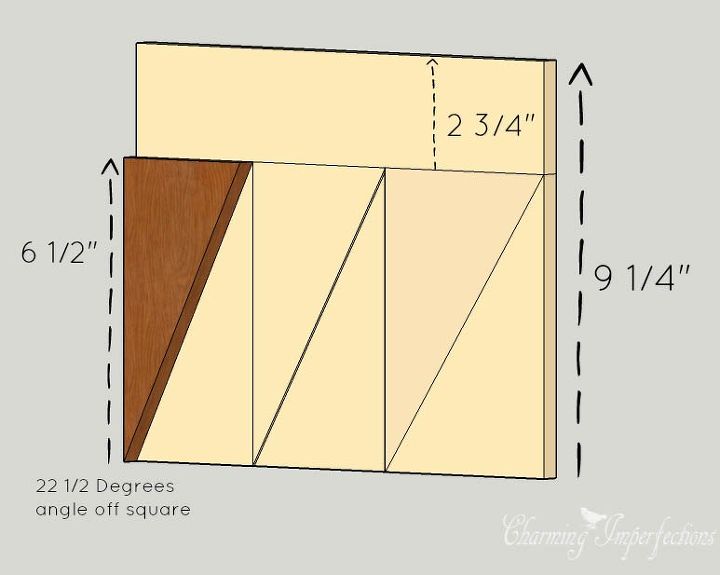
Next cut out the wedge pieces for the slots. The picture below is a guide for a pattern that will prevent waste. They will be 6 ½” tall with a 22 ½ degree angle off square.
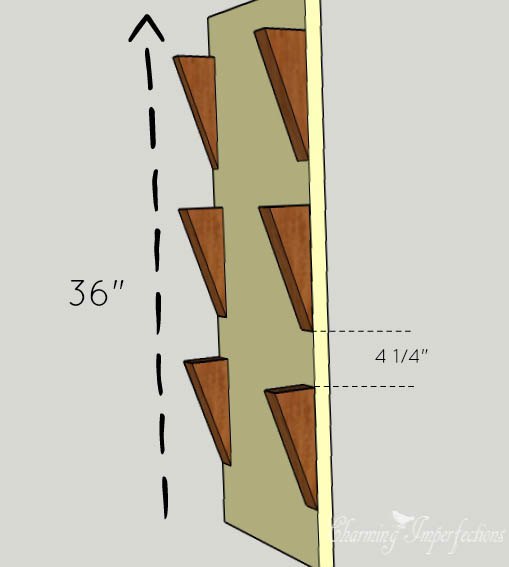
Attach those to the backboard every 4 ½” using wood glue and the brad nailer. Make sure you position the angle of the wedges so that the top is parallel with the ground. I messed up on the bottom slot for mine (but that’s what makes it charming, right?).

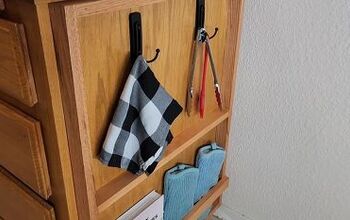
Now measure and cut three 7” boards from whats left of your 1×10. These will be the faces of your mail slots. Attach those with wood glue and brad nails. Looking pretty good so far!
Sand and stain the whole thing and attach the sawtooth hanger. To learn how to paint the chalkboard paint on, check out the original blog post about this project here:

Want more details about this and other DIY projects? Check out my blog post!
Comments
Join the conversation
1 comment
-
This is gorgeous! I need to steal this idea.


Frequently asked questions
Have a question about this project?