


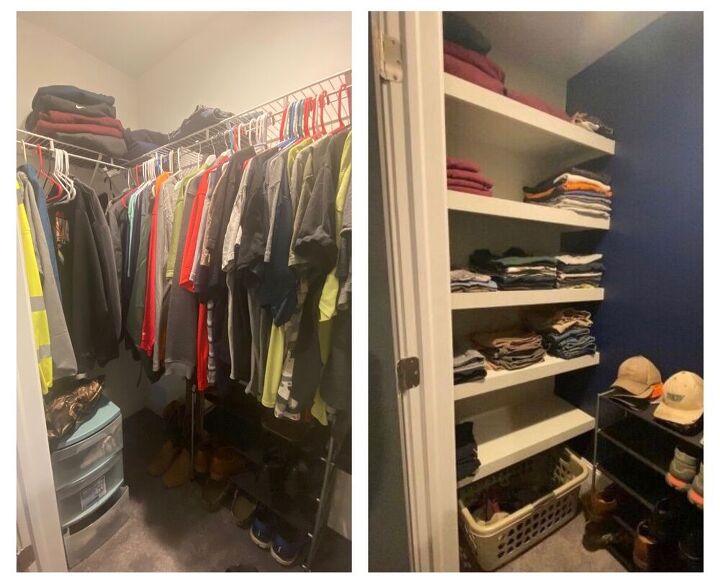
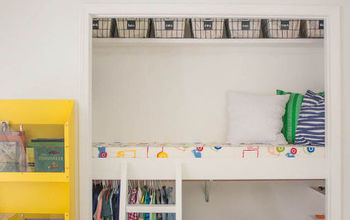
DIY Closet Shelves

My husband is a landscaper, so his closet is full of mostly t-shirts and jeans. Those builder grade wire shelves were just not cutting it - so much wasted space (and really... who hangs their t-shirts?)! After seeing my closet upgrade, Kyle wanted us to do his too, so we build these easy shelves. As a beginner DIY-er myself, I promise you, these are totally achievable for your first "big" project.
What you’ll need:
3/4” cabinet grade plywood
1x2s
1x3s
liquid nails
caulk
wood filler
brad nails
toggle bolts
paint
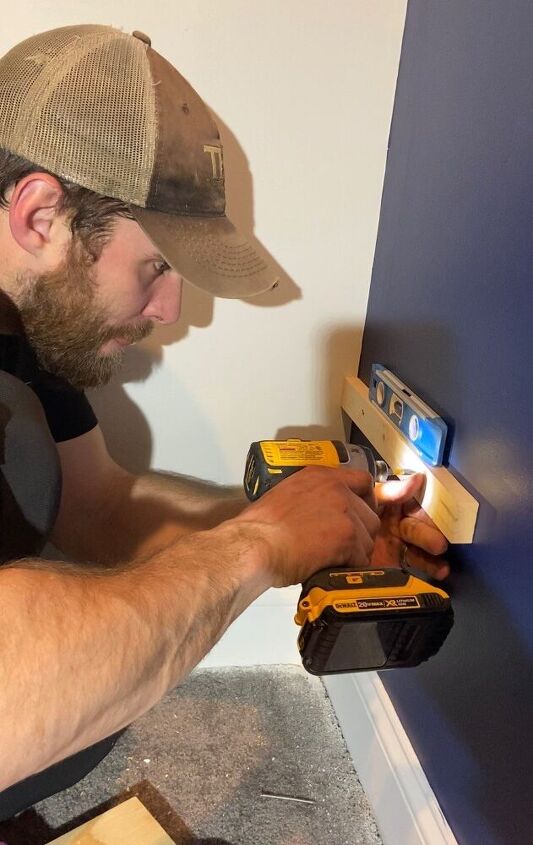
Step 1: Install supports
First we installed 1x2s for our shelf supports. We didn’t have studs where we needed them, so we used toggle bolts for extra support (see my how to toggle bolt video here). We counter sunk the screws, and woodfilled the holes before sanding and painting everything.
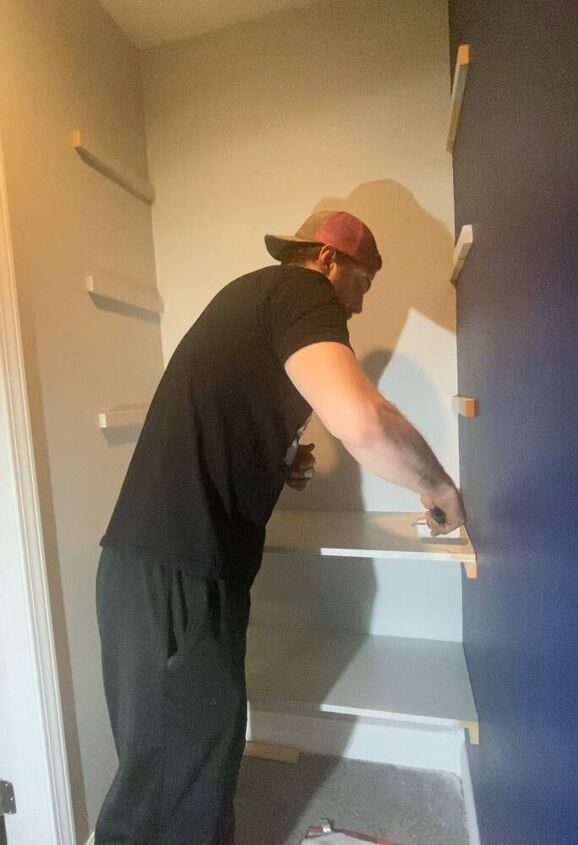
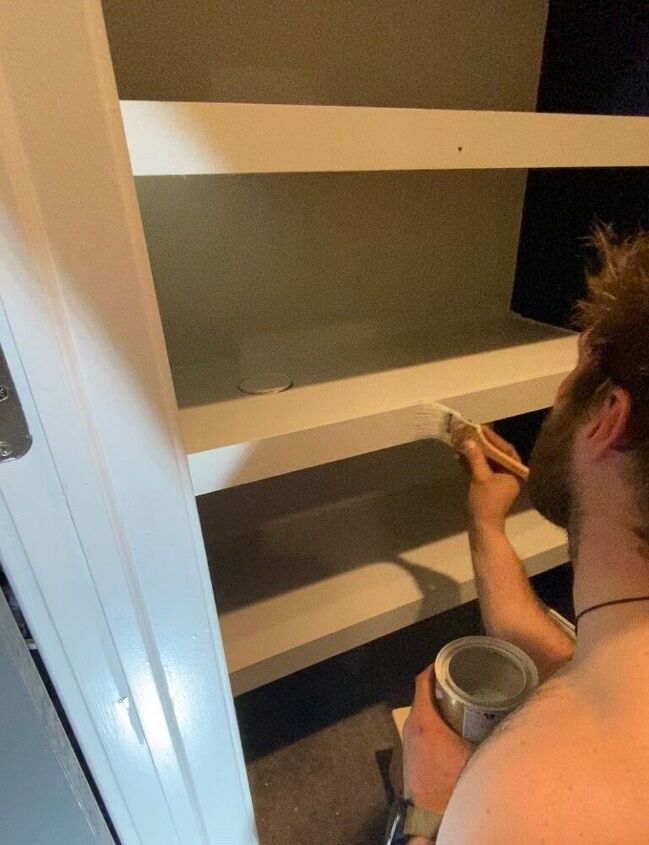
Step 2: Install shelves
Next we cut our plywood to size, and sanded and painted each shelf. We attached them to the 1x2 supports with liquid nails, then caulked all of our seams.
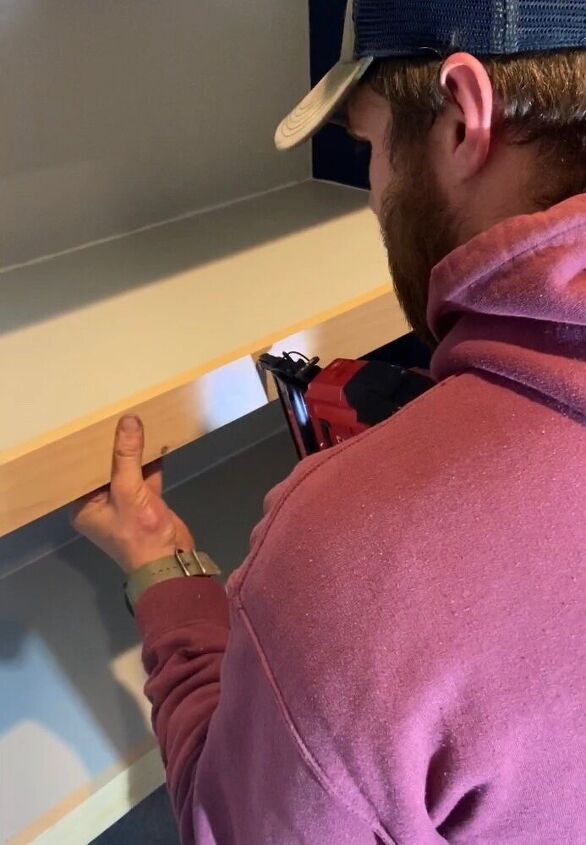
Step 3: Install face frame
Next we installed 1x3s to the face of each shelf using liquid nails and Brad nails. This gives a clean finished look, and hides the 1x2 support pieces.
Step 4: Final touches
Finally, we wood filled and sanded all of the nail holes and seams before giving everything one more coat of paint.
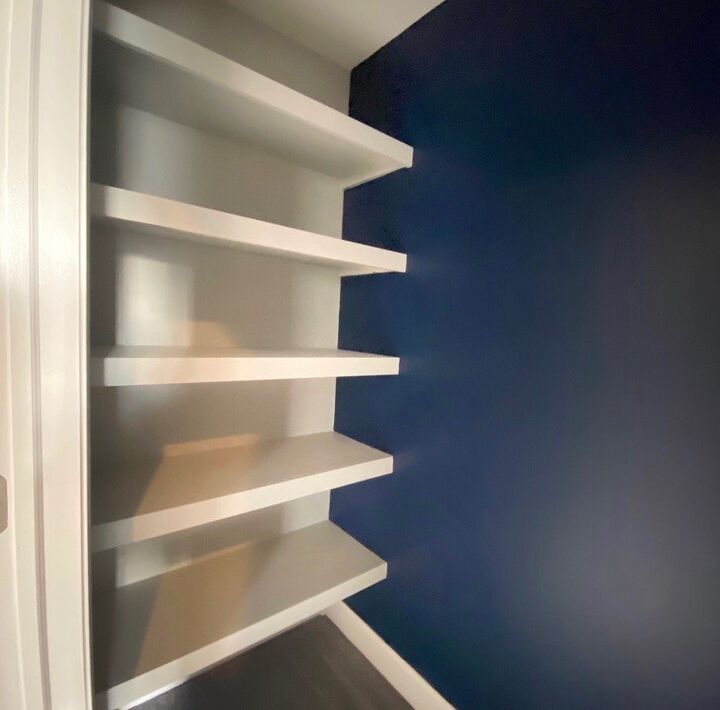
We were left some a beautiful shelves that ultimately allowed Kyle to utilize much more of his closet space. This was a super easy upgrade that only took a few hours to complete, and made a world of difference!
You can see the whole project and more, documented on my instagram @Montross.Made
Comments
Join the conversation
-
What a GREAT DIY!!
-
Yes, thank you for reminding me this can be done easily with glue! NICE 😀


Frequently asked questions
Have a question about this project?