


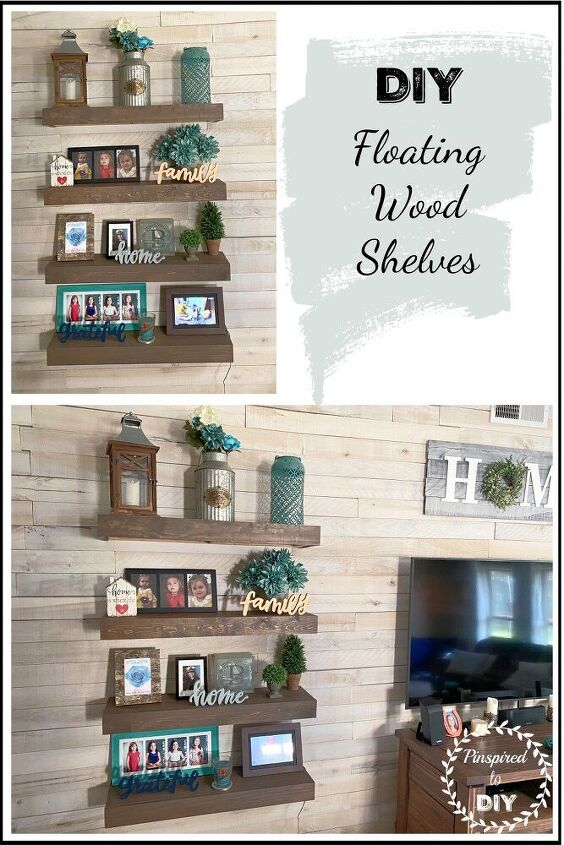
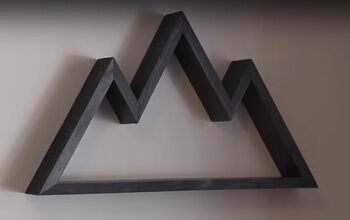
DIY Floating Wood Shelves
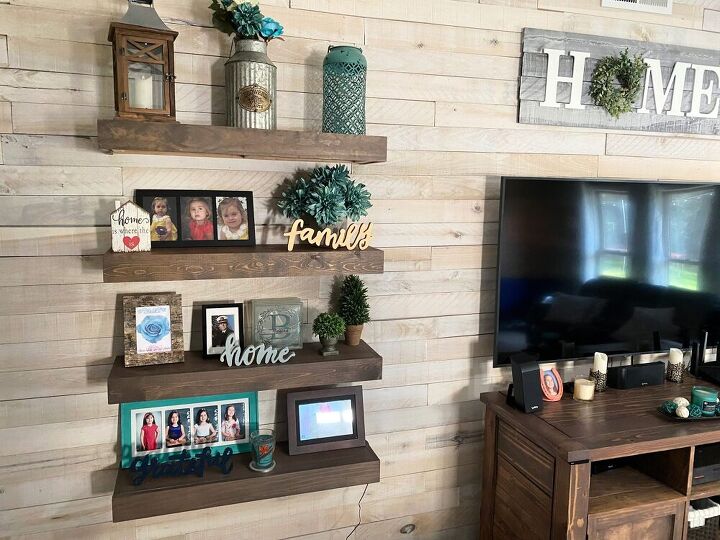
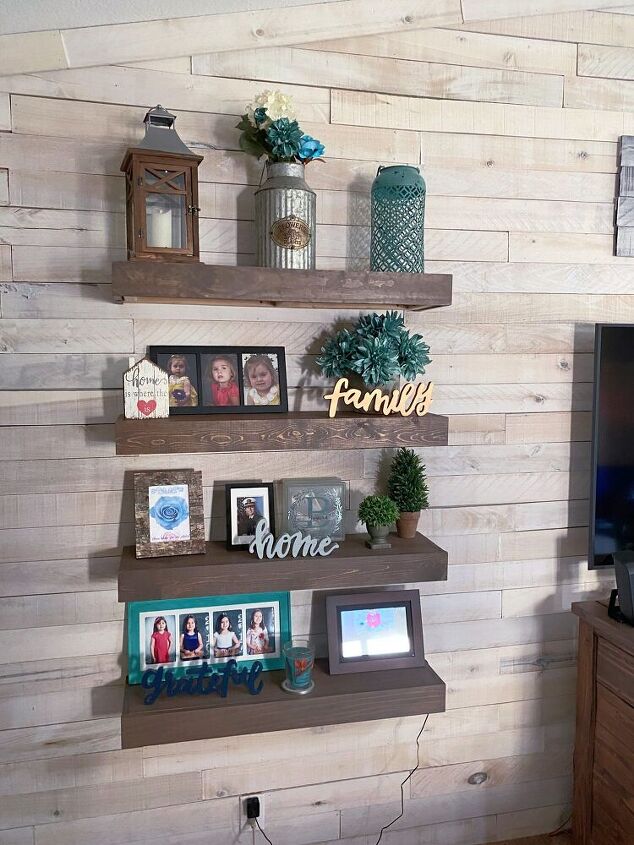
Today, I am sharing another one of my projects that I completed a while ago but just never posted. A couple of years ago, I created an accent wall in my living room using barnwood-style weathered white wood planks on my main wall. Since it is a fairly large wall, I needed some contrasting items on the wall, so I decided to add some DIY floating wood shelves.
Here is an abbreviated description of how I built my DIY floating shelves. For full details and more picture, visit my post on my website, located here: https://www.pinspiredtodiy.com/diy-floating-wood-shelves/
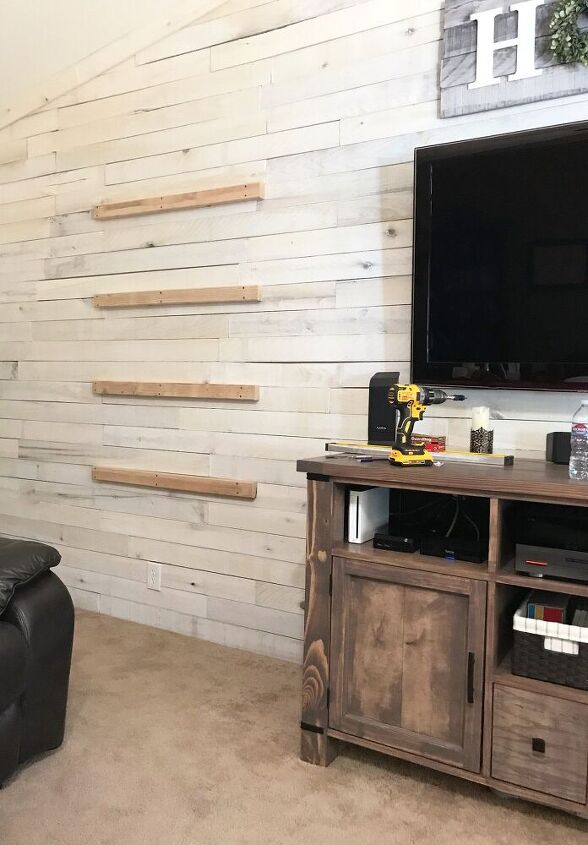
First, identify how many shelves you want to attach to the wall, and where you want them. Also determine the length of each shelf and the distance you want between each shelf (I chose 13″ between shelves to ensure there was space for the picture frames and other decor I wanted to display).
Locate the studs in the wall and mark the stud locations with a pencil.
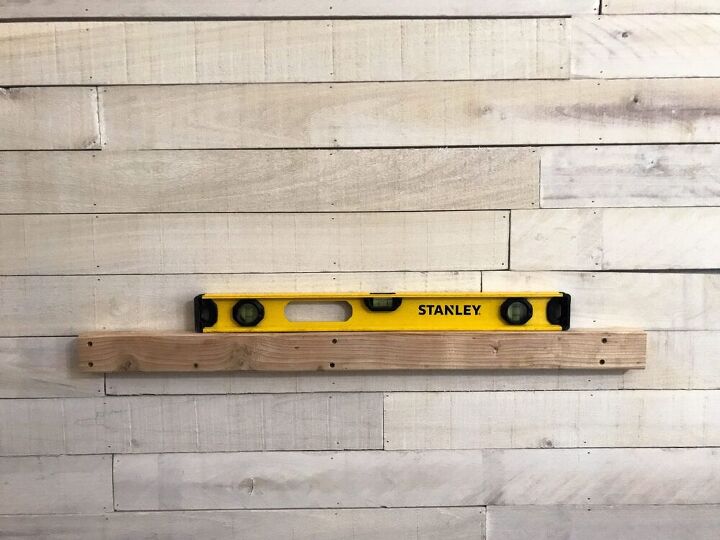
Use a miter saw or circular saw to cut the boards for each shelf, adjusting the boards for the length you want your shelves to be.
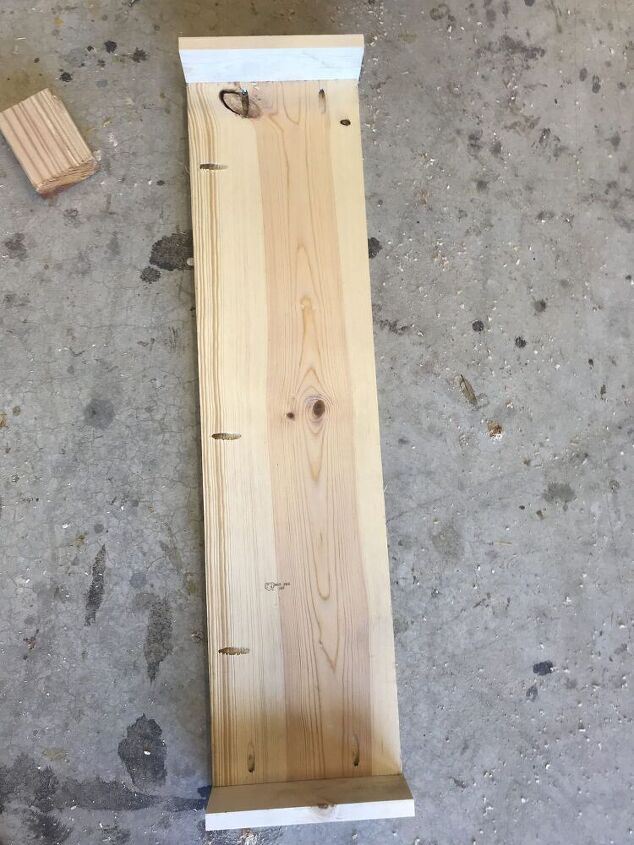
To build the shelves, cut each of the boards to the proper length, based on the selected length. I used 2x3 boards, 1x4 boards, and 1x10 boards.
Cut four 2×3 board to proper lengths
Cut one 1×10 board to length.
Cut three 1x4 boards to the proper lengths.
Drill pocket holes in all boards where necessary to connect them together.
Next, stain the 1×10 and 1×4 boards with the stain of your choice.
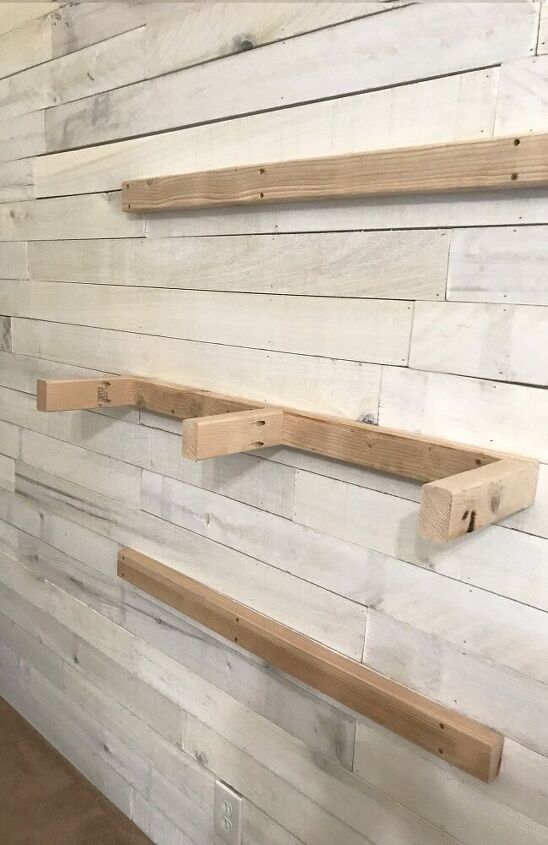
Use a drill and construction screws to attach the 2×3 board(s) to the wall. Space the shelves by your chosen distance between each 2×3 board, above and below (after 3/4″ boards are put on, the distance between shelves will decrease to 13″). Use a level to ensure each board is straight. Ensure the screws are placed through the 2×3 into a stud in the wall.
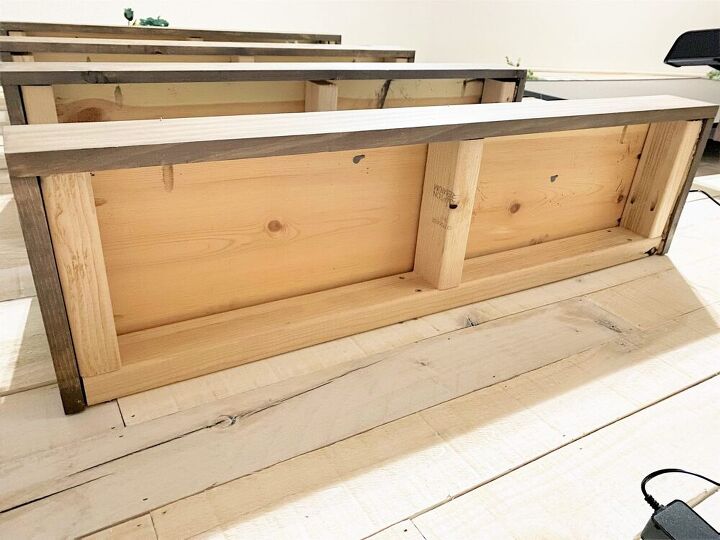
Next, attach one 2x3 board to each end of the 2x3 board on the wall, and one directly in the center.
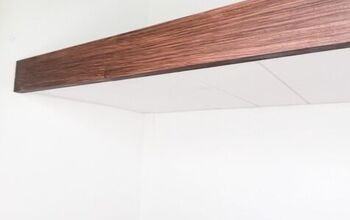
After the stain has dried on the 1×10 and 1×4 boards, assemble the shelf using wood glue and 1 1/4″ pocket hole screws. Attach the top 9 1/4″ 1×4 boards to each short end of the 1×10 board. Then attach the 37 1/2″ 1×4 board across the front of the shelving unit using 1 1/4″ pocket hole screws. (Photo below does not show front board attached yet)
Once the stained shelf boards are attached together, slide the shelving unit over the 2×3 boards attached to the wall, and secure the shelving to the 2×3 boards.
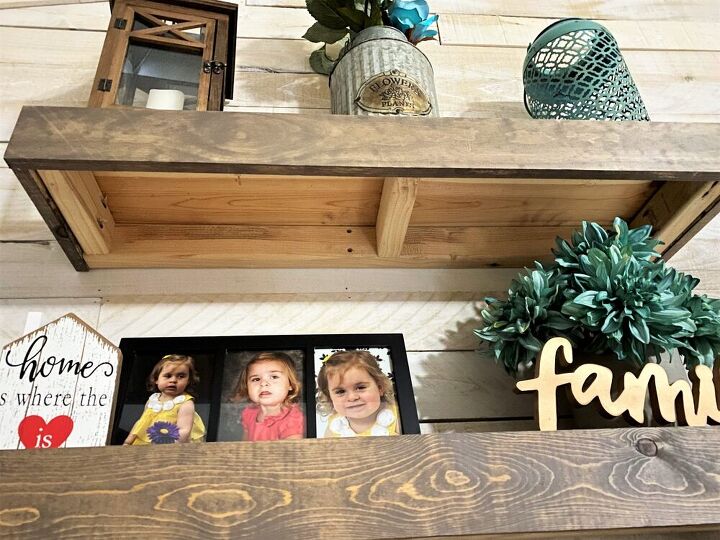
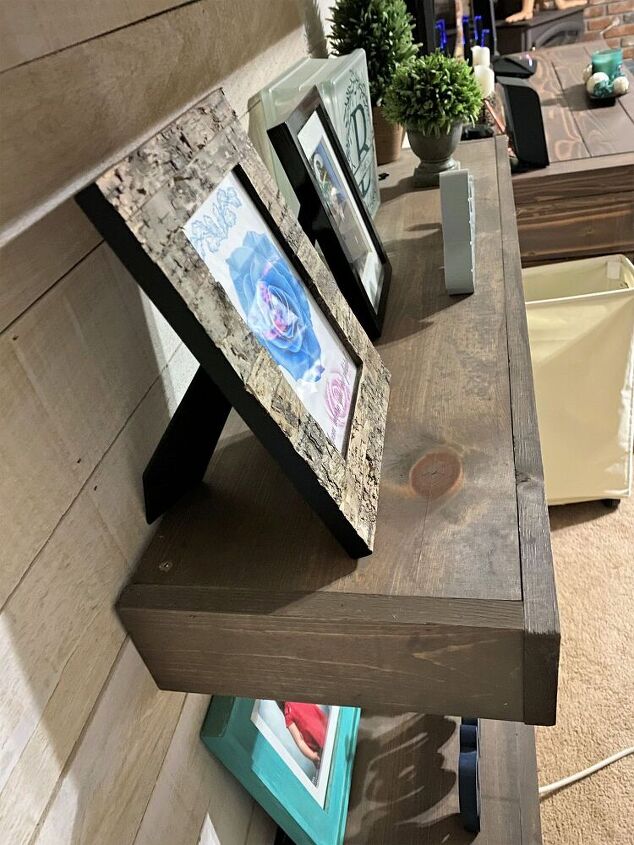
Beautiful rustic DIY floating wood shelves to add some contrast to the whitewashed wood wall! Here are some final pics of the finished shelfing on the wall.
Resources for this project:
See all materials


Comments
Join the conversation
-
I think I would stain the holding brackets also just for color continuity...just an observation.
Like the idea.


Frequently asked questions
Have a question about this project?
I want to ask about the wall you are putting the shelving on! What type of wood boards did you use? I love painted shiplap but my husband doesn’t. He likes WOOD! This appears in the pictures that it might be a good compromise!!