


DIY Free Standing Cabinet Shelf

My kitchen has a tall cabinet that has two large empty cabinets with 3 drawers between them. To make it functional we changed the bottom cabinet into a pull out trash can, but we never did anything to the top cabinet.
I always wanted a shelf in this cabinet but didn't want to commit to something permanent.
This project was free for me because I used wood that was leftover from past projects. Always save your wood scraps. You never know what you can create!
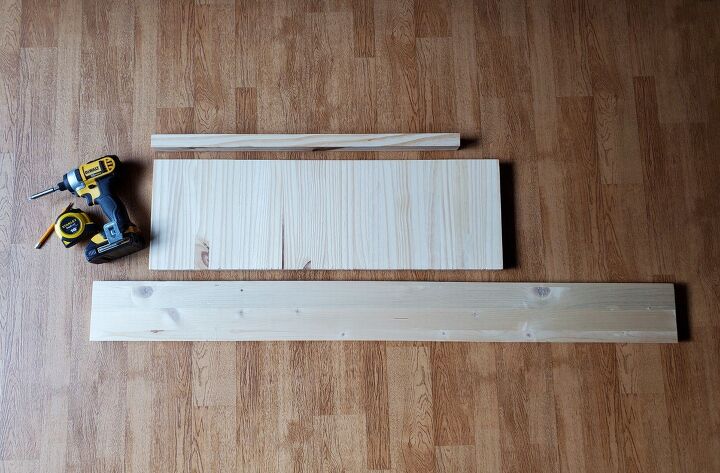
MATERIAL LIST:
- 1- Wooden Glued Panel (9.5"x 1 1/8" x 20.5")
- 2- 1x5 (cut to 13")
- 2- 1" x 1.5" x13" (trim pieces)
- Drill
- Impact Driver
- Screw bit & drill bit
- 3" Wood Screws
- Tape Measure
- Square *optional
- Miter Saw
- Wood Glue
- Clamps
*Use boards that fit your needs and you space.
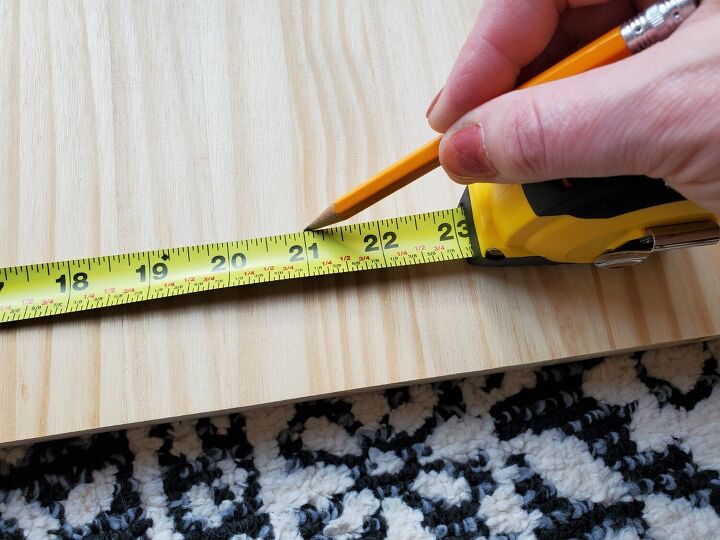
Start by measuring your shelf board to the width you need. I wanted my shelf to reach side to side.
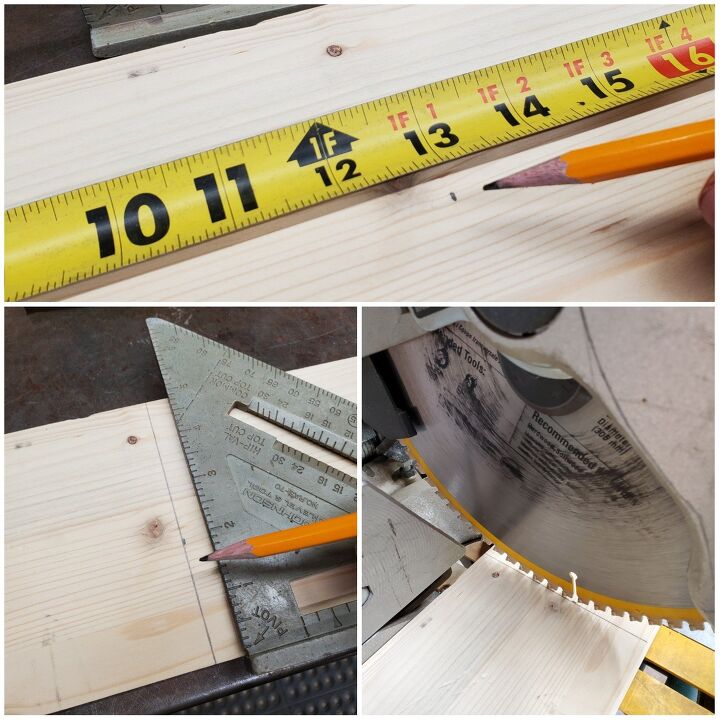
I wanted the support legs of my shelf to be tall enough to store my cookbooks either on the top or the bottom.
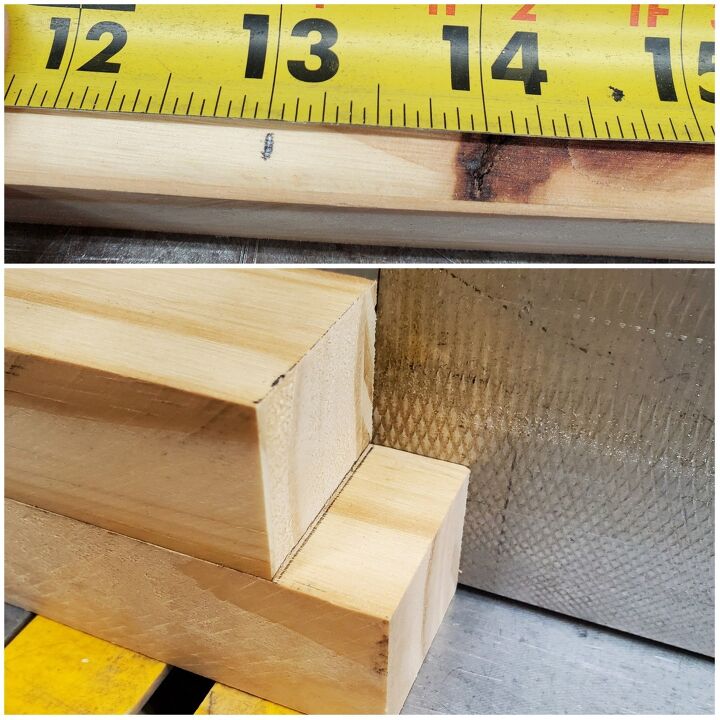
To dress up the ends of the legs I decided to add a thick trim piece. Plus it will help beef up the leg support. I made all of my cuts using a miter saw.
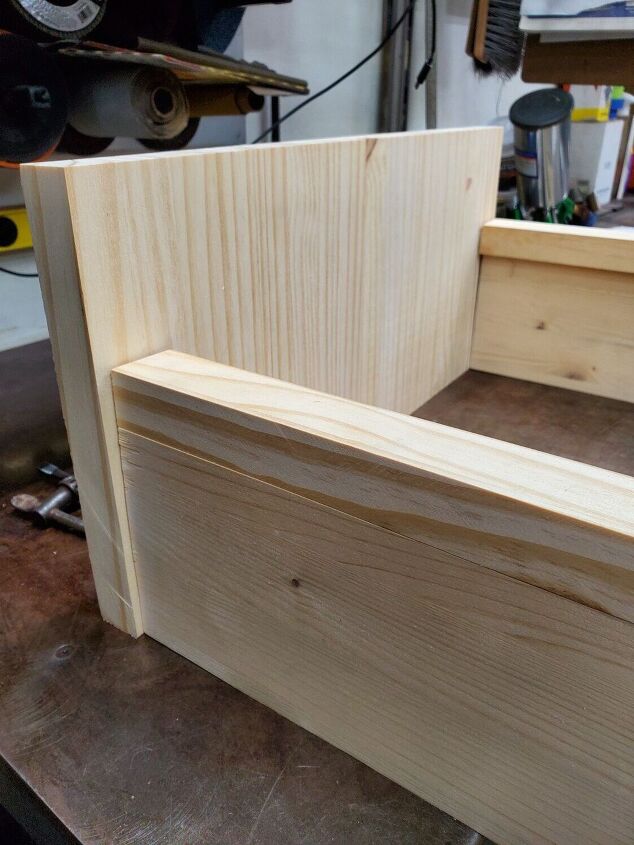
Before assembling the shelf I placed the pieces together making sure I like the position of things before attaching them. In this case I decided I wanted to move the legs inset 1/4" from the sides and instead of flush with the back of the shelf to move that forward and inch.
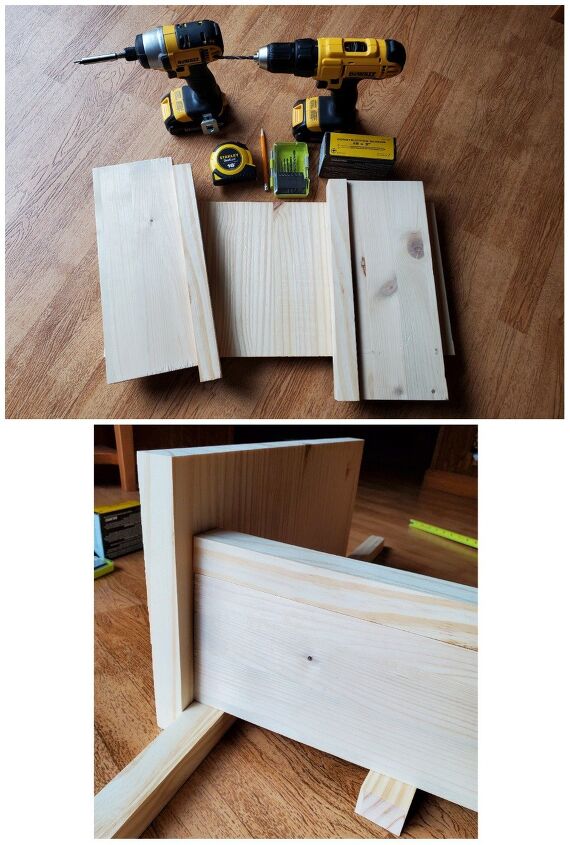
Once all my pieces have been cut to length, I got out my drill and impact driver. Then I blocked up my leg so it was where I wanted it.
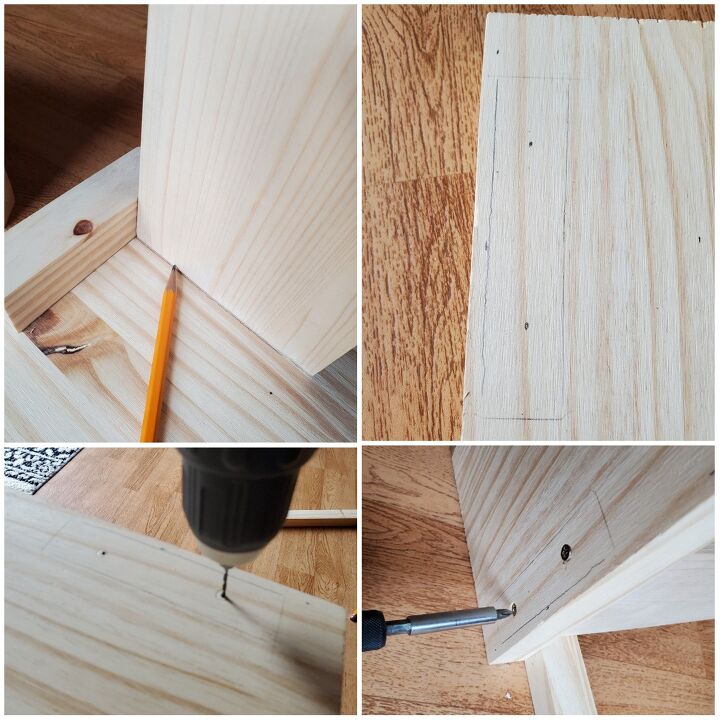
Before attaching the legs I decided to trace the board onto the top of the shelf so I could locate where I wanted to put my screws. I wanted to pre-drill the wood so the screws wouldn't split it.
I used 3" screws to hold the legs in place.
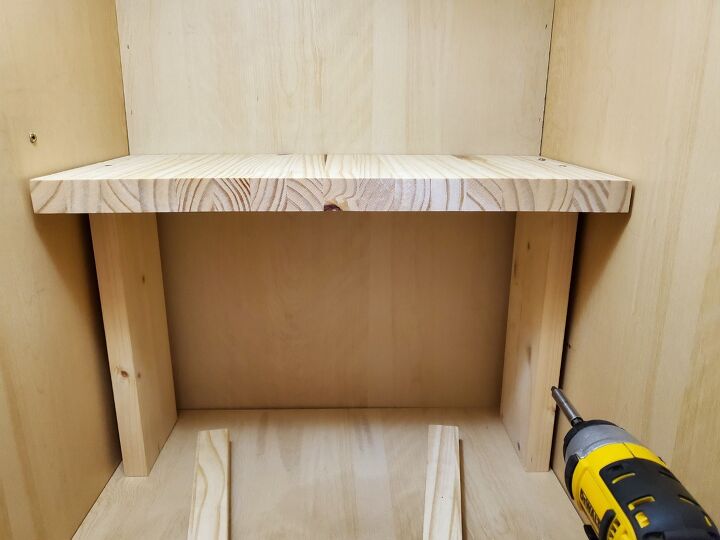
I attached one leg outside of the cabinet and then had to place the shelf inside the cabinet to attach the 2nd leg.
NOTE- Test it before you fully assemble the legs. I did not and had to take the second leg off to get it into the cabinet.

I wanted to add a trim piece on the legs so it looks finished. I decided to just use wood glue on the thick trim piece and clamps. You could also use a nail gun to attach them.
The wood glue I used was clear and had a clamp time of 2 hours and was fully cured in 24 hours. Since I had to glue inside the cabinet I laid a piece of tinfoil and parchment paper under each leg in case some of the glue came out.
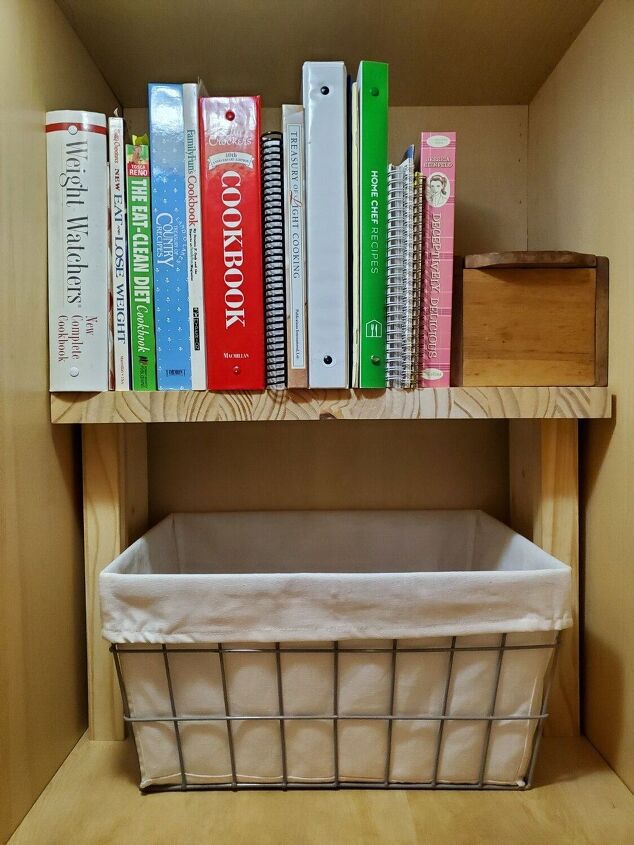
Here's the finished shelf. My cookbooks fit perfectly and I even had space for my wooden recipe box and a basket underneath for chips and snacks! This shelf finally makes this cabinet functional.
Comments
Join the conversation
-
Nice solution for a shelf. Easy for a DIY


Frequently asked questions
Have a question about this project?