


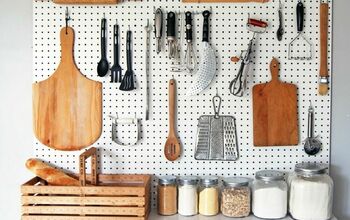
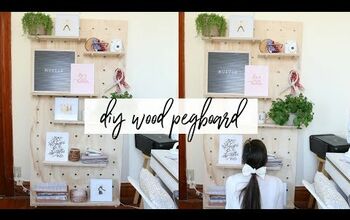
DIY Pegboard
7 Materials
$30
1 Hour
Easy
This DIY pegboard project will hopefully help me get my sewing room and my sewing supplies in order.
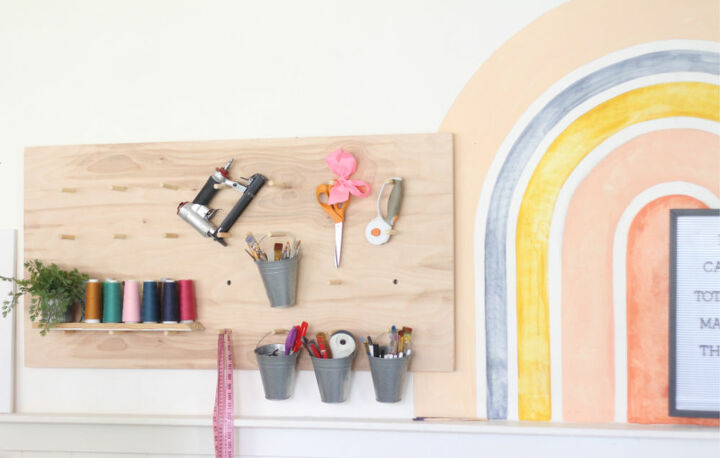
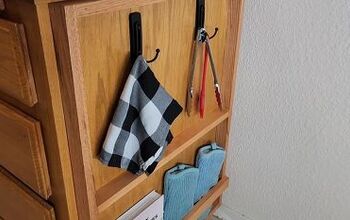
Generally my scissors and rotary cutters just sit on my cutting table. So whenever someone in my house needs a pair a scissors they know where my scissors are and can grab them to cut any scissor dulling object they desire. Hopefully having my scissors clearly displayed and marked for fabric ONLY, they'll stay out of the hands of my paper cutting family.
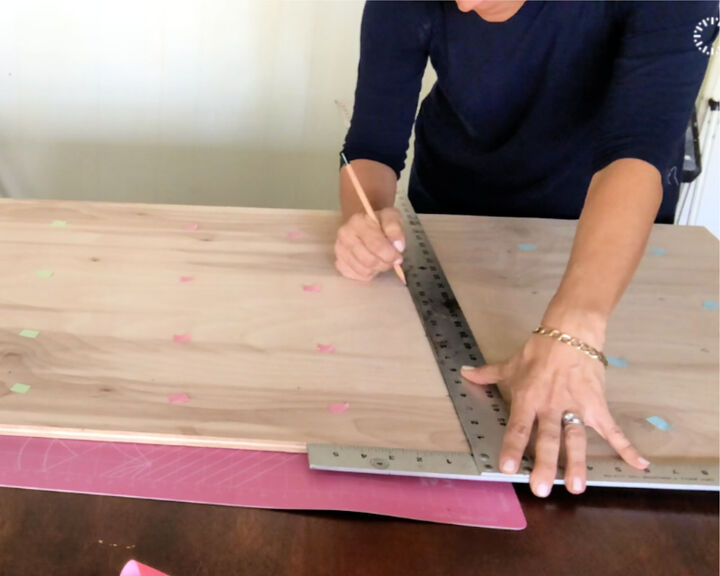
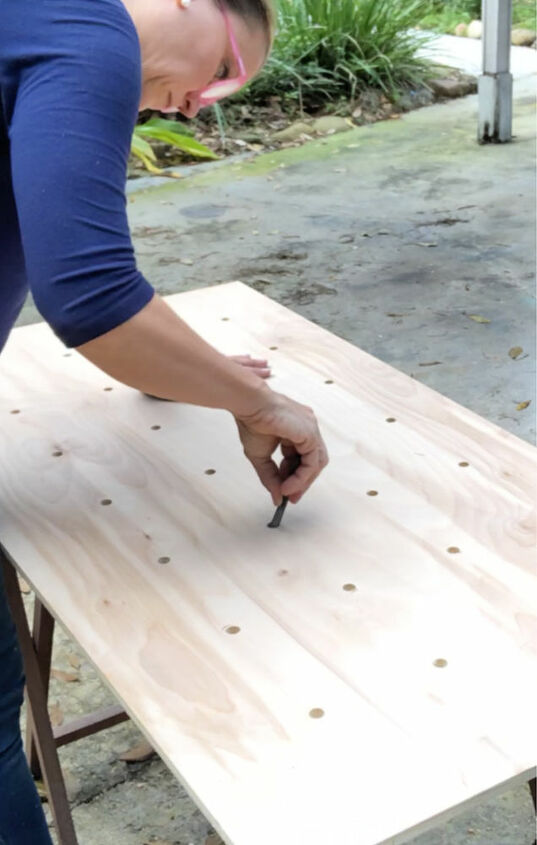
I find the easiest way to start a project like this is to mark the hole locations with painters tape or like I did here...sticky notes. Then you have an idea of the spacing and how it'll look when complete. Then take your ruler and figure the exact spacing according to where you eyeballed the locations. I'm a very good eyeballer. ;). And this yardstick with a square on the end is super helpful in keeping the hole locations straight. This yardstick square gets tons of use in my workroom!
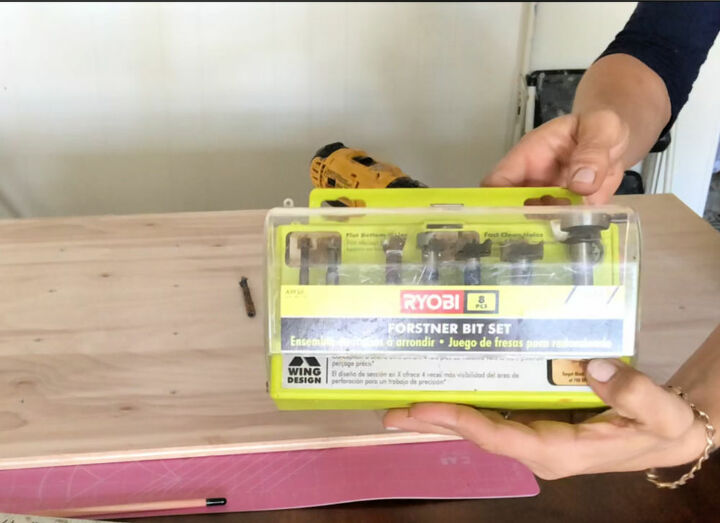
I used a 1/2" Forster bit to make my holes. You could also use a spade bit like this.
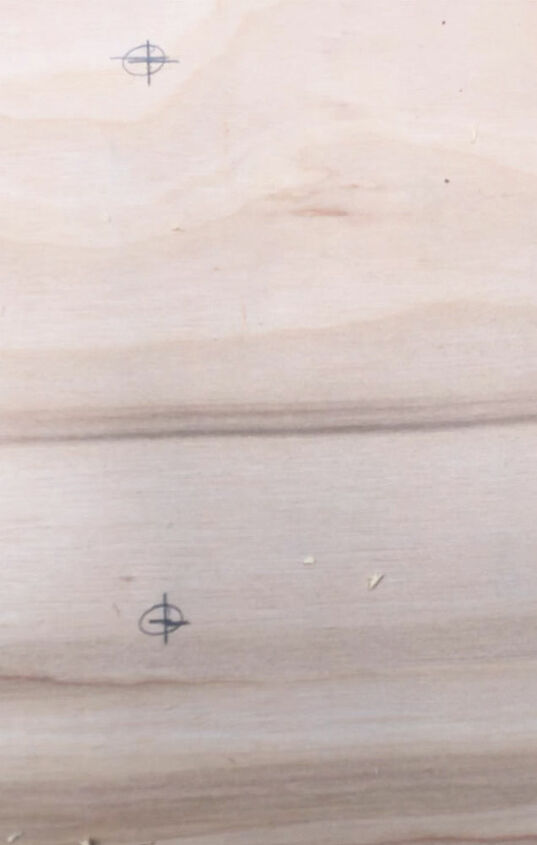
When I marked my hole locations I made a crosshairs so that I could easily place the point of my bit directly in the cross to make the most exact hole locations.
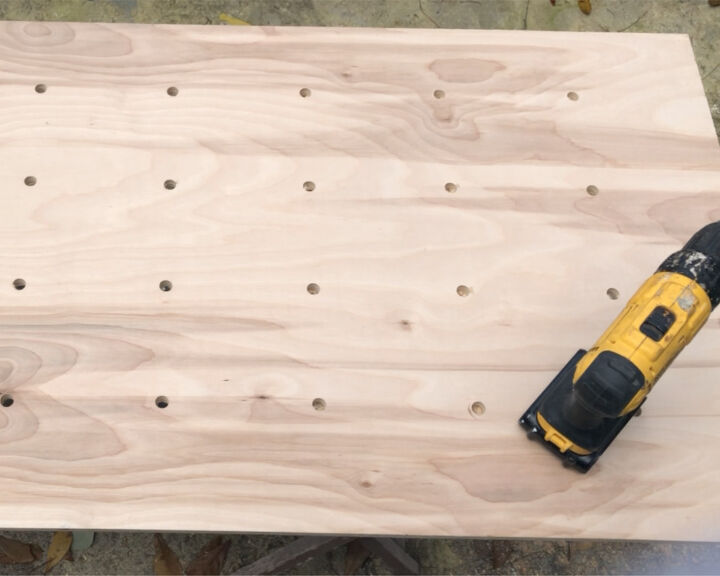
I carefully drilled all my holes. PRO TIP: have a piece of wood under where you're drilling your holes so when your bit comes out the bottom it doesn't blow out the bottom and splinter the wood and more importantly, so you don't hit the front side of your plywood with the drill as it exits the back and get a dent in the front of your plywood.
Roll up a piece of sandpaper and sand the edges of the holes.Give the whole piece a light sanding.
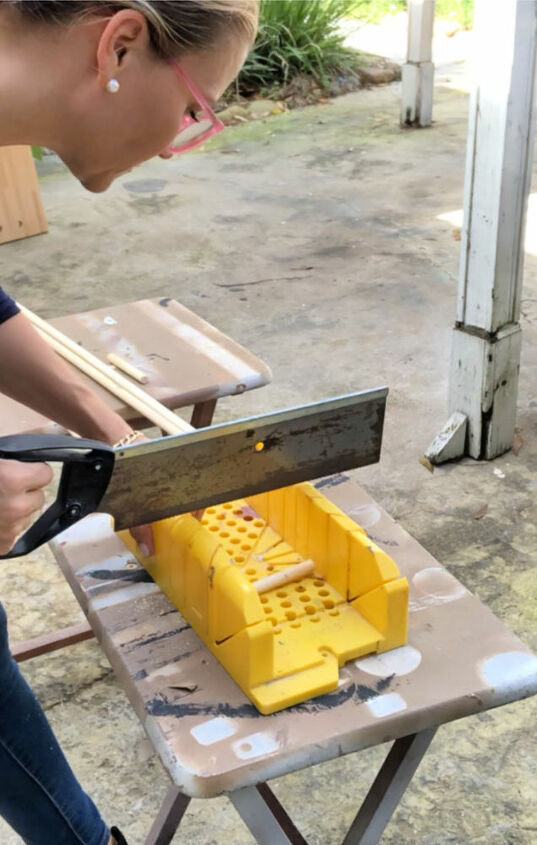
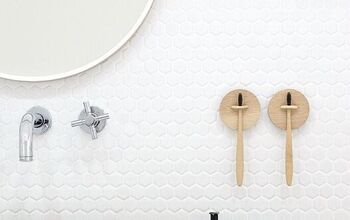
Cut your dowels to your desired length. I cut mine 4" and that seems like the perfect length.
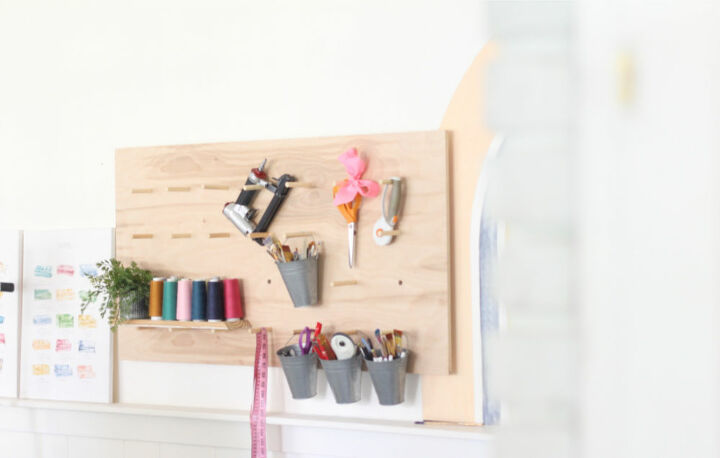
The last step is to hang your pegboard in your desired location. I used pine 1x2's on the back of my plywood to hang my pegboard so it sits away from the wall a bit...that way I can push the pegs in farther if need be.That's all there is to it...you can do this project in a matter of an hour depending upon how you decide to finish the wood. I didn't use any stain or sealer. I left it completely natural and I love it.
{
"id": "6042826",
"alt": "",
"title": "",
"video_link": "https://www.youtube.com/embed/ewM6dA_ei2A",
"youtube_video_id": "ewM6dA_ei2A"
}
{
"width": 634,
"height": 357,
"showRelated": true
}
Resources for this project:
See all materials


Any price and availability information displayed on [relevant Amazon Site(s), as applicable] at the time of purchase will apply to the purchase of this product.
Hometalk may collect a small share of sales from the links on this page.More info

Want more details about this and other DIY projects? Check out my blog post!


Frequently asked questions
Have a question about this project?