


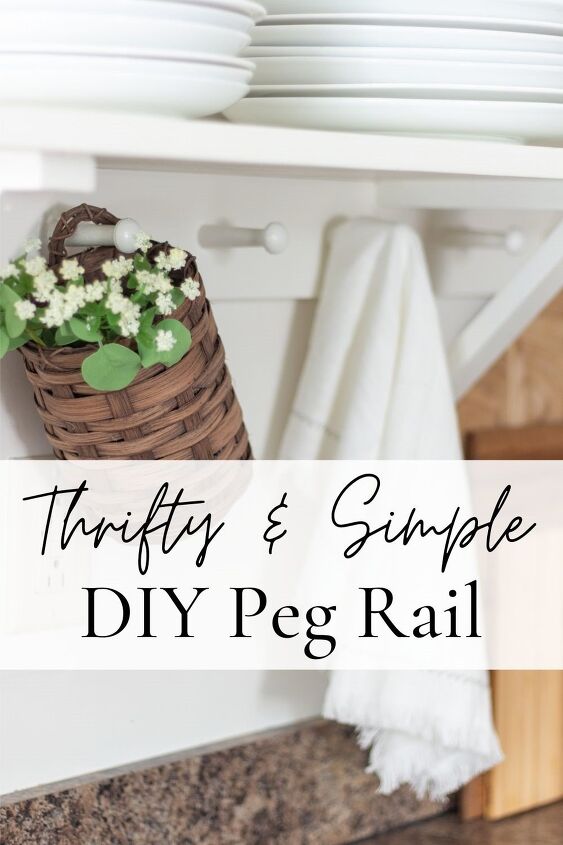
DIY Wooden Peg Rail | Beautiful Simplicity
We finally added a peg rack to our farmhouse open shelves in the kitchen and I wish we would have done this sooner.
Okay, guys…
I recently had a thought, and it brought me so much peace that I feel like I just have to share it with you.
But before I go any further I want to encourage you to head over to Open Doors Open Hearts blog for more inspiring posts like this one!
I was standing in the kitchen pouring myself a cup of coffee.
Then I looked up.
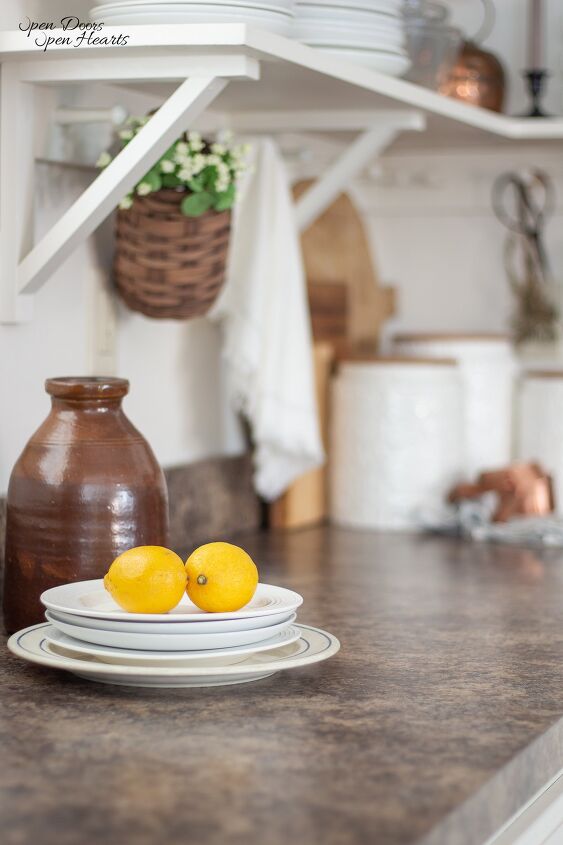
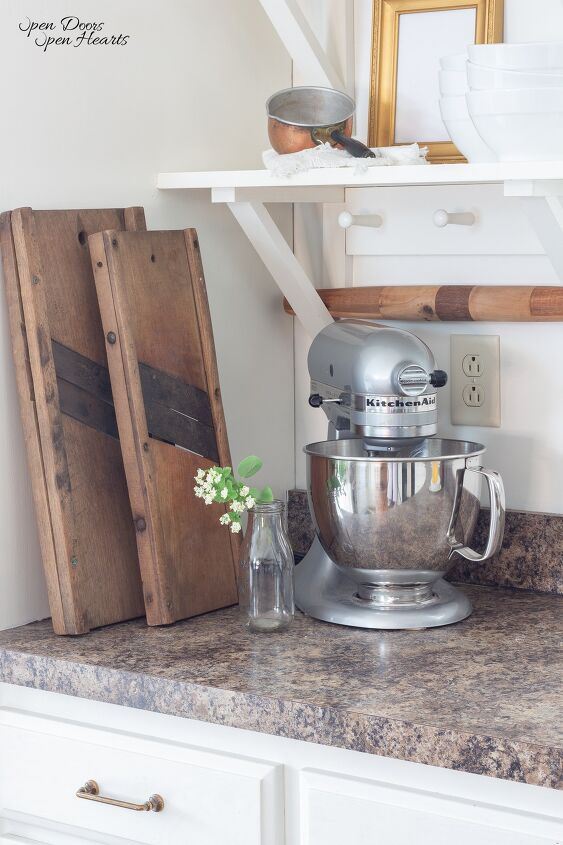
I saw our simple open shelves and my new sourdough starter sitting on the counter.
Then when I opened the drawer to grab a spoon (because I was adding milk and sugar to this cup of coffee haha) I saw a drawer that was intentionally nearly empty.
Only holding the things that we use.
I thought about how much I’m longing for summer.
When we’ll have produce from our garden, and eggs from our chickens overflowing on the counters.
I realized in this world that’s spinning faster and faster every day, we’re attempting to do what we can to slow down.
To live with intention, and find joy in the moments more than in the things.
We’ve been going through drawers and closets all winter and purging, and we’ve found so much peace in having less.
Less stuff and more of what actually matters.
I know that a specific decor style or DIY project isn’t going to suddenly solve the battle between keeping up and intentionally slowing down.
But I do think that when we display the things that remind us of the life we want to live, it motivates us.
It’s a silent reminder to live on purpose when the temptation to aimlessly keep up is strong.
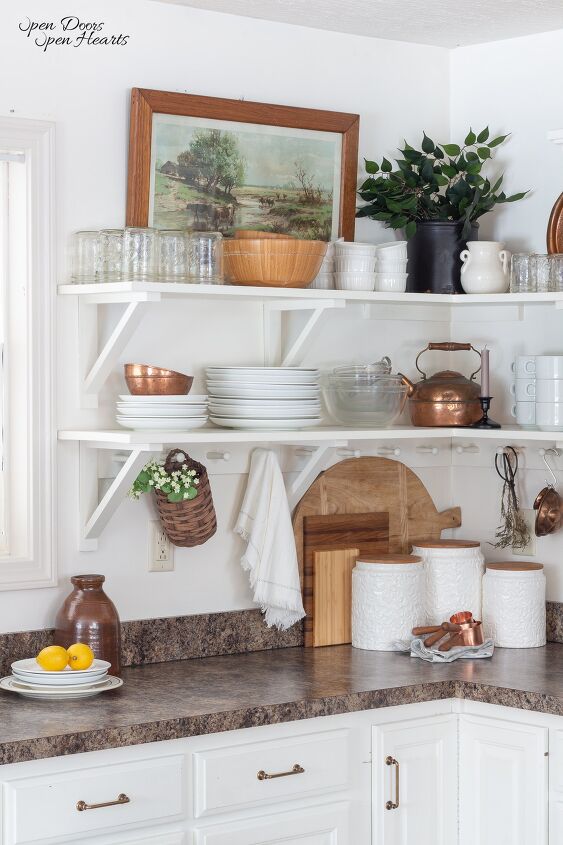
Anyway, I know that might be a little random, but when I see our new peg rail under the shelves in our kitchen, it does that.
It reminds me of the life I want to live with my family.
Open shelves before
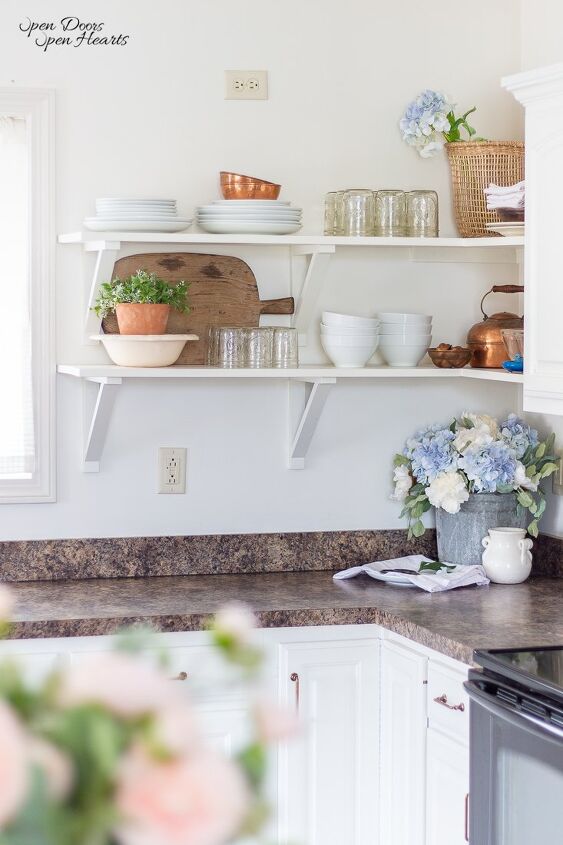
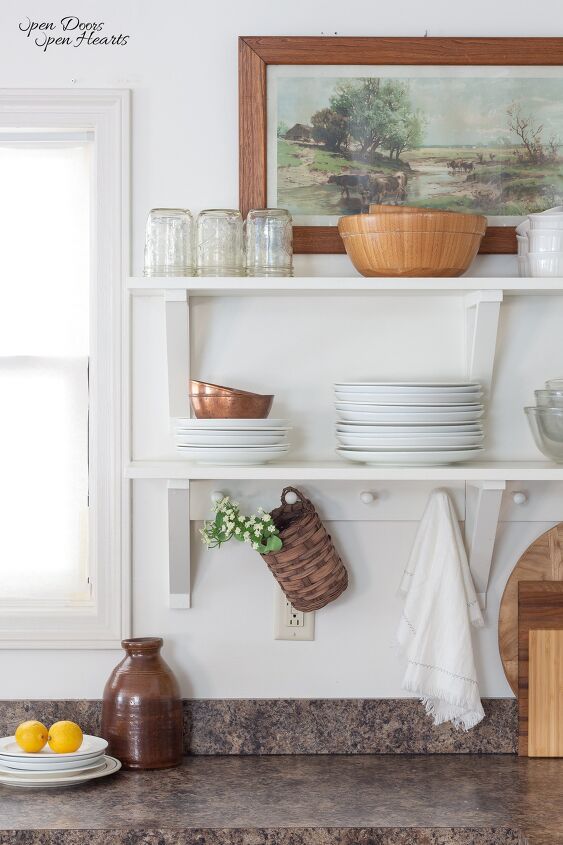
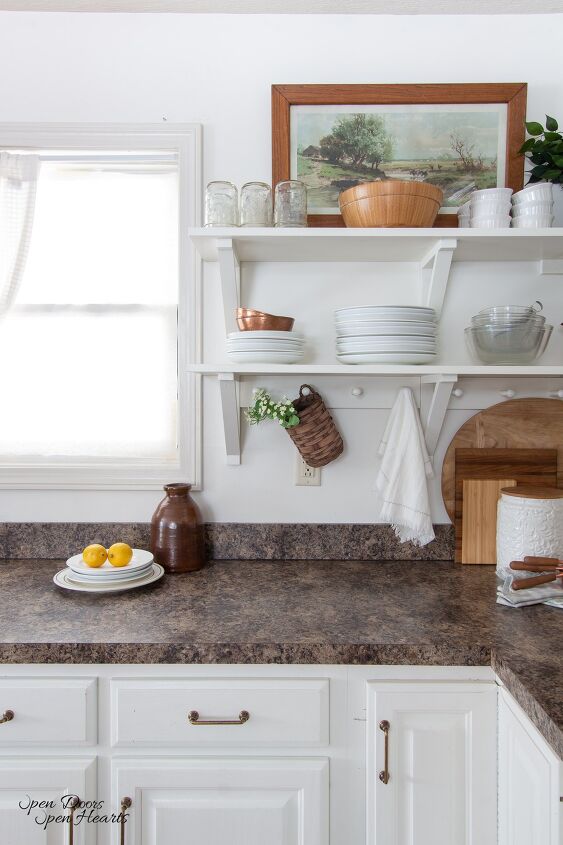
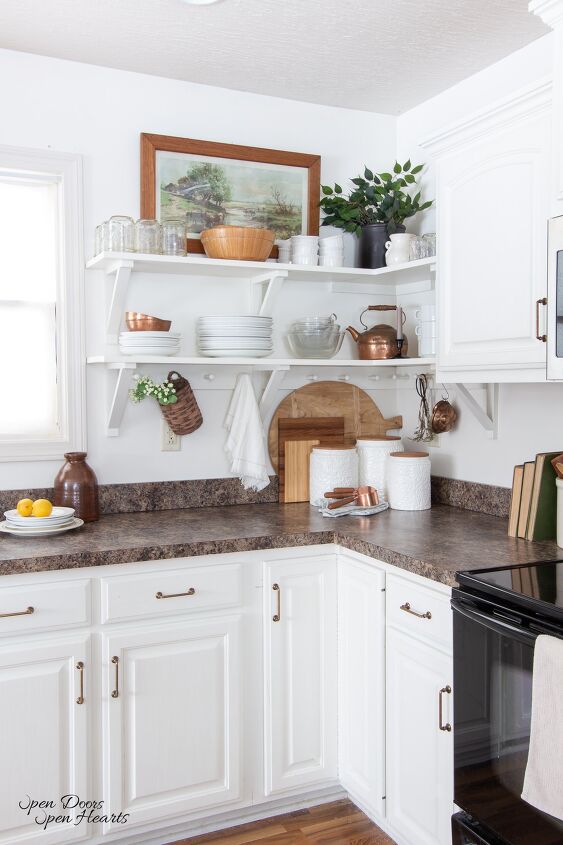
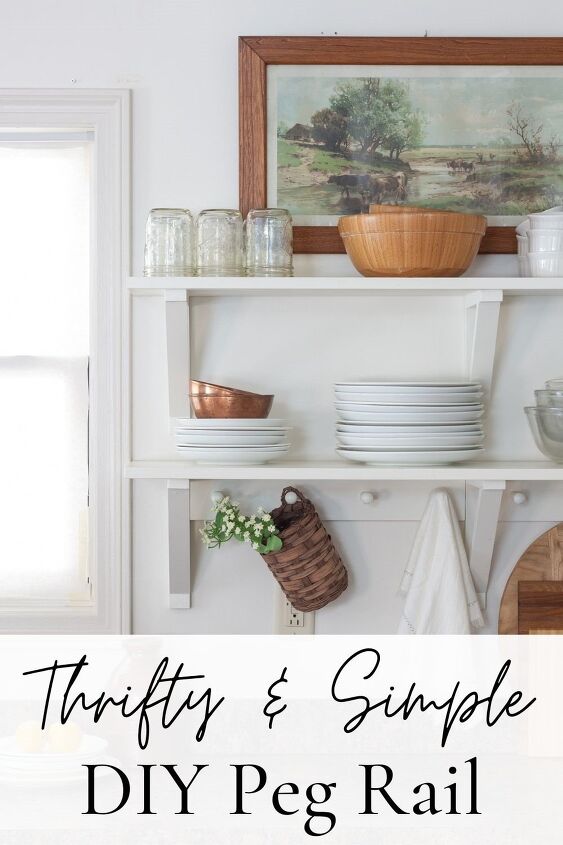
Open shelves after
Supplies
- 1×4 pine boards
- shaker-style pegs
- saw (We used a miter saw, but a circular saw would be fine too.)
- wood glue
- toothpick or small paintbrush
- drill
- drill bit
- countersink drill bit
- drill guide attachment
Instruction
Step 1.
The first thing I did when we got the boards home was prime them.
I know that once I pull out the saw and cut them to the length I’ll have touching up to do, but to me, it’s easier to do one long board versus 4 short boards.
Step 2.
The next thing I did was measure and cut the pine boards to the appropriate sizes.
Step 3.
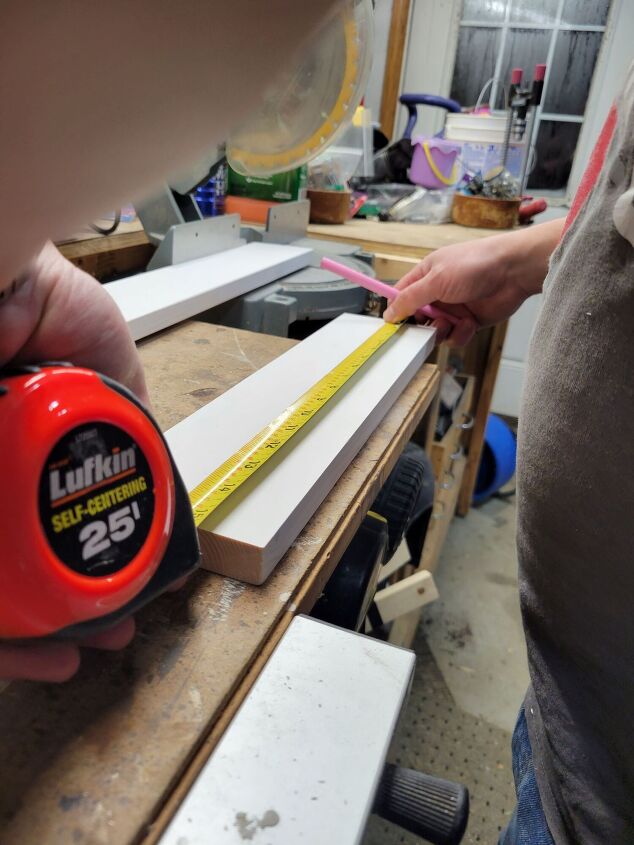
Now that the boards are the right size, it’s time to measure and mark where you want the holes for the pegs.
We took each board and measured 2” from both ends and made those spots our first and last peg holes on the rails.
Then we decided how many pegs we wanted that rack to have.
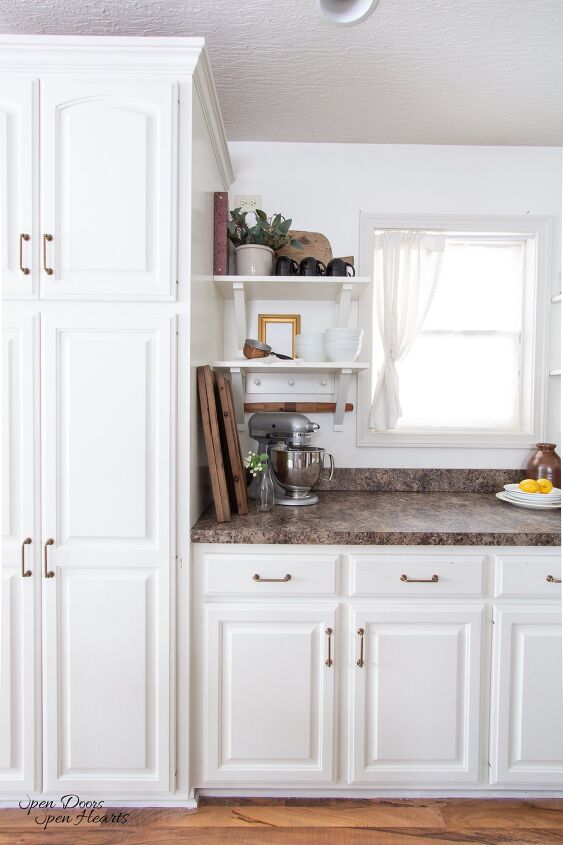
For the rack that has 3 pegs behind the mixer, I took the distance between the end pegs and found the middle.
We discovered that the pegs were nearly 5.5″ apart.
So for consistency, we stuck with that distance for the rest of the peg rails.
When we came to the corner peg racks, we kept that spacing and left a larger gap at the corner where the 2 peg racks meet.
For functionality, this works best.
Otherwise, you could end up with 2 pegs that are so close together that neither of them are usable.
Step 4.
Once all the holes are marked, we pulled out the drill, drill bit, and drill guide attachment.
The drill guide attachment ensures that you’re drilling a hole at a 90-degree angle and the peg will stick out straight and not at an angle.

We set the drill guide attachment to the right angle and depth for the pegs that we purchased and then began drilling all the holes.
Step 5.
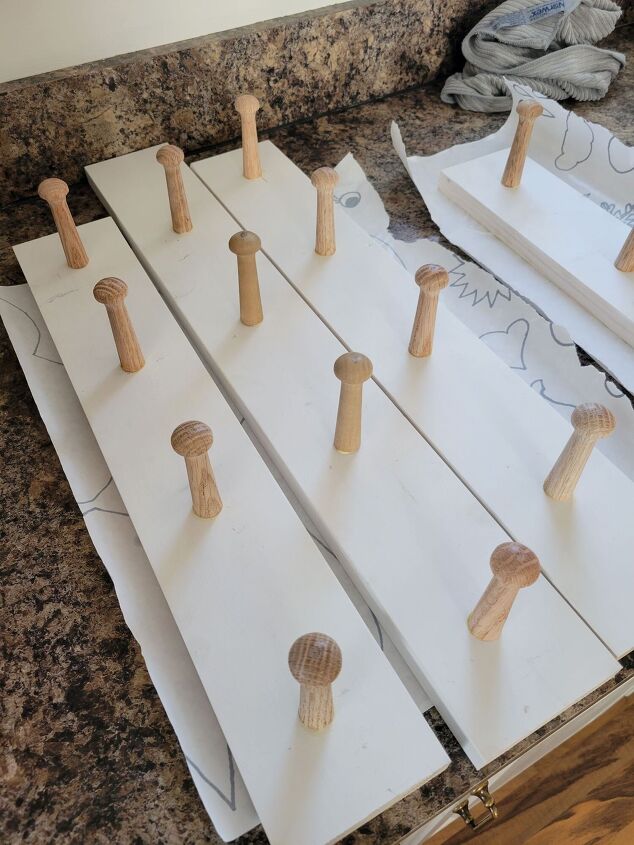
Now that the holes were drilled, it was time to glue the pegs into the board with wood glue.
Step 6.
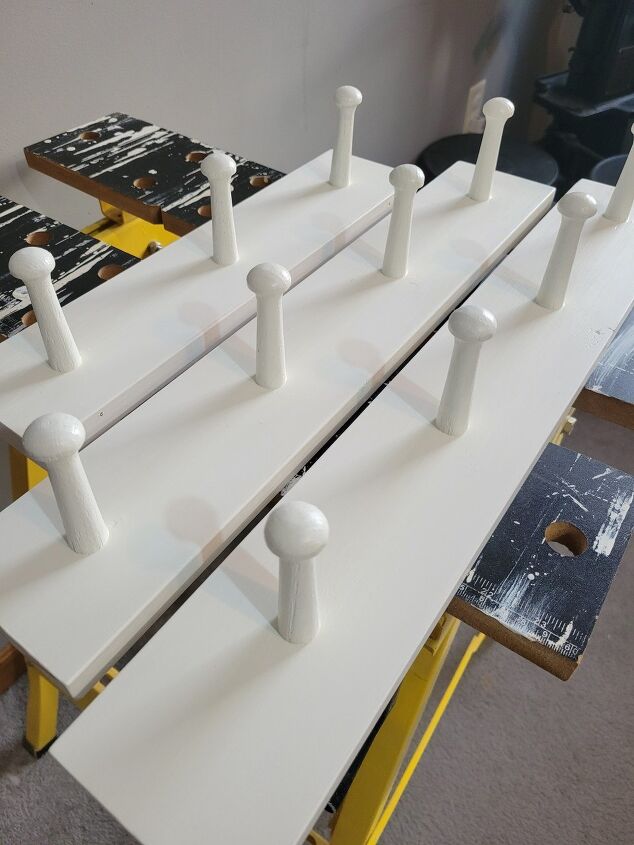
After the wood glue was set, I added another coat of primer and then started painting the peg rack to match the open shelves in the kitchen.
We don’t have a sprayer, although I wish we did.
So I painted with a brush and then did a light sanding between coats.
I did this for the girls’ built-in bookcase.
I know it’s a small thing, but I can feel the difference every time I touch it.
Step 7.
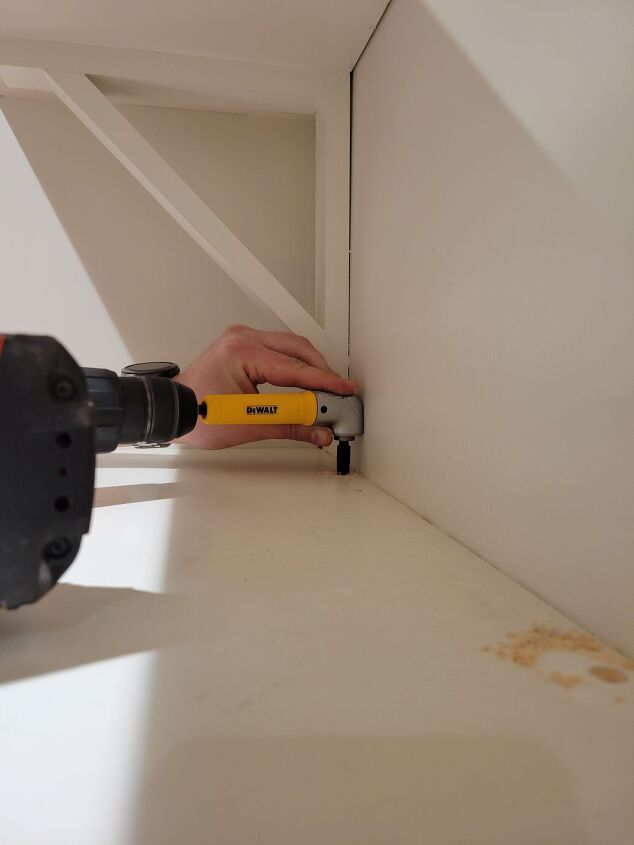
After the rails were dry (we let them dry and cure for a little over 24 hours) we used a right angle drill attachment and drilled countersink holes in the back of the shelf.
We did this on the DIY pot rack and brackets for our open shelves too.
It gives the projects a more polished look because you can hide the screw head.
Make sure you head over to Open Doors Open Hearts to get all the details on how to get the more refined look with a countersink drill bit.
Step 8.
Once we drilled our countersink holes in the top of the shelf we drilled pilot holes from the top of the shelf to the peg rail.
We do this to make sure when we screw them together the screw doesn’t split the wood, and therefore void all the time that went into constructing the peg rails.
Step 9.
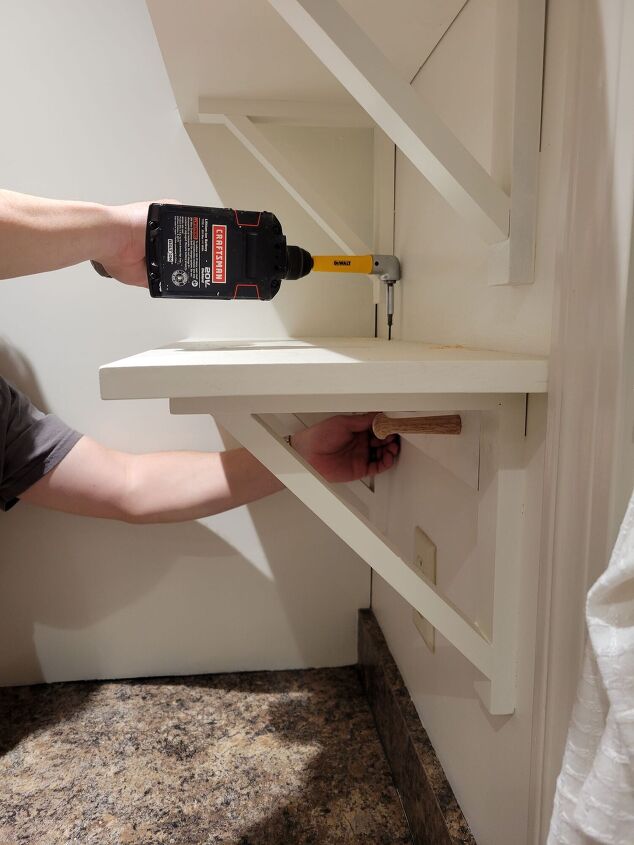
Once the peg rails have pilot holes, all you have to do is screw to peg rail to the shelf and you’re done!
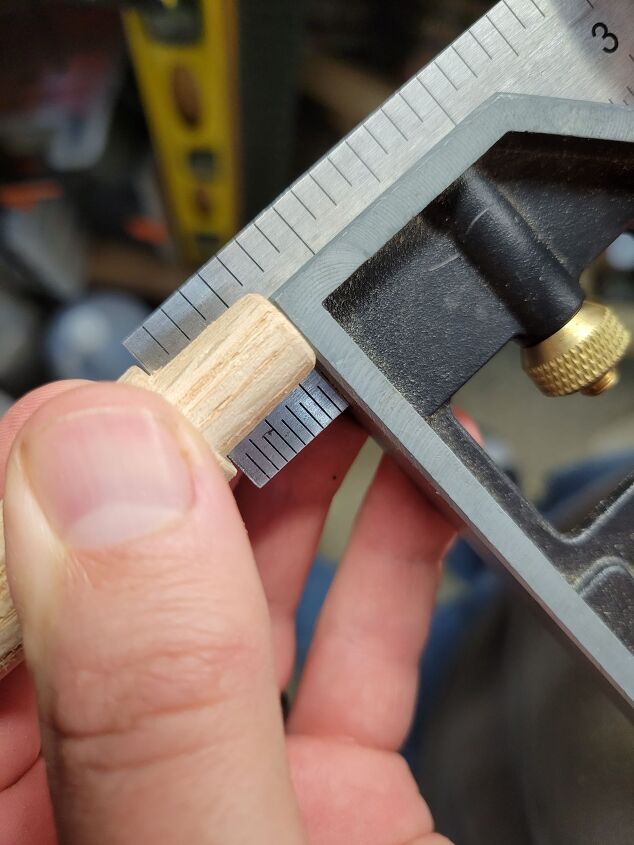
Measuring Pegs
When we added our peg rails under our kitchen shelves we spaced our pegs 5.5 inches apart.
There is no hard and fast rule for the spacing of shaker-style pegs on a DIY wooden peg rail.
But, in our research we found them spaced anywhere from 5″-12″ apart.
It all depends on your needs for the specific space you’ll be using them.
I will caveat that by saying if you place them too close together it may make the peg rack look busy.
Have a great week! XoXo
Open Your Doors,
Aliya
If you missed it, make sure you head to Open Doors Open Hearts to join us and get updates every time we share a new DIY project!
You’ll be the first to find out all that’s going on over here and you’ll get decor and DIY inspiration!
Resources for this project:
See all materials


Frequently asked questions
Have a question about this project?
what size pegs did you use?
May be a dumb question, but what were the 2 boards at the left that looked cheese graters? Like your kitchen!!...Don't have room under my cabinets for such a cute idea...