


How to Make an Industrial Pipe Shelf
When I was redoing my bathroom, I needed extra storage. Industrial pipe shelves seemed like an easy DIY, plus they looked cool enough to give me street cred with my kids. Learn how to make your own pipe shelves.
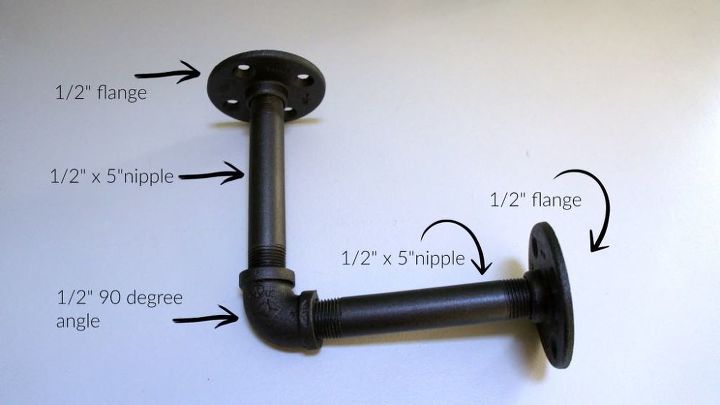
Prepare your pipes. They are greasy and need to be cleaned. Once they're clean, you can seal the metal with a clear coat of spray paint or a hammered black finish.
When they're dry, assemble your brackets. (We did 2 per shelf.) They just screw together.
Cut your boards to size and stain them.
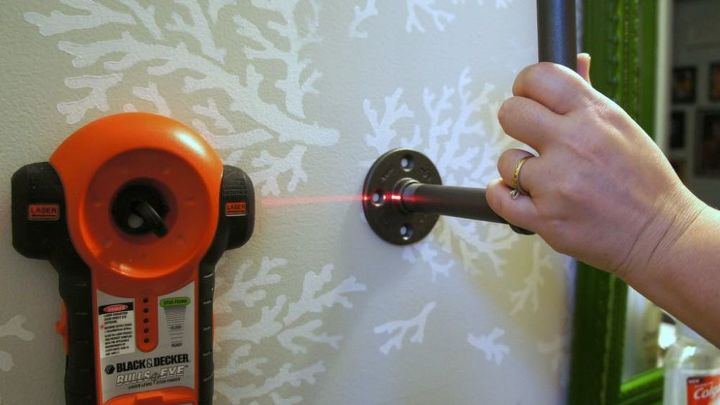
Figure out your spacing. We used a laser level to make sure that our shelves would be nice and level. Mark the spots where you will need to drill pilot holes.
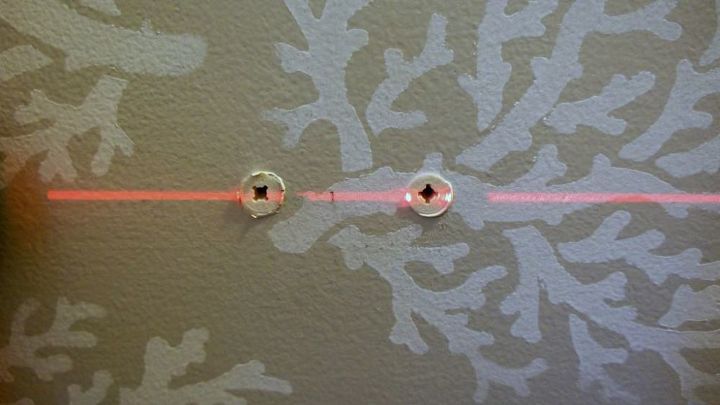
If those spots are not located in a stud, use anchors. We like the drill in anchors the best for ease of use.
Our shelves are mostly for light storage and decor, so I wasn't worried about heavy loads. If you are placing heavy items on your shelves, I recommend that you place your brackets on studs for maximum strength.
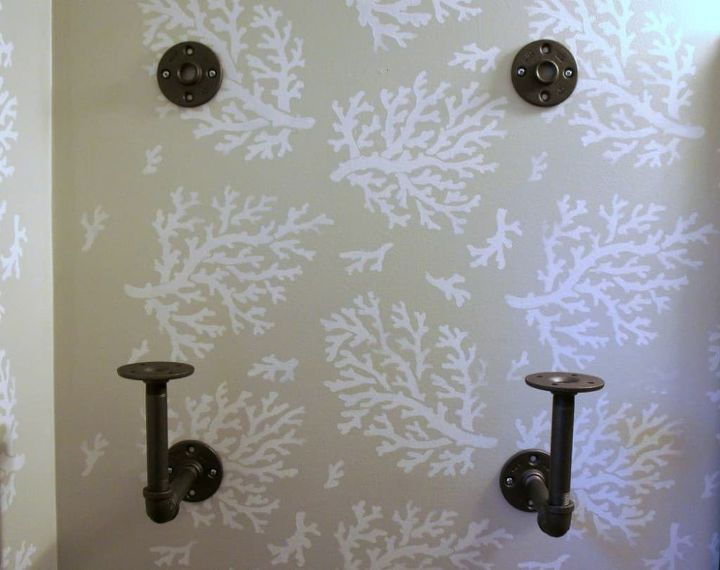
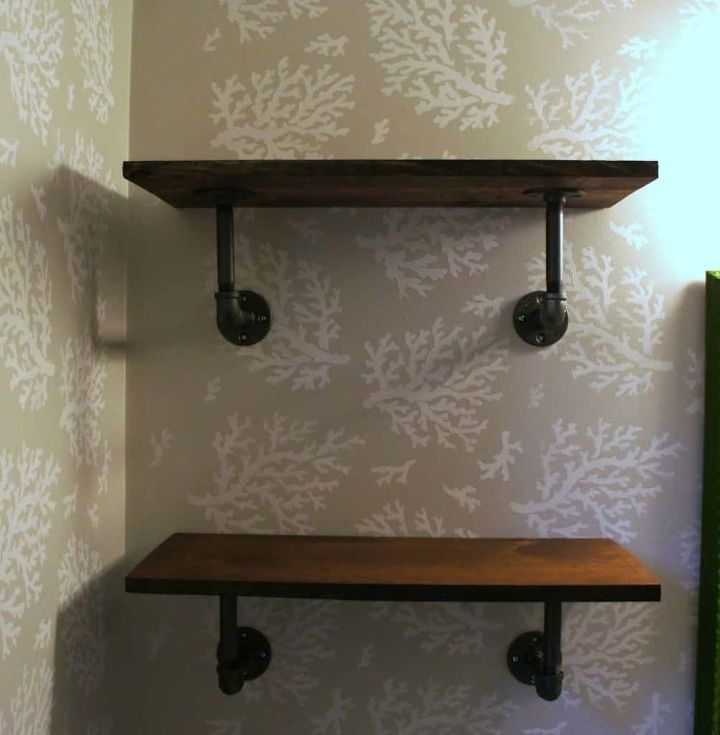
Screw the flange into the wall, then screw in the brackets to the flanges. The top part of the photo shows this.
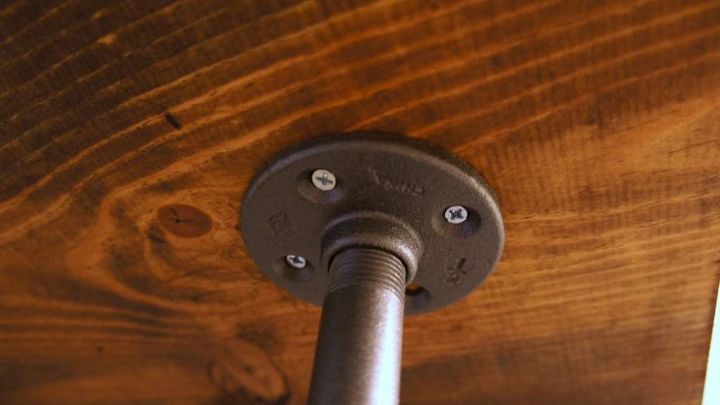
Place the wood on top of the brackets and screw them in place. Make sure that you use short screws that won't go through your wood.
If the silver screw heads bother you, you can spray a puddle of matching spray paint in the cap and use a paint brush to paint the screws.
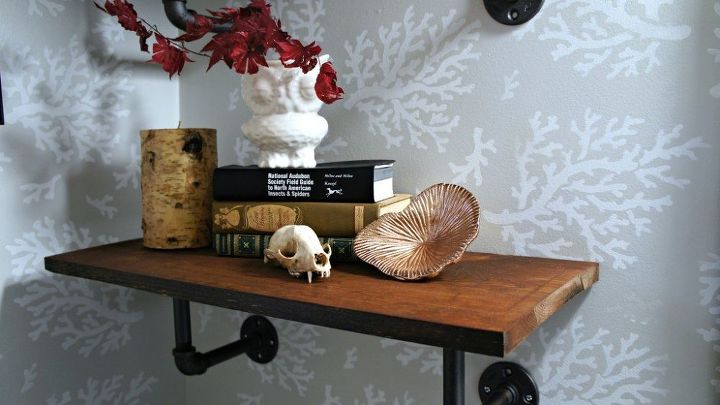
Your shelves are done. Decorate them as you want. We were going for a naturalist look, so I added some elements from nature.
To read detailed instructions for this project, click over to my blog to read more. You can also find the entire finished bathroom there.

Comments
Join the conversation
-
Perfect! I love industrial design and decor.
-
Hi what kind of store did u purchase piping? Menards I only found long pieces of piping without any threads.


Frequently asked questions
Have a question about this project?