


How to Make Shelves Out of Scaffolding Boards

Sustainability is a hot topic now. It's made me think more carefully before just tossing something aside as it is no longer in fashion and think how I can utilise it in another way.
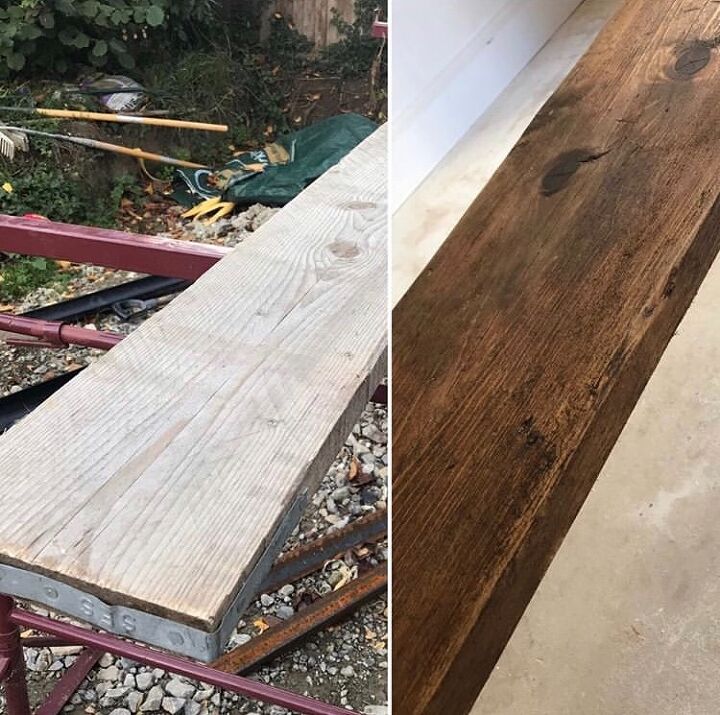
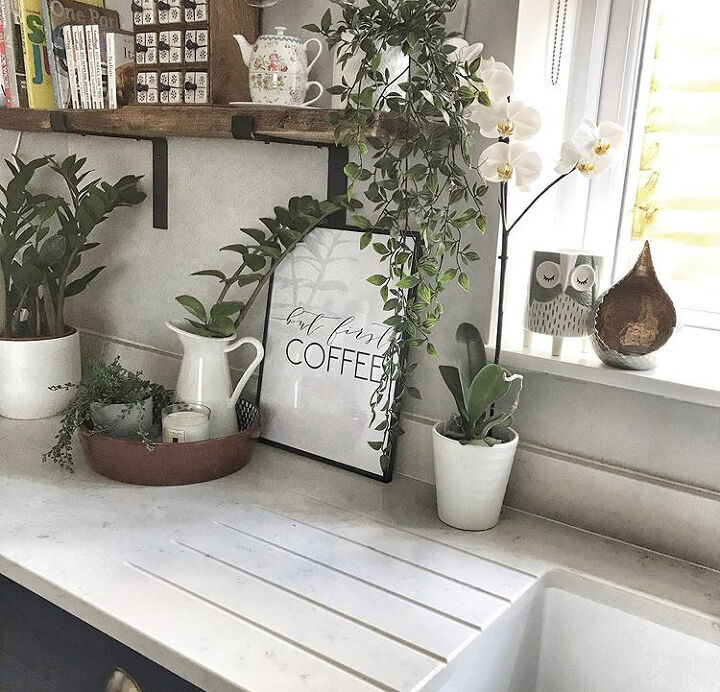
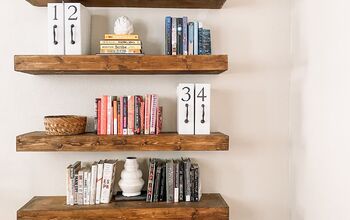
After the structural part of our renovation was over, I noticed how the builders had a left a scaffolding plank laying around. I decided to clean it up and make it in to some chunky industrial style shelving for my kitchen. Not only are they super easy to do, are cheap to make, and good for our planet, but look amazing too!

So where do you get the old boards in the first place?
Sometimes you can find them for sale on local marketplaces but they often tend to be cut to length, or already treated, in a size or colour that you didn't necessarily want.
You could try calling up a local scaffolding company, or speaking to a foreman on a building site. They often have ones that are no longer needed and may consider giving them to you for free or a small charge.
I spoke to the lovely roofer that worked on our house, and asked if he had any old boards that they could no longer make use of. He happily found me a couple more!

You won't always get a choice of scaffold board, but if you do, you don't want anything that looks too new, otherwise it will look like its just a rough piece of wood with no character, but you don't want one that is so battered and warped it wont be able to function well in it's new role.
Scaffolding boards come with end bands on them. It's up to you whether you want to leave them on or take them off. I decided that although I like the industrial look, I didn't want it to look like they were straight off the building site! It also makes it easier to get a good finish on the wood.
Due to the dust created when sanding, its best to set up a working area outside to clean and sand the shelves. Make sure they are somewhere where they are secure once the sanding starts. Trestle tables would be idea.
They are often dirty when you get them, so to save your self clogging up any sandpaper, brush off all the dried on dirt first. I used a kitchen scour pad.
You could sand by hand but it is much easier to use an electric sander. Choose course sand paper that is suitable for wood to remove the very rough edges and broken fragments, then you can repeat to get a smoother finish afterwards with a medium paper.
Now you are ready to wax the boards. I like Briwax and used Dark Oak but there are lots of colours to choose from. Apply with wire wool grade 0000 and use a lint free cloth to polish off any excess at the end.
When applying wax, work in the same direction as the grain to ensure it goes on smoothly and is absorbed in to the wood evenly. You will be amazed how instantly they look better and the grain and knots look enhanced. It will also help smooth the wood.
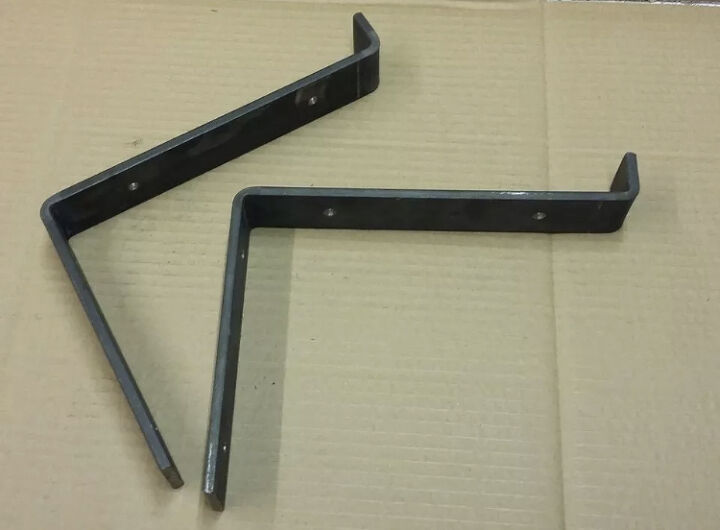
When purchasing brackets for your shelving, look for specialised brackets for scaffolding shelves. They are super strong and are wide enough to encompass the whole shelf. These boards are pretty heavy so I am not sure a regular bracket is going to hold it.
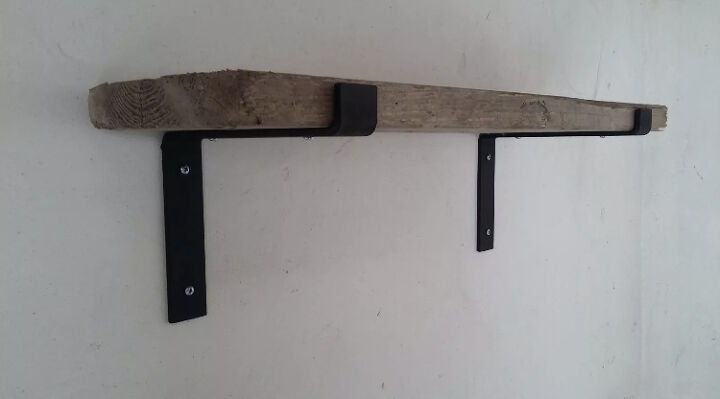
When fixing the brackets to the wall, ensure you use strong fixings. The brackets I purchased came with suitable fixings. As the scaffold boards are often old and can be warped, you may find that they do not sit perfectly in the bracket. You may need to readjust the positioning of the brackets to accommodate it so do check before you start drilling.
I hope this has helped you, if you decide you want to do something similar. I would love to hear how you got on and see your 
Resources for this project:
See all materials


Comments
Join the conversation
-
This turned out so beautifully, I love it!
-
Yes - give it a go!


Frequently asked questions
Have a question about this project?