


Scraps of Wood for a Mountain Essential Oil Shelf

It was my son‘s girlfriend‘s birthday and I needed to come up with a unique gift idea for her. She is a massage therapist and uses essential oil’s in her work also she works up in the mountains so I thought I would make her a mountain essential oil shelf for her salon.
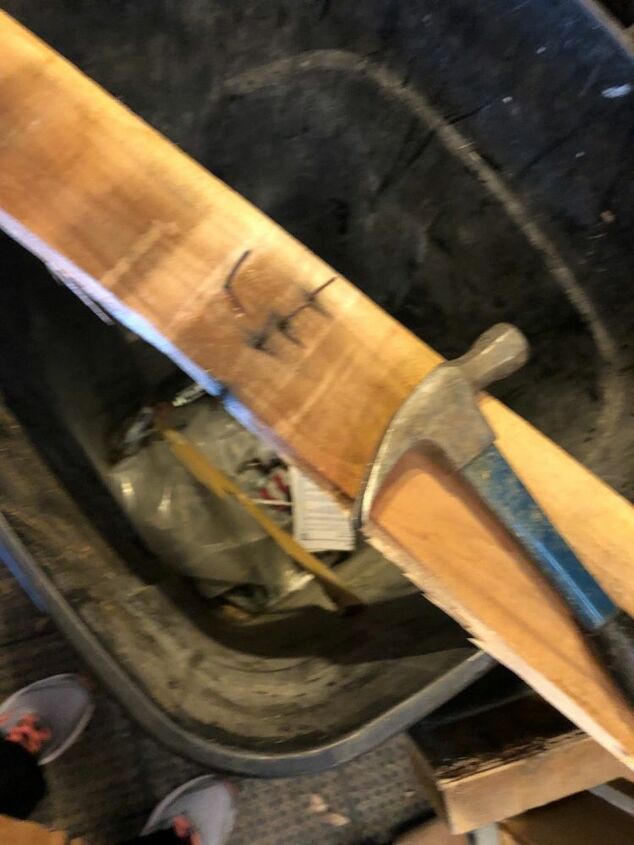
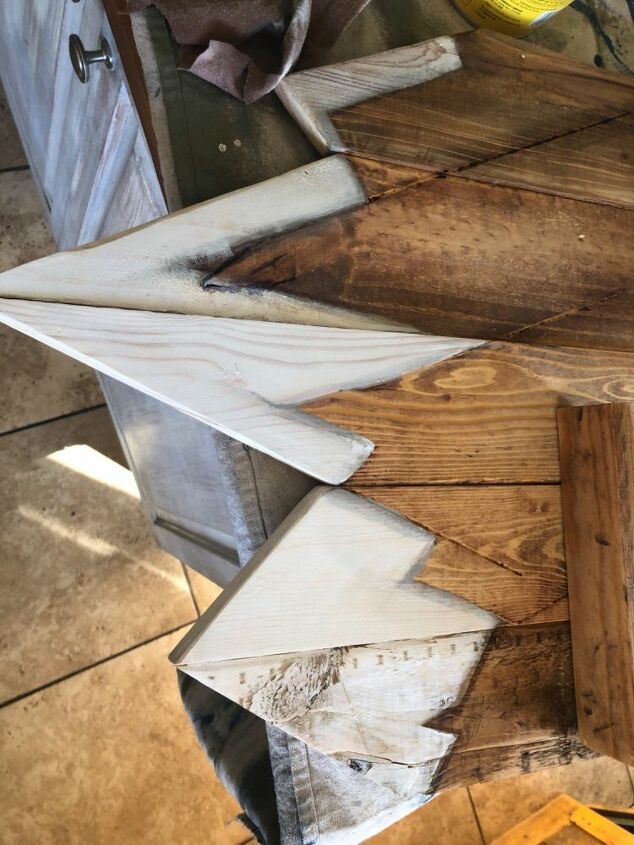
I removed all the nails and debris from the wood and laid it out how I wanted it to look..
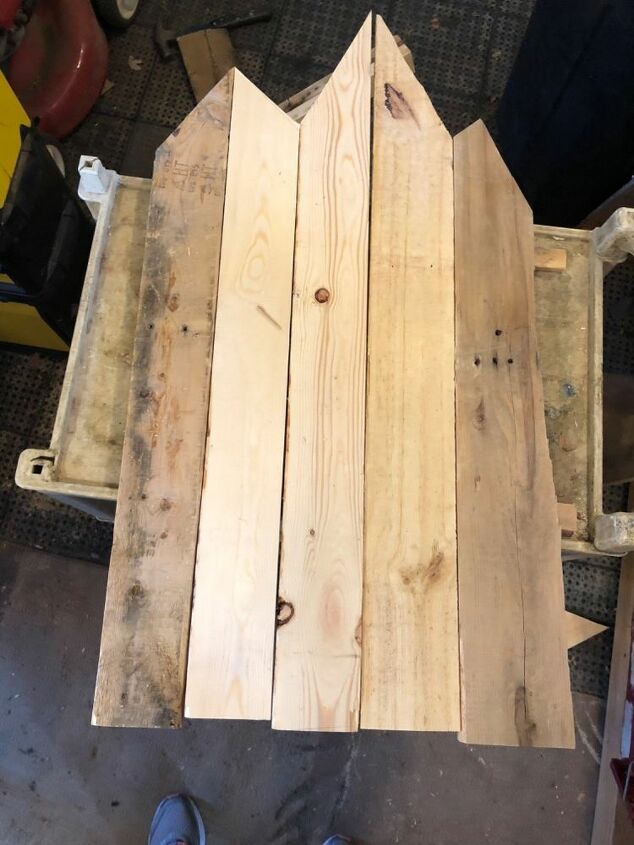
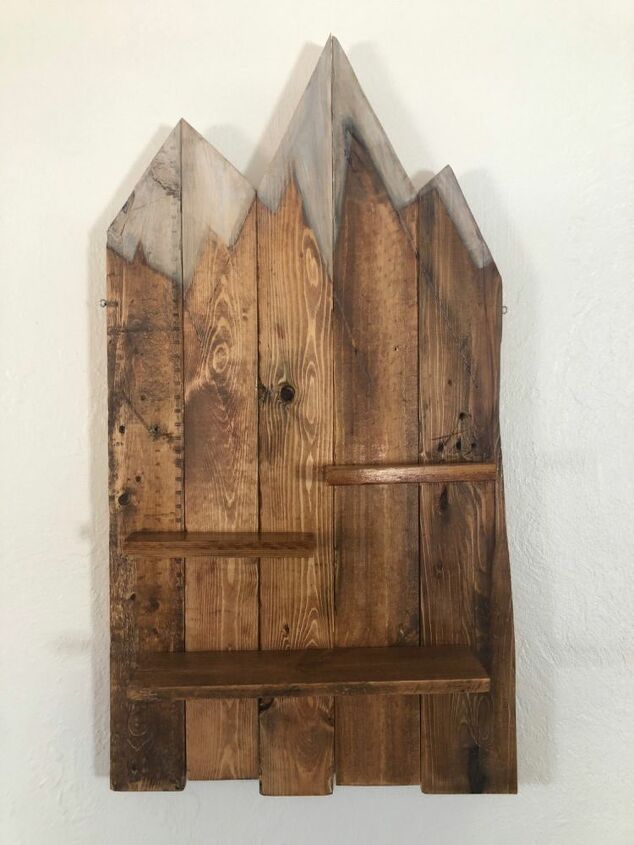
I laid out the boards and staggered the wood to look like mountain peaks. I lightly sanded the boards so that they would except my stain and paint. These. boards have been laying around in my stock pile for a while.
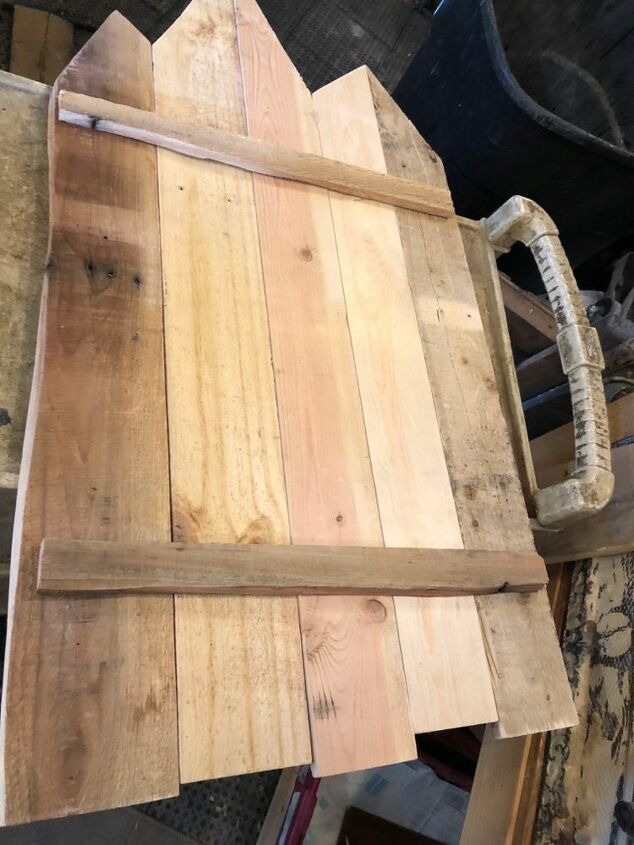
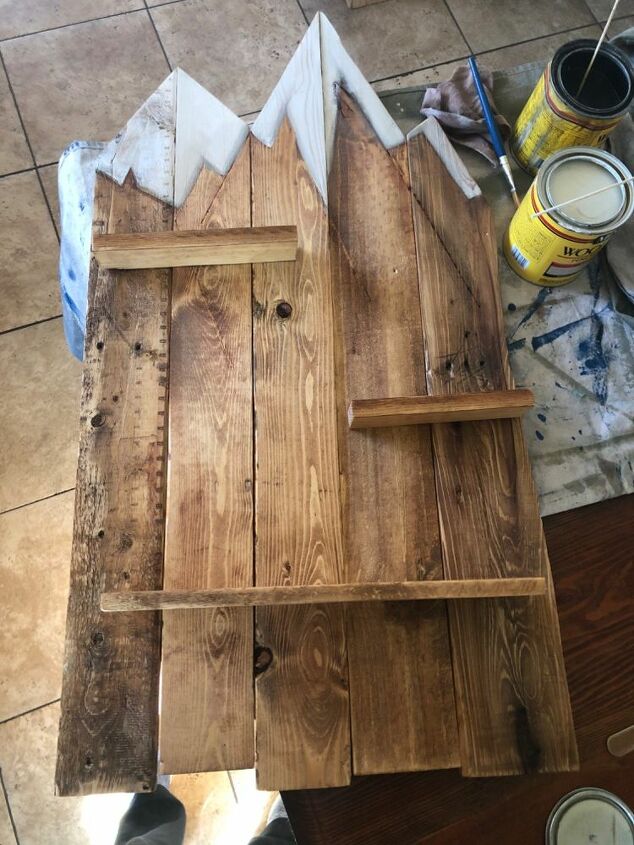
Once I got my layout down I took smaller boards and laid one on top of wood and another on bottom. I measured my screws to make sure that they would not penetrate the front of my shelf and screwed the support boards across the layout.
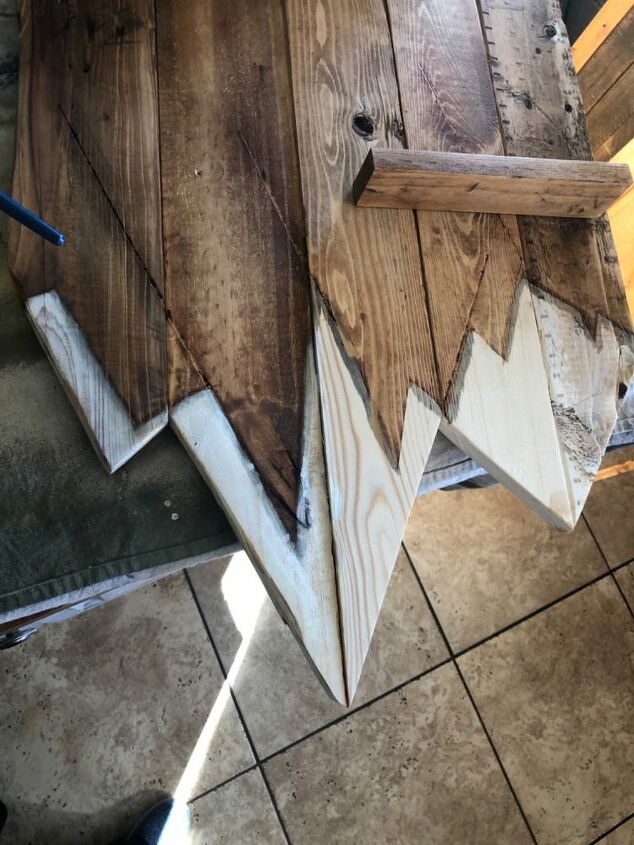
Once my white paint was dry from the snow mountains I use some brown stain just to age it and make it blend into my mountains better. used a natural stain on the rest of the boards and a darker at the base of the snow.
I had a dark stain to make it look a little dimensional and blend the boards into the mountains.
I measured and marked my shelves about 12 times to make sure that once I screwed from the back into the wood I would not miss and create a big ugly eyesore.

I would use extra time to make sure that this is correctly measured, I have ruined many projects by trying to rush it and just screw things together only to ruin the whole project.
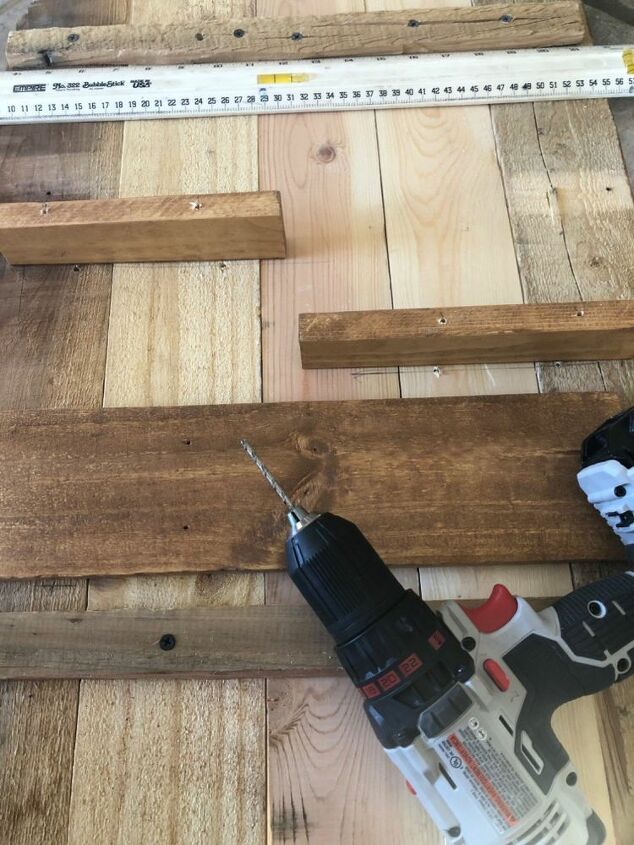
Pre-drilling the holes will always help it from wood cracking and splitting.Since I was using such small pieces I wanted to make sure it was perfect. I also used wood glue in the holes before I screwed it together
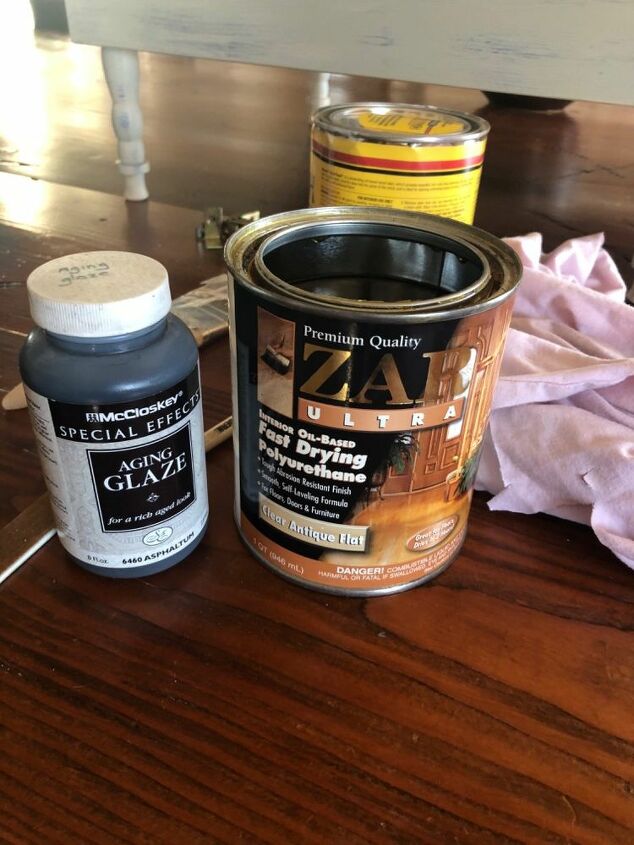
Once I added a hanger to the back I flipped it over and randomly Stroked the aging glaze on it wiped off the areas that were too heavy. Once that was dry I went over with the coat of clear polyurethane and she was good to go the perfect birthday present.
I always love when I can make something with scraps of wood I have here and accomplish a beautiful birthday gift. She loved it I think it turned out really nice goes with her mountain theme and it has a rustic flair to it. I would love to hear your thoughts let me know what you think.
Resources for this project:
See all materials


Comments
Join the conversation
-
I love this shelf! I need to get a pallet or two somewhere and make a mountain essential oils shelf for my office. Where did you get the pallets? What wood did you use for the shelves? How many bottles of oil does this hold? Thank you for the inspiration!
-
Hello Sydni, I actually go down to a pump plumbing supply and they stack them outside for me so I grab a couple and strip them down. This shelf is pretty large called quite a few bottles but honestly I never counted them. Good luck I hope yours turns out awesome!


Frequently asked questions
Have a question about this project?