


Small Shelf Unit From an Old Sideboard Top

by
Clint
3 Materials
$5
6 Hours
Medium
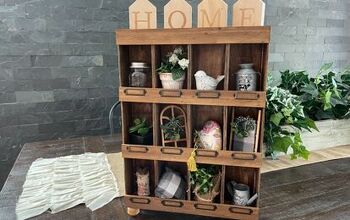
I received an old sideboard for free recently and the top, unfortunately, had been damaged by being out in the elements, warped and bent out of shape. So I decided to take the top off the sideboard and turn it into some decorative shelves. You can check out the video of the build on YouTube and read a bit about how I did it below. I hope you enjoy it!
{
"id": "4447645",
"alt": "",
"title": "",
"video_link": "https://www.youtube.com/embed/oKPCT6UbA70",
"youtube_video_id": "oKPCT6UbA70"
}
{
"width": 634,
"height": 357,
"showRelated": true
}
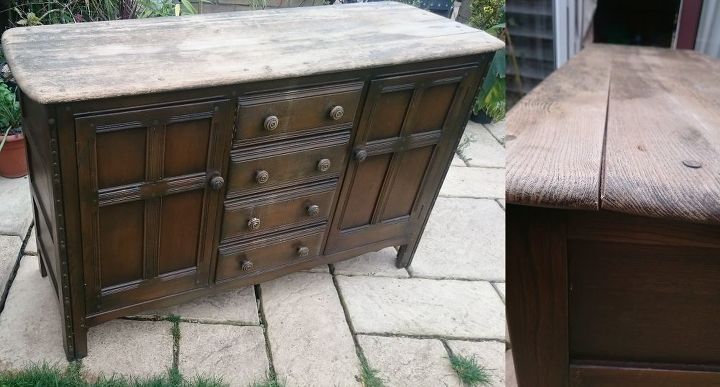
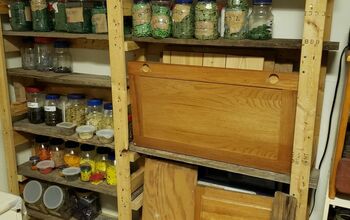
This old sideboard was being thrown away so I had to snap it up! The top was pretty badly warped from being left outside so I decided to take it off. There were some small wooden plugs hiding some screws, once they were unscrewed the top came off with no problems.
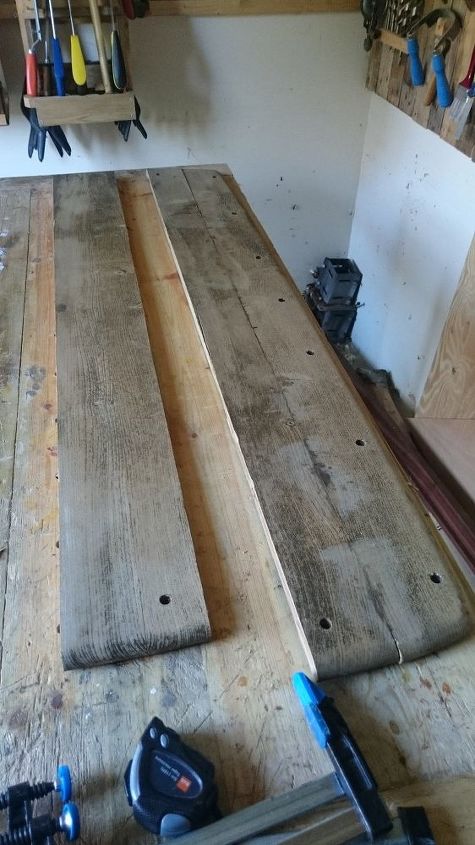
With the top off I was able to saw two long lengths from it. I decided to make the sides 60cm long and the shelves 50cm long.
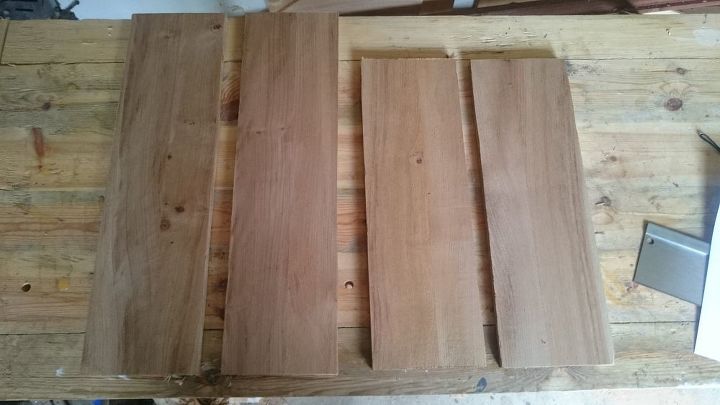
I planed the wood down and cut it to size, after taking off all the grime and dents it came out beautifully. I was informed by the manufacturer of the furniture that this was elm, which I never worked with before but is a wonderful wood. You could also take away the grime with a sander or some sandpaper and I'm sure it would come out looking great.
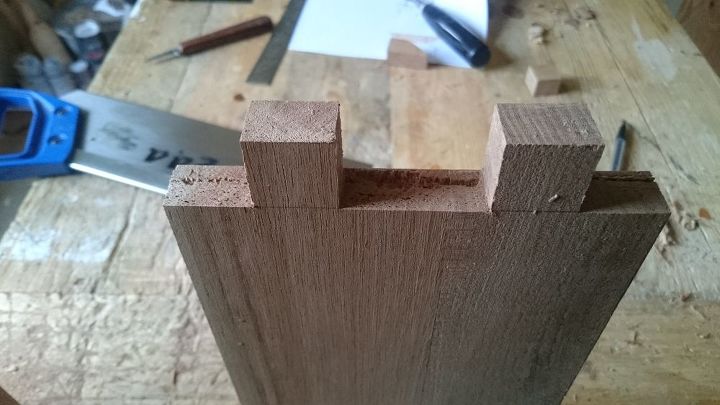
I cut two tenons into the ends of each shelf. This was achieved with a lot of careful measuring, a tenon saw, coping saw and a chisel. You can check out the video to get more of a grasp on the process.
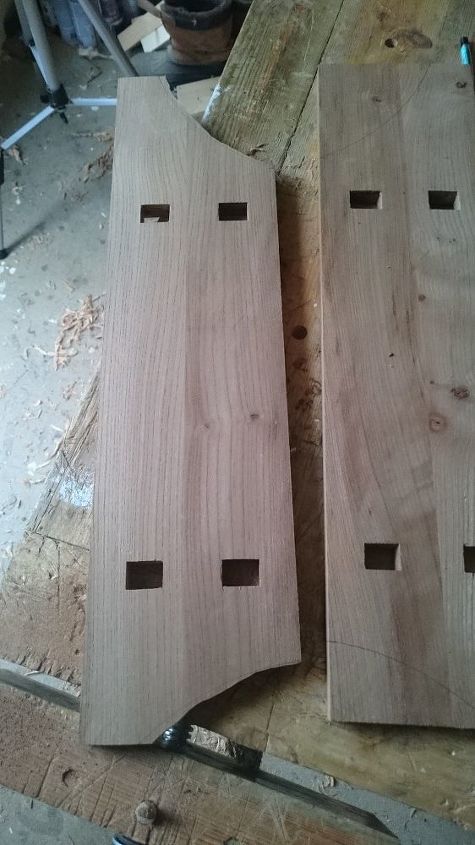
After lining up and marking the shelf sides with the corresponding mortices I used a large lid to draw curves onto the top and bottom of the shelves. I then cut them out with a coping saw and smoothed them down with a spokeshave. Once again the video shows this in more detail.
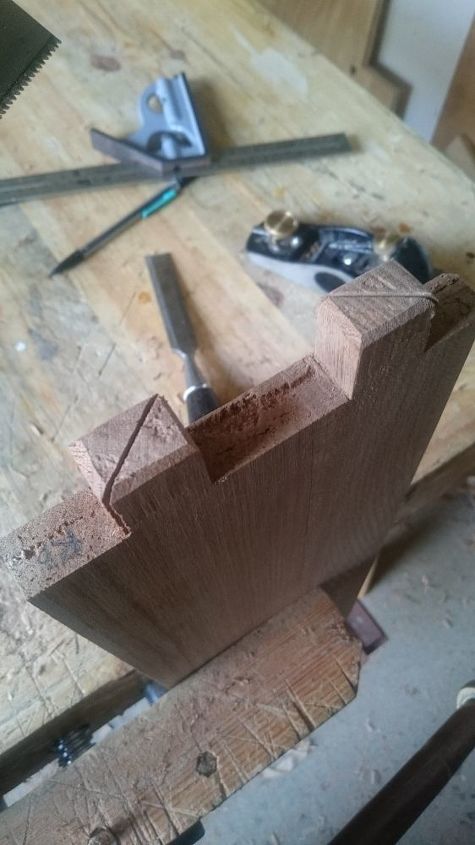
The ends of the shelves would go through the sides and be secured with wedges. This works by making a cut down the length of the tenon as seen in the photo above.
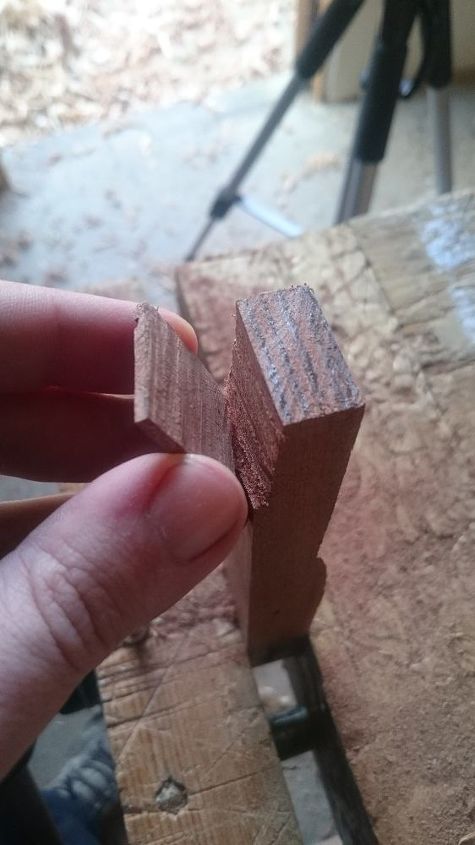
I cut 8 thin wedges from a different coloured wood, sapele in this case, these would wedge into the tenons after they were pushed through the mortices.

After gluing and clamping the unit together I added a little glue to each wedge and tapped them in firmly but carefully with a small hammer. The fastening power of a wedged through tenon as seen above is quite a simple idea. After the tenons are pushed through the mortices you tap a wedge into the end. This makes the tenon push outward and grip onto the walls of the mortice. Obviously if you hammer the wedge in too far you can split the wood, which is why you have to be careful!

A day later when the glue dried I trimmed the ends off with a flush cut saw and then used a chisel to make them smoother.
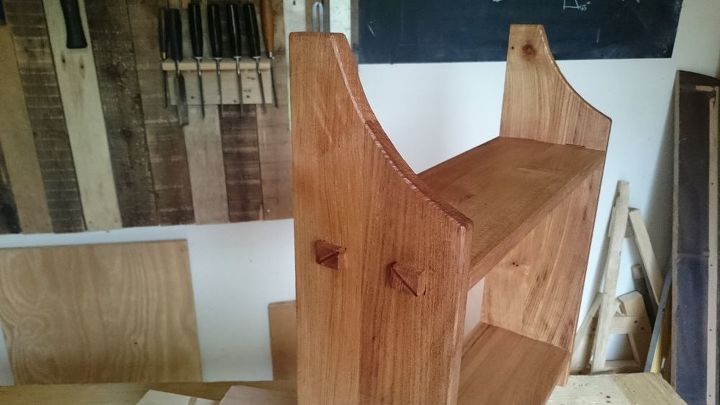
I didn't use sandpaper when making this shelf, instead I used sharp tools to get as smooth a finish as I could and then rubbed the wood shavings firmly over the wood. This is an old technique and kind of gives the wood a burnished or polished look which is very hard to replicate in any other way.
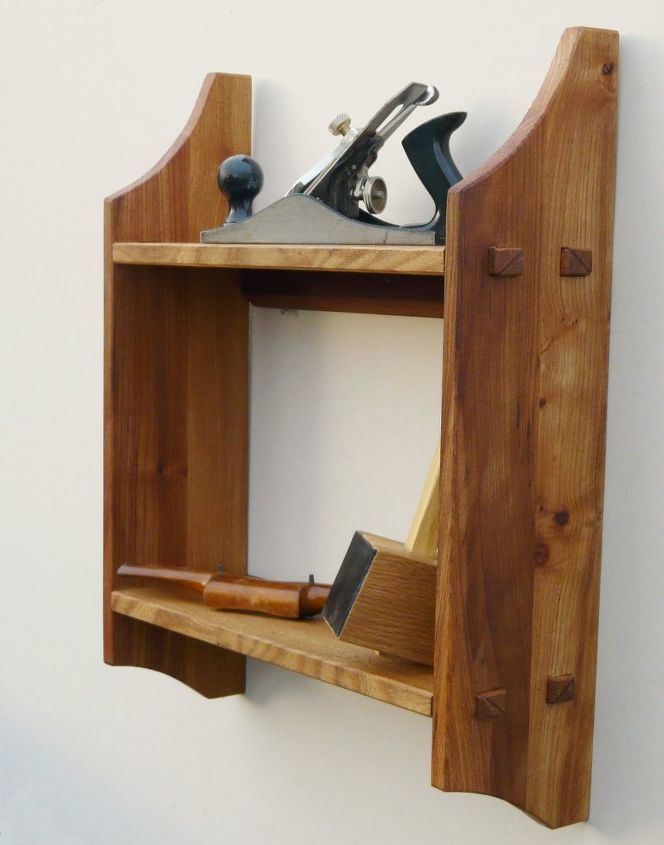
I finished it with a beeswax and mineral oil mixture, its not going to be for showing off tools but since I used these tools to make it (as well as many others!) I thought it'd look nice for the photo. If you enjoyed that project and you'd like to learn more about me and what I do as well as keep up with project photos and videos as they're being made, please like the Timber Anew Facebook Page.
I hope you enjoyed that project, any comments, criticisms and general greetings are always welcome!
Resources for this project:

2.2m of wood, 15cm wide and 1.5cm thick


Any price and availability information displayed on [relevant Amazon Site(s), as applicable] at the time of purchase will apply to the purchase of this product.
Hometalk may collect a small share of sales from the links on this page.More info
Want more details about this and other DIY projects? Check out my blog post!


Frequently asked questions
Have a question about this project?