


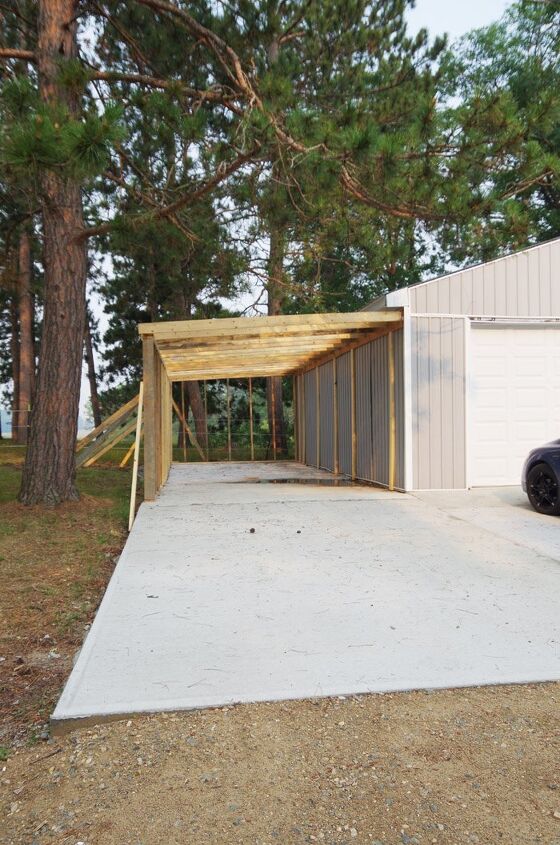
The Roof, Plywood and Steel, Buttoning up Our Garage Addition
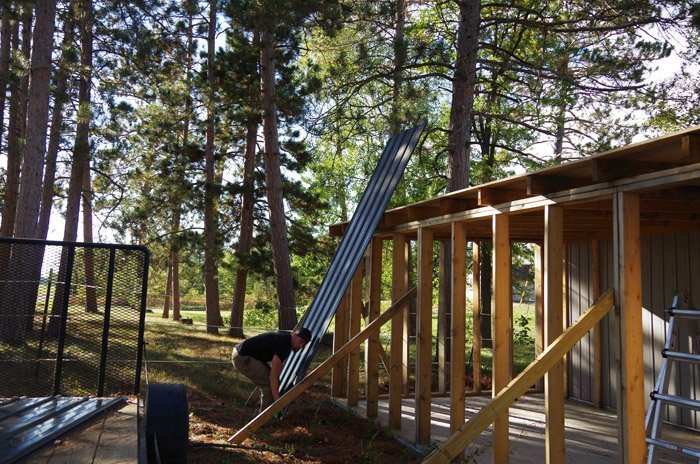
Covering the roof with plywood and steel. Stage three of our garage addition is entirely brought to you by Lodi who tackled the roof one afternoon without me. He’s a beast and I’m very proud to say that he’s my beast! After getting the framing done our stick building hung out waiting for us for a couple of months over this summer. You guys who have been following along know that the drought and shocking heat really kicked our butts and literally slowed us to a crawl. We did a favor for my brother and his family so we negotiated a trade that he would pop over with his oldest boys one weekend and help us finally get this building buttoned up.
Of course Lodi had other plans for the roof! His thought process made all of the sense – the more we could complete before our “help” arrived the more they could help us get even farther along etc.
How I wish I could have helped him though!
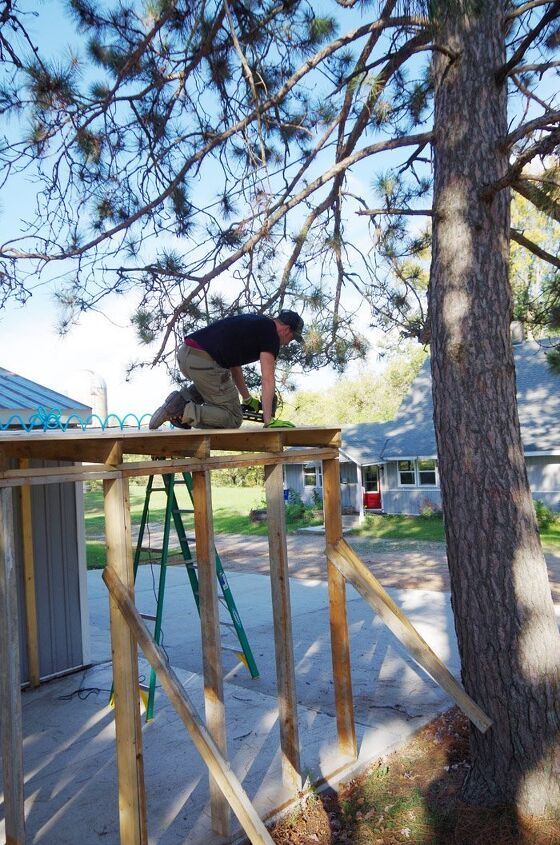
He’s VERY strong, however throwing sheets of 3/4″ plywood up on a roof is absolutely not for the faint of heart. I had prior obligations that day so all I could do was wish I could have helped.
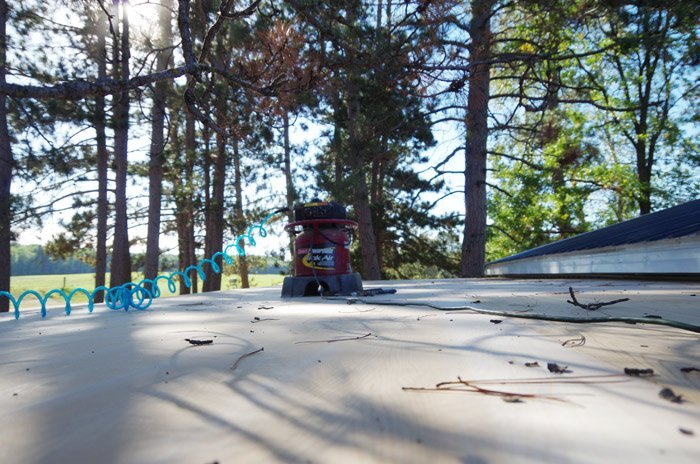
I again rented a framing nail gun for this project.
After getting all the plywood (12 sheets) up on the roof Lodi hauled our air compressor right up there with him and tacked it all down.
(A note about nail guns: There are so many different kinds on the market and every single one of them have specific criteria for the nails they can use. Every time I’ve rented one I’ve gone directly to our local building supply and it generally takes three of us to figure out the correct nails. So, if you ever rent one, just keep that in mind!)
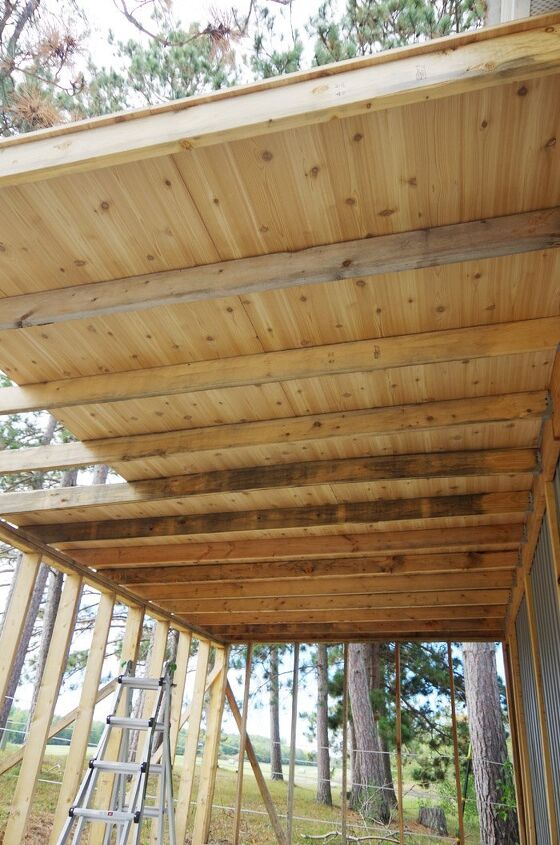
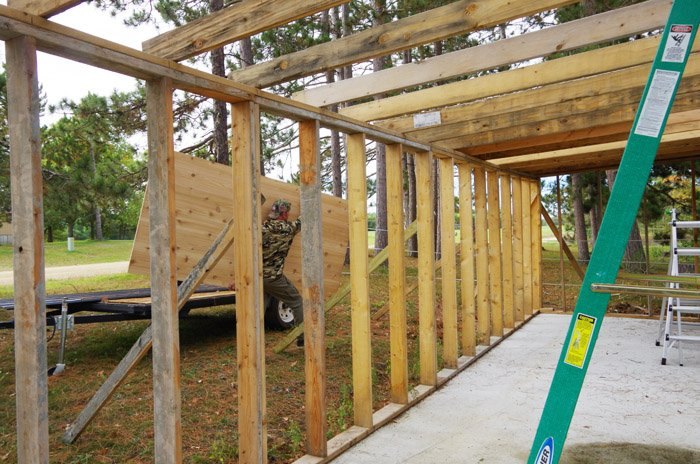
Two of the 2x6x12s we used for rafters were warped so badly he had to add a sister joint beside them so the plywood would have support under every seem. I thought only having to do that twice was actually pretty surprising…
(With the insane cost of building materials this summer we did the best we could getting quality product but beggars cant be choosers lol.)
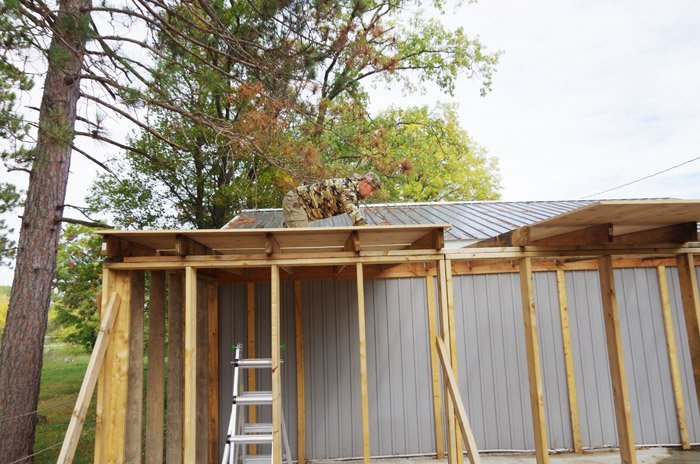
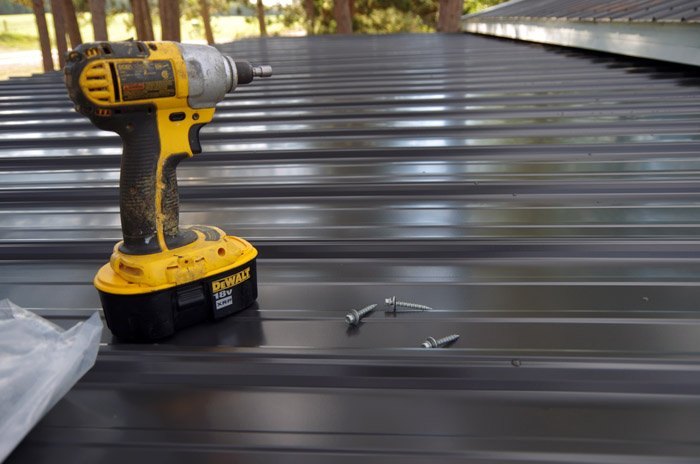
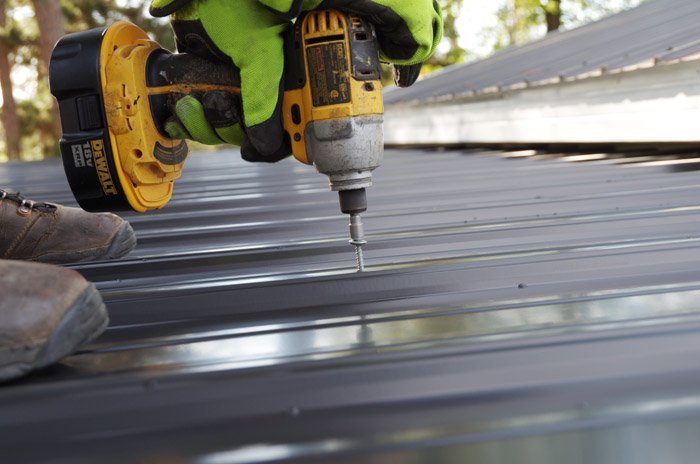
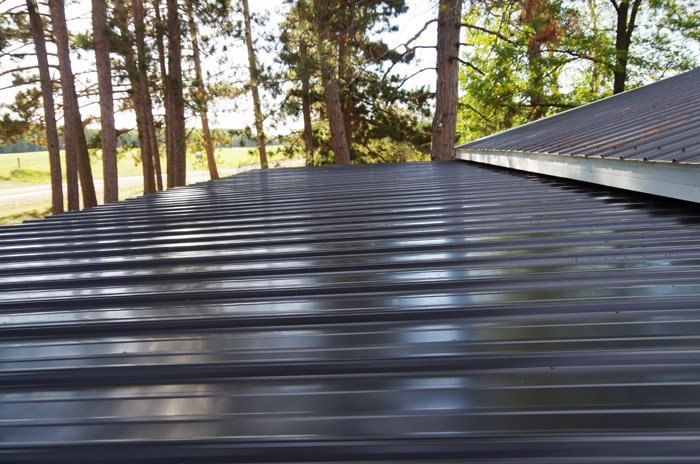
With the plywood complete he tossed the steel up on the roof and switched to one of our impact drivers and steel screws.
They were actually a bit longer than we needed but I didn’t want to take any chances. Notice how they come with washers etc. It means the steel roof will be water tight which is, obviously, the point.
I was already setup for the “help” we had coming the next day with three drivers and six batteries full and ready to go.
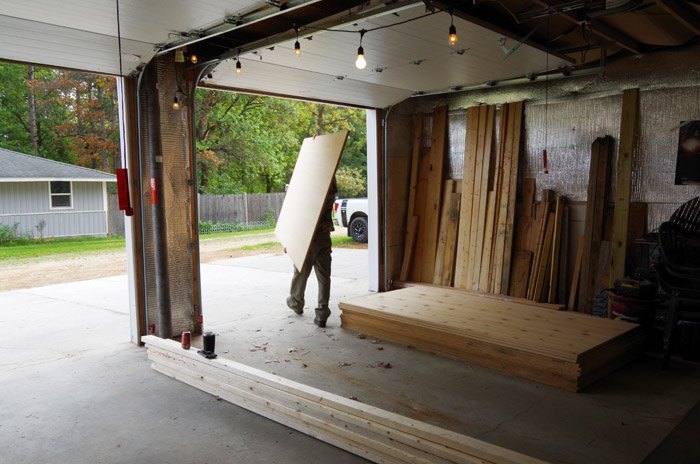
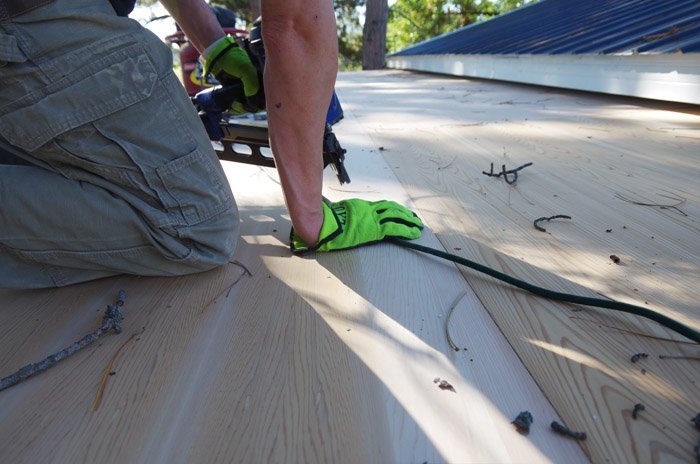
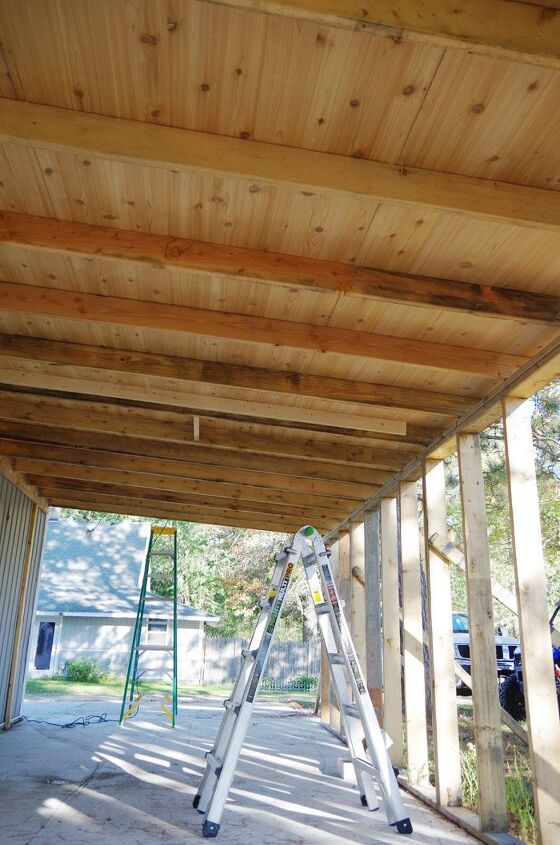
The crazy cost of building materials this year also meant we got quite creative in finding plywood for this entire project. What would have been nearly $2,000 just for plywood Lodi managed to find this 3/4″ board for about $700 for the entire building.
If it looks like the kind of board you would buy to build cabinets or furniture out of that’s because it is!
So fancy!
They were either accidental orders, or had some kind of flaw etc. from a local wood mill who was just looking to get rid of it. In other words: we got lucky and got some very pretty wood in the process lol.
(We found out just how “flawed” the board was that he picked up to do the walls as it was all 4 feet and 1 inch wide meaning: we had to cut almost every single piece of plywood… how in the heck anyone made board at that width is beyond my imagination… and we already had to cut it down to seven feet for the walls besides so that was more than a little time consuming… but that’s next week’s post.)
Moving on to stage four: the walls and siding!

Comments
Join the conversation
-
Looking good. Looks like a larger version of my garage shed extension. Except for the metal roof. Can't wait to see more and the finished product.


Frequently asked questions
Have a question about this project?