


DIY Shiplap Placemats

3 Materials
$20
15 Minutes
Easy
Make this fun and easy Shiplap placemats to bring some spice to your dinner party!
{
"id": "3968495",
"alt": "",
"title": "",
"video_link": "https://www.youtube.com/embed/sM0vrHBJnzw",
"youtube_video_id": "sM0vrHBJnzw"
}
{
"width": 634,
"height": 357,
"showRelated": true
}
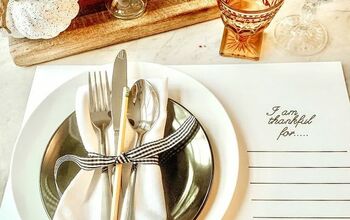
Have any fancy dinner parties coming up? Or just want to bring a little fun to your dinner table. Well these DIY wooden placemats are sure to have everyone talking about your table setting.
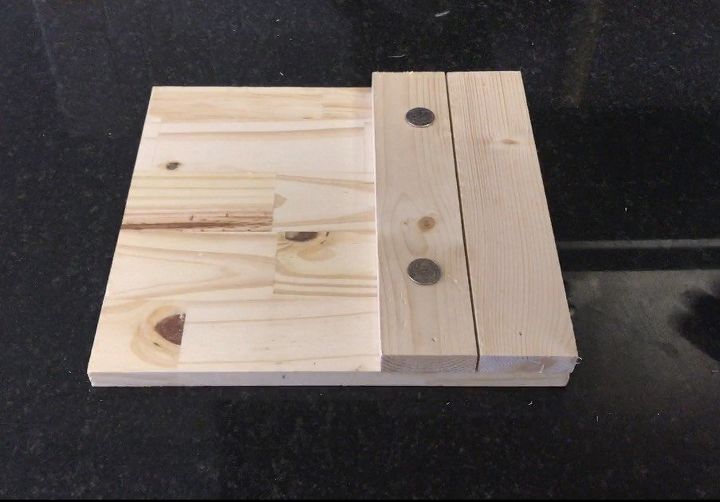
First I started by nailing the 1x3 blocks to the wooden square. I used to quarters to evenly space the blocks apart from each other. Once I nailed the boards to the top I flipped the square over and put about 5 nail holes down each 1x3 block.
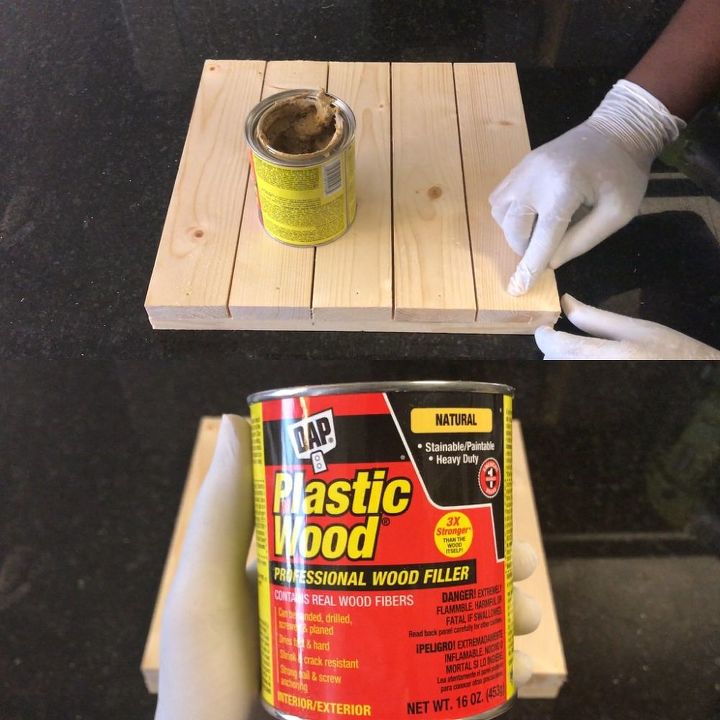
After nailing down all the 1x3 boards, I begin filling all the nail holes. After filling the holes, I let the filler dry for about 5/10 min. and I sanded it down.
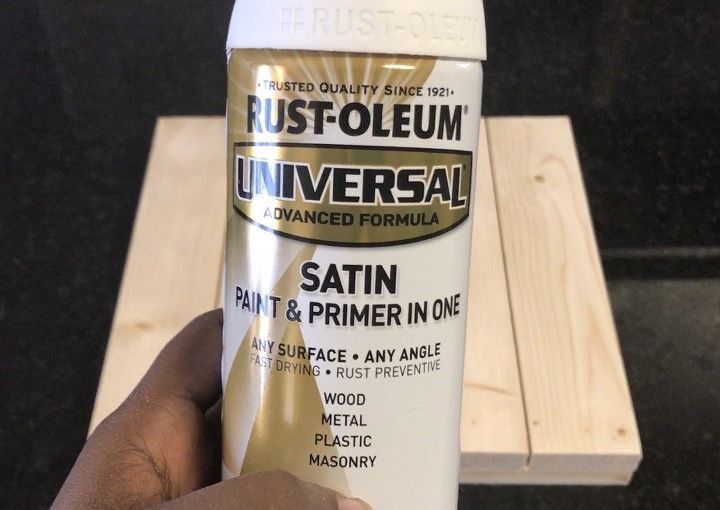
After sanding, I spray painted the Shiplap placemat with RustOleum Satin in White, feel free to use other colors to really make them pop! I let it dry and my project was complete. It was dry after about an hour but I let it sit for two hours just to make sure it was completely dry.
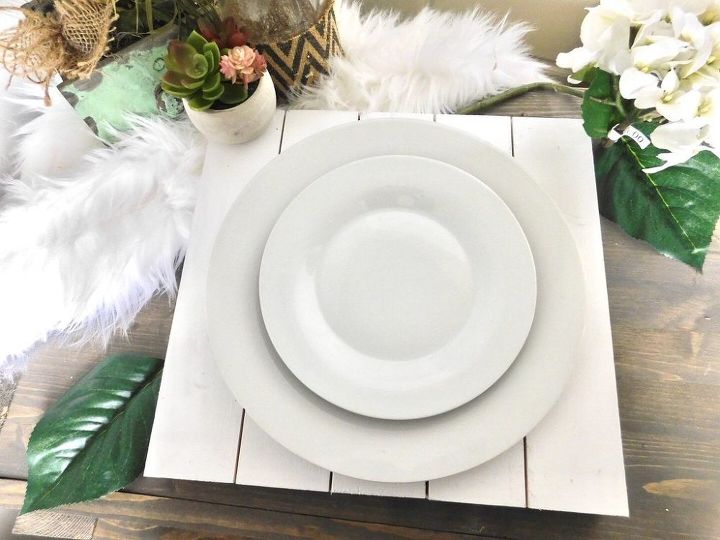
Once the wooden placemat was done drying, I set it with some dishes and styled it to my liking.
Comments
Join the conversation
2 of 9 comments
-
Way to adorable, what an awesome idea!!
-
Love this idea.!! Very creative, thank you for sharing.


Frequently asked questions
Have a question about this project?
There's no room for silverware. Why is that?