


How to Make Raw Wood Beams
Love the look of reclaimed wood? Farmhouse-style finishes like large, weathered ceiling beams add so much warmth, charm, and character to a home but finding the perfect materials is not easy. Without easy access to an old barn—or antique wood looking to be reclaimed—I knew I would have to get creative to achieve a similar look. I was determined to learn how to make faux wood beams and with some new lumber, a few tools, and a dark walnut stain, I did just that!

Tool and Materials You Will Need:
- Two different sized unfinished pine boards (for the side and bottom)
- Finish nails and a hammer or a nail gun
- Wood glue
- Electric chainsaw
- Sander with a coarse sandpaper
- Clamps
- Interior wood stain, tung oil, or polyurethane for desired finish and a natural bristle brush
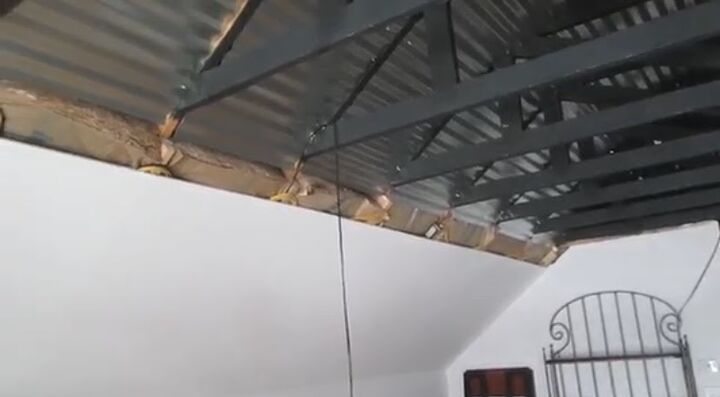
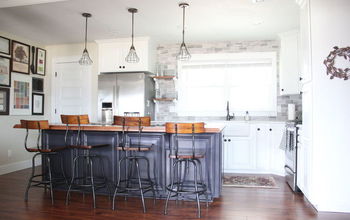
I wanted to create a beam to fit into this corner between the wall and the metal ceiling.
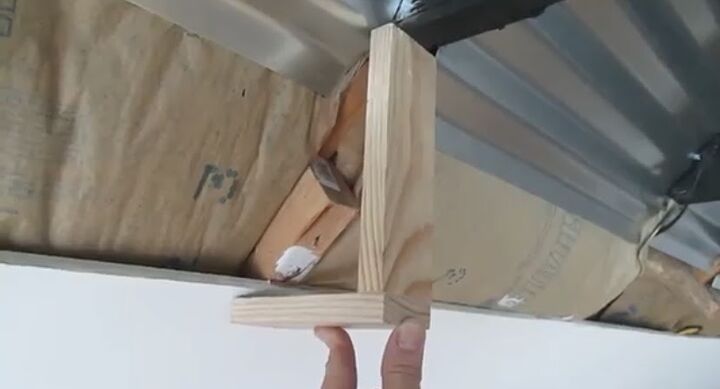
I created a faux wood beam using two boards to create the shape below for this tutorial because only two sides would be visible.
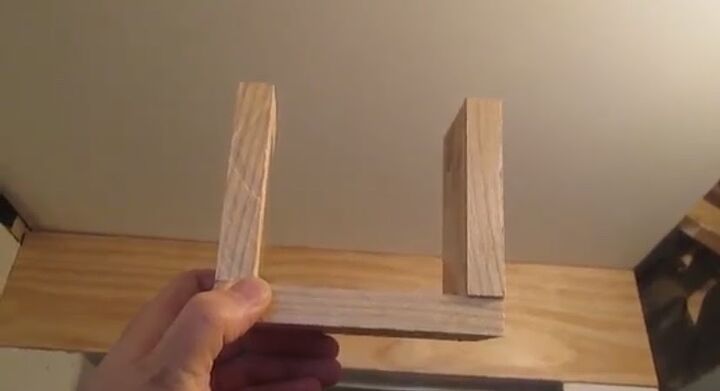
If you are interested in learning how to make beams that have three exposed sides for use on a ceiling, simply add a third board, create the shape below, and follow the remaining steps as outlined.
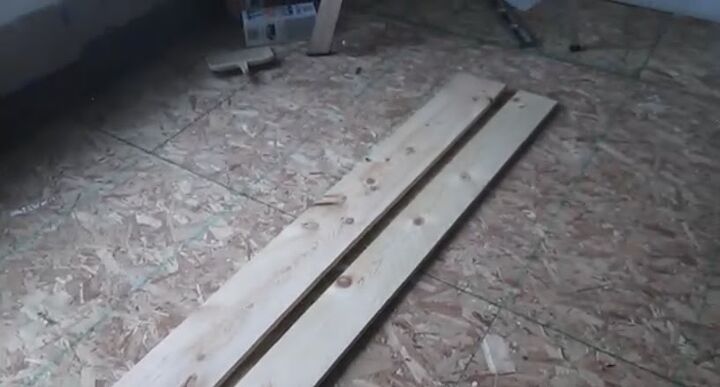
Step 1: Gather Materials
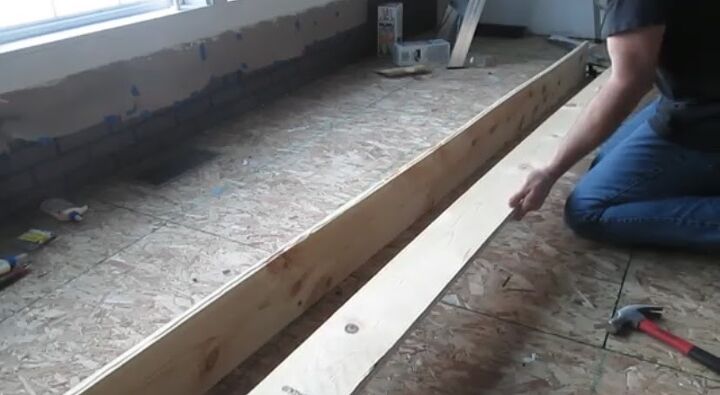
Place cut boards side by side and prepare to assemble the beam by joining the two boards.
Step 2: Build Beam
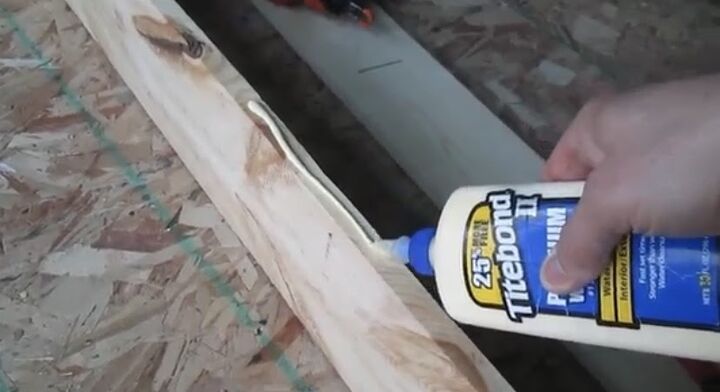
Prop or brace the wider board so it stands upright on its own. I applied wood glue along the top edge of the board.
Stack boards
Place the second board on top of the glued surface to create the beam frame and prop or hold in place.
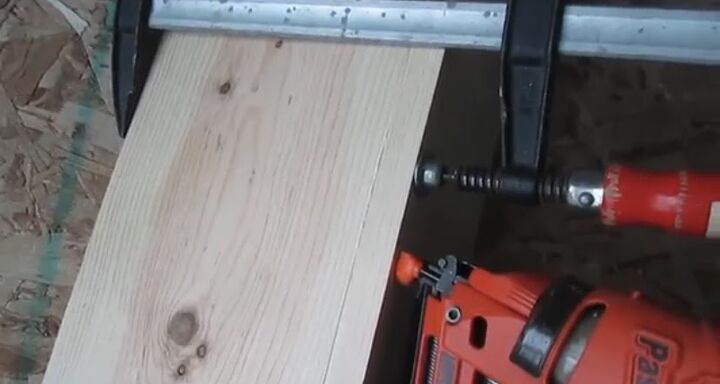
Step 3: Nail the Boards
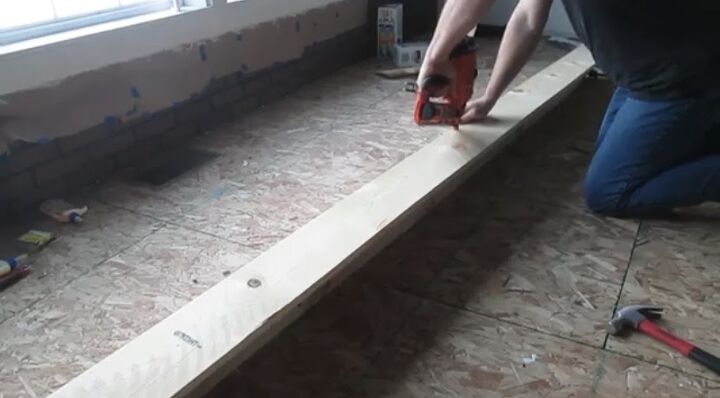
I used a nail gun but you can also use a hammer to securely fasten the glued boards with finishing nails.
Step 4: Wipe Away Excess Glue
Remove any glue that escapes from the seams after nailing the boards together. I used a paper towel to wipe away the glue and residue.
Step 5: Clamp Boards
To avoid visible seams in the finished beam, I tightly clamped and added extra nails to any areas that had a gap after the initial gluing and nailing.
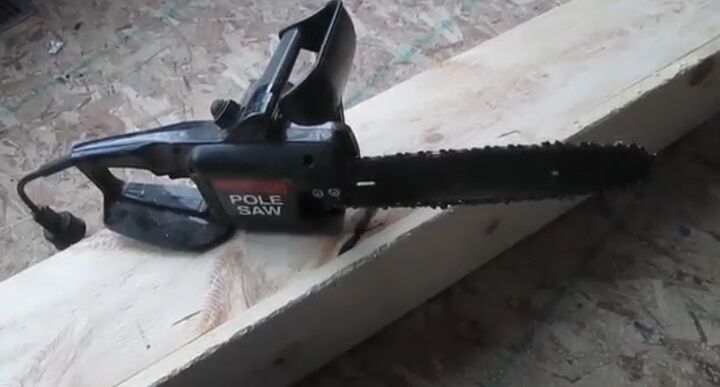
Step 6: Distress the Wood with Saw
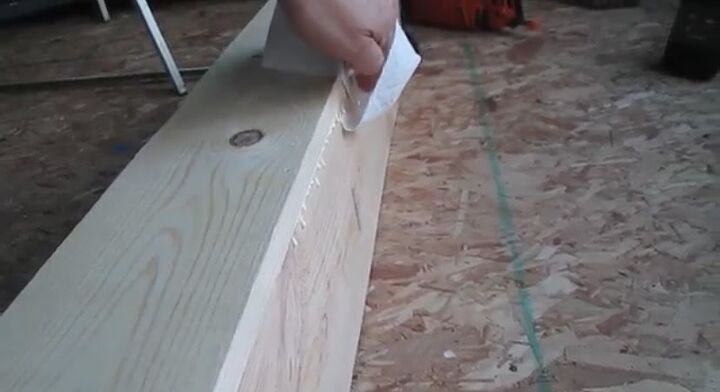
Carefully drag the saw along the beam at a slight angle to create a rough, weathered, surface. I used the saw to create a rough texture on the surface of the smooth boards. This mimics the look of antique lumber so well and demonstrates how to make faux beams from unfinished boards with a very simple but creative technique.
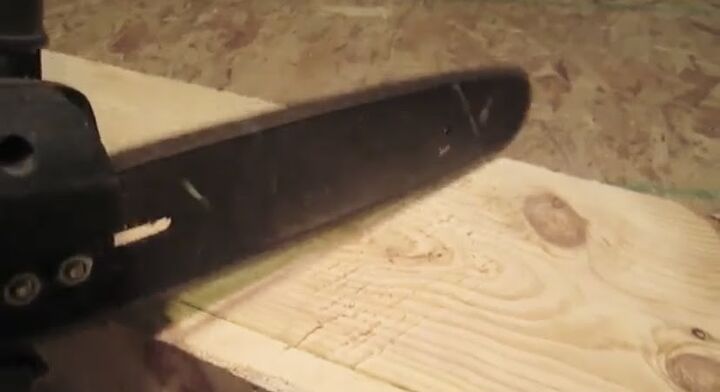
Be sure to use the saw to gently distress the square edges of the boards in order to truly portray the wear found on an old beam.
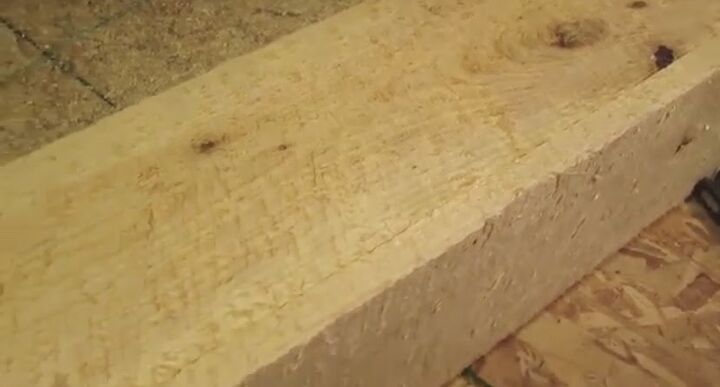
After roughing the surface of the boards with the saw, the faux beam looked like this.
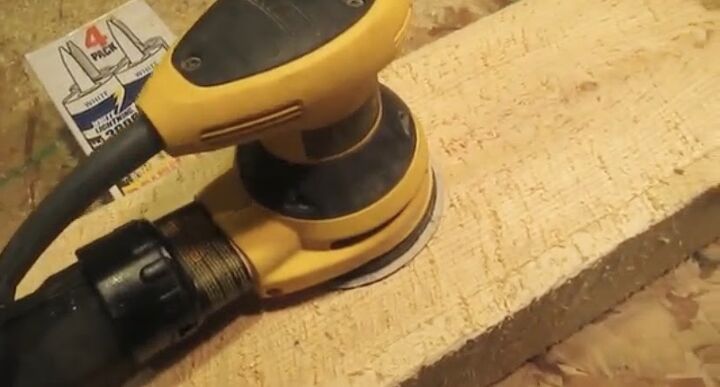
Step 7: Sand the Beam
I used a sander with coarse sandpaper to smooth the frayed splinters of wood created by the saw. It seems counterproductive to sand away the texture that was just created with the saw in the previous step but it is an important step toward how to make beams that look realistic.
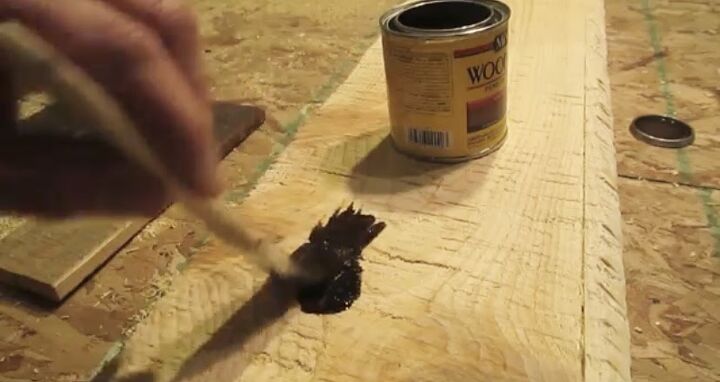
Step 8: Finish the Beam
Depending on the specific look you are trying to achieve, choose to leave the wood natural, rub oil on it, or apply a stain. Tung oil will create a natural, matte finish while polyurethane will create a shinier gloss finish. I chose a rich walnut-colored wood stain to pair with my brick wall. Working in small sections, I used a natural bristle brush to apply the stain to the beam.
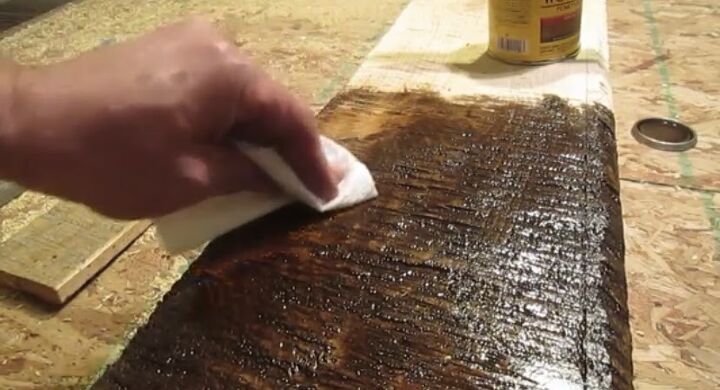
Step 9: Wipe Excess Stain
Working in small sections at a time and while still wet, I wiped away excess stain with a paper towel and I repeated the process of applying the stain followed by wiping away the excess across the entire surface.
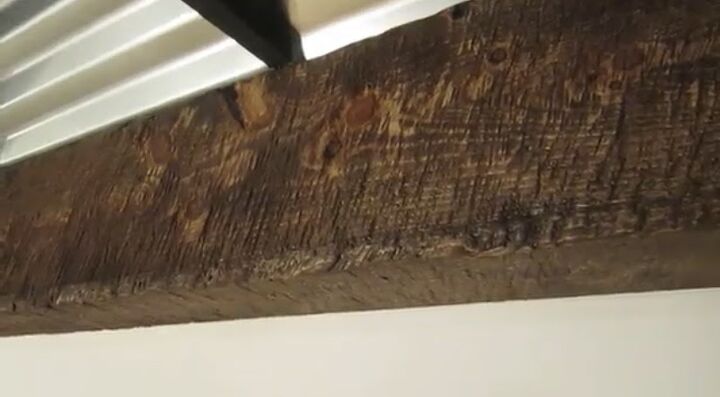
Step 10: Install Beam
Securely fasten the beam to your wall using existing studs. Because of the hollow construction, the beam is lighter than a solid, reclaimed wood beam and hanging it is much easier! Although the faux wood beam is light, it will still need to be attached to something solid. The beam can be nailed or screwed into cut blocks of wood spaced evenly along the wall or ceiling in order to ensure safe installation
Enjoy your design and the charm brought to your space by the look of an antique wood beam!
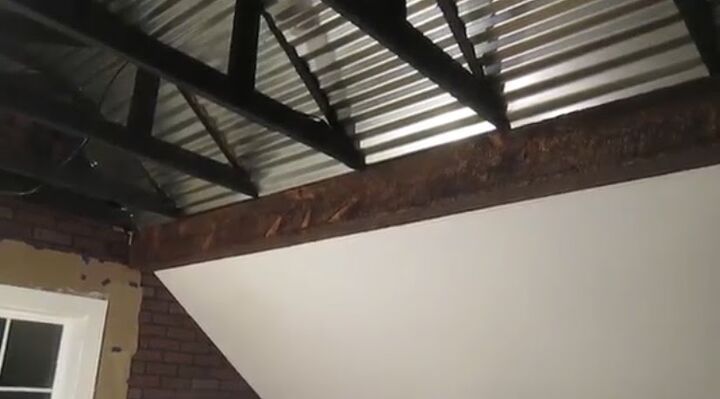
I really enjoyed completing this DIY project and absolutely love the contrast created by combining elements of wood and metal to create an industrial-farmhouse vibe in the space. Guests to our home have no idea that the large wood beam that adds so much interest to the room was made from unfinished pine boards from the home improvement store. If you ever wondered how to make faux wood beams that look like the real thing, don’t hesitate to try your hand at creating the perfect beam for your space using this simple technique!
Do you have an idea for how to make faux wood beams fill a space in your home? A three-sided beam construction would be ideal if you are interested in learning how to make a balance beam. By inverting a three-sided beam and affixing to the ground or to two short posts, this tutorial could be adapted slightly to demonstrate how to make a balance beam out of scrap boards! Share your ideas for how to make wood beams that stand out in your own home or find inspiration for your next project on Hometalk!
Comments
Join the conversation
-
Thank you!
-
ABSOLUTELY LOVED THIS IDEA! DEFINITELY HAVE TO ADD SOME BEAMS IM MY HOUSE. THANK YOU


Frequently asked questions
Have a question about this project?
Could you use oak wood with the walnut stain to achieve a similar dark affect?