How do i install tonque & groove on the ceiling ?

Related Discussions
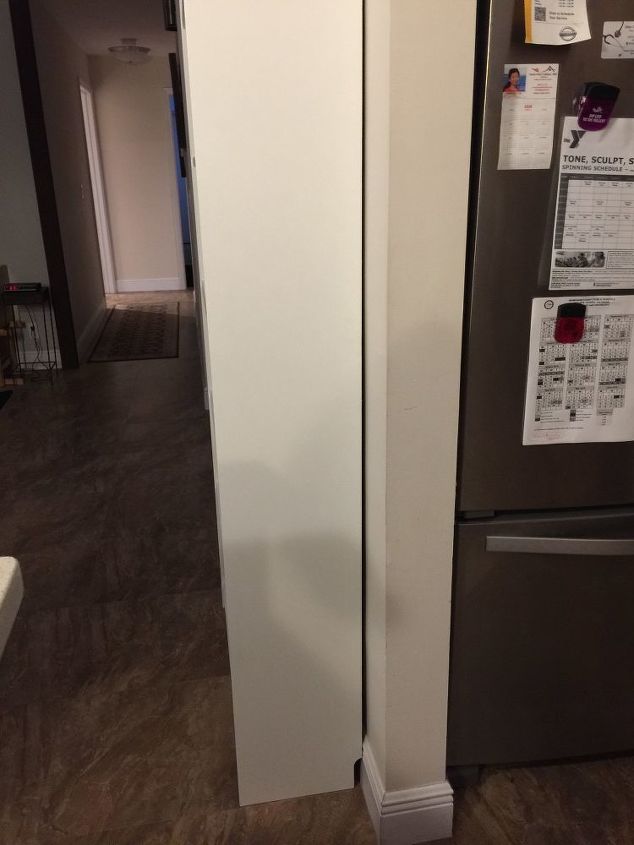
Looking for an idea to make the bookcase look flush against the wall.
It’s an Ikea Billy bookcase. The cut out for smaller baseboard doesnt work. Would like it to look flush with the wall. Would rather not have to cut the baseboard.... See more
What sheen do I use for shiplap?
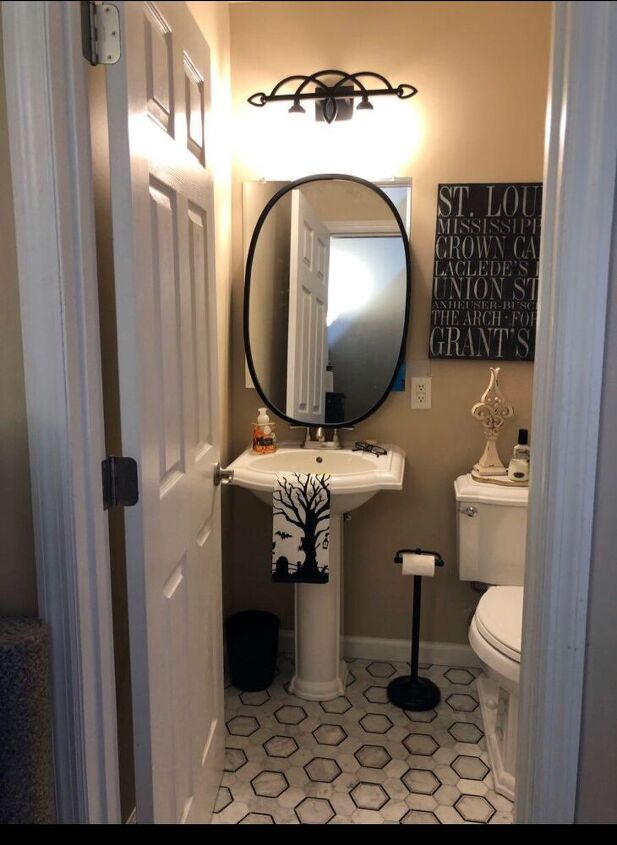
Putting Shiplap on back wall of 1/2 bath. Going with white and I was going to go satin, but I am seeing a lot of eggshell?
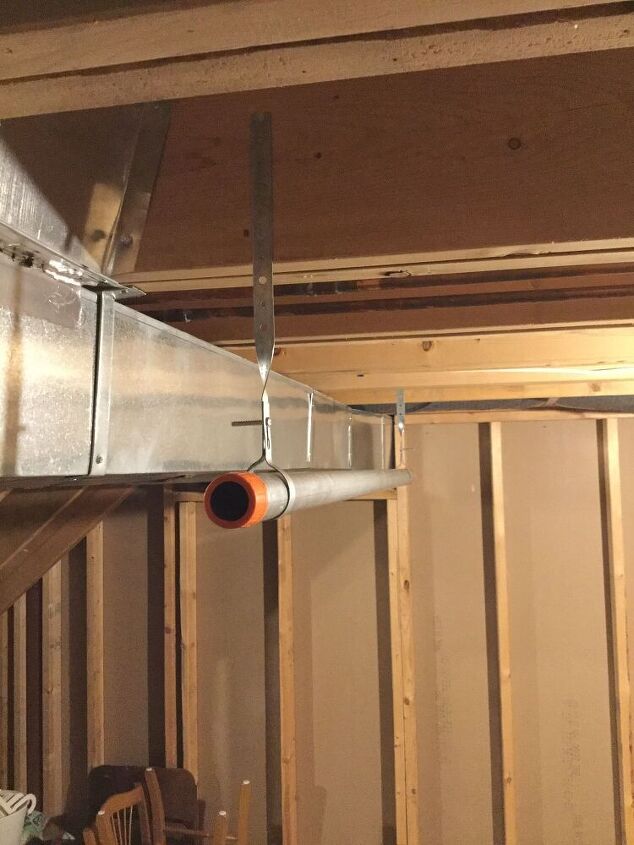
UPDATED (Pls See Latest Answr) Are these pipe hangers safe/suitable..?
Hello,I needed a pull-up bar and made one using two pipe hangers (1 1/2 inch openings) that I nailed into the ceiling joists with roofing nails and then put a 5 foot ... See more
I am wondering if you can trowel cement/concrete onto the shower walls
There is backer board, it will need the orange waterproofing membrane put on that but instead of installing tiles or a tub surround, can cement be troweled on to the ... See more
How do i do away with the rosettes in the ceiling?
Can you completely do away with the rosettes in the ceiling? I was thinking of doing a 2×3 across where the panels meet like a "farmhouse" look. (By cutting a 2x6 in... See more

Hi Jenny! Hope this helps: https://www.bing.com/videos/search?q=how+to+install+tongue+and+groove+ceiling&qpvt=how+to+install+tongue+and+groove+ceiling&FORM=VDRE
Jenny, this looks like a nice video that should lead you through the whole ceiling job!
https://www.youtube.com/watch?v=RRz9XmwydAI
You’ll have to find the ceiling joists & mark them. Start on the side that people will see first. Use finish nails and a nail set. Pre-finish them before installation, keeping the tongues & grooves clean. Stagger the Sean’s/joints. The last row will require ripping it down to size. Measure twice cut once.
Jenny,
Are your ceiling rafters open or covered with drywall? If they are open, you can nail the t&g directly to the rafter if all of your electric, duct work, insulation, etc. is in place, or, if you want the flexibility to run electrical lines in the future, nail furring (sometimes called strapping, nailers, battens) strips perpendicular to the rafters that you will nail the t&g to. This will create channels to fish electric lines through. Another style is to nail the t&g between the rafters if you want that type of exposed look. If your ceiling is already covered with drywall, you'll need to install the furring strips either perpendicular or parallel to the rafters depending on which way you want the boards to run. If the ceiling is flat, it does not matter where you start. Start with the groove facing the wall you are starting at and the tongue heading across the ceiling. You will have to face nail this first board. Then nail through the tongue into the previous board at an angle. This will hide the nail when the next groove goes over it and you will not see any nail holes. If the ceiling is a cathedral or shed style roof, start at the peak of the ceiling and work your way down towards the wall. This way an odd width board will not be as visible and the joint between the ceiling and wall will be covered by trim. If you don't already own a nail gun/compressor, now is the time to invest. it will make your life so much easier. You'll also have to lower any light fixtures or grates to compensate for the thickness of the boards. Be prepared for boards that are not straight (crowned). I use a crowbar to bend them into place and then nail them, but there are other ways to do it. I also like to buy that type of stock at my local lumber yard where I get to pick the boards out, which I find easier than digging through the racks at Lowe's. Lumber yards seem to have better quality lumber with fewer knots, more choices of lengths and styles, and it's not always more expensive than the big box stores. Apply any finish to the boards before you install them. Here is a great tutorial:
https://www.familyhandyman.com/ceiling/how-to-install-a-tongue-and-groove-ceiling/view-all/