


Stained and Planked Ceiling DIY – How-To!

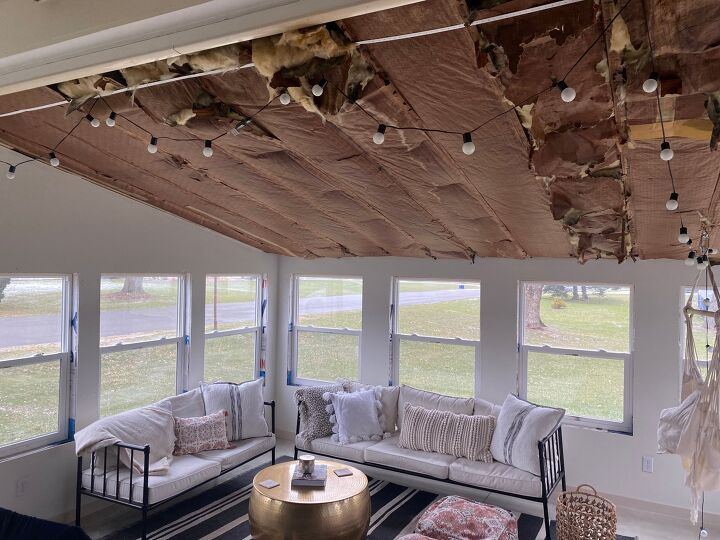
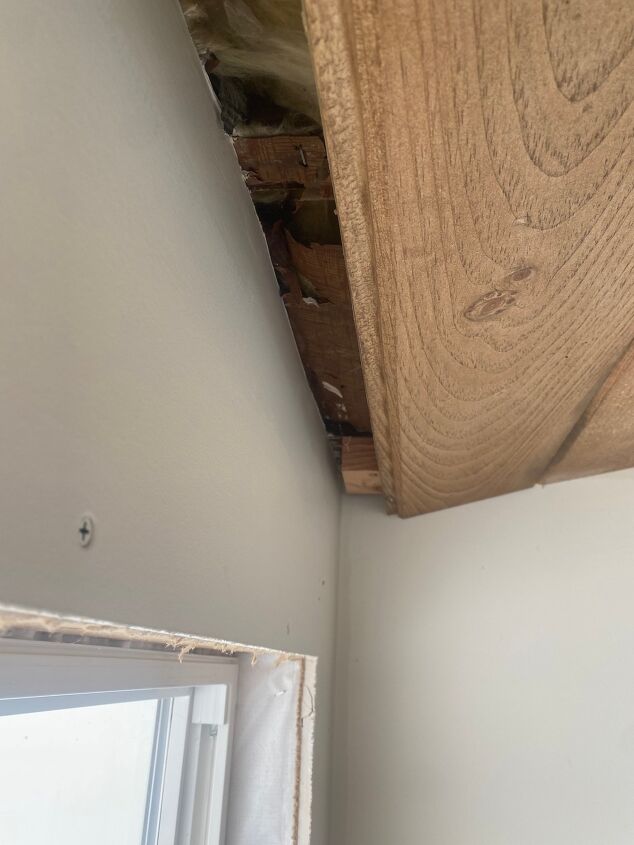
My ceiling in my sunroom was in desperate need of an upgrade. The room had ben renovated over the summer, but in order to save some money I decided to tackle the trim work along with the ceiling on my own. Here is a before!
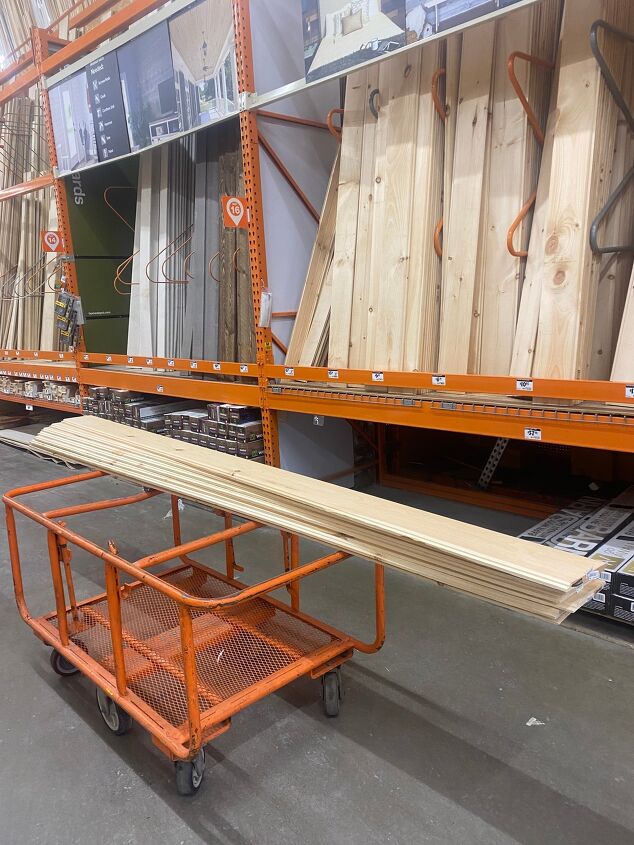
I had envisioned a planked ceiling with stained boards for the ceiling treatment and was pretty stuck on that idea! I first shopped around and looked for the perfect boards. I ended up purchasing 1x8in whitewood shiplap boards from my local Home Depot. I will link the exact boards I purchased here. I needed a tongue and groove to allow for zero gaps because I needed to hide all of the insulation. I choose this specific board due to the size, price, and availability at my Home Depot. Definitely shop around and do your research when looking. I knew I wanted a thicker planked look so I went for 8in thick. There were 6in thick boards that I was not so much a fan of personally for the look I was going for. I bought a combination of the 10ft and 12ft long boards because of availability at my store. My ceiling was about 11ft by 16ft. So, after 3 trips to Home Depot… I ended up purchasing 24 – 12ft boards and 7 – 10 ft boards.
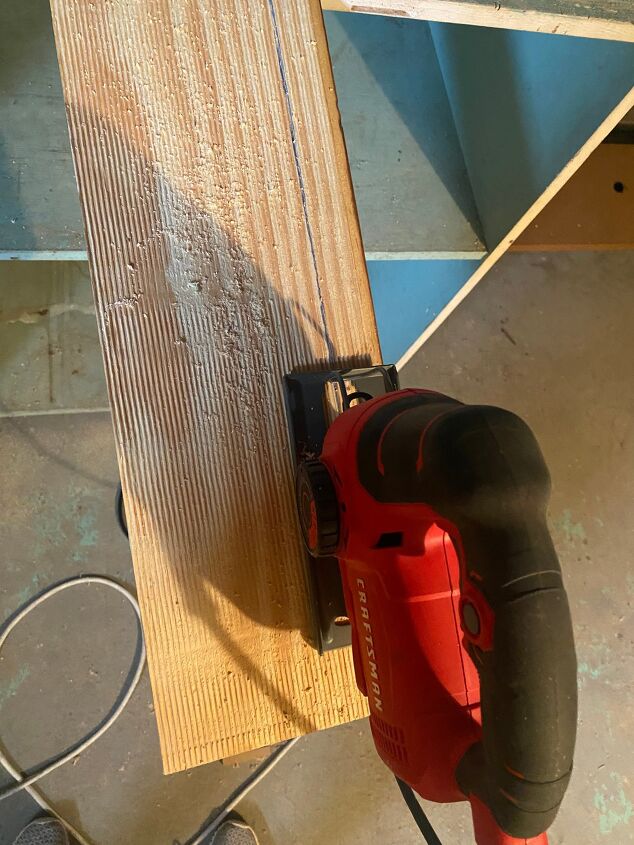
I then lugged all of the boards home and started sanding them down with 120 grit sandpaper and my orbital sander!
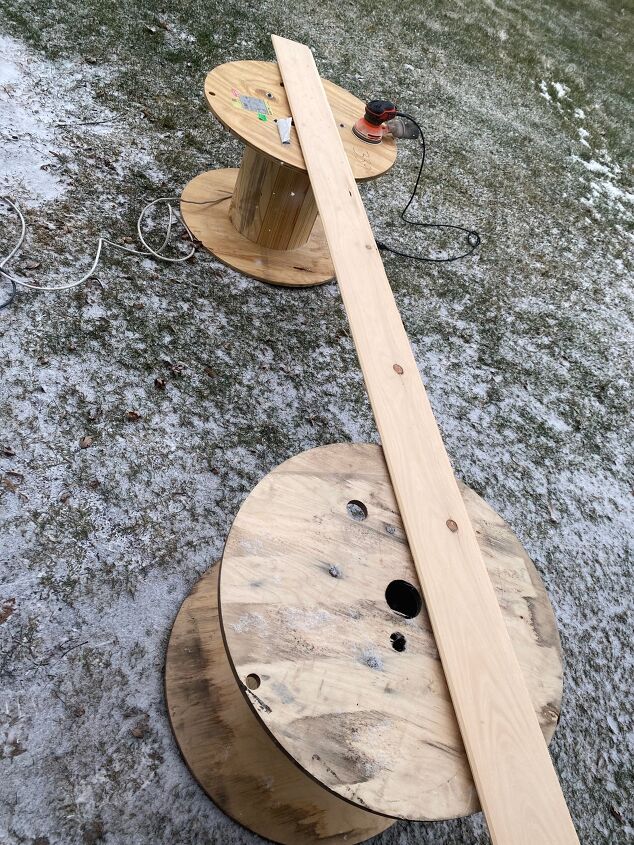
Sanding allll of the boards down was by far the worst/most tedious part of this project but so important. This removes the yellowness, preps them for stain, and obviously just smooths and cleans them up. Makes a big difference and worth it in the end! After sanding I used a tack cloth to remove all sanding dust, then I was ready for stain! I first started with using Pre-stain wood conditioner by Miniwax. This preps the boards for stain, and ultimately helps the boards appear less grainy and more smooth in the end.
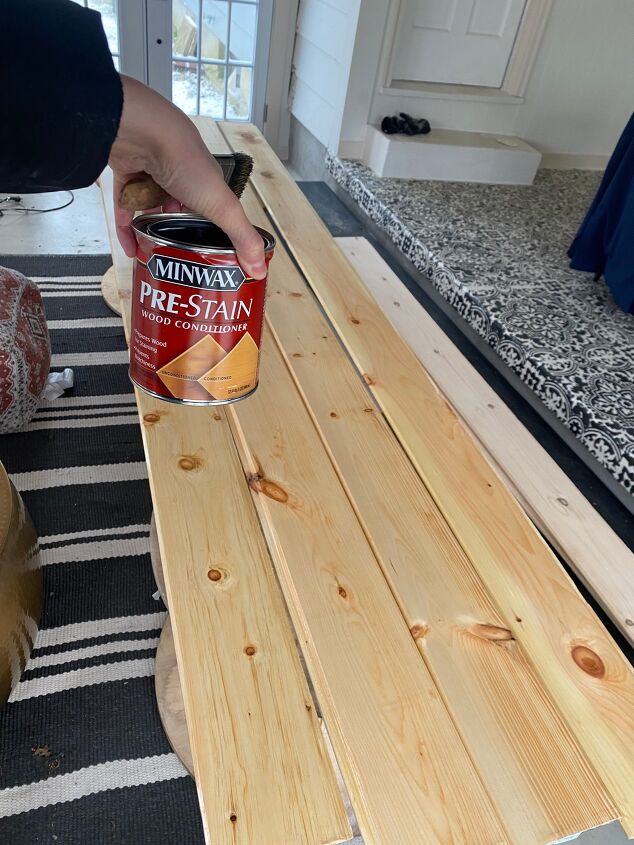
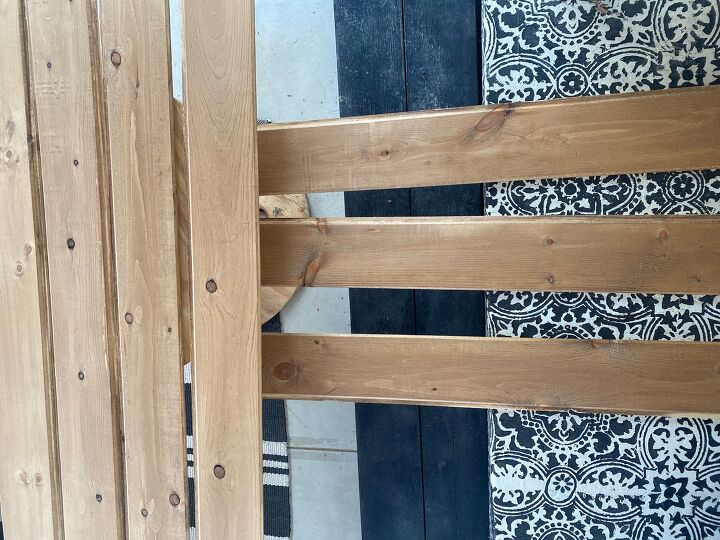
After about 15mins, I wiped off the excess with a paper towel. I was then ready to stain. I applied Miniwax Early American oil based stain with my staining brush, then used a paper towel to immediately wipe of the stain after each board. I didn’t want the stain too dark. Here is how they came out after a day of drying…
Now I was ready to start putting the boards up! I started with a full length board pushed flush to the wall and ceiling to ensure for a straight start and no gaps. Once the board was in a good spot I used my brad nail gun with 2in brad nails to nail the board into the joists of the ceiling. Here is the first board up!
I then measured the remaining distance from the end of the board to the wall and used my miter saw to trim the next board to fit. After your fist row, I used the trimmed portion of my last board to start the next row. This will allow for a staggered look. You don’t want all of your seams to align or it will look weird. To put up your second row, it should slide right into the first row. The tongue and groove fits nicely right into each other. Here is how the ceiling looked after a few rows were up.
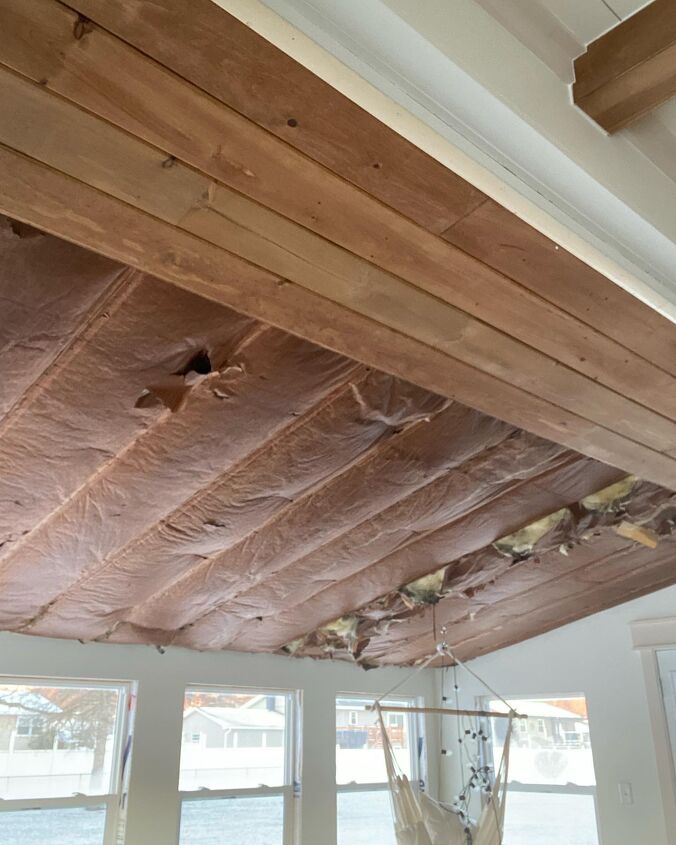
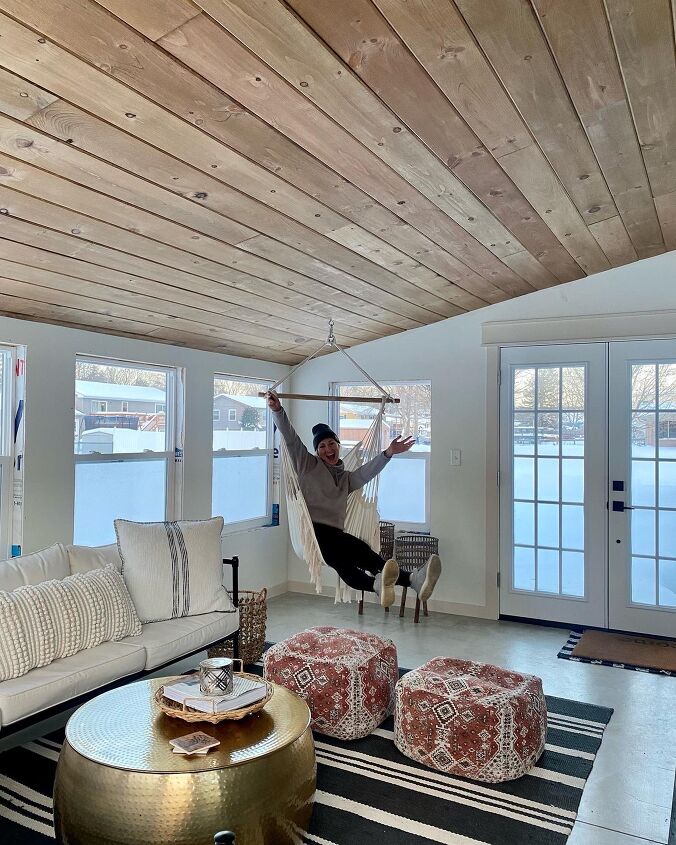
I continued the process of nailing the board into the stud and trimming the boards to fit… I ended up taking my hammock chair down, but re-hung it after the boards were up!
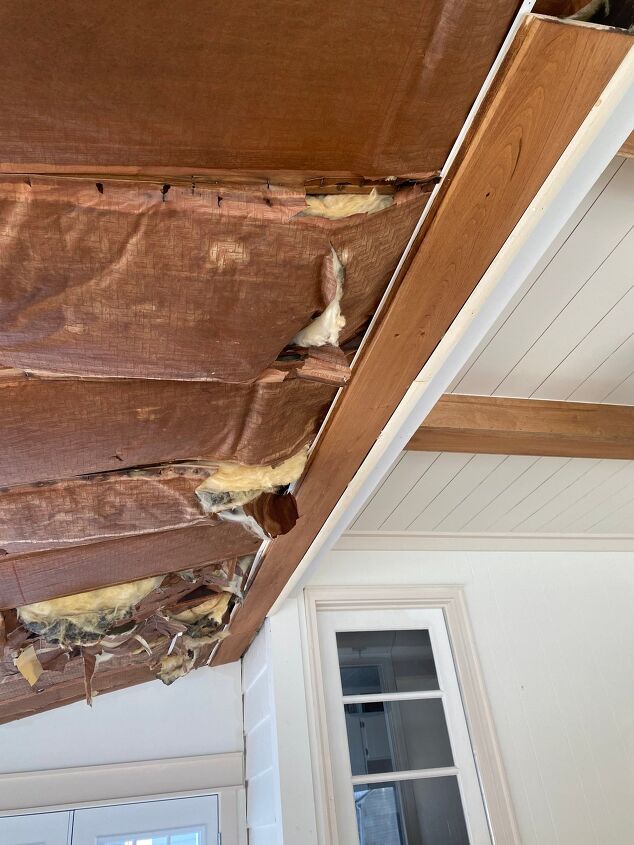
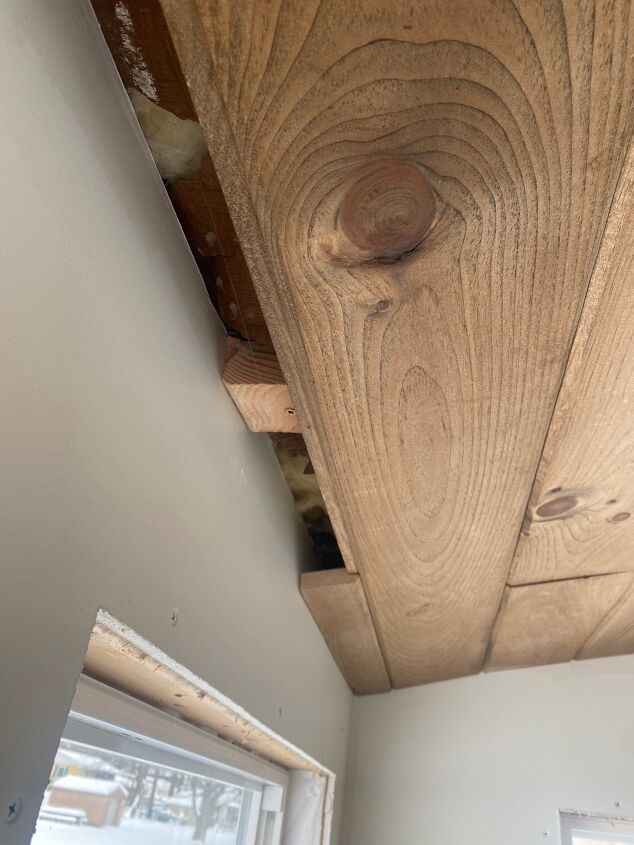
Towards the end of my rows and that end of my ceiling closest to my windows the ceiling has a curvature to it. Because of this curve in the ceiling, the boards wouldn’t sit flush if I nailed them to curved joists, so I needed to screw supports to the ceiling joists to flatten that curve out. These joists allowed me to nail the boards into and allowed the boards to lay more flat and the tongue and groove fit much better. Here is a picture of what I am talking about below…
You can see where the ceiling joists curve. So, I simply cut a 2×4 and screwed it to the joist to give me something to nail the board into. For the very last row, a full width board needed to be trimmed down. I table saw would have come in handy here but I didnt have one and really didn’t want to buy one. So instead I used my jig saw to trim the board.
A jig saw doesn’t make the straightest cut but it turned out pretty close, I was happy with it!
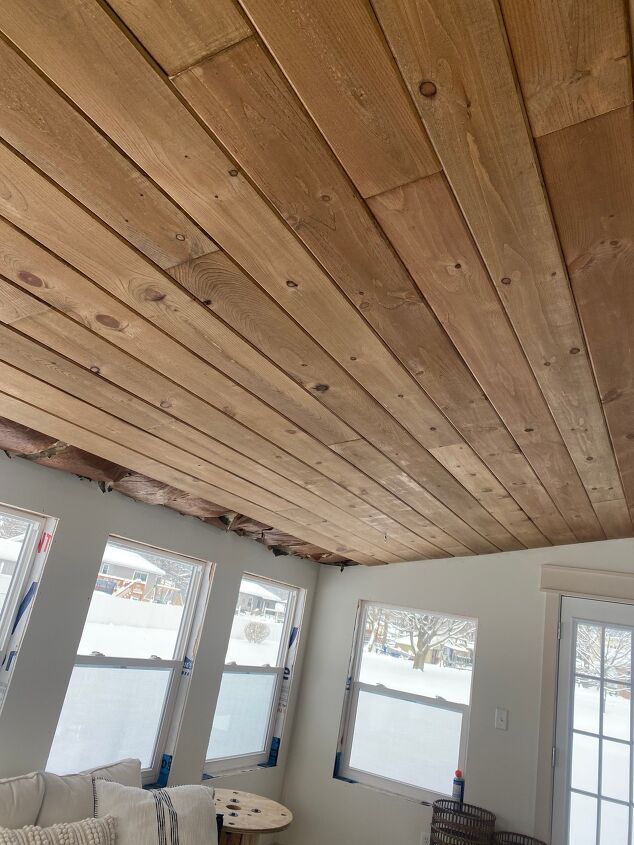
I will need to caulk around the entire perimeter anyways which will really clean it up and make it look finished. Then after I finished my last row, I was DONE!
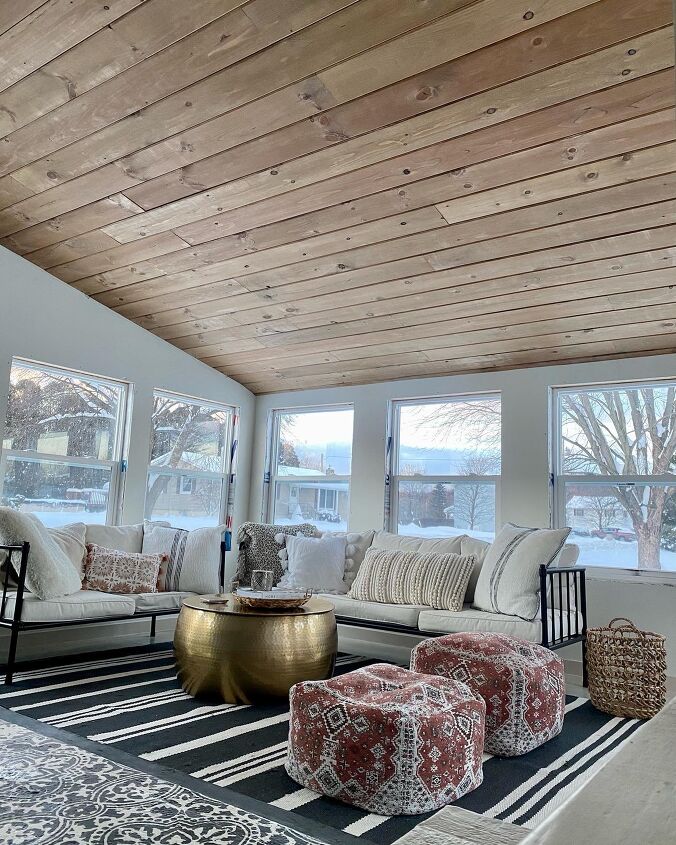
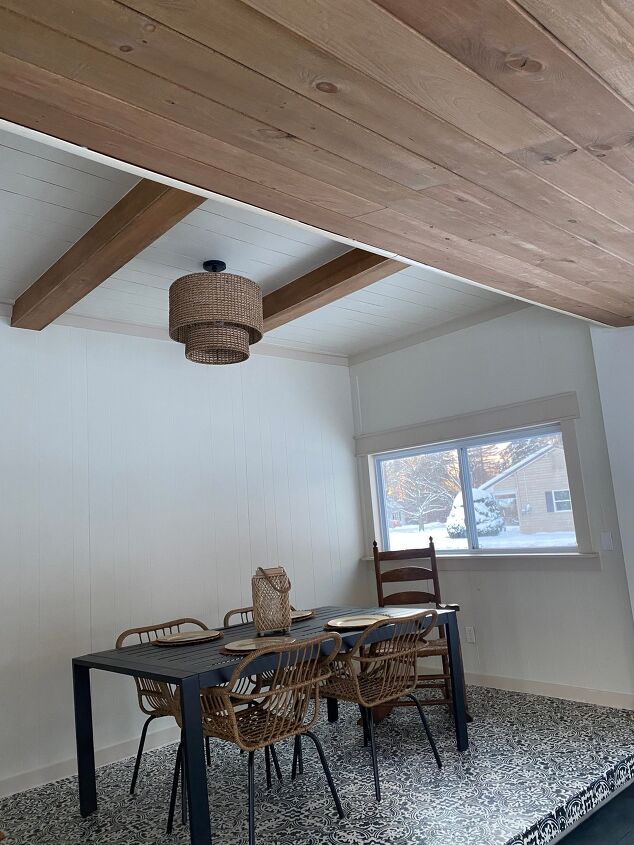
I really love how the stained planks match my ceiling beams, it just ties the whole room together.
Overall this project took me a good 3 days to finish. Tiring, but so worth it. I ended up spending about $400 on the boards. Not the cheapest, but it makes me happy and really needed the upgrade. I am so so happy with how it turned out! Hope this was helpful for anyone doing this, please let me know if you have any questions. You can follow me along on my Instagram @abbbclark_homeee for projects just like these!
Resources for this project:


Comments
Join the conversation
-
Thank you so much Cindy❤️
-
Beautiful 😍


Frequently asked questions
Have a question about this project?
Looks Fabulous Darling...but I have to know...how did you do the flooring under your dinette set???I loooooove it😊!!
Did u have help to hold the boards until you nailed them??