


How to Get Rid of Furniture ODORS Before Refinishing!!!!

What is the refinishing procedure when your vintage furniture reeks?…. and that was my obstacle on this project! Man, this is not talked about enough and needs to be! We all want those heirloom pieces that are stuck in your grandma’s basement that is just waiting for a makeover. Of course, because they are solid wood!
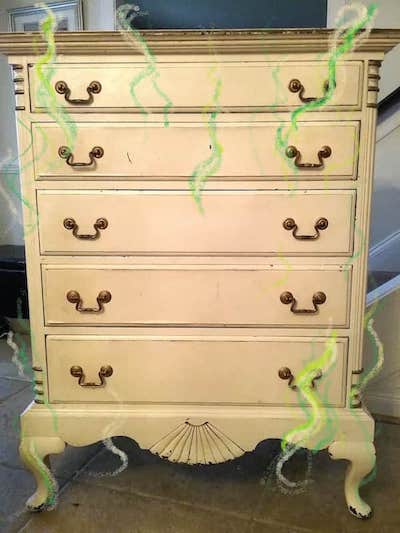
The problem is, those basements can be wet, musty, dank and when combined with wonderful blends of pet odors, the mix can result in an OH SO infamous smell. HAHA.
it really wasn’t until the sanding process began that the pet odors started coming through. HERE ARE MY EXTRA STEPS TO GET THIS PIECE OF FURNITURE CLEANED, SANDED, SANITIZED, DEODORIZED AND SEALED UP! :
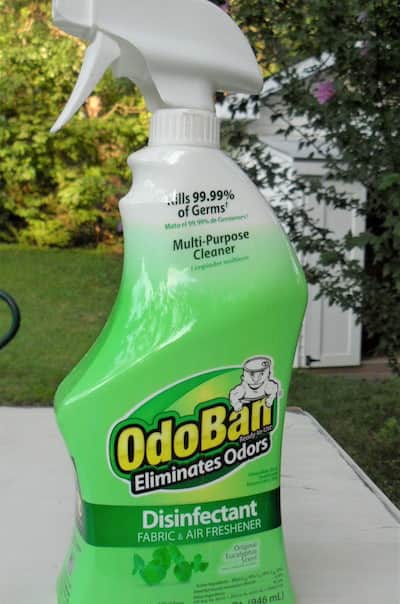
- I stopped the sanding process completely because I couldn’t take it! I sprayed every nook and crannie with ODOBAN and then wiped it down to clean it. I sprayed an extra 2 or 3 times on the furniture and let it air-dry in the sun. You want the spray to seep into the wood.
The lady at the hardware store told us that they use this deodorizer and disinfectant at the veterinary offices because the animal smell gets potent. The veterinarian that uses it was very pleased with the product. So……here we are, a product that can also be used to deodorize those stinky antiques! This product HELPED and made continuing the sanding process bearable.

- I bought a VAPOR MASK!!! This is a must when dealing with disgusting odors!! After the project, I planned to throw out the exchangeable filters!
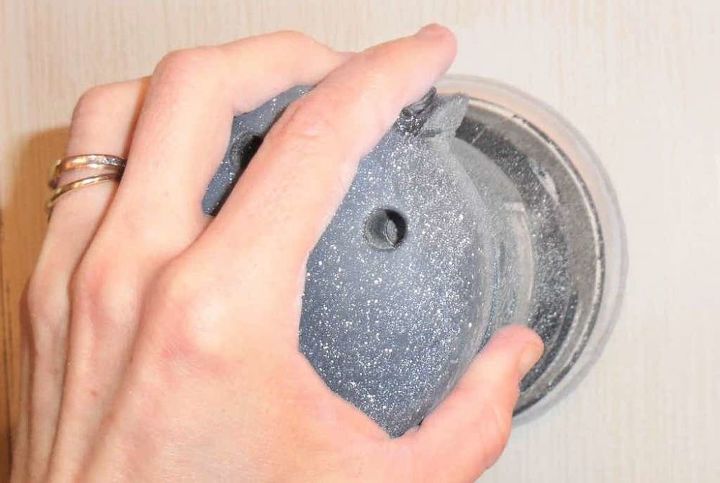
- I resumed SANDING OUTSIDE in my backyard. I started with 120 grit sandpaper. I sanded inside every drawer cavity, underneath the dresser, the back of the dresser and of course all of the nice details were all sanded down. I wanted all the stinky layers of wood GONE!!
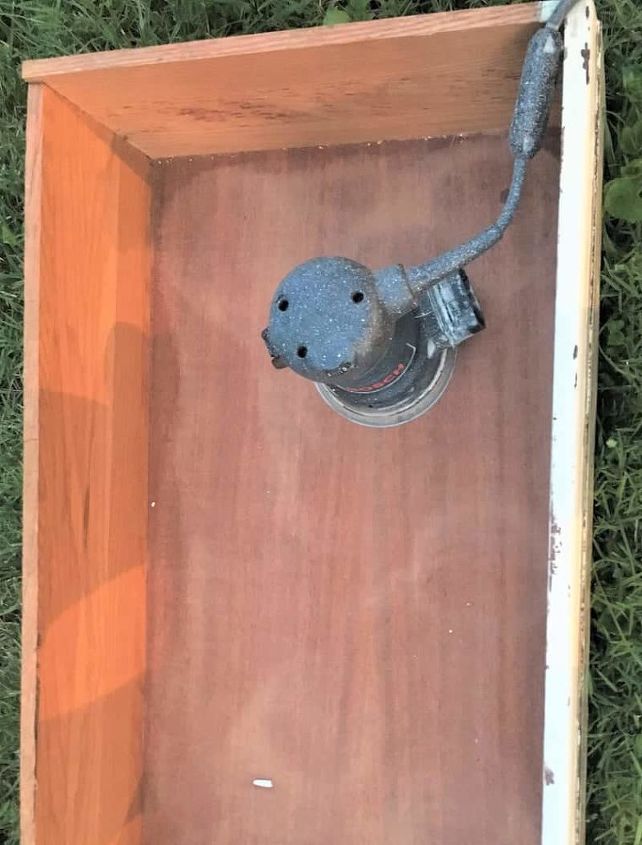
- I sanded out the inside of the drawers with my orbital sander. I sanded underneath the drawers, all four walls of the inside and outside of the drawers. I sanded any wood I could see:)
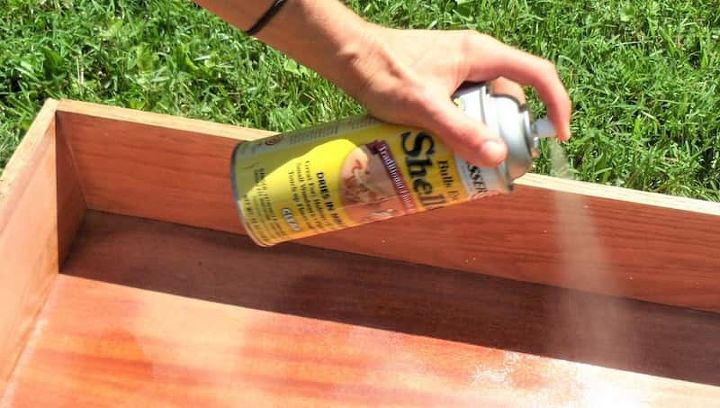
- I cleaned the drawers after sanding and used a SPRAY SHELLAC all over the drawers including the inside, walls, and underneath. On the back of the can it says Shellac will kill odors seeping from wood ! YAY!
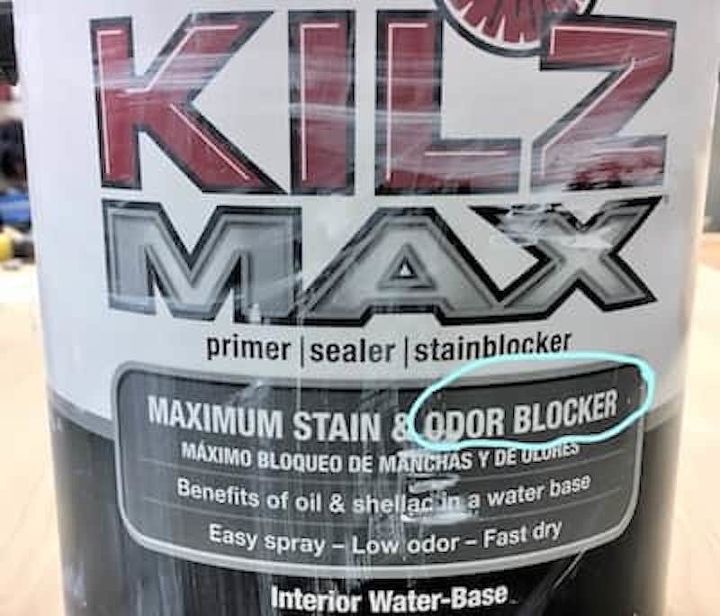
- I put 4 coats of KILZ MAX primer on the entire dresser except for the inside of the shellac’ed drawers. KILZ MAX also claims to kill odors! I could have applied KILZ all over the drawers as well but I didn’t want the drawers sticking or the paint rubbing off or sticking as the drawers get moved back and forth.
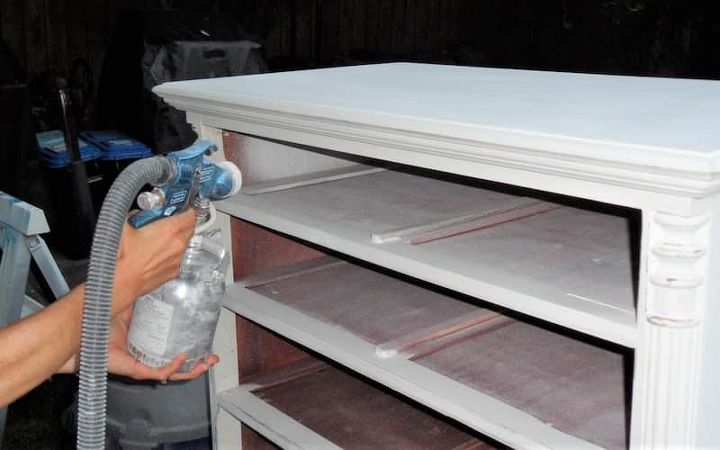
I applied the primer over the entire dresser(including the back and underneath) using our EARLEX spray gun. Between each coat, I sanded with a 220 grit sandpaper. My sanding tools and forms were used each time just like in the above sanding pics….that being 4 times!!

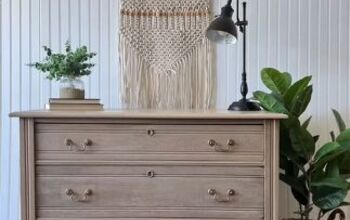
I am joking about the flowers! It's hard to depict an AFTER picture involving SMELL! HAHA. After all of my steps, the odors dissipated. The dresser has a paint smell now. I can handle that any day compared to what I went through to just get this dresser up to the point where it could be painted. In conclusion, this primer'ed dresser minus the stink, is ready for a nice finishing paint.
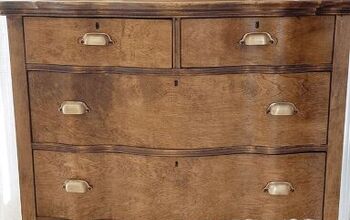
NOTE: The dresser painted is another full tutorial post. The drawer fronts had more work involving bubbling and peeling veneer that needed to be addressed.
Cost:
Since I had the orbital sander and Earlex sprayer, this project cost around $80 for all the paint and products.
Would I do this again? Every day I worked on this I asked myself why I was going to this level to save this hunk of junk! It wasn’t an antique, nor did it have excellent craftsmanship. It started to become more work than expected and more for me than a cute vintage dresser at that point. What kept me going was the challenge. I wanted to see if I could completely mask the ridiculous odors; and if it didn’t work…..hey, I could dump it in the end! The important point is that it can be done even as bad off as this dresser was! Yes, a lot of extra work went into this, but when one has inherited a beautiful heirloom antique piece that stinks like the dickens, there is still hope:) That is what I wanted to see if I could share with you in the end. If this were to happen again…..I would make sure I really LOVED the piece of furniture and that it was WORTH saving!! On that note, finally with the primer on, it’s ready to be painted with some nice paint! Stink out accomplished!!
Comments
Join the conversation
-
Beautiful!
-
This is great! Thanks for sharing!


Frequently asked questions
Have a question about this project?