


DIY - Clean Old Wood - CityGirl Meets FarmBoy
I find myself getting giddy when we see old wood somewhere, it just sparks creativity all over me.
There are so many uses for old wood, it’s a DIYer’s dream come true. But we have to be extra careful bringing it into our homes to make sure it is clean and sanitized. I got the itch for a project and needed my stuff all sparkling. So I did lots of research and was amazed at the different ways to sanitize old wood.
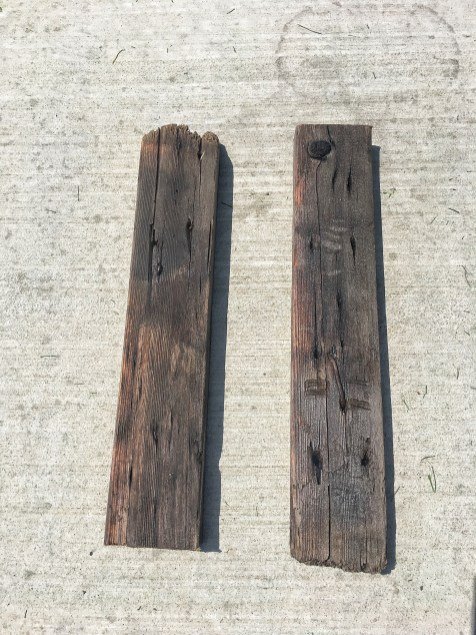
First of all, what’s the story of your wood? Was it from a deck, an old barn, or found by the river? What type of residue is left on it? And finally, what is your purpose with it? All these questions will help you determine how you need to clean it.
For my purposes, I am using my old barn wood for crafting and DIY’s. No one is eating on it, animals are not chewing on it, and kids are not playing on it. But if these are your purposes, I would be very diligent in its cleaning – use all the methods you can to sanitize it. (Check out here for details on cleaning for animal enclosures – you must make sure no bleach will leach out onto the animals.) You want to be extremely careful that no bacteria or bugs are still living within its beautiful wood skin.
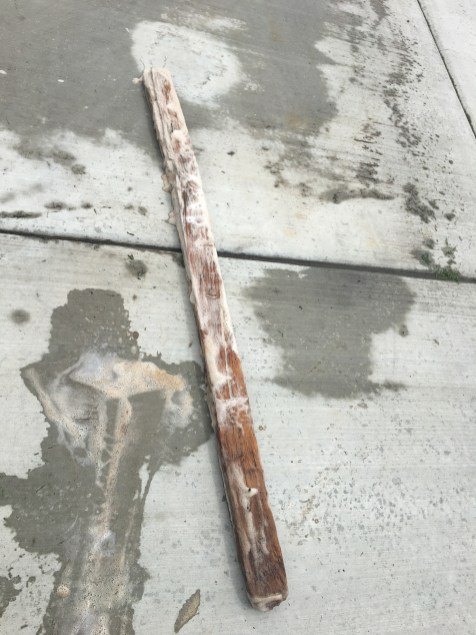
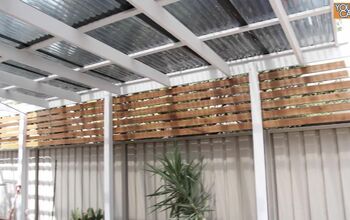
I know they were used as a fence that horses rubbed on and chewed on – lots of character and lots of germs! So I was extra vigilant with these pieces. I have some other wood I gathered from my friends old deck, it will not require as much attention when I sanitize it.
Gather your supplies:
Bleach – Old Rag – Dish Soap – Scrub Brush – Small Bowl
Gather you tools:
Pressure Washer – Steamer – Oven (just leave it where it is!) – Large Bucket or Tub
Be prepared:
This will take a few days – I know, bummer. UNLESS you only want to do the oven method, but this can only be for super small pieces. But proper soaking is necessary. Wear work clothes when its time to pressure wash – you will get DIRTY!
Step One
Soak your wood in a bleach bath in a bucket or in the tub for 24 hours. Use anywhere from 1/2 cup to 1 cup per gallon. I actually used more because I was really worried about bugs and I knew the wood was going in a place where no one would touch it. It’s important for it to soak for 24 hours to properly kill bacteria. It also helps to loosen up the dirt for later removal. Some sites say soak it for 5 days, others say 3 hours. The 24 hours was the most common time for old wood – so this is what I used. If you would like more information on bleach times check here and here.
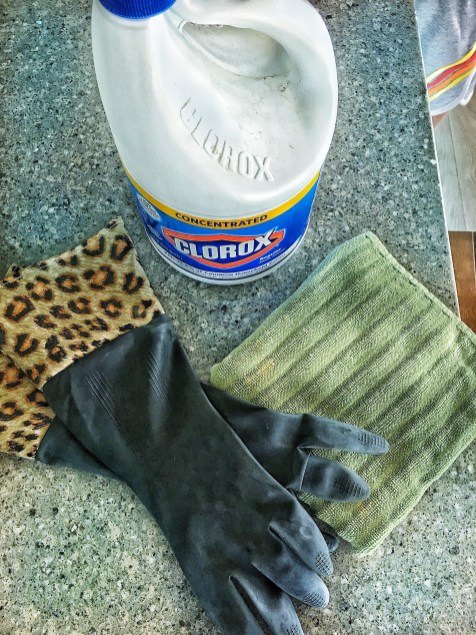
Use gloves with Bleach!
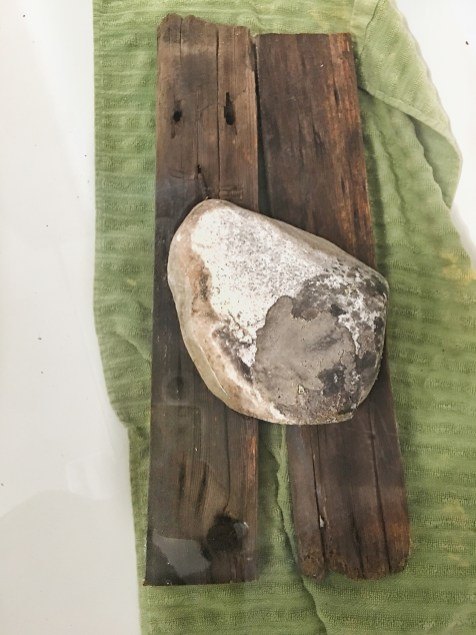
Use a rock to hold down. I used Clorox Bleach, rubber gloves, and an old towel. I filled the tub with enough water and then mixed the bleach in. I used an old towel to lay down under the wood to protect the tub and then used a large rock to hold down the wood. Let it be for 24 hours.
CAUTION: Lock the door to the bathroom if small children are around. And NEVER mix bleach with any other cleaning supplies. Make sure to properly wash out tub with gloves when this part is complete.
Step Two
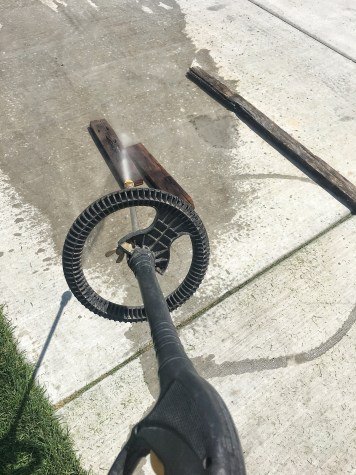
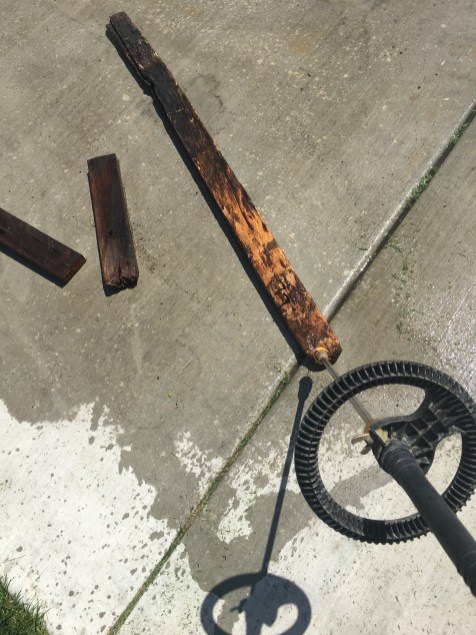
Remove your wood and take it outside for further cleaning. Place it in an area that is away from grass and close to the gutter for rinsing. It will kill your grass if you have bleach run off into it. Its Pressure Washer time!
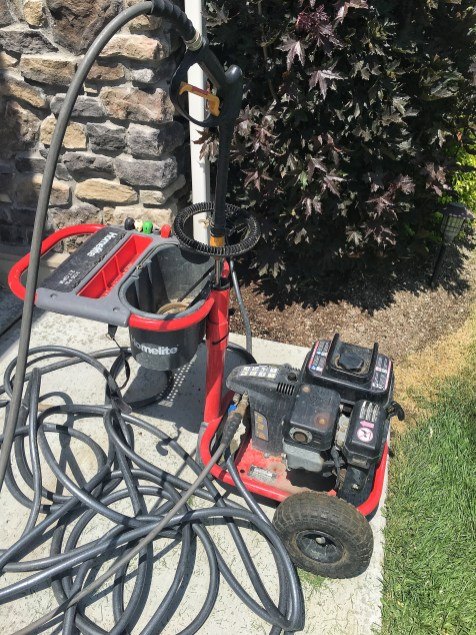
We love our pressure washer. Its so useful for so many things.
QUICK LESSON: We have a heavy duty commercial pressure washer that we use at the carwash we own, and what is show here. But there are smaller models that are just as effective for this project. They are rated by PSI: Light Duty (1-1899 PSI), Medium Duty (1900-2799 PSI), Heavy Duty (2800 + PSI), and Commercial level is 3100+ PSI. To remove mold and dirt you only need the Medium Duty Pressure Washer. If you are interested in checking them out, Home Depot has lots of variety and options.

You can even rent one for around $27 for 4 hours – which is plenty of time to get the job done. Some links are added at the end of this post!
You will power spray your wood to cleanse the bleach from inside. Since mine is for non-touch decor, this is fine. But if you want to use it for more human touch purposes you will need to rinse and soak it a few times to get all the bleach out so it doesn’t “leach” out. More on that here.
Step Three
Second Cleaning – break out the suds. You will need your dish soap mixed with warm water (use as much as you like), and a scrub brush. This part takes off the outside dirt and grime.
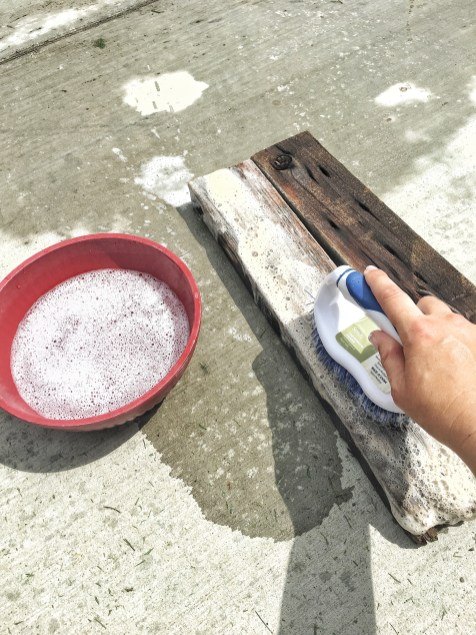
Some people want the nails removed, but I like the look of them. If you choose to leave them in for the look, USE CAUTION WHEN CLEANING – you must be careful to not cut yourself. Rust is the process of metal oxidation. It is not the rust that causes sickness, but the bacteria call Clostridium tetani that lives near it (also know as Tetanus.) Touching the rusted metal does not make you sick, it is through an open wound that you can become ill. So JUST BE CAREFUL! More on this topic here. If you would like natural ways to clean the rust off of nails, check out this website for more help.
Step Four
Second round of pressure washing – get those suds off!
Step Five
After all the suds are gone and you feel like its rinsed well, leave it out in the sun to dry. This also adds another protection of bacteria killing.
Step Six
Final Cleaning! Extreme heat will kill bacteria, and I wanted to be extra sure. Here you have two options. Steam or Heat. I chose steam because of the size of my pieces. I used my clothes steamer and steamed the wood ALL OVER. It took some time because I used a clothes steamer. I have the SALAV brand and love it. If you want a science lesson on the power of steam and ways to use it to clean click here.
You can also use a cleaning steamer found here. Both are sanitizing temperatures, but have a different power level.
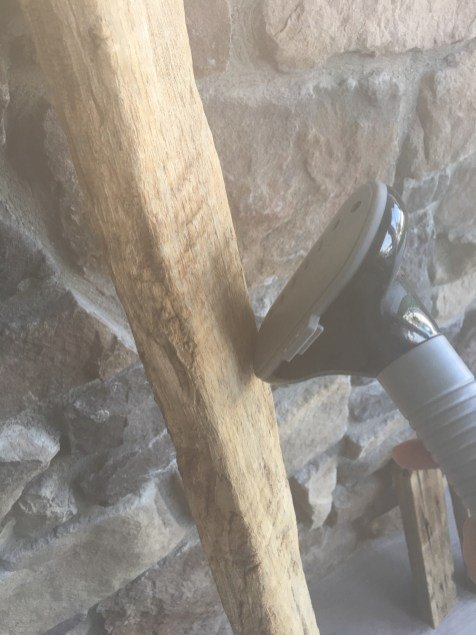
It is hard to see that hot steam, but you can tell from the photos when the steam started to come out of my steamer. I pressed it to the wood and slowly moved down. CAUTION: It is so hot and can burn you badly. Be oh so careful using a steamer. My cute girl asked if she could touch the steam, she had no idea how hot it could be. Of course I wouldn’t let her, it would have ended badly.
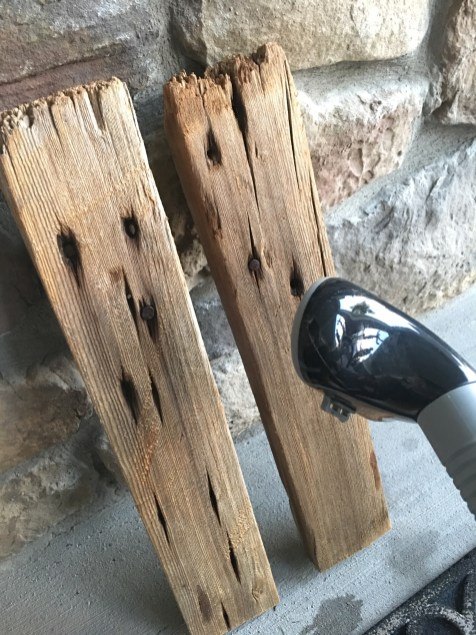
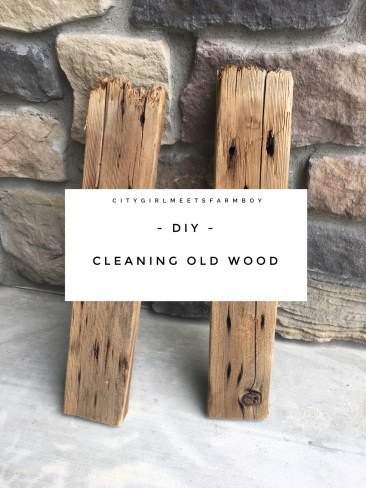
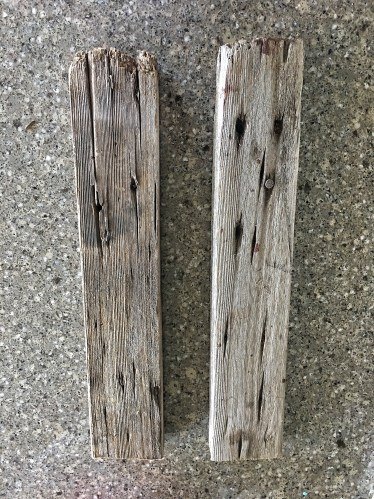
After this you are complete! Let it dry again. You can tell the difference in the color from the beginning to the end of the process.

Before cleaning…

After cleaning…
Optional OVEN METHOD: If you would like to “cook” your wood in the oven, it’s a great way to kill germs. I would not use this method until after you have cleaned all the dirt and grime off of it. CAUTION: DO NOT LEAVE THE WOOD UNATTENDED. Bake your wood at 200 – 300 degrees for 2-3 hours.


Frequently asked questions
Have a question about this project?