


Beeswax Butter Recipe
$20
1 Hour
Easy
In this post, I will show you how to make a beeswax butter compound that can be applied to your kitchen utensils. I have used this on my wooden utensils and it works great. I hope to pass these items down to my grandkids one day, so I want to take care of them. You will also be pleased with how it brings life back to a dried-out wooden utensil or a cutting board.
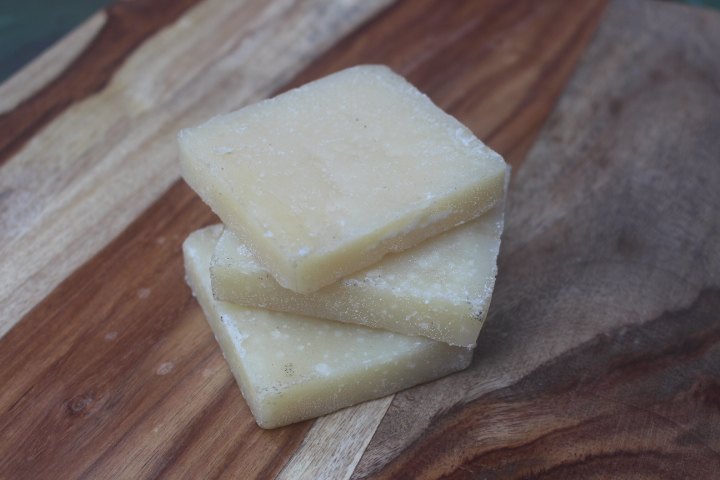
This recipe is very simple. It's 2 parts mineral oil to 1 part beeswax. Fortunately, my father is a beekeeper so he supplied me with the beeswax that came from his hives. But you can also find beeswax in local hobby stores. To make a small batch of the butter compound, measure out about 4 ounces of beeswax.
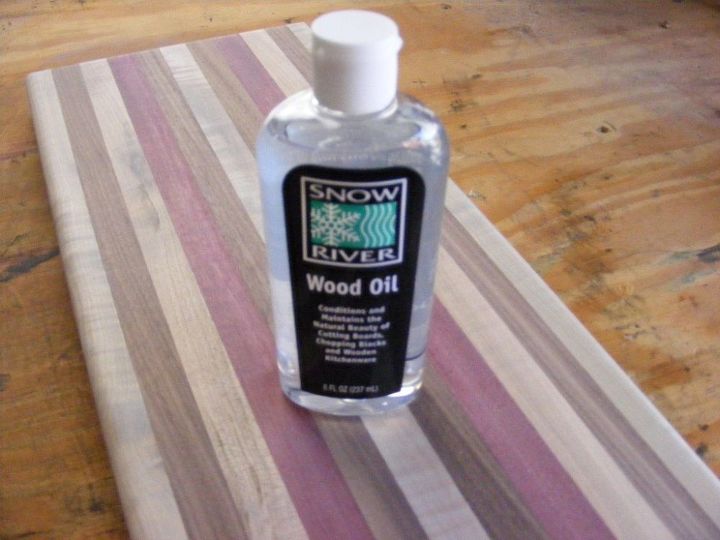
You'll also need to get a small bottle of food-safe mineral oil. There are different brand names, and you can find it in department stores and home improvement stores. You'll need to measure out 8 ounces of mineral oil.
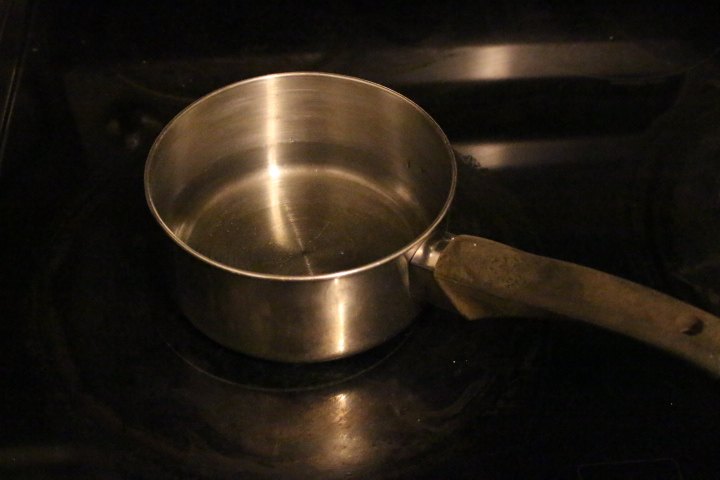
Add the mineral oil to a small pot and turn to the lowest heat setting. I took the big junks of beeswax shown above and broke them up into smaller junks. I then added the beeswax to the mineral oil and stirred for several minutes. The mineral oil doesn't have to be very hot to melt the wax. Keep stirring until all the wax melts and you're left with a clear liquid again.
Once it's clear, turn the heat off and allow the mixture to cool for maybe 2 to 3 minutes (or until it's not hot).
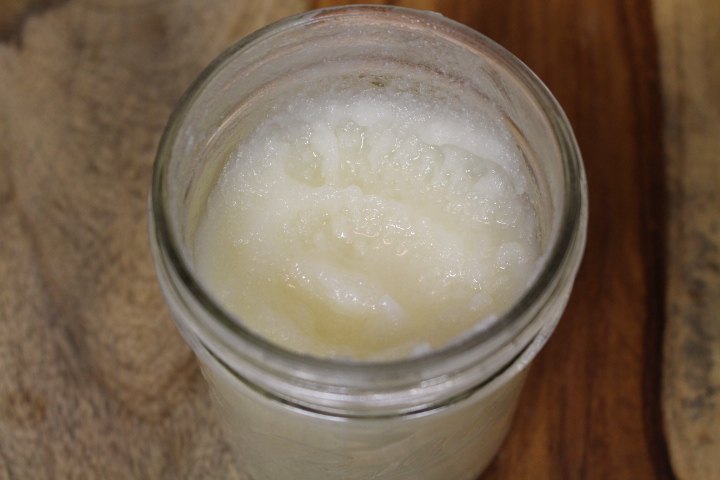
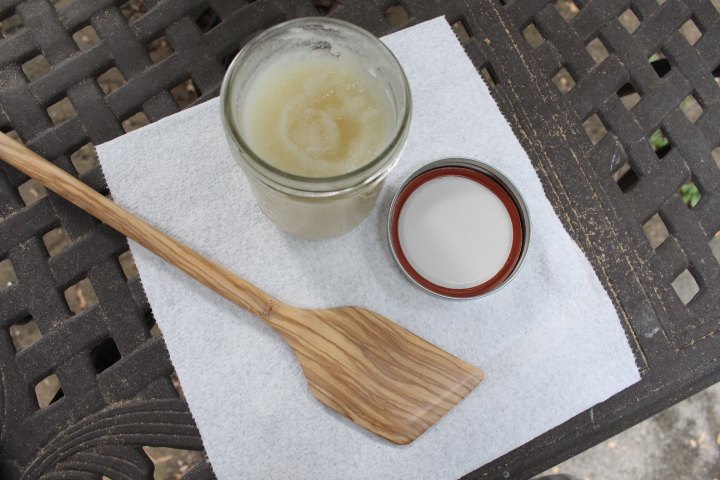
I carefully poured the mixture into a 12 ounce, wide-mouth mason jar -- just below the brim. (Before you do this, make sure to run the mason jar through the dish washer.) After the mixture has been poured in, leave the top off and cover the opening with a paper towel so nothing will drop down into the mixture.
Allow it to sit overnight (lid off). The next day, you should see something like the picture above. Very close to a butter consistency.
You can then use it immediately or screw on the mason jar lid (with gasket seal) and store in a cool, dark place. It might be a good idea to label it, so others know what it's for.
I like to just dab my fingers into the mixture and work it thoroughly into the wood. I then allow it to sit and soak into the wood overnight. The next day, I'll wipe off the excess beeswax butter with a paper towel, and then buff the utensil with a clean cloth.
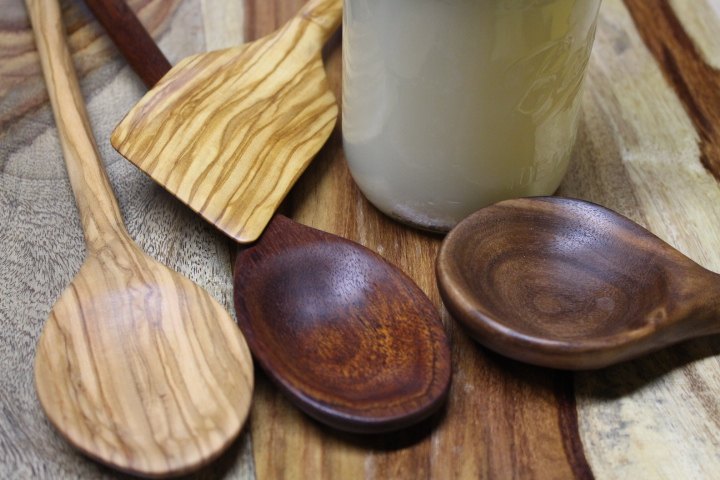
Here are a few of my scoops, spoons, and spatulas that I've worked on in recent months. The beeswax butter works very well. I'm very pleased with the results.
Please check out the link below for more details on the recipe, and I also give you several tips on caring for your wooden utensils.

I also want to make you aware of my free newsletter. You can subscribe by going to my website. Four Oaks Crafts.com and look for the sign-up form on the left-hand side.
If you decide to subscribe, I'll also send you my Home Shop Safety & Tool Checklist for free. It's a fairly comprehensive checklist I've developed to evaluate existing shops or for those starting a new shop.

Want more details about this and other DIY projects? Check out my blog post!
Comments
Join the conversation
5 comments
-
They look beautiful! Thank you for sharing this!
-
Nice spoons, I got a case of spoon envy. And I will make your butter for mine.


Frequently asked questions
Have a question about this project?