


How to Attach a Table Top to Trestle Base (EASY Disassembles)
9 Materials
$40
1 Hour
Easy
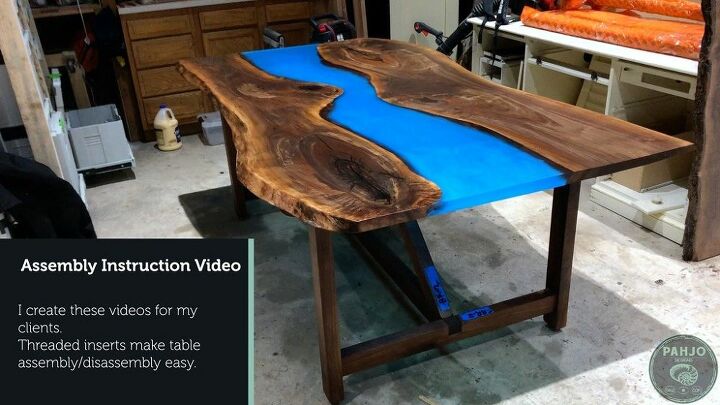
In this HT tutorial, I show you how to attach table top to base using threaded inserts that easily disassembles. This method works well for trestle wood tables without an apron. Be sure to visit my blog and subscribe to my YouTube channel for DIY tutorials & handmade items.
{
"id": "6050703",
"alt": "",
"title": "",
"video_link": "https://www.youtube.com/embed/2zNa_91Mwbo",
"youtube_video_id": "2zNa_91Mwbo"
}
{
"width": 634,
"height": 357,
"showRelated": true
}
IntroductionThere are many different techniques for attaching a wood table top to table legs or a trestle base.However, attaching a table top to base using threaded inserts and a wood mounting block works best for farmhouse tables with trestle bases.This method consists of installing threaded inserts in the table top and table bottom.A wood mounting block rests on the underside of the table against the trestle table base. Basically, it serves as a connector.One screw secures the wood block to the table top and the other screw secures the wood block to the table base.
Advantages of Using Threaded InsertsI use threaded inserts on most of my custom tables because they make things easier on me and my clients.Essentially, threaded inserts accomplish the most important factors for me:
- Makes table disassembly and table assembly simple. I create a short video for my clients with table top assembly instructions. In the video tutorial for this project, I included a real example so be sure to check that out.
- Allows for wood movement if installed correctly. More on this later.
- Makes centering the table top on the base easy.
- Securely and safely attaches the table top to table bottom.
- Allows for slight wood movement while maintaining stability.
- Streamlines assembly and disassembly for my clients.
- Provides cheaper shipping options and allows me to protect each part of the table better.
- While I prefer to make a table base using fancy wood joinery with no screws to demonstrate my woodworking skills, it simply doesn’t make sense for most of my projects.
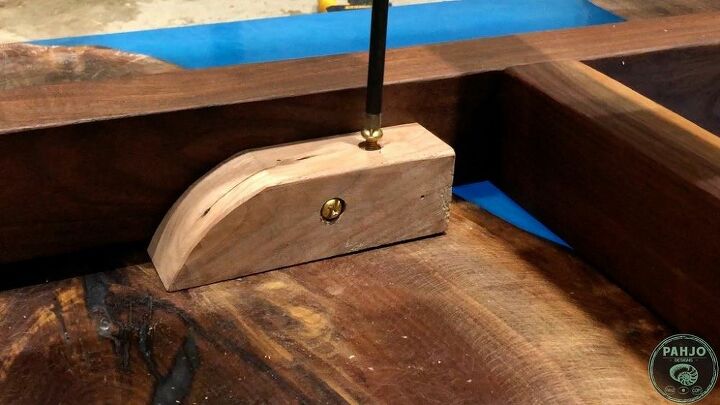
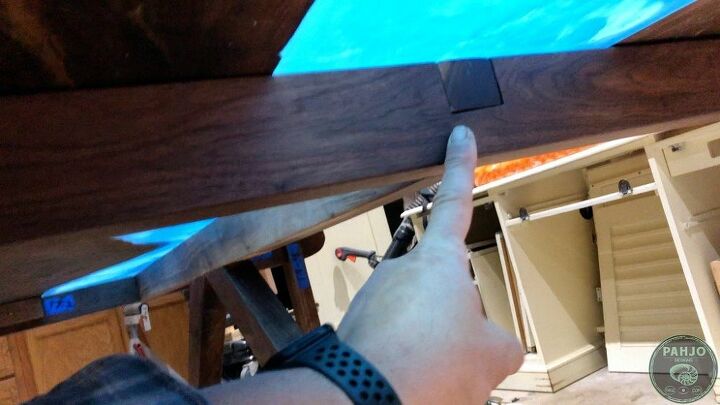
Wood Mounting BlockThe wood mounting blocks are simple to make and, as mentioned previously, serves as a connector for the table top and table bottom.I used leftover walnut wood from the table base to cut 4 square pieces of walnut at 6” x 1.75” x 2” (L x W x H).Then, I cut these pieces with my bandsaw, but a jigsaw or handsaw works just as well. Next, I traced the curve of the top bar on the trestle table on the square blocks of walnut and cut it on my bandsaw. This helps disguise the block of wood better, but not completely necessary. Once they were all cut, I sanded them down on my disc sander and rounded over the edges.

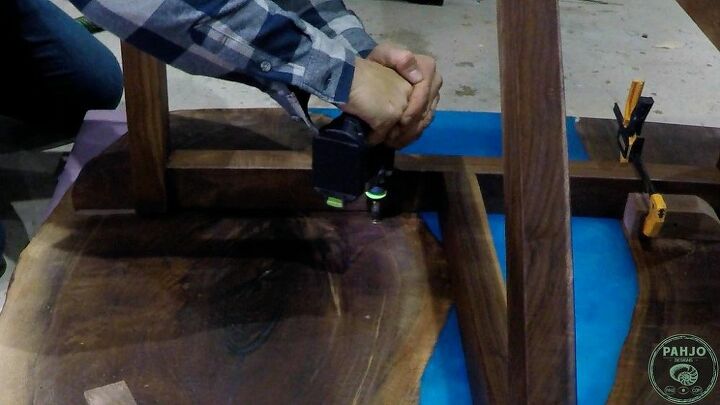
Center Table BaseAs a first step, I needed to flip the table over. I don’t have a lift in my workshop yet, but who needs a lift when I have 2 strong boys to help me flip the table.We flipped the table over and centered the trestle table base on the bottom of the table. With the table base centered, I traced the table base around the perimeter with a pencil. This pencil line allows me to easily reposition the table if needed.I prefer to use 1 block of wood at each corner; however, 2 at opposite ends works as well.

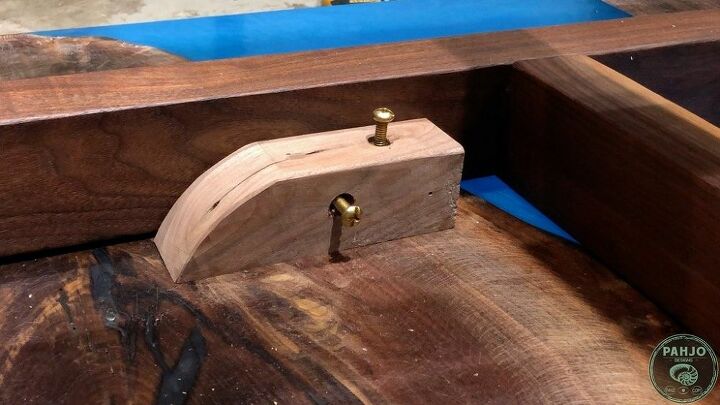
Determine Best Location for Wood BlocksThis trestle base crossbar on this farmhouse table top is 2” wide and 3.5” high.As a result, I cut the pieces of wood to be 1.5″ shorter than the crossbar on the trestle table base – 6” x 1.75” x 2” (L x W x H)Ideally, I prefer the mounting block to have a low profile to be as close to the underside of the table top as possible without jeopardizing the strength of the mounting block.As you can see from the picture below, the wood blocks are shorter than the trestle base crossbar.I positioned the wood blocks in all 4 corners and clamped them in place. Once the mounting blocks were secured with clamps, I marked the location on the table bottom and table top with a pencil.I used a punch tool to mark the locations of the holes on the mounting block.
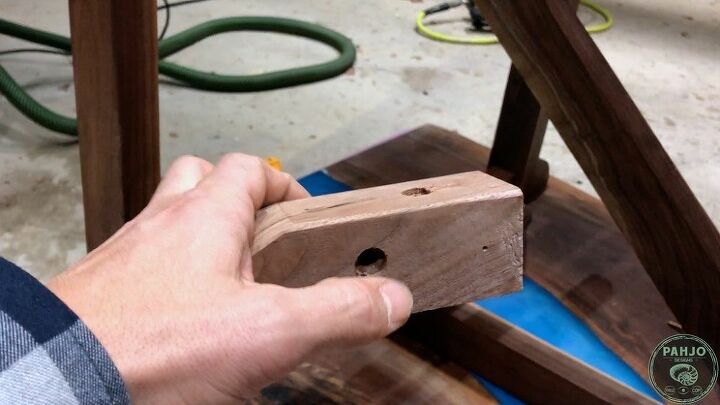
Drill Holes in Wood BlockI drilled 2 holes in the block of wood 1/8” longer than the block of wood in order to slightly puncture the table top and table bottom.I drilled the first hole through the side into the table bottom. Since the thickness of the block is 1.75”, I drilled to a depth of 1 7/8”. Then, I drilled the second hole through the top into the table. Since the height of the mounting block is 2”, I drilled to a depth of 2 1/8”. I used a countersink bit on each hole I drilled through the mounting block.Keep in mind, this isn’t necessary.

Allowing for Wood MovementIn my opinion, I believe most folks exaggerate the amount of wood movement.Yes, wood does move (expand and contract) based on temperature and humidity changes.Furthermore, wood from the big box store, such as pine or white wood, moves more than wood purchased from a hardwood dealer.However, wood movement is very minimal if properly kiln or air dried.So, I do allow for minor wood movement but I don’t stress over it.To compensate for slight wood movement, I used a 5/8” drill bit and a 1/4” screw and didn’t tighten the screw completely. This allows the wood to move up to 3/8″.At times, I use a drill bit 1/2” larger than the width of the screw if the wood is susceptible to movement (like wood from the big box store).
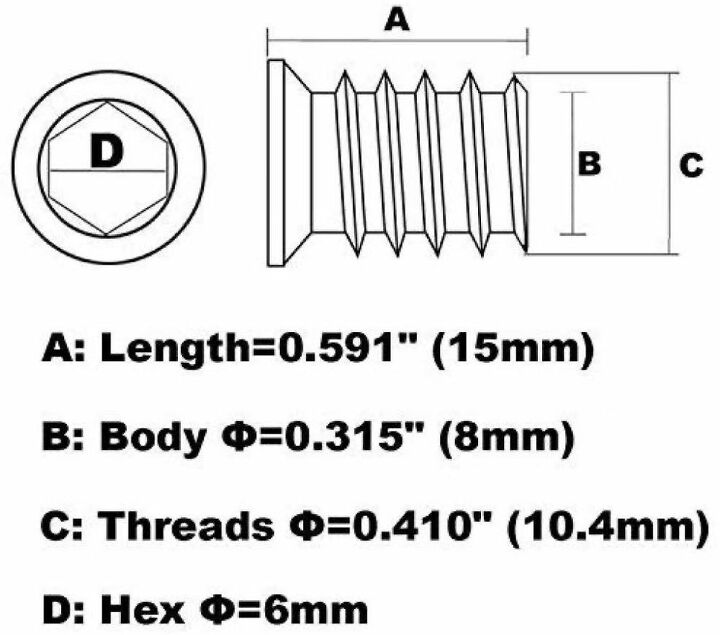
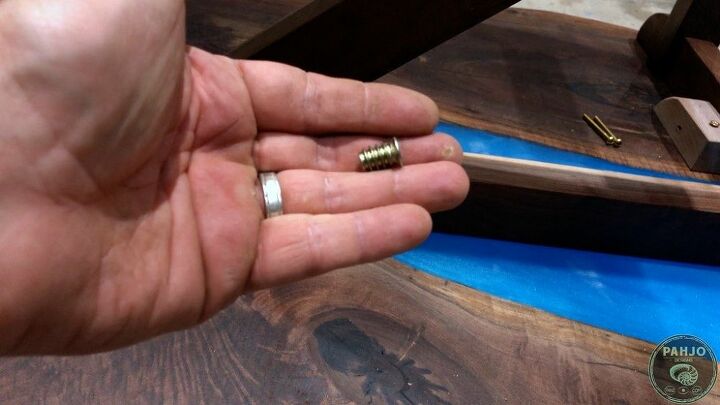
Threaded Inserts in WoodFirst, I removed each block of wood and exposed the 1/8” hole on the underside of the table top and table bottom from the drill bit.The threaded inserts are 15mm long, 8mm body width, and 10.4mm total width.A diagram (similar to the one in the picture) accompanied the threaded inserts.To determine the drill bit size for the threaded insert, use the width of the body without the threads. So, 8mm calls for a 5/16” drill bit size.Since I want the threaded insert to be slightly inset, I increase the length of the threaded insert from 15mm to 16mm. In turn, the measurement is 16mm or 5/8”.
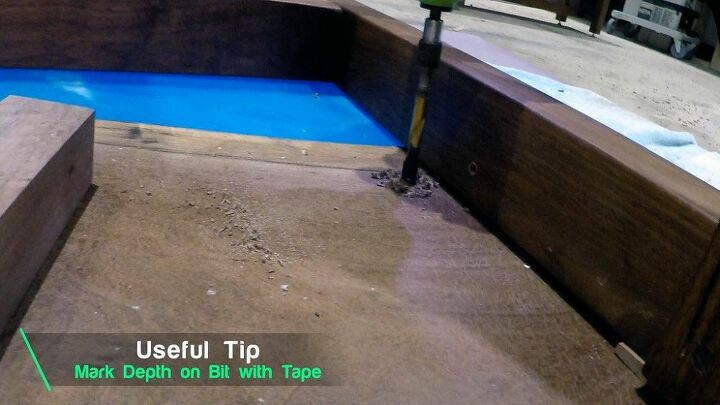
Next, I use a piece of electrical tape and wrapped it around the 5/8” mark on the 5/16” drill bit.I drilled the hole as straight as possible into the table bottom and table top. In total, I drilled 8 holes.
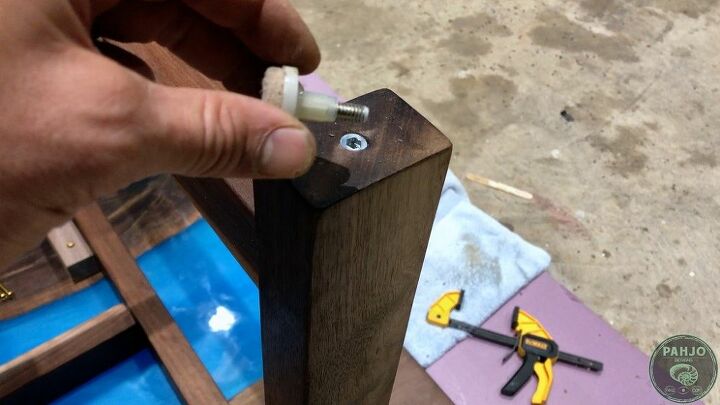
Then, I put CA glue in the holes (on table top and table base).Thick CA glue works best for threaded inserts.Next, I used a screwdriver or variable speed drill with a T40 bit to drive the threaded insert into the hole. A hex wrench works as well.
By the time I finished securing the threaded inserts in the table top and trestle base, the glue was dry enough to secure the first with a 1/4”-20 screw.
As a side note, this procedure works very well for table leg levelers or gliders. Gliders are felt pads that protect the floor and make it easy to slide the furniture around.
If possible, I design my table bases to easily disassemble. This is always the case for my farmhouse trestle table bases.Additionally, I record a video for all my customers which outlines how to attach table top to base using threaded inserts before they receive the table.To further illustrate the value of threaded inserts, I included an example of a real recording I created for a client within the video tutorial which accompanies this article.
I also use threaded inserts to attach the farmhouse trestle table base middle portion to each end.For this particular table, I used threaded inserts on the top of the half lap joint for the trestle bottom.Obviously, I'm over emphasizing the usefulness of threaded inserts b/c they have so many uses.
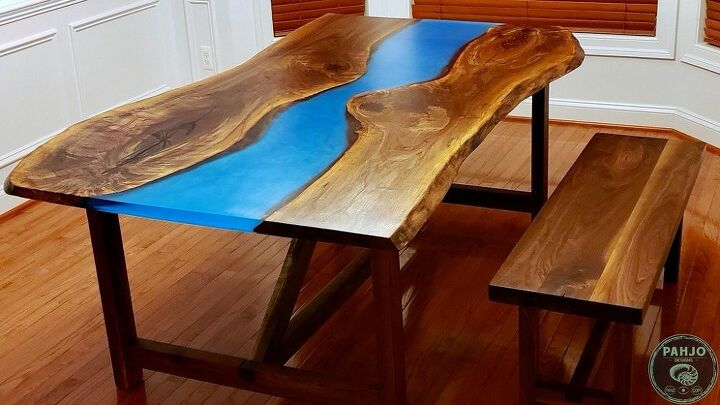
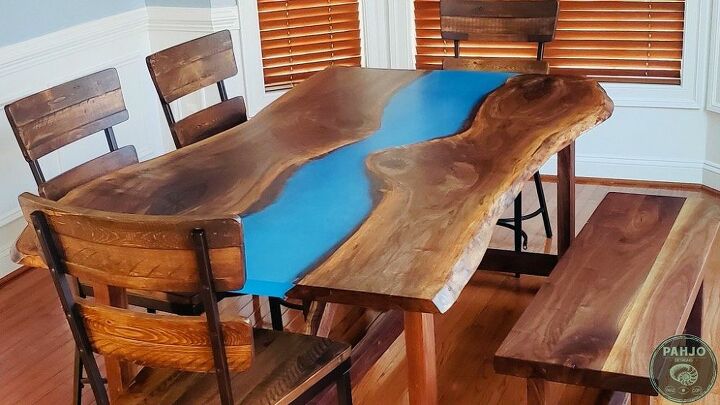
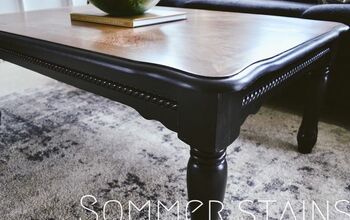
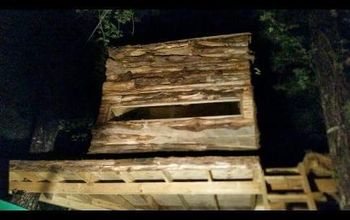
Here is a picture of this table after assembly by my customer. He said it took him 15 mins to unpack and put together.
ConclusionIn conclusion, I hope this HT post about attaching a table top to base provided you with value.Again, this same process can be used for many different tasks.Please leave a comment down below and let me know if you ever used or heard of threaded inserts.
Resources for this project:
See all materials


Any price and availability information displayed on [relevant Amazon Site(s), as applicable] at the time of purchase will apply to the purchase of this product.
Hometalk may collect a small share of sales from the links on this page.More info

Want more details about this and other DIY projects? Check out my blog post!
Comments
Join the conversation
2 comments
-
Great tutorial! Thanks for sharing

-
This projects is absolutely stunning, well done.


Frequently asked questions
Have a question about this project?