


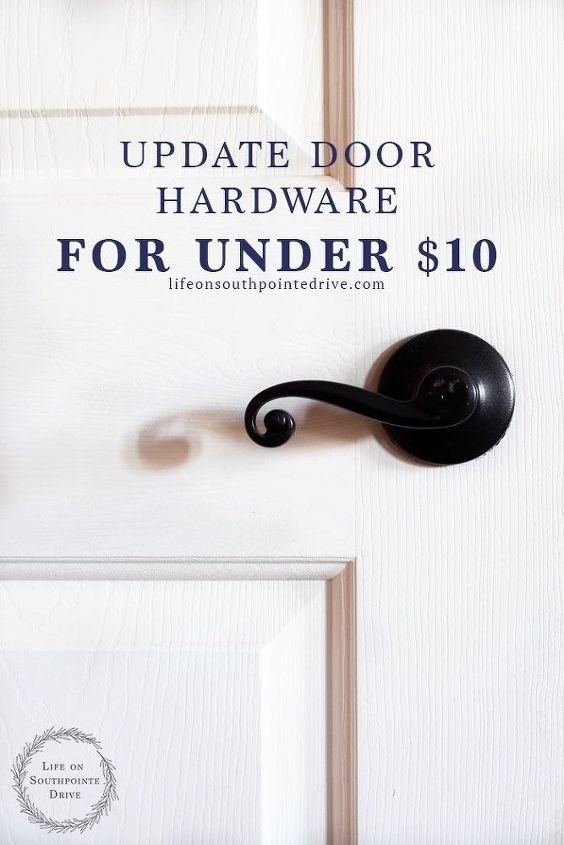
How to Update Door Hardware for Under $10

by
Holly Conway
2 Materials
$10
1 Hour
Easy
Updating door hardware can be expensive but if you’re looking for a budget friendly fix, I want to show you how you can update door hardware for under $10!
Not only do I love anything DIY, but I love DIY on a budget. Every time I am contemplating on ways to update my home my first thoughts go to…”can I do it myself”, and is the time I put into a project worth the money I would be saving? So when it came to the task of updating my interior door hardware this DIY project was a no brainer. Have you all seen the cost of door hardware lately?! Yikes! So after some research I decided that some good ole spray paint could go a long way in this project.
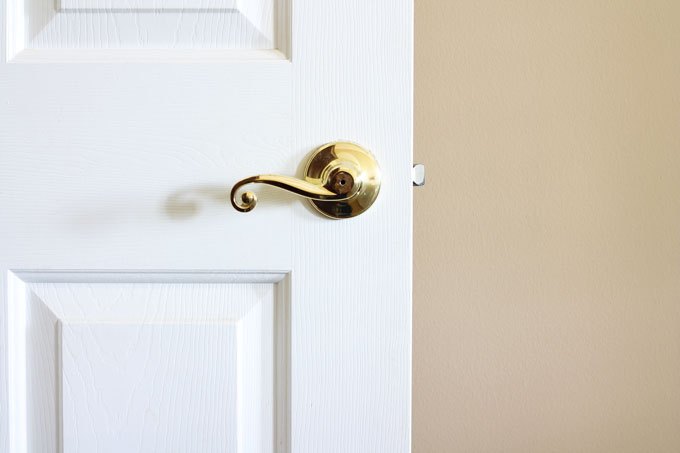
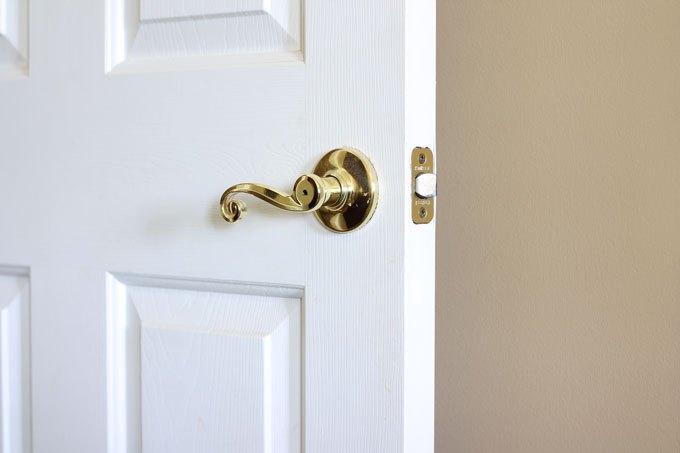
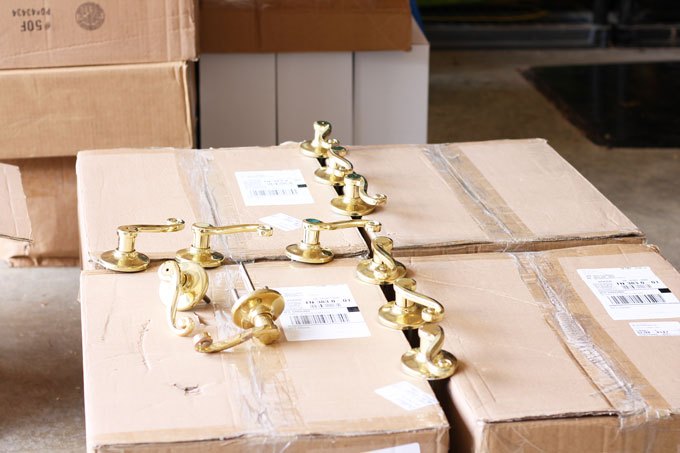
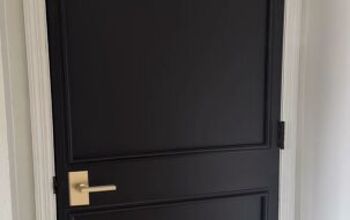
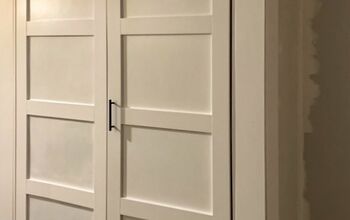
There were many things I absolutely loved about my home when I moved in, but the out of date door hardware was not one of them. You know how you have that one thing that you see everyday and it just drives you crazy? Well this was that “one thing” for me! Here is what they looked like before:
Not terrible and I could definitely live with them like this (I mean I did for a whole year!), but I was ready to get them taken care of. After some research I decided that (aff link) Rust-Oleum Universal Metallic was the way to go. I had read several reviews where people that used it said it went on great and stayed on. Plus this whole project costs less that $10!
MATERIALS NEEDED:
- (Aff Link) Rust-Oleum Metallic Spray Paint (I used the color Oil Rubbed Bronze)
- Mask (to keep from breathing in fumes)
- Screwdriver (to take off your hardware)
- Some sort of box or styrofoam to hold your screws in place while painting
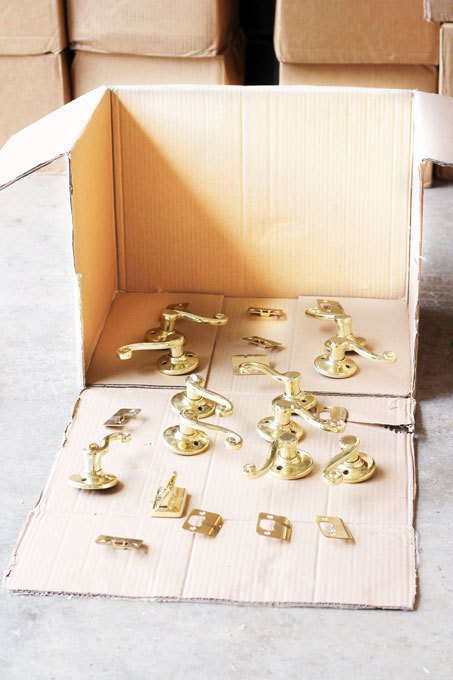
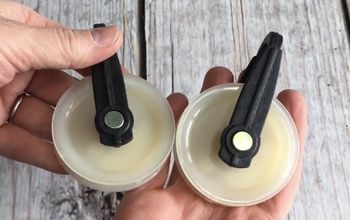
- Remove all of your door hardware and remember to keep them separate and label them by rooms so you don’t have a big mixed up mess when you go to put them back on!
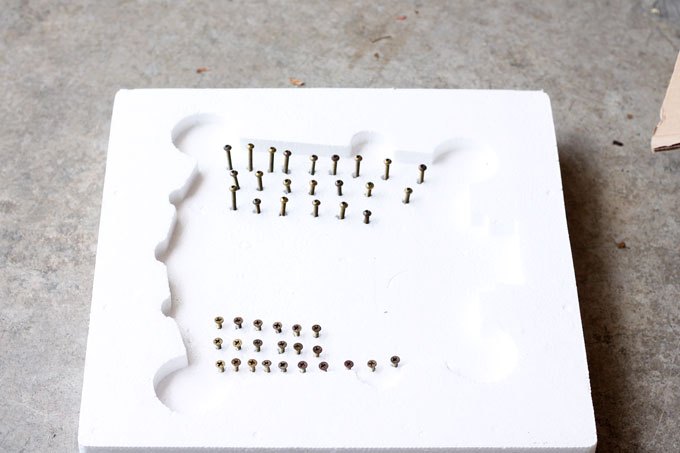
- Place all of the screws from the hardware into either a box top or the easiest way is if you have some styrofoam laying around…it works great to hold them in place.
- Take out your can of Rust-Oleum give it a good shake (check back of can to see recommend usage), and give the screws a light layer of paint making sure to hold the can at least 12 inches away.
- While the screws are drying lay out your hardware. I laid mine on top of 2 boxes that I had sitting in the garage by having them face up on the boxes. I also laid some that would lay flat down on top of a piece of cardboard.
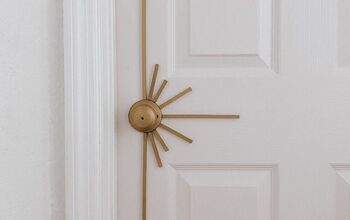
- I then gave all of the hardware a very light coat of paint making sure I got into each area of the hardware.
- After that I gave them both a last light coat of paint. I was able to do this with only one can of paint, but if you have more you may need 2 cans.
- Make sure to let the hardware cure for at least 24 hours before attempting to put it back up. If you don’t you will run the risk of getting smudges
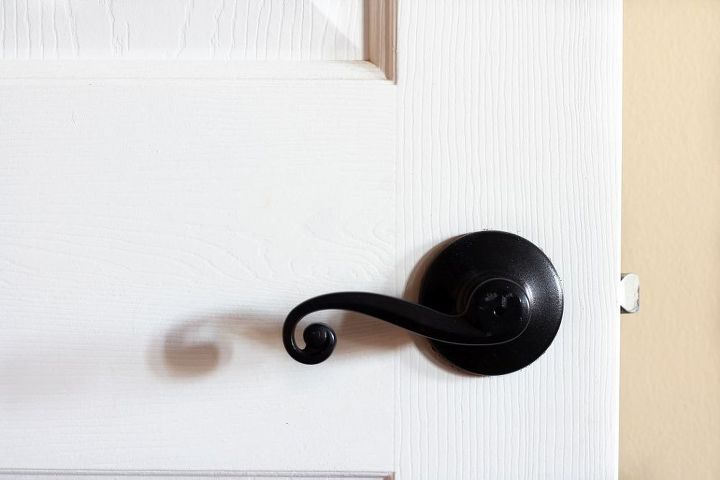
It’s as simple as that! It really couldn’t have been easier and took no time at all. I knocked this out in about an hour on a Saturday.


Any price and availability information displayed on [relevant Amazon Site(s), as applicable] at the time of purchase will apply to the purchase of this product.
Hometalk may collect a small share of sales from the links on this page.More info
Want more details about this and other DIY projects? Check out my blog post!


Frequently asked questions
Have a question about this project?