


Plastic Drawers Makeover and DIY Sticker Labels
This plastic drawers makeover is quite easy to do, and you can customize them to look however you like.
And after you have your pretty drawers done, you can create some magical DIY clear sticker labels so you can easily tell what’s inside them.
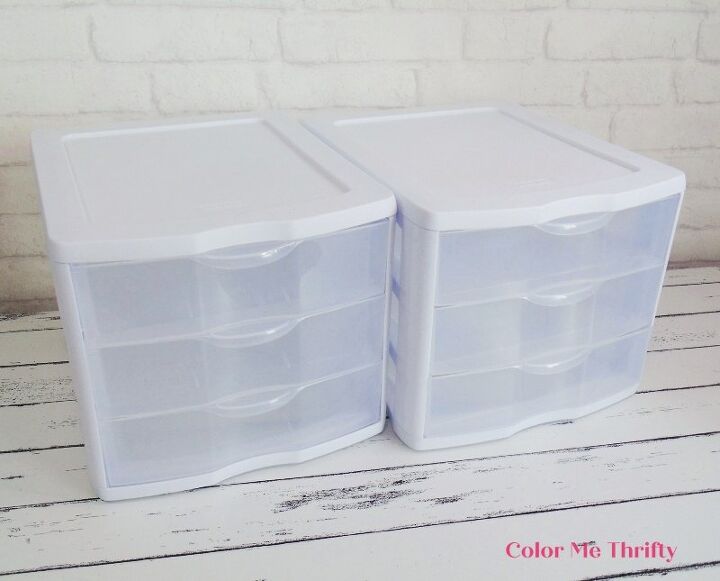
I started with these two basic plastic storage drawers units that I’ve had for awhile. They’re practical, but they’re also very b-o-r-i-n-g. And, quite frankly, I don’t want to see what’s inside them.
You can find these plastic drawer units in all shapes and sizes. These are 9 1/2″ high, by 10 1/2″ wide, by 12 inches deep.
When I did my craft desk makeover a little while back, I mentioned that these days I’m feeling the need to work in a pretty environment that inspires me and makes me feel good while I’m creating.
I think we all need that, and it’s not that difficult or expensive to make practical things pretty. And to that end I’m continuing to give things in my craft room what I consider to be much-needed makeovers.
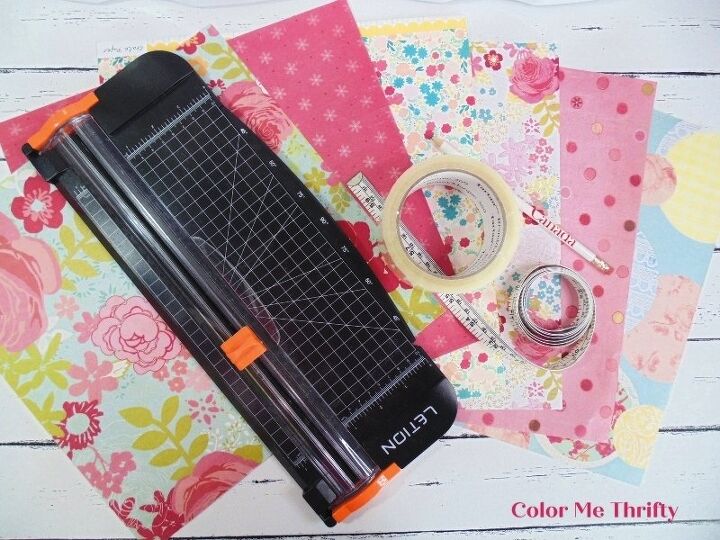
I got a book of scrapbook paper at my local dollar store for $4. It had 50 sheets in coordinating patterns and colors. The scrapbook paper is the only thing I bought for this project. I had everything else already.
I picked the six sheets that I wanted to use and gathered up the few supplies that I needed: my paper cutter, some clear packing tape, a measuring tape, and a pencil.
These scrapbook sheets are about 8 cents a piece, so this is a very inexpensive makeover.
Supplies needed for plastic storage drawers makeover
- plastic storage drawers
- scrapbook paper
- clear packing tape
- paper cutter
- sewing measuring tape
- pencil
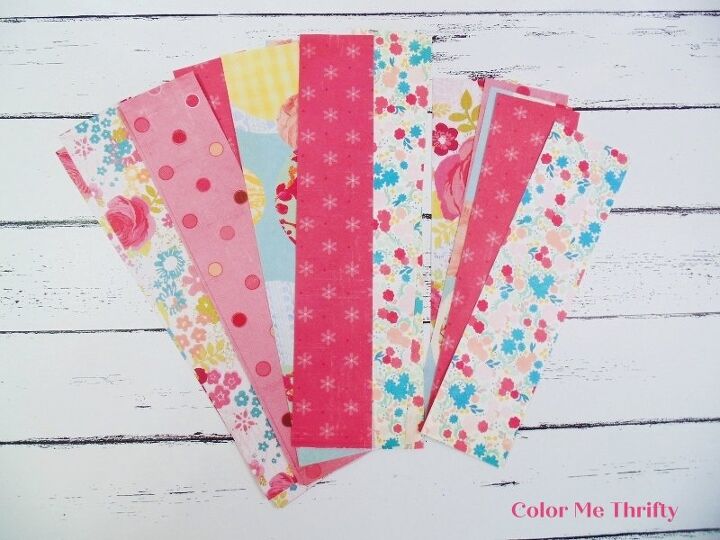
Measure the inside of your drawers: the front and the two sides. You want your pieces to be slightly smaller than the actual measurement. Then cut your scrapbook paper pieces to size.
My inside drawer measurement are 2 1/2 inches high by 9 1/2 wide for the fronts, and 2 1/4″ inches high and 11 1/2″ wide for the sides.
Those measurements will vary, depending on the size of drawers that you have.
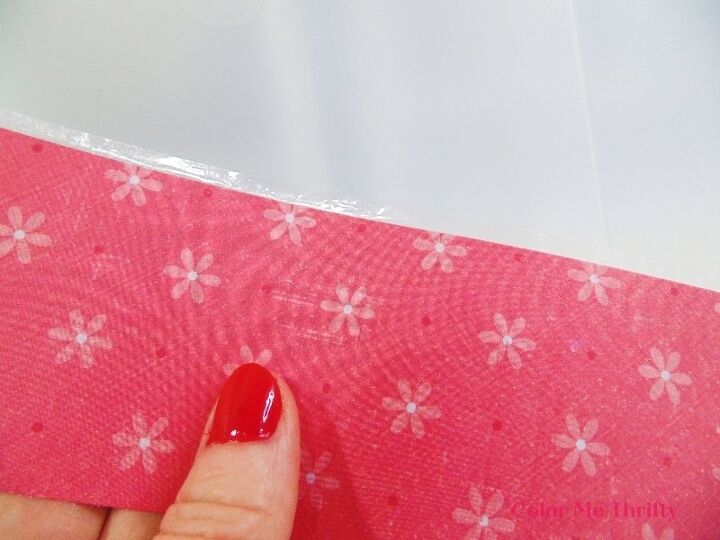
Apply clear packing tape to the back of your scrapbook paper piece, leaving an overhang of the tape along the top edge. This is so it will adhere to the inside of the plastic drawer.
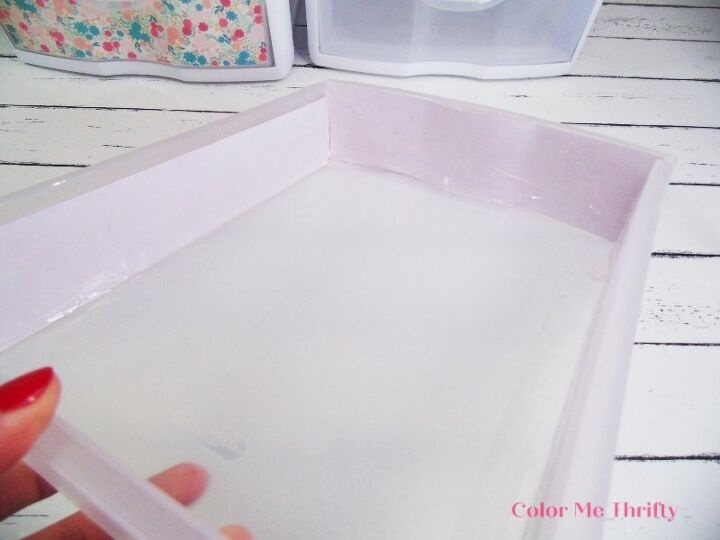
Put your front scrapbook paper piece in place, pressing down the tape along the top edge. The top edge of the tape should be just below the top edge of the drawer.
Apply the tape along the sides and bottom to adhere it to the drawer. For extra durability, make sure to cover the paper entirely with tape.
Do the same to the sides of the drawer. I did the sides as well so I can move the plastic drawer units around if I ever want to.
TIP: Before putting things inside your drawer make sure the sticky side of your tape isn’t exposed anywhere. You don’t want things sticking to the inside of your drawer. If you do find a spot, just cover it with another piece of tape.
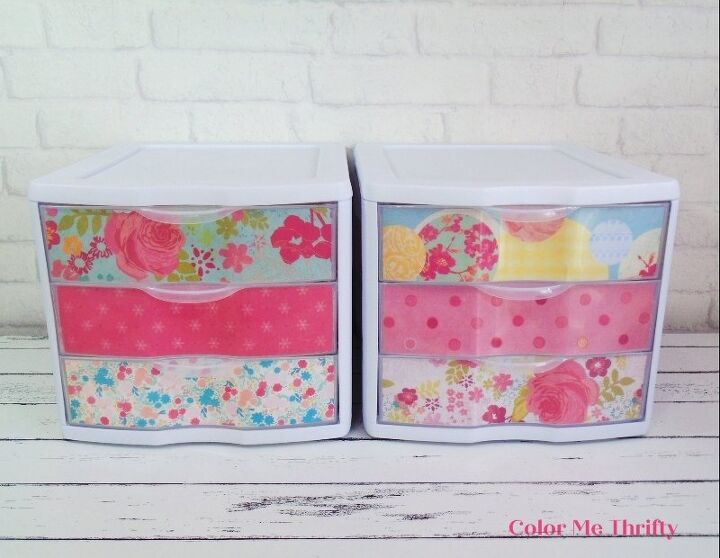
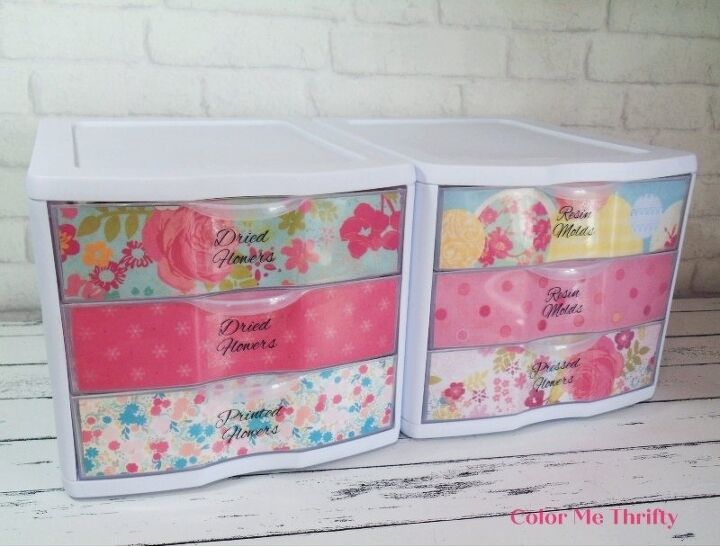
And that’s it. Here are my drawers done. They're so pretty, and it was so easy.
A this point I should mention that I decided to use packing tape for this project for four reasons. One; it was super easy. Two; not messy. Three: it’s clear. And most importantly; the tape can easily be removed if I ever want to change the look.
You could, of course, use decoupage medium to glue the scrapbook paper pieces in place permanently if you like.
The fun thing about using different patterns in coordinated colors is you can change the drawers around if you want to.
Now it’s time to create some easy and fun DIY clear labels so you know what’s inside those pretty drawers.
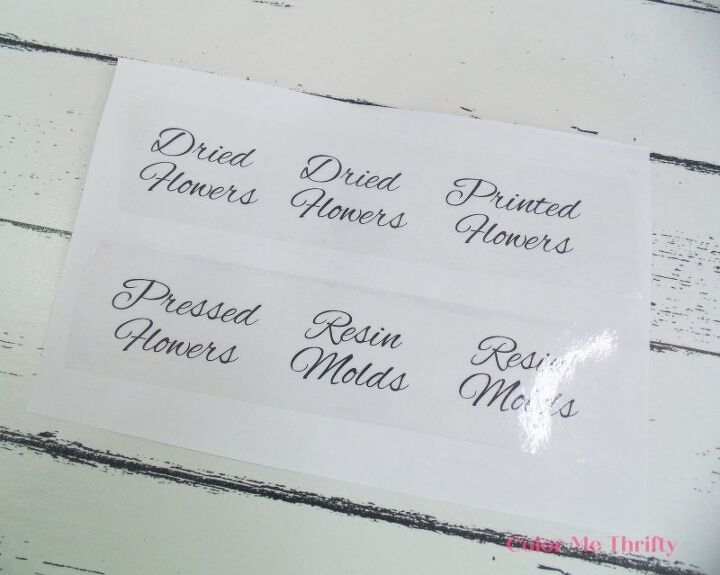
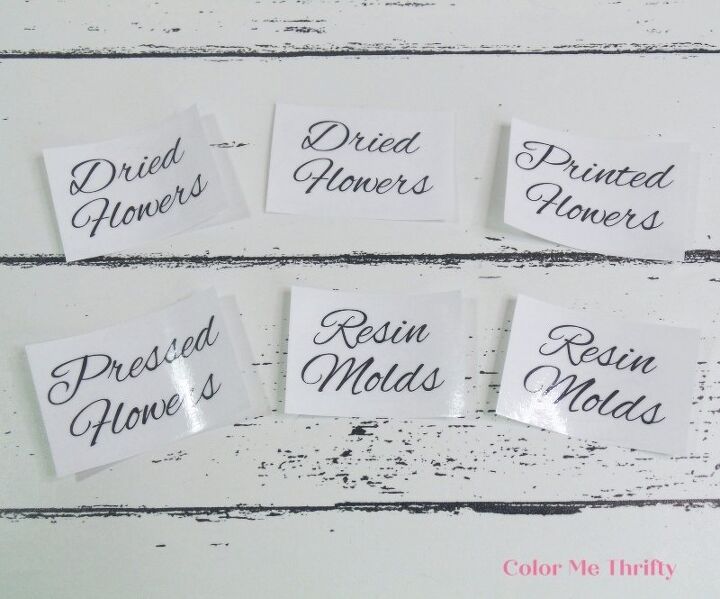
Print out your labels on regular photocopy paper. I picked a font that would stand out just enough without getting in the way of the pretty papers.
I have a laser printer, but I have heard that this works on inkjets as well but I haven’t tried that myself so I can’t say for sure.
Place the clear packing tape on to the paper so it completely covers the words.
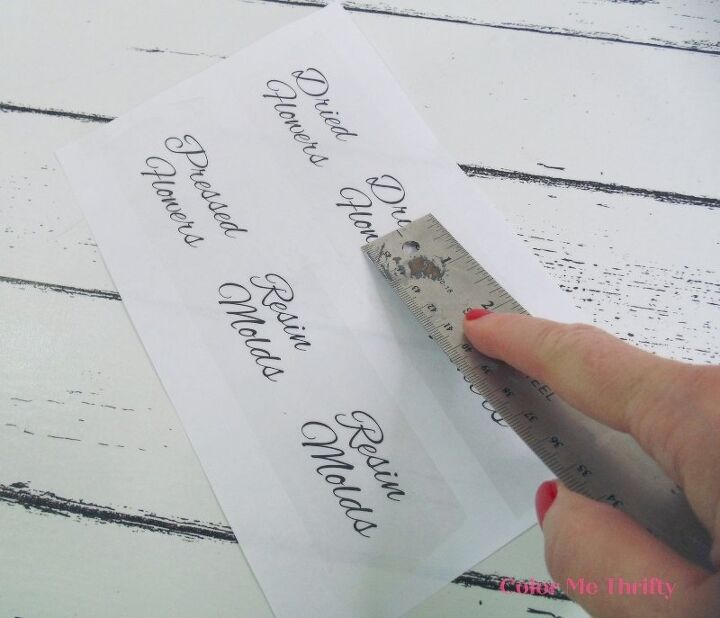
Burnish the tape onto the paper with a hard edge. I used a metal ruler, but you could also use any credit or debit card.
Cut your labels to size, making sure the tape completely covers the cutouts.
Now here is where the magic happens. I can’t explain it, but it works.
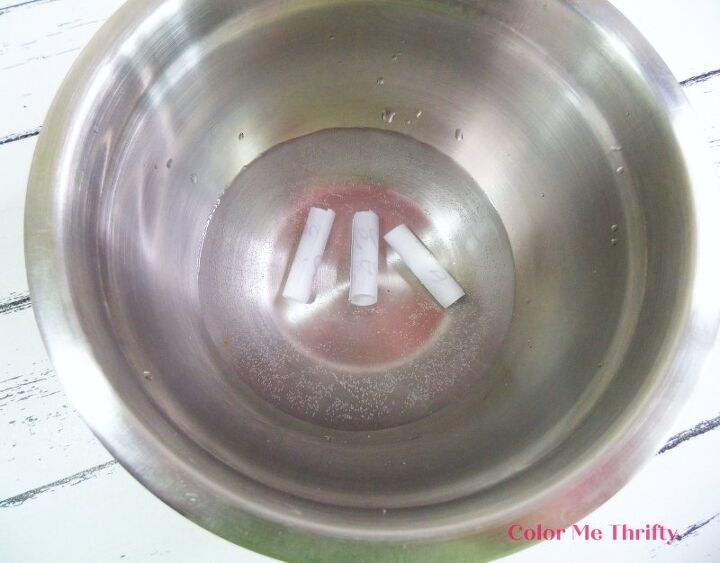
Place your labels into a bowl of water and leave for at least 5 minutes. I did just three at a time because I didn’t want any labels to sit in the water too long while I was working on them in the next step.
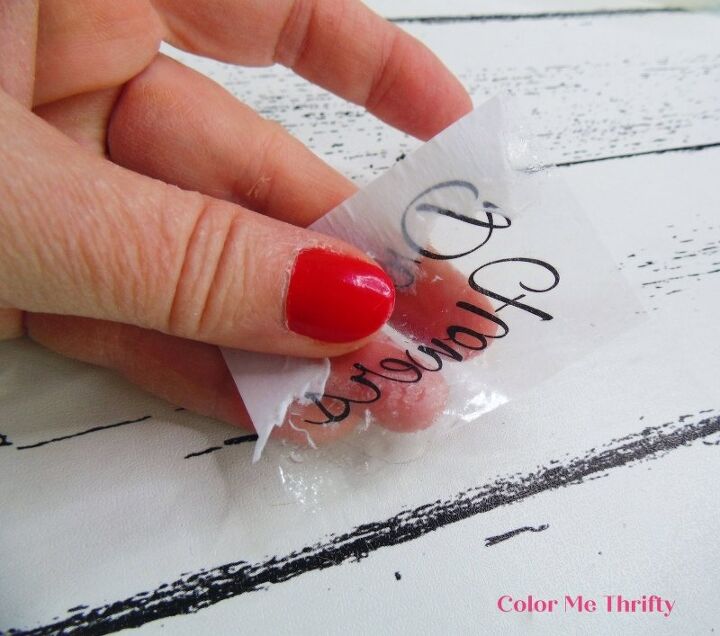
Rub away the paper with your fingers. The paper should come off very easily. If it doesn’t, put the label back in the water for a little more time.
You’ll notice that the tape doesn’t feel sticky when it’s wet, but that stickiness comes back when it dries… which doesn’t take very long. It was almost dry by the time I removed all the paper.
TIP: Make sure your fingers are very clean, and don’t wipe your wet fingers on your pants while you’re removing the paper backing. If you look closely, you can see a cat hair on this label behind the word pressed. With 5 cats in the house cat hair showing up where it’s not wanted is pretty hard to avoid. But I just put the label back in the water and cleaned the cat hair off, and I used a paper towel to keep my fingers dry.
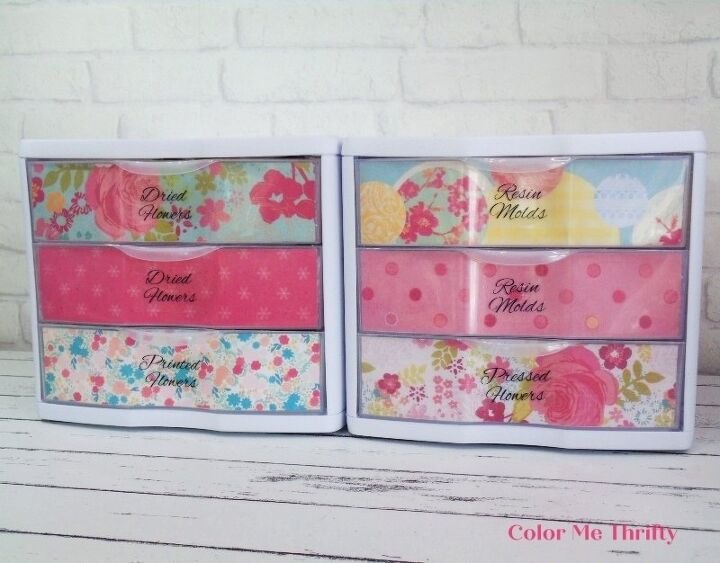
And here are my DIY sticker labels on my newly made over plastic drawers.
I love that I can easily remove these DIY clear sticker labels and create new ones if I ever decide to change what’s in a drawer.

Here’s the before again.
And here are my DIY sticker labels on my newly made over plastic drawers.
I love that I can easily remove these DIY clear sticker labels and create new ones if I ever decide to change what’s in a drawer.
I have to say that I love them so much, and this plastic drawers makeover was even easier than I thought it would be. And inexpensive too, at about 50 cents.
I think that’s a lot of bang for my half a buck.
This was a long post so there are more details and photos in my blog post here.

Comments
Join the conversation
-
Very creative lining the inside of the drawers. Using packaging is great for removing the paper in the future. These could be used in kids rooms and change the paper as they grow older and tastes change. So many options to be used anywhere and not look so bland and generic. Good share
-
Great idea! I’m working on my craft room and will try this on my plastic drawers. Thank you so much for sharing!


Frequently asked questions
Have a question about this project?
Can you do photos this way too?